Yellow Cake Mix Recipes Boxed Hacks
I’ll be honest—yellow cake mix has saved me more times than I can count. It’s the thing I grab when I want something homemade enough without committing to a full afternoon of creaming butter and measuring flour. This particular boxed hack was born on a busy weekend when family dropped by unexpectedly, and I needed a dessert that felt special but didn’t scream “last-minute.”
I had a box of yellow cake mix in the pantry, some sour cream in the fridge, and real butter softening on the counter. I remember thinking, what if I just treat this box like a base instead of the whole recipe? That one small shift changed everything. The cake came out richer, denser in a good way, and so tender it didn’t even need frosting to win people over.
Now this is my go-to “no one needs to know it started from a box” cake. It’s the kind of recipe that makes people ask for it quietly, like it’s a secret you might not want to share.
Why I Love This Recipe
What makes this recipe special isn’t just that it starts with a box—it’s how far you can take that box with a few thoughtful upgrades. Yellow cake mix already has a solid vanilla backbone, but on its own it can bake up a little flat or spongy. This hack fixes that.
I love this recipe because it gives you control. You’re not just following the back of the box; you’re improving it. Swapping oil for butter adds real flavor. Adding sour cream gives moisture and a soft, bakery-style crumb. Using milk instead of water makes the cake taste fuller and more homemade.
This is the cake I make when I want something dependable but impressive. It works for birthdays, potlucks, or those random Tuesday nights when you just want a slice of something sweet with your tea. It’s also incredibly forgiving. Even if you slightly overbake it, it stays tender. And if you dress it up with a glaze or fresh berries, it feels like something from a café.
Most of all, I love that this recipe respects your time. You get all the comfort of homemade cake without the stress—and that’s a win in my kitchen.
Ingredients for Golden Vanilla Butter Cake Box Hack
Let’s talk about what you actually need, because this isn’t just a list—it’s a strategy.
You’ll start with a standard box of yellow cake mix. Any brand works here, which is one of the reasons I love this hack. Pick what you trust or what’s on sale.
Instead of vegetable oil, we use melted butter. I always reach for unsalted butter so I can control the salt level, and I make sure it’s melted but not hot. Butter adds richness and that unmistakable homemade flavor.
Eggs are important here, and I use one more than the box calls for. That extra egg gives the cake structure and a slightly denser crumb that feels more like a scratch cake.
For liquid, swap water for whole milk. Milk adds fat and flavor, which makes a noticeable difference in the final texture.
The secret weapon is sour cream. Full-fat sour cream works best, and it makes the cake incredibly moist without tasting tangy. If you’ve ever wondered how bakeries get that soft, plush texture—this is how.
A splash of vanilla extract rounds everything out. Even though the mix already contains flavoring, real vanilla deepens it and makes the cake taste intentional, not boxed.
How Much Time Will You Need
This is one of those recipes that fits easily into real life.
You’ll need about 10 to 15 minutes to mix everything together. Baking time is usually around 40 to 45 minutes, depending on your pan and oven. After that, I like to let the cake cool for at least 20 minutes before slicing or frosting.
All in, you’re looking at just over an hour from start to finish, with most of that being hands-off oven time. It’s perfect for weekends and still manageable on a busy weekday evening.
How to Make This Golden Vanilla Butter Cake Box Hack
This process is simple, but the details matter. Take your time with each step and you’ll be rewarded.
Step – 1: Prepare your pan and oven
Preheat your oven according to the cake mix instructions, usually 350°F. Grease your baking pan generously with butter or nonstick spray, and lightly dust it with flour. This helps the cake release cleanly.
Step – 2: Melt the butter
Melt the butter gently and set it aside to cool slightly. You don’t want it hot, or it can affect how the eggs mix in.
Step – 3: Combine the wet ingredients
In a large bowl, whisk together the eggs, milk, sour cream, melted butter, and vanilla extract. Take a minute here to make sure everything is smooth. This step helps prevent overmixing later.
Step – 4: Add the cake mix
Pour the yellow cake mix into the bowl with the wet ingredients. Using a spatula or hand mixer on low speed, mix just until combined. Scrape down the sides and bottom so there are no dry pockets.
Step – 5: Mix gently and stop early
Once the batter looks smooth, stop mixing. Overmixing can make the cake tough, and this batter should look thick but pourable.
Step – 6: Bake until golden
Pour the batter into your prepared pan and smooth the top. Bake until the top is golden and a toothpick inserted into the center comes out with a few moist crumbs.
Step – 7: Cool before serving
Let the cake cool in the pan for about 15 minutes, then turn it out onto a rack or serve directly from the pan once fully cooled.
Substitutions That Still Make This Recipe Shine
One of the reasons this recipe works so well is how flexible it is.
If you don’t have sour cream, plain full-fat Greek yogurt is a great substitute. It gives a similar texture and moisture level.
No whole milk? You can use 2% milk or even half-and-half if that’s what you have. In a pinch, almond milk works, but the cake will be slightly less rich.
For butter, you can use salted butter—just be aware the cake will have a slightly saltier finish, which some people actually love.
If you want to add flavor, this base welcomes it. A little lemon zest, almond extract, or even a swirl of cinnamon sugar can turn this into something entirely new without changing the structure.
Best Side Dishes to Serve With This Cake
This cake is lovely on its own, but pairing it with the right side makes it feel extra special.
Fresh berries with lightly sweetened whipped cream add brightness and balance.
A scoop of vanilla bean ice cream turns it into a full dessert moment.
A simple fruit compote, especially strawberry or peach, adds moisture and color without overpowering the cake.
Serving and Presentation Tips
This cake is simple at heart, which makes it incredibly easy to dress up depending on the occasion. That’s one of the reasons I keep coming back to it. You can serve it straight from the pan on a quiet afternoon, or you can plate it like something from a bakery display.
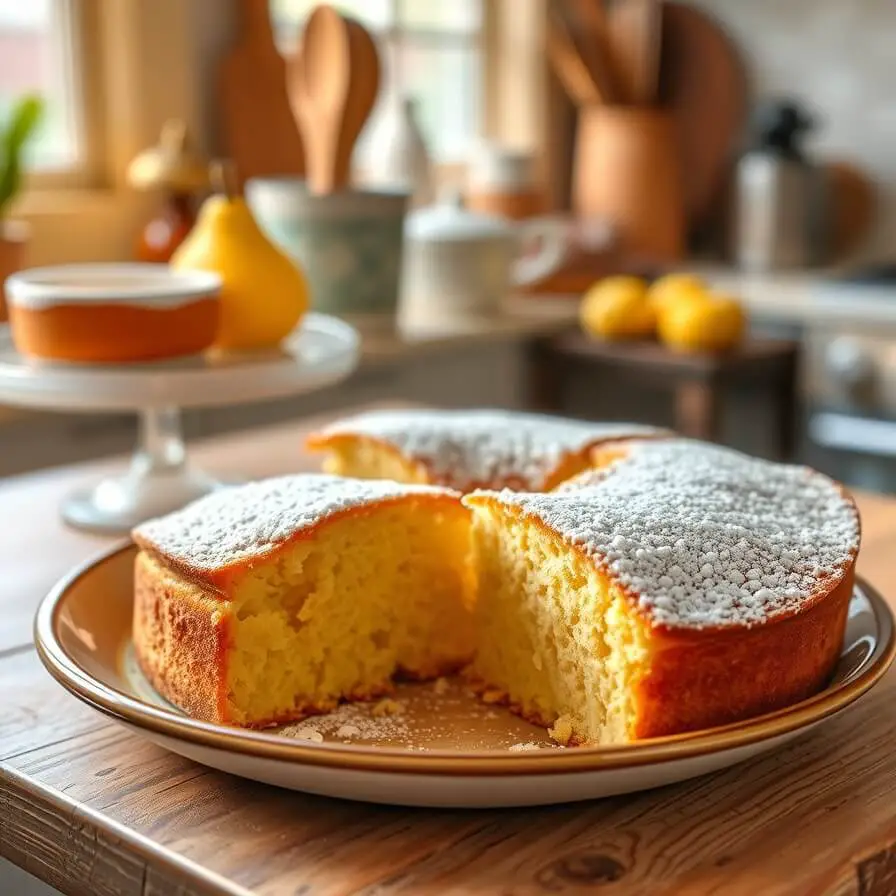
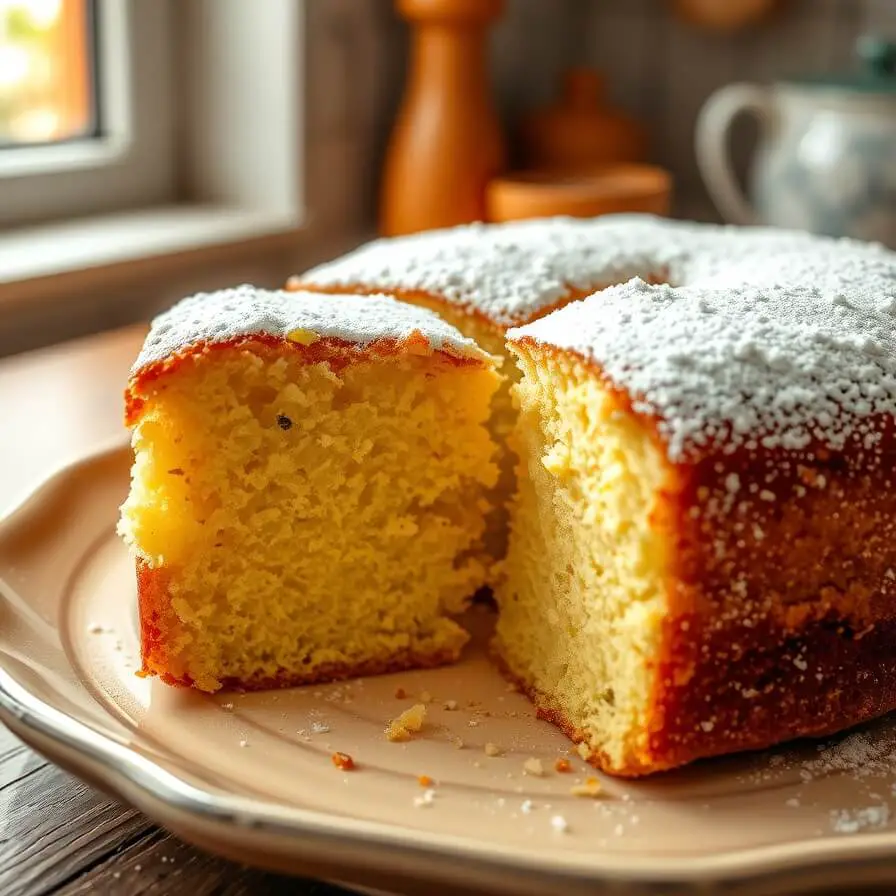
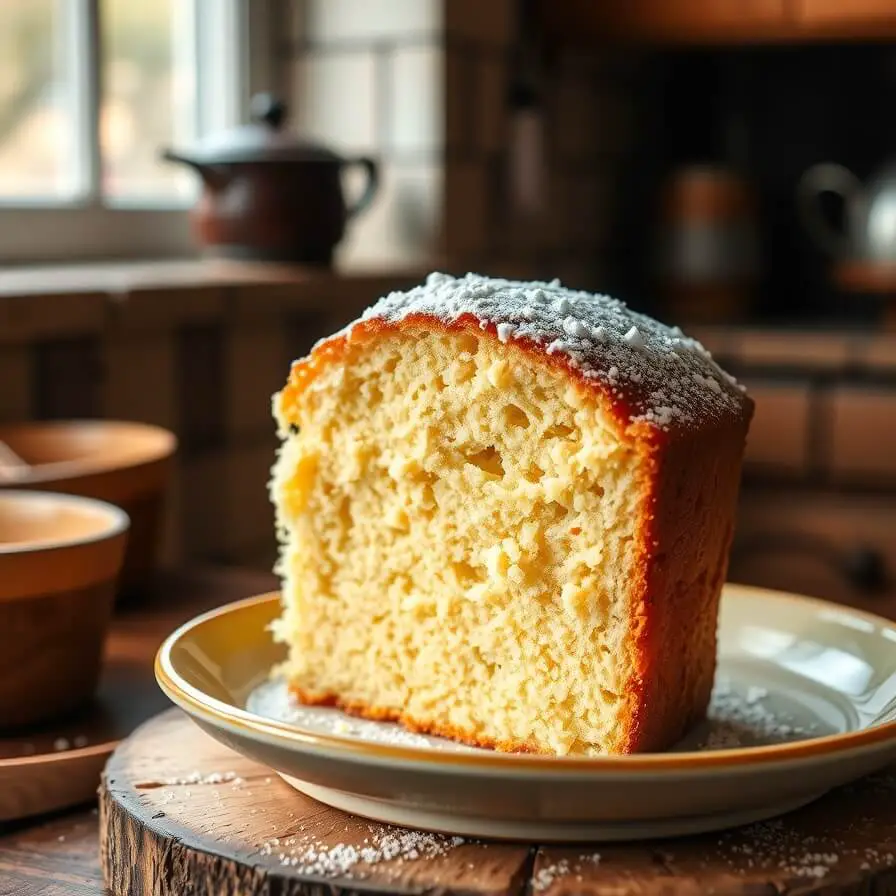
If I’m serving it casually, I like to cut generous squares and dust the top lightly with powdered sugar. That soft white finish against the golden cake looks effortless and inviting. For guests, I sometimes add a dollop of whipped cream on the side with a few fresh berries scattered on the plate. It instantly feels intentional, even though it takes almost no extra effort.
For more formal settings, this cake works beautifully as a layered dessert. Slice it horizontally, add a thin layer of vanilla buttercream or whipped cream frosting, and finish with a smooth top coat. Because the crumb is sturdy but tender, it holds up well to slicing and plating without crumbling.
Always let the cake cool completely before adding any toppings or slicing for clean edges. A warm cake may taste tempting, but patience here really pays off in presentation.
Tips and Tricks to Make This Recipe Even Better
This is where small choices make a big difference.
One of my favorite tricks is bringing all the ingredients to room temperature before mixing. Eggs, sour cream, and milk blend more smoothly this way, which gives the cake a finer, more even crumb.
Another tip is to sift the cake mix before adding it to the wet ingredients. It sounds unnecessary, but it helps remove lumps and makes mixing gentler and faster.
If you want extra flavor depth, try browning the butter instead of simply melting it. Let it cool slightly before using, and you’ll get a subtle nutty flavor that makes the cake taste more complex.
I also recommend checking the cake a few minutes before the suggested baking time. Every oven is different, and pulling the cake out just as it’s done keeps it moist.
Lastly, don’t skip the resting time. Letting the cake sit after baking allows the crumb to set properly, making it easier to slice and even better in texture.
Common Mistakes to Avoid
One of the biggest mistakes is overmixing the batter. It’s tempting to keep mixing until everything looks perfectly smooth, but that can make the cake dense. Mix just until combined and stop.
Another common issue is using cold ingredients straight from the fridge. This can cause the batter to mix unevenly and affect the final texture.
Overbaking is another thing to watch for. Because this cake is rich, it can dry out if left in the oven too long. Look for a toothpick with a few moist crumbs, not a completely clean one.
Finally, don’t rush the cooling process. Cutting too early can cause the cake to fall apart or feel gummy.
How to Store It
This cake stores beautifully, which makes it perfect for baking ahead.
At room temperature, keep it covered tightly for up to two days. Use plastic wrap or an airtight container to prevent it from drying out.
If you want to store it longer, refrigerate it for up to five days. Let it come to room temperature before serving for the best texture and flavor.
You can also freeze this cake. Wrap individual slices or the whole cake tightly in plastic wrap and then foil. Freeze for up to two months. Thaw overnight in the refrigerator or a few hours at room temperature.
Frequently Asked Questions
Can I use a different flavor of cake mix?
Yes, but yellow cake mix works best for this hack because of its balanced vanilla flavor and structure.
Can I make this cake ahead of time?
Absolutely. It actually tastes even better the next day once the flavors settle.
Does this work in a bundt pan?
Yes, just grease the pan very well and adjust the baking time slightly longer.
Can I add mix-ins like chocolate chips?
You can. Fold them in gently at the end to avoid sinking.
Is this cake good without frosting?
Yes. It’s rich and flavorful enough to stand on its own.

Yellow Cake Mix Recipes Boxed Hacks
- Total Time: 1 hour
- Yield: 10 1x
- Diet: Vegetarian
Description
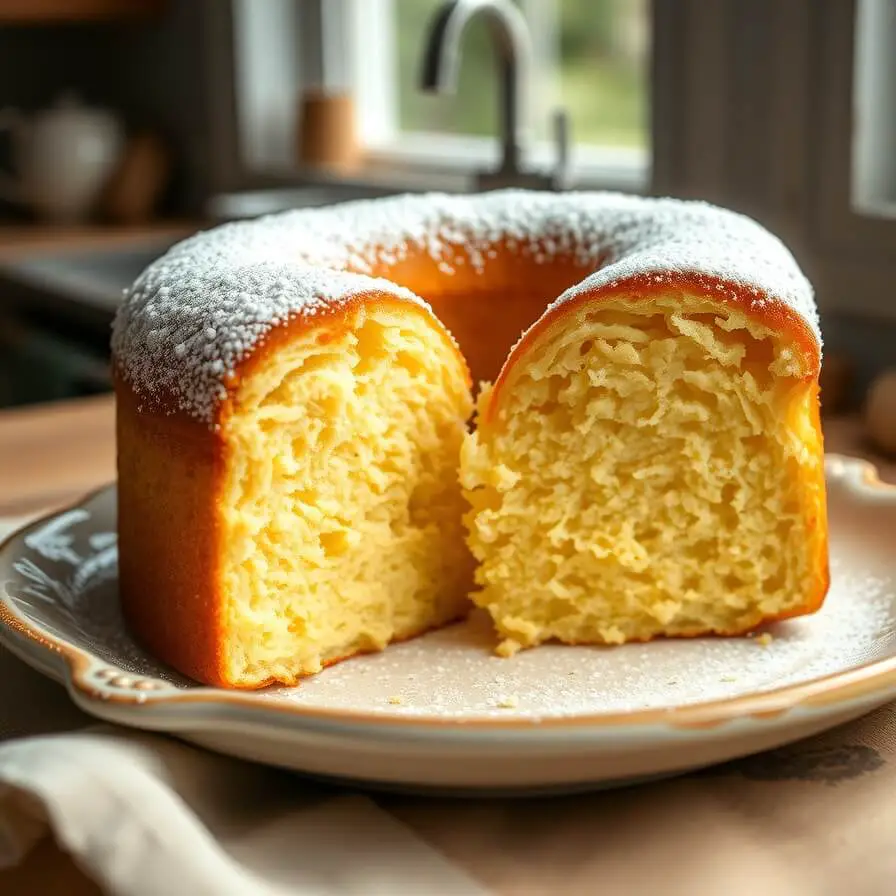
This golden vanilla butter cake is proof that a boxed mix can taste completely homemade with just a few thoughtful upgrades. By swapping oil for real butter, adding sour cream for moisture, and using milk instead of water, this cake bakes up rich, tender, and full of flavor. It’s the kind of recipe you turn to when you want something reliable yet impressive. Perfect for family gatherings, celebrations, or everyday treats, this cake delivers bakery-style results without the stress of a from-scratch recipe.
Ingredients
- Yellow cake mix
- Unsalted butter, melted
- Eggs
- Whole milk
- Sour cream
- Vanilla extract
Instructions
- Preheat oven and prepare baking pan.
- Whisk together eggs, milk, sour cream, melted butter, and vanilla.
- Add cake mix and mix gently until combined.
- Pour batter into pan and smooth top.
- Bake until golden and set.
- Cool before slicing or decorating.
Notes
- For extra flavor, use browned butter. Let the cake cool completely before frosting or slicing for best results.
- Prep Time: 15 minutes
- Cook Time: 45 minutes
- Category: Dessert
- Method: Baking
- Cuisine: American
Nutrition
- Serving Size: 10
- Calories: 320
- Sugar: 26g
- Sodium: 310mg
- Fat: 15g
- Saturated Fat: 9g
- Unsaturated Fat: 5g
- Trans Fat: 0g
- Carbohydrates: 42g
- Fiber: 1g
- Protein: 4g
- Cholesterol: 85mg