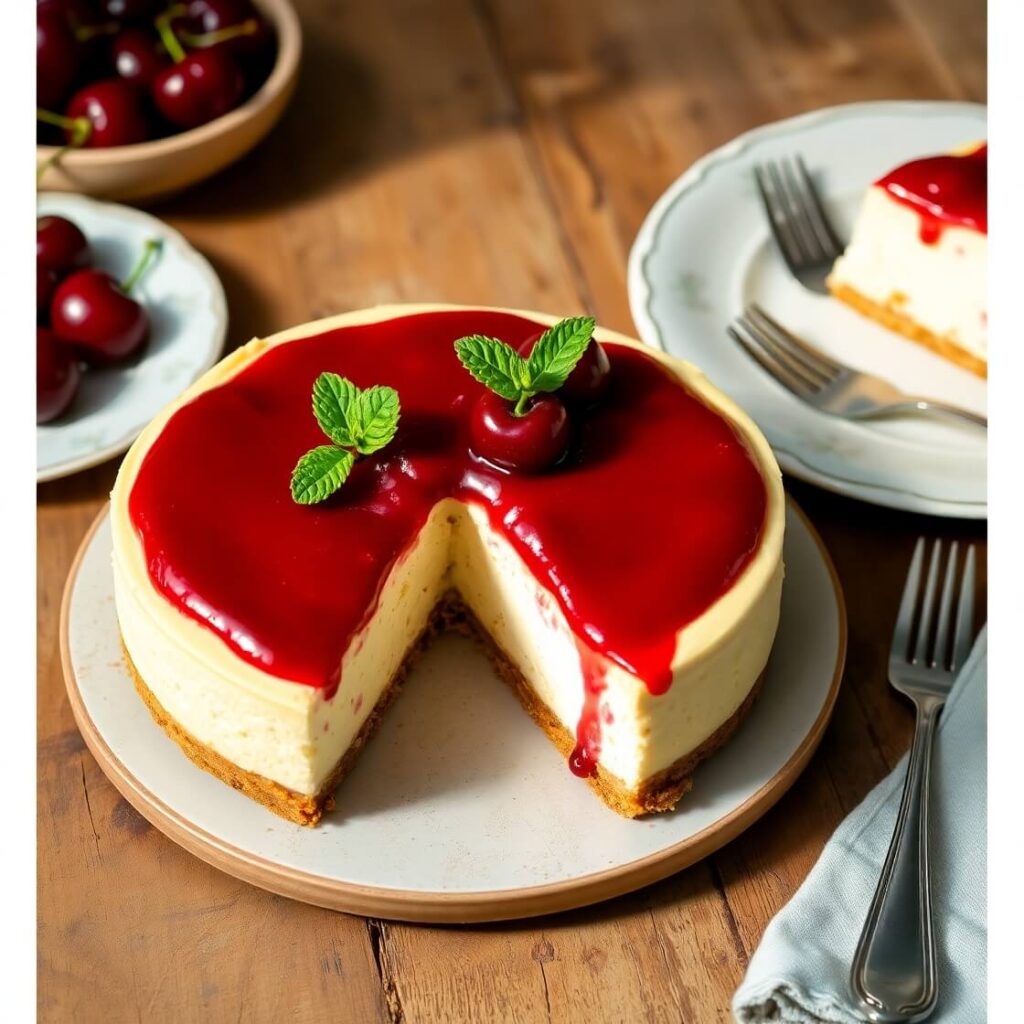
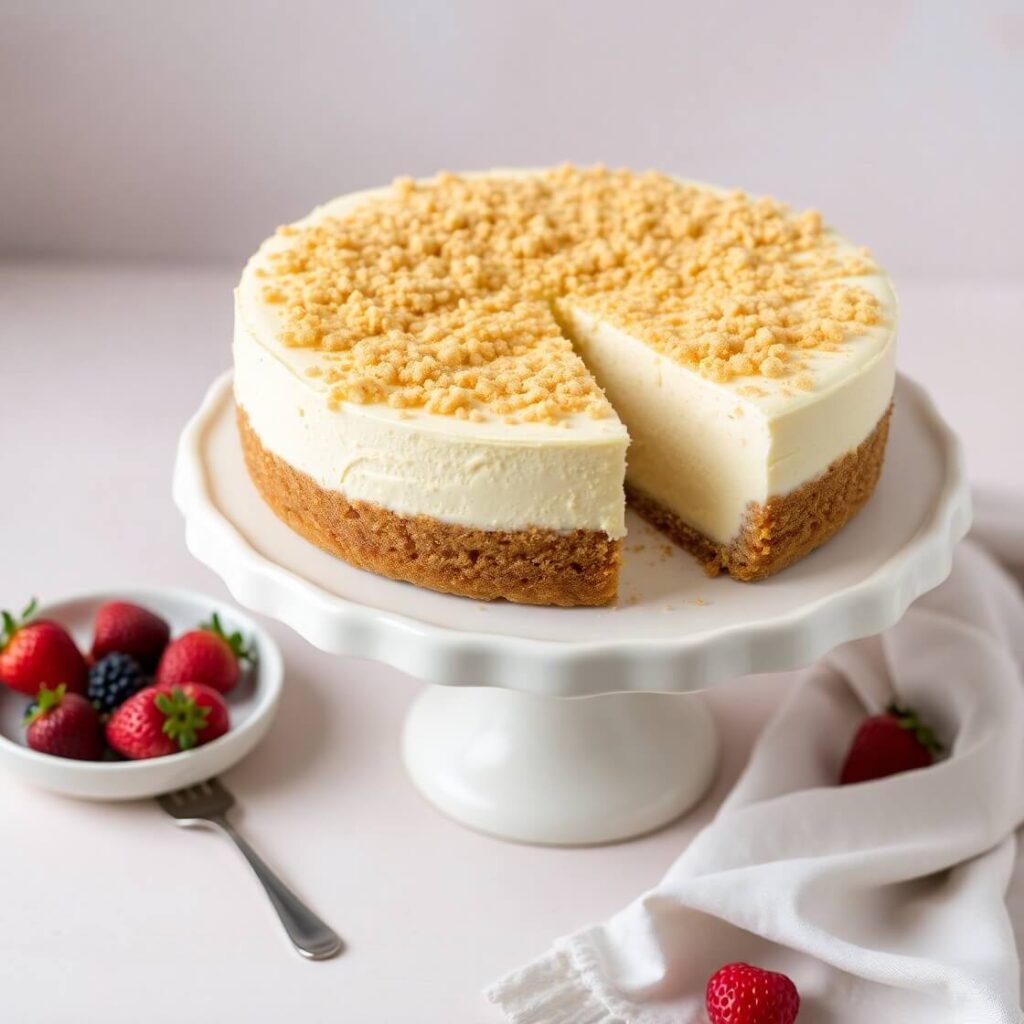
Woolworth Cheesecake Recipe

If you’ve ever walked into an old Woolworth lunch counter and ordered a slice of their legendary cheesecake, you’ll know why this recipe has such a nostalgic charm. I first made this cheesecake after my grandmother told me stories about her weekend outings at Woolworth’s with her friends back in the day. The sparkle in her eyes when she talked about the light, creamy texture and the delicate lemony tang was all the inspiration I needed.
This no-bake dessert is unlike your typical cheesecake. It’s airy, slightly tangy, and sits atop a crunchy graham cracker crust that balances everything beautifully. Whether you’re making it to relive a slice of the past or trying it for the first time, this cheesecake promises a retro vibe that will charm anyone at the table.
Why I Love This Recipe
There’s something timeless about this Woolworth cheesecake. Unlike heavier, denser cheesecakes, this one is delightfully light and fluffy thanks to the whipped evaporated milk and lemon Jell-O.
What really makes this dessert stand out is its simplicity. You don’t need to turn on the oven. There’s no need for water baths or springform pans. It’s a no-fuss, classic recipe that brings a comforting taste of the past right into your kitchen.
People love making this cheesecake not just because it’s delicious, but because it’s a conversation starter. It evokes memories, sparks curiosity, and adds a little “retro charm” to any gathering. It’s the kind of dessert that people will ask you about—and ask for again and again.
Whether you’re hosting Sunday brunch, bringing something to a potluck, or just craving a creamy treat that doesn’t weigh you down, this cheesecake is always a good idea.
Ingredients for Woolworth Cheesecake
Before you start mixing, let me walk you through the ingredients that make this retro dessert so memorable.
What I love most is how budget-friendly and pantry-friendly this list is. Most of these items are probably already in your kitchen, which makes this recipe perfect for a last-minute dessert that still feels special.
Here’s what you’ll need:
- Graham crackers and butter – for the crust. Classic and dependable, they create a buttery, crumbly base that complements the fluffiness of the filling.
- Evaporated milk – chilled overnight, this whips up like a dream and adds that signature airy texture.
- Lemon Jell-O – don’t skip this! It gives the cheesecake its tangy, slightly citrusy base and helps stabilize the fluffy texture.
- Cream cheese – the foundation of every cheesecake. Softened and whipped until smooth, it blends with the lemon and sugar for that sweet and tangy balance.
- Granulated sugar – just enough to sweeten without overwhelming the freshness of the lemon flavor.
- Vanilla extract – optional, but I like to add just a splash to round out the flavors.
- Boiling water – for dissolving the Jell-O.
These simple ingredients work together to create a cheesecake that’s both nostalgic and refreshingly different from your average slice.
How Much Time Will You Need
One of the best parts of this cheesecake is how little active time it takes. You don’t have to babysit a hot oven or worry about cracks and overbaking. Here’s what to expect:
- Prep time: 25–30 minutes
- Chill time: At least 4 hours (overnight is best)
While it does take some planning ahead to let it set, the actual time spent in the kitchen is minimal. You can whip this up in the morning and have it ready for dinner or make it the night before a party.
How to Make This Woolworth Cheesecake
This is where the magic happens. It’s easy, relaxing, and honestly pretty fun to make. Here’s how I do it:
Step 1: Prepare the crust
Start by crushing about 1½ sleeves of graham crackers into fine crumbs. You can do this in a food processor or just pop them into a zip-top bag and roll with a rolling pin.
Melt about 1 stick (½ cup) of butter and mix it with the crumbs until everything is evenly coated and resembles wet sand.
Set aside about ¼ cup of the crumb mixture for topping later, and press the rest into a 9×13-inch dish. Use the bottom of a glass or your hands to pack it in evenly and firmly. Chill this in the fridge while you work on the filling.
Step 2: Dissolve the Jell-O
In a medium bowl, pour ¾ cup of boiling water over the lemon Jell-O (one small box). Stir until completely dissolved. Let it cool to room temperature—but not so much that it starts to set.
Step 3: Whip the evaporated milk
This step is key to the light and fluffy texture. Make sure your can of evaporated milk has been chilled in the fridge overnight. Pour it into a large mixing bowl and whip with a hand or stand mixer on high until it’s thick and airy—like whipped cream.
This can take 5–7 minutes, so be patient. You’ll see it grow in volume and turn into a soft, stable foam.
Step 4: Make the cream cheese mixture
In another large bowl, beat 8 ounces of softened cream cheese with 1 cup of granulated sugar until smooth and fluffy. Add a splash of vanilla if you like (about ½ teaspoon).
Once the lemon Jell-O has cooled, slowly mix it into the cream cheese mixture. Stir gently to combine.
Step 5: Combine the mixtures
Gently fold the whipped evaporated milk into the cream cheese and Jell-O mixture. Do this slowly, using a spatula, so you don’t deflate the fluffiness.
The result should be a pale, airy filling that holds its shape but is soft and creamy.
Step 6: Assemble and chill
Pour the filling over the chilled graham cracker crust. Smooth out the top with a spatula and sprinkle the reserved graham cracker crumbs evenly over the top.
Cover with plastic wrap or foil and refrigerate for at least 4 hours—overnight is even better for clean slices and firm texture.
Substitutions
What if you’re out of something or want to try a twist? Here are some easy swaps that still yield delicious results:
- Evaporated milk: You can substitute with heavy whipping cream, though the texture will be a bit richer and denser. Chill it before whipping for best results.
- Lemon Jell-O: If you’re not a lemon fan, you can use lime or even orange for a different citrus twist. Raspberry or strawberry Jell-O will give it a fruity, summery vibe.
- Cream cheese: For a slightly lighter option, try Neufchâtel cheese. Just be sure to drain off any excess moisture so your filling doesn’t get too soft.
- Graham crackers: Crushed vanilla wafers or digestive biscuits work well if graham crackers aren’t available.
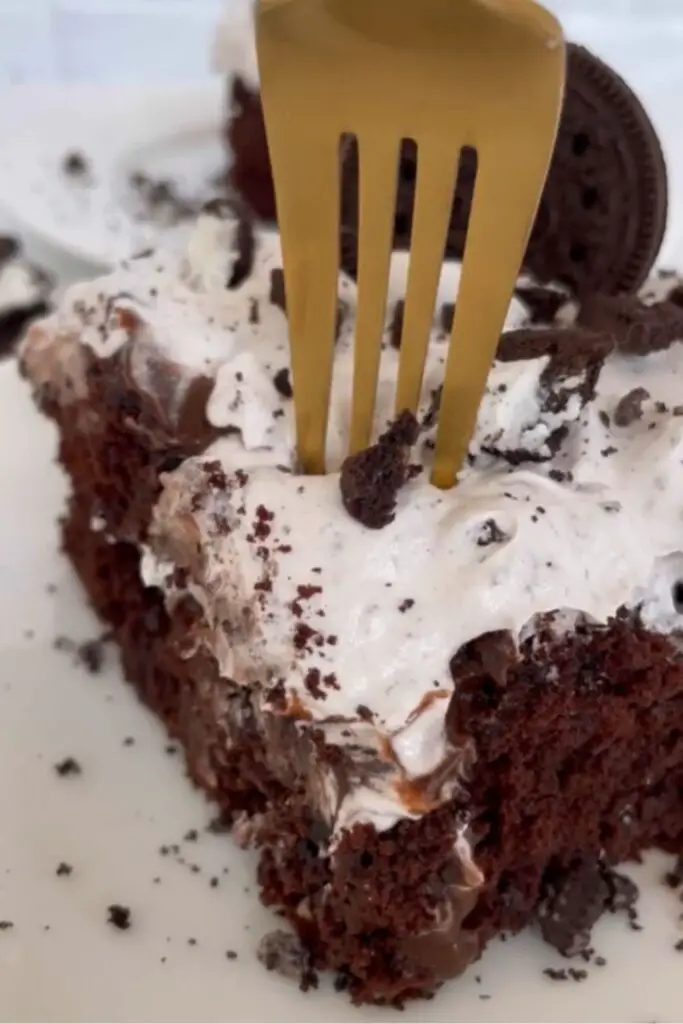
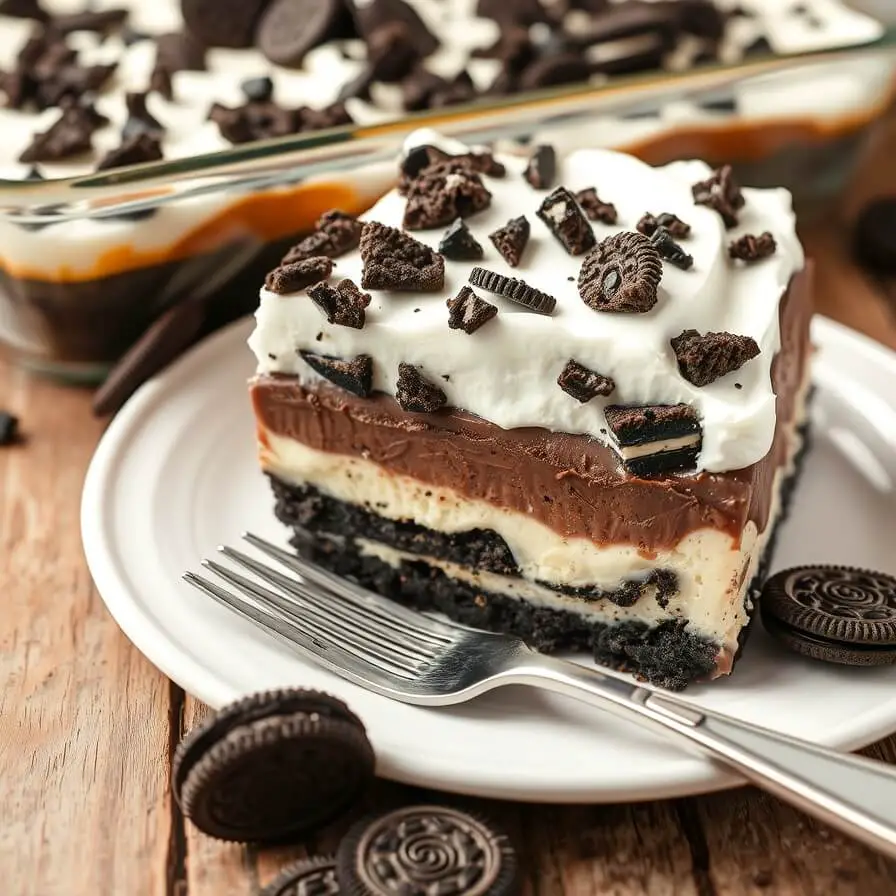
I’ve even seen people swap out the crust for an Oreo base for a more indulgent twist!
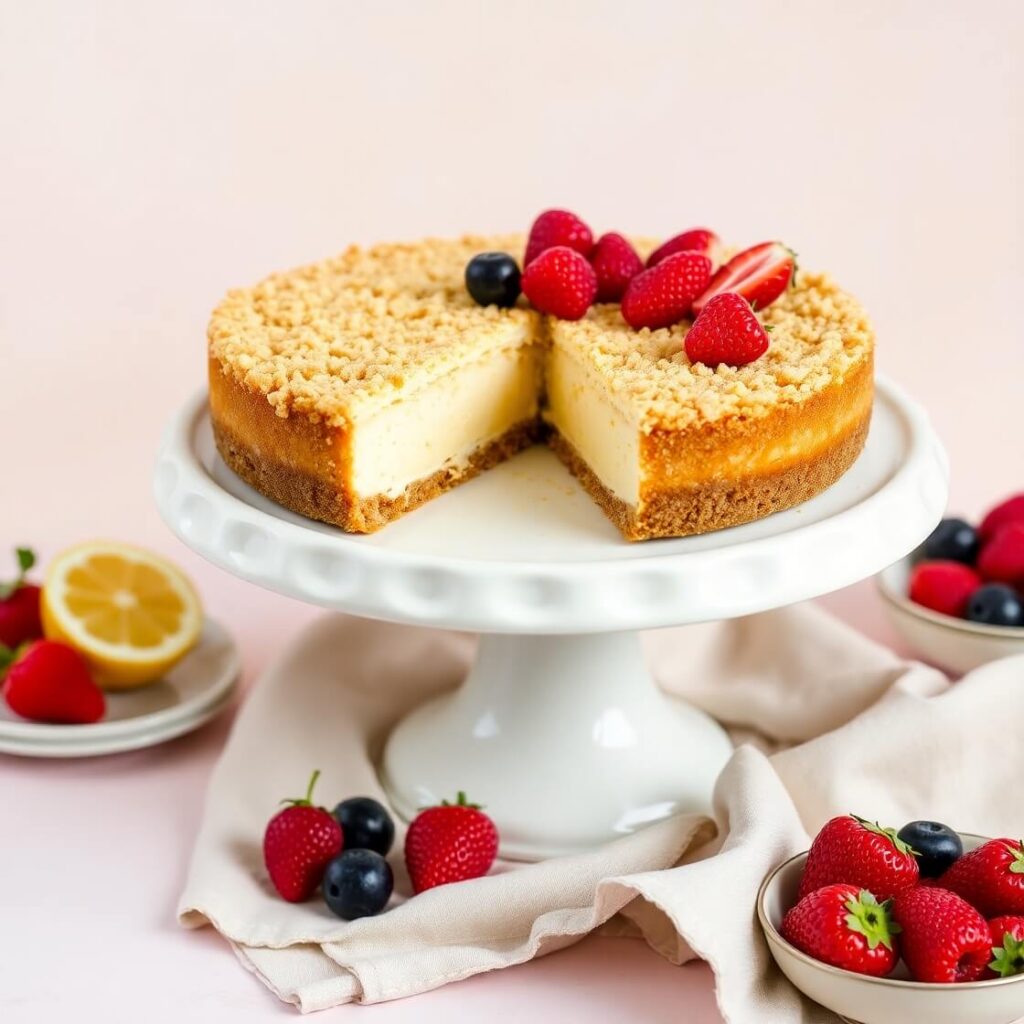
Best Side Dishes for Woolworth Cheesecake
While this cheesecake is a star all on its own, it’s even more delightful with the right pairing. Here are three side dishes or serving companions that can elevate your dessert table:
- Fresh Berries: Serve a bowl of fresh blueberries, strawberries, or raspberries alongside each slice. Their tartness pairs beautifully with the sweet, creamy texture.
- Iced Coffee or Cold Brew: This light cheesecake pairs beautifully with a strong, chilled coffee. It balances the richness and refreshes the palate.
- Lemon Iced Tea: A refreshing and slightly tart drink that echoes the citrus notes in the cheesecake, perfect for a summer afternoon gathering.
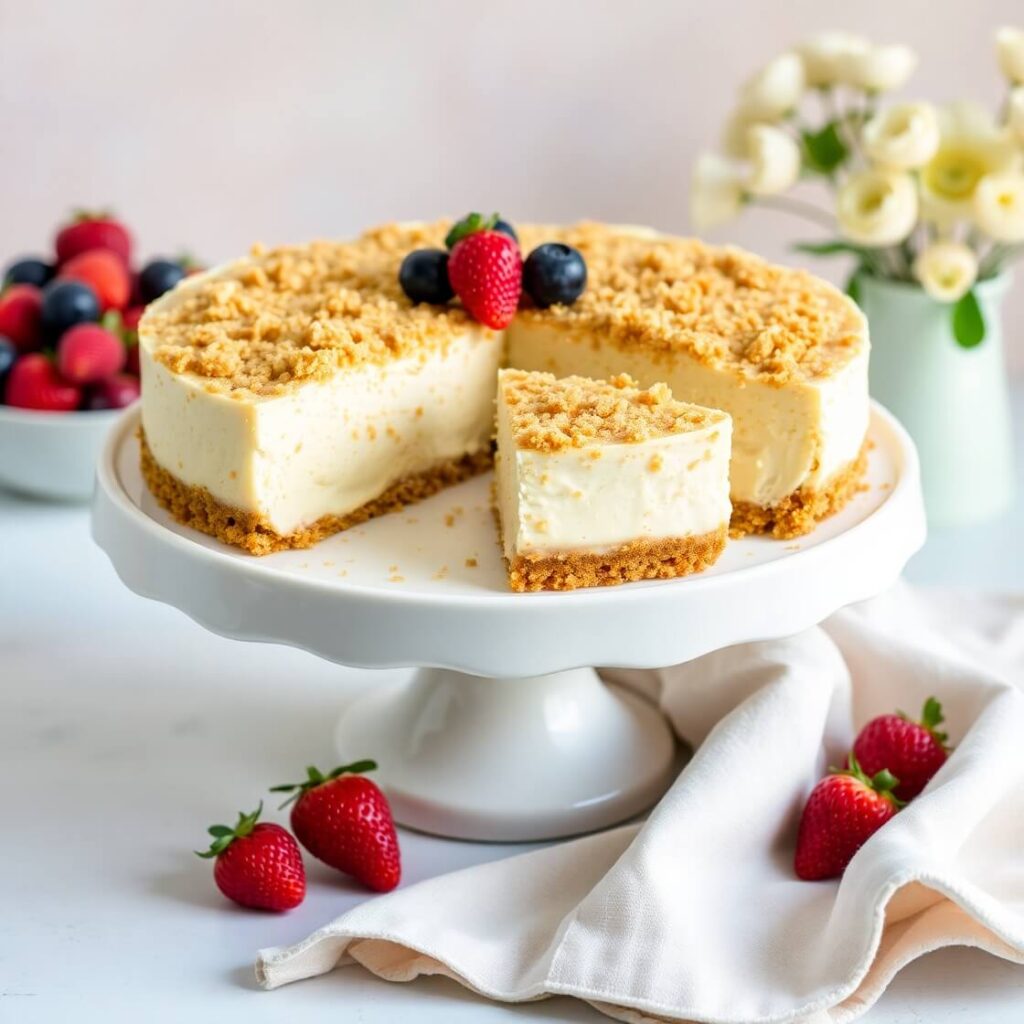
Serving and Presentation Tips
There’s something extra special about a dessert that looks as good as it tastes. When I serve this Woolworth cheesecake, I love leaning into its retro charm while giving it a fresh, elegant twist.
Here’s my go-to serving style: I slice the cheesecake into neat squares and place them on a white ceramic platter or vintage glass tray. A small dollop of whipped cream on top with a fresh berry or a tiny lemon twist adds a pop of color and flavor. If I’m serving at a gathering, I’ll chill the dessert plates beforehand—it keeps the cheesecake firm and gives it a crisp, restaurant-quality feel.
For individual portions, clear parfait cups layered with crumbs and filling also make a lovely no-fuss presentation, especially at brunches or showers.
Tips and Tricks to Make This Recipe Even Better
This cheesecake is naturally delicious, but a few small adjustments can take it from great to unforgettable.
- Chill your evaporated milk overnight – This makes a huge difference in how well it whips. It should be icy cold, or it won’t fluff up properly.
- Use a metal mixing bowl – For the evaporated milk, a chilled metal bowl helps maintain the cold temperature while you whip.
- Don’t rush the cooling step – Let the Jell-O cool to room temperature before adding it to the cream cheese. If it’s too hot, it will melt the cream cheese. Too cold, and it may start to gel before mixing.
- Let it set overnight if possible – Yes, four hours is fine, but overnight chilling makes for cleaner slices and better flavor.
- Use a hot knife for slicing – Run a sharp knife under hot water, dry it, and slice. Wipe clean and repeat for perfect presentation.
Common Mistakes to Avoid
Even though this recipe is beginner-friendly, a few small missteps can affect the final outcome. Here’s what to watch out for:
- Skipping the chilling time for evaporated milk: If it’s not cold enough, it won’t whip properly, and you’ll lose the airy texture.
- Pouring hot Jell-O into the cream cheese: This can melt the mixture and cause it to separate. Always let it cool first.
- Over-mixing the filling: After you combine the whipped milk and cream cheese mixture, fold gently. Stirring too much deflates the fluff.
- Not pressing the crust firmly enough: A loose crust will fall apart when you cut into it. Press it in well, especially into the corners.
- Cutting it before it’s set: You’ll end up with a gooey mess. Let it chill for the full time—even better, overnight.
How to Store It
Storing this cheesecake is just as easy as making it. If you have leftovers (though that’s rare in my house), here’s how to keep it fresh:
- Refrigerator: Cover the dish tightly with plastic wrap or transfer slices into airtight containers. It will stay fresh for up to 5 days.
- Freezer: Yes, you can freeze this cheesecake! Slice it first, wrap individual squares in plastic wrap and foil, and store in a freezer-safe container. When ready to eat, thaw overnight in the fridge. It may lose a bit of its fluffiness but still tastes delicious.
Avoid leaving it out at room temperature for more than 1–2 hours, especially on warm days, as the airy filling softens quickly.
FAQ
Can I use fresh lemon juice instead of lemon Jell-O?
Not for this recipe. The lemon Jell-O isn’t just for flavor—it’s what helps set the cheesecake and gives it structure. Using juice alone won’t work the same way.
Can I make this recipe ahead of time?
Absolutely. In fact, it’s better when made the night before. It gives the flavors time to meld and helps the filling firm up for perfect slicing.
What if I don’t have a 9×13 dish?
You can use two 8×8 pans, or one 9×9 pan for a thicker slice. Just adjust the crust and filling proportions accordingly.
Can I double the recipe for a crowd?
Yes, but you’ll need a larger pan or two standard pans. Don’t overfill—keeping the filling around 1½ inches thick helps it set properly.
Is this gluten-free?
Not as written, but you can use gluten-free graham crackers for the crust, and it’ll work beautifully.

Woolworth Cheesecake Recipe
- Total Time: 4 hours 30 minutes
- Yield: 12–16 1x
- Diet: Vegetarian
Description
A light and fluffy no-bake cheesecake with a nostalgic twist! This Woolworth Cheesecake brings retro charm and zesty lemon flavor to your dessert table. Made with whipped evaporated milk, lemon Jell-O, and cream cheese, it’s a refreshing, creamy treat that’s perfect for potlucks, holidays, and everyday indulgence. The graham cracker crust adds a buttery crunch that perfectly complements the airy filling. Best of all? No oven required. Just whip, chill, and enjoy!
Ingredients
- 1½ sleeves graham crackers, crushed
- ½ cup (1 stick) unsalted butter, melted
- 1 (12 oz) can evaporated milk, chilled overnight
- 1 (3 oz) package lemon Jell-O
- ¾ cup boiling water
- 8 oz cream cheese, softened
- 1 cup granulated sugar
- ½ tsp vanilla extract (optional)
Instructions
- Crush graham crackers and combine with melted butter. Reserve ¼ cup for topping, press remaining into a 9×13 dish. Chill.
- Dissolve Jell-O in boiling water. Let cool to room temperature.
- Whip chilled evaporated milk until fluffy, about 5–7 minutes.
- In another bowl, beat cream cheese and sugar until smooth. Add cooled Jell-O and vanilla (if using).
- Gently fold whipped evaporated milk into the cream cheese mixture.
- Pour over crust, smooth the top, and sprinkle with reserved crumbs.
- Refrigerate at least 4 hours or overnight until set.
Notes
- Chill the evaporated milk overnight for best results.
- Use a hot knife for clean slices.
- Let the Jell-O cool completely before mixing with cream cheese.
- Prep Time: 30 minutes
- Cook Time: 4+ hours
- Category: Dessert
- Method: No-bake
- Cuisine: American
Nutrition
- Serving Size: 12–16
- Calories: 210
- Sugar: 16g
- Sodium: 120mg
- Fat: 12g
- Saturated Fat: 7g
- Unsaturated Fat: 4g
- Trans Fat: 0g
- Carbohydrates: 22g
- Fiber: 0g
- Protein: 3g
- Cholesterol: 25mg