Sourdough Bread Recipe

I still remember the first time I tried making sourdough bread. It was one of those rainy Saturday mornings when the world felt slow and cozy. I had just returned from the farmers’ market, carrying a bag of plump, local tomatoes and a small jar of wildflower honey. On a whim, I decided to finally tackle the sourdough starter that had been quietly bubbling away in my fridge for weeks.
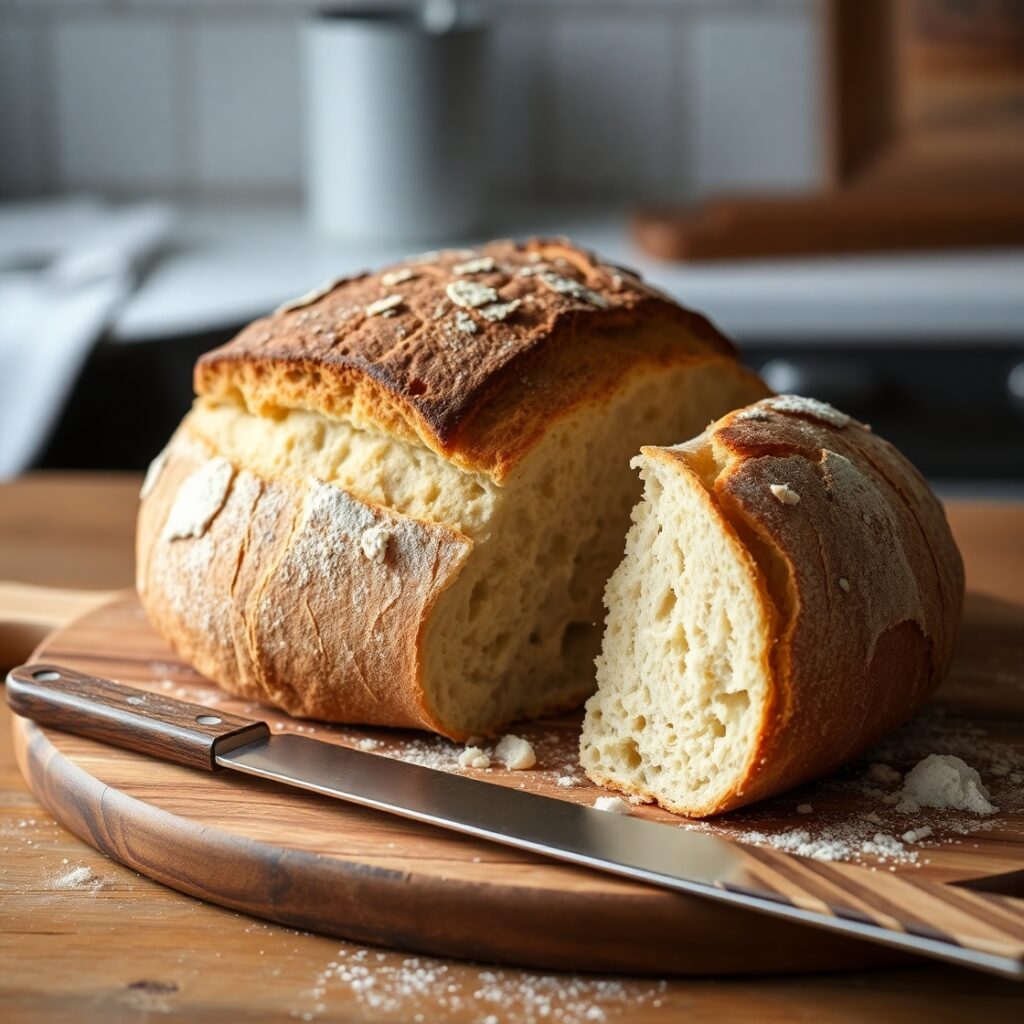
There’s something almost magical about sourdough. It’s not just bread—it’s patience, intuition, and a little bit of chemistry dancing in your kitchen. I remember kneading the dough for the first time, feeling its elasticity stretch and pull between my fingers, and thinking, “This might just work.” By the time it was in the oven, the aroma had already filled every corner of the house, teasing my family into the kitchen before the timer even went off. When the crust finally crackled as I sliced into it, my kids’ eyes lit up. That moment alone made every early morning feeding of the starter worthwhile.
Quick Snapshot of Time in the Kitchen
Sourdough is one of those recipes that takes time, but the active effort is minimal. Here’s a quick look at what to expect:
- Prep Time: 20–30 minutes
- First Rise (Bulk Fermentation): 4–6 hours
- Second Rise (Proofing): 2–3 hours
- Bake Time: 40–45 minutes
- Total Time: 7–9 hours (including hands-off fermentation)
It sounds long, but most of this time is hands-off, letting the natural yeast do its magic. You can prep early in the morning and have bread ready by dinner, or start the night before for a fresh morning loaf.
Ingredients Worth Talking About
Sourdough is deceptively simple: flour, water, salt, and starter. But each choice matters.
- Flour: I usually combine strong bread flour with a touch of whole wheat. The bread flour gives that chewy structure, while the whole wheat adds depth and a subtle nutty flavor. Organic is ideal, but even standard high-protein flour works beautifully.
- Water: Room temperature is fine, but filtered water gives the cleanest flavor. Tap water can sometimes slow the fermentation if it’s heavily chlorinated.
- Salt: Don’t skimp. A good sprinkle enhances the flavor without overwhelming the natural tang of the sourdough.
- Starter: Your star ingredient. My starter is fed every morning, and I often joke that it has a personality. If yours is lively and bubbly, you’re ready to bake. If it’s sluggish, give it a few more feeds or an extra hour to wake up before mixing the dough.
One tip I’ve learned over the years is to weigh your ingredients rather than measuring by volume. Sourdough is a living thing, and accuracy can be the difference between a dense loaf and a perfect airy crumb.
The Secret Behind Its Flavor
What makes sourdough stand out isn’t just the tangy taste—it’s the slow fermentation. During this time, natural acids develop, creating a depth of flavor that no commercial yeast can replicate. The long rise also improves digestibility, making the bread lighter and easier on the stomach.
Another subtle magic happens when you score the dough before baking. Those artistic slashes aren’t just decorative—they guide how the loaf expands in the oven, giving you that classic rustic look. I usually start with a simple cross, but sometimes I try patterns inspired by leaves or waves. My kids love watching me carve the designs, and it turns baking into a mini art project.
Step-by-Step: Bringing the Dough to Life
- Mix the Dough: In a large bowl, combine 500g bread flour, 350g water, 100g active starter, and 10g salt. Mix until all flour is hydrated. The dough will be sticky—that’s perfect.
- Autolyse: Let the dough rest for 30 minutes. This helps gluten develop naturally. I often use this time to clean up and enjoy a cup of coffee while the dough rests.
- Stretch and Fold: Every 30 minutes for the first 2 hours, gently lift and fold the dough over itself. It’s therapeutic, and you’ll feel it gradually become smooth and elastic.
- Bulk Fermentation: Cover and let the dough rise at room temperature for 4–6 hours. Look for a slight puffing and air bubbles forming under the surface.
- Shape the Loaf: Turn the dough onto a floured surface. Fold edges into the center, shaping it into a tight boule. Transfer to a floured proofing basket or bowl.
- Final Proof: Cover and let rest 2–3 hours, until puffy but not over-proofed. You’ll see the dough slowly rise like a gentle cloud.
- Preheat and Bake: Preheat your oven to 475°F (245°C) with a Dutch oven inside. Carefully place the dough in the hot pot, score the top, cover, and bake 20 minutes. Remove the lid and bake another 20–25 minutes until golden and crackling.
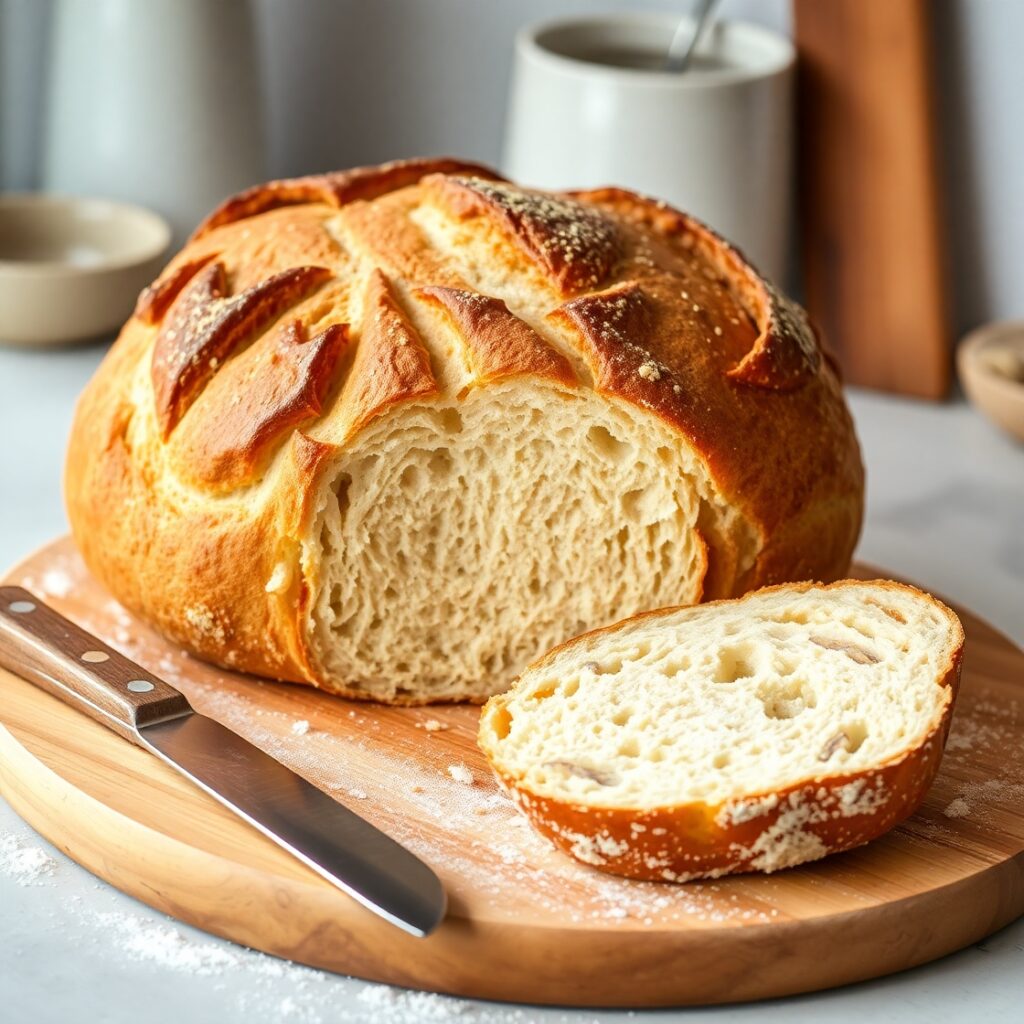
The first time I baked my loaf, the crust blistered in all the right places, and the smell was intoxicating. I couldn’t wait to slice it, knowing the interior would be soft and slightly tangy—a true labor of love.
Serving Ideas That Make Every Slice Special
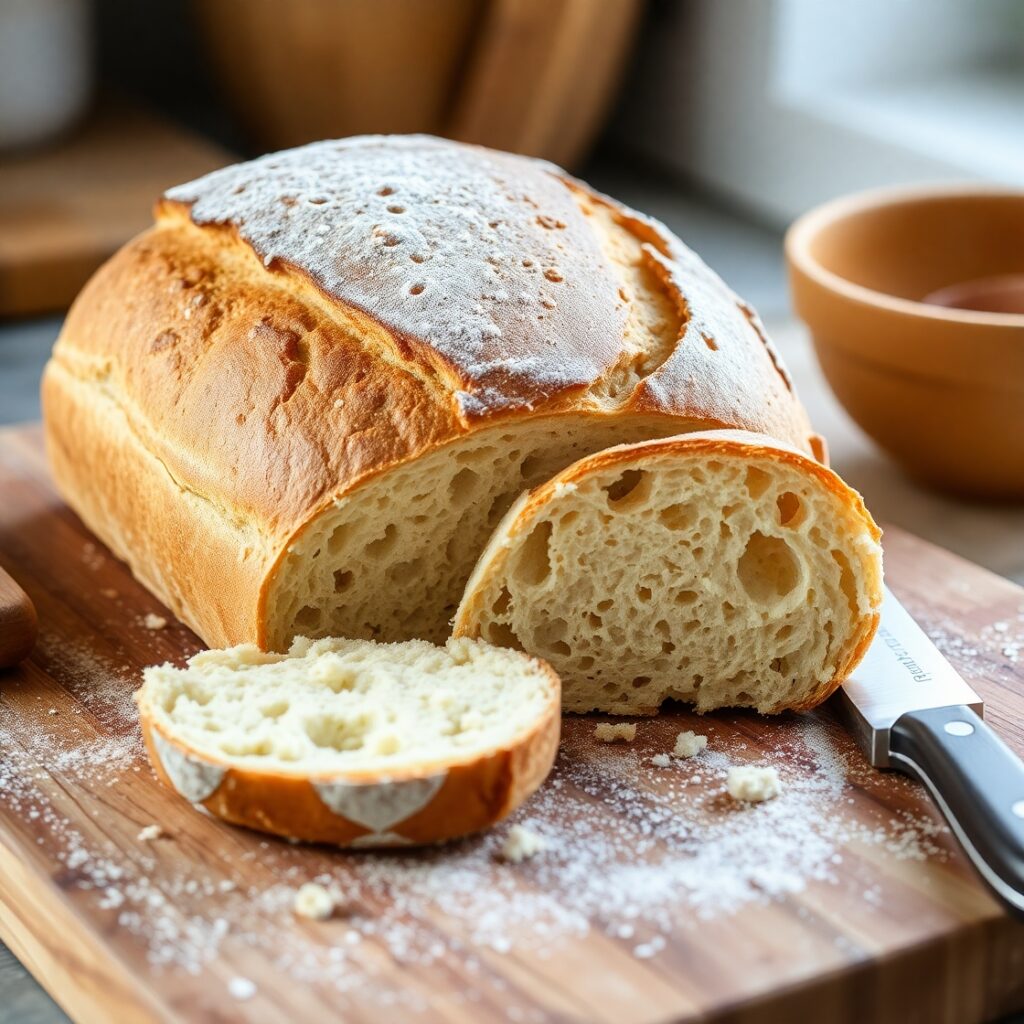
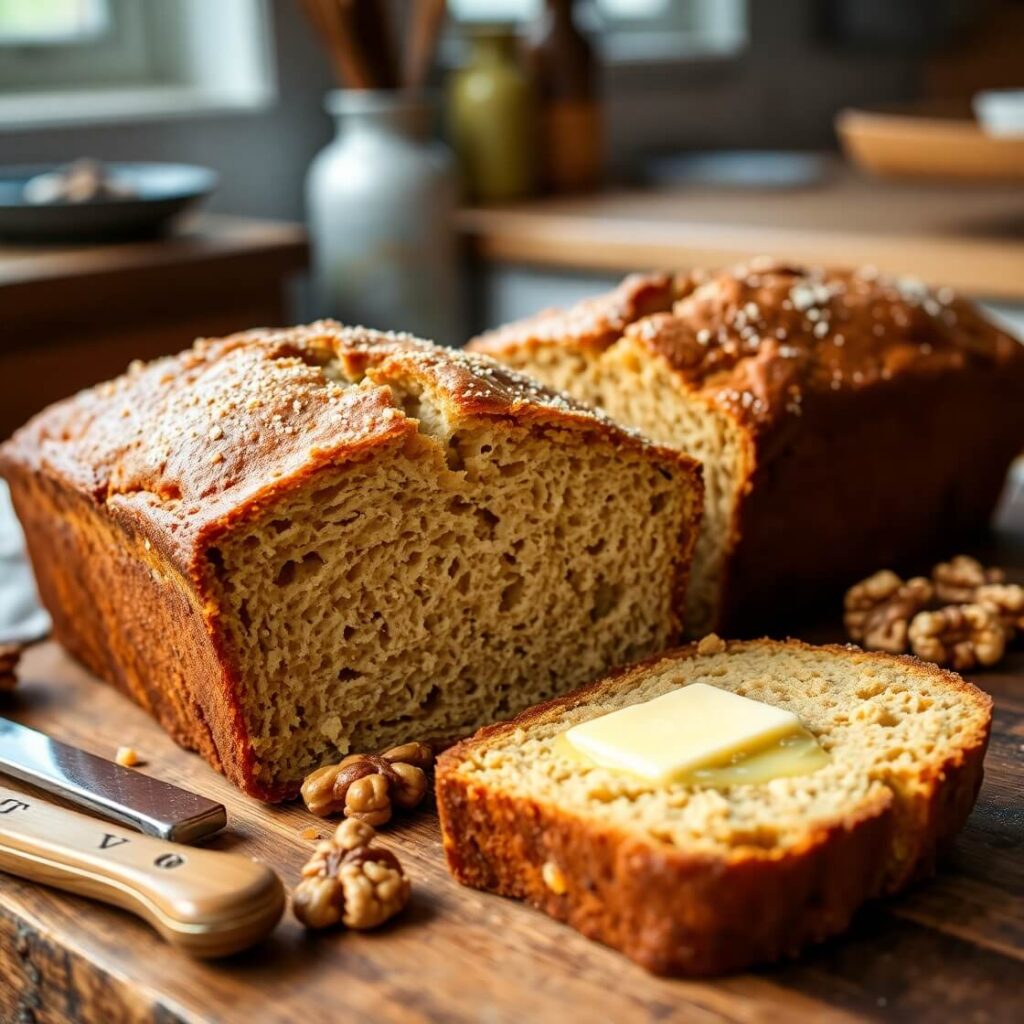
One of the joys of sourdough is its versatility. The moment it comes out of the oven, the aroma alone can turn a quiet morning into a celebration. I often slice a thick piece straight from the loaf and spread a little salted butter—just enough for it to melt into every crevice. My kids love it with jam, while I sometimes layer avocado and a sprinkle of chili flakes for a savory twist.
For gatherings, I like to make a simple charcuterie board: thinly sliced sourdough, a mix of cheeses, roasted nuts, and fresh fruit. It transforms the humble loaf into a centerpiece, and guests always ask if I baked it myself. The rustic crust and tangy crumb make it feel artisanal, even if you’re just serving it with a simple soup or salad at home.
Leftover slices? Toast them lightly and top with everything from olive tapenade to peanut butter. It’s amazing how one loaf can stretch into so many meals.
Pro Notes and Mistakes to Avoid
Over the years, I’ve learned a few sourdough truths the hard way.
- Starter Timing: Make sure your starter is active. If it’s sluggish, your dough won’t rise properly, resulting in a dense loaf. I’ve had mornings when I rushed to bake, only to end up with a sad, flat boule.
- Hydration Matters: Too dry, and your crumb will be tight; too wet, and shaping becomes tricky. Aim for a tacky, slightly sticky dough. It should stretch without tearing.
- Proofing Patience: Over-proofing leads to a flat loaf. Under-proofing gives you dense bread. Watch the dough, not the clock—it will tell you when it’s ready.
- Scoring Technique: Don’t cut too shallow or too deep. A shallow cut won’t expand; a deep one may collapse. A gentle slash about half an inch deep works well.
A little trial and error is part of the fun. Even if your first loaf isn’t perfect, the smell, the flavor, and the satisfaction of baking it yourself are always worth it.
Storage and Make-Ahead Tips
Sourdough is surprisingly resilient.
- Room Temperature: Keep it in a paper bag or loosely wrapped in a kitchen towel. It will last 2–3 days and maintain a crisp crust if you reheat briefly.
- Freezing: Slice and freeze portions for up to 3 months. Toast directly from frozen for a fresh-baked experience.
- Reviving: If your bread becomes slightly stale, sprinkle a little water on the crust and warm it in the oven for 5–10 minutes. The steam softens the crumb while crisping the crust.
I often bake a loaf midweek, slice half for immediate use, and freeze the rest. This way, we always have homemade sourdough on hand without worrying about it going stale.
Frequently Asked Questions
Can I use whole wheat flour only?
Absolutely, though the bread will be denser. Mixing in some bread flour helps maintain the airy texture.
Do I have to use a Dutch oven?
No, but a covered, oven-safe pot helps trap steam, creating a better crust. You can also use a baking stone with a pan of water in the oven.
How long can I keep the starter?
Fed regularly, your starter can last indefinitely. Some bakers have starters over a decade old! Keep it in the fridge if not baking daily.
Can I make this vegan?
Sourdough is naturally vegan—just watch your toppings if serving with butter or cheese.

Sourdough Bread Recipe
- Total Time: 24 hours (including fermentation)
- Yield: 1 1x
- Diet: Vegetarian
Description
A crusty, tangy loaf of classic sourdough bread that’s fermented naturally and baked to perfection. This recipe walks you through each step—from mixing the dough and folding to shaping, proofing, and baking. It’s the perfect loaf to serve with soups, toast with butter, or enjoy simply with olive oil. Once you get the hang of it, this homemade sourdough will easily become part of your weekly rhythm. Great for beginners who want to learn the technique, this recipe includes helpful tips and clear steps to make the process smooth and rewarding.
Ingredients
- 100g active sourdough starter
- 500g bread flour
- 375g water (plus 25g more for salt)
- 10g sea salt
Instructions
- Feed your starter and wait until it’s bubbly and active.
- Mix 500g flour with 375g water and 100g starter. Let rest for 30–45 minutes.
- Add 10g salt dissolved in 25g water and mix well.
- Perform 3–4 sets of stretch and folds every 30 minutes over 2 hours.
- Let the dough rise until it increases by 50–75% in volume.
- Pre-shape, rest for 20–30 minutes, then shape the dough tightly.
- Place in a floured proofing basket, cover, and cold-proof overnight.
- Preheat oven and Dutch oven to 475°F.
- Score the loaf, bake covered for 20 minutes, then uncovered for 25–30 minutes.
- Cool completely on a wire rack before slicing.
Notes
- Always weigh ingredients for accuracy.
- Don’t skip the autolyse step—it improves texture.
- Cold fermentation enhances flavor and structure.
- Prep Time: 1 hour (active)
- Cook Time: 45 minutes
- Category: Bread
- Method: Baking
- Cuisine: American-European Rustic
Nutrition
- Serving Size: 1
- Calories: 180
- Sugar: 0g
- Sodium: 250mg
- Fat: 0.5g
- Saturated Fat: 0g
- Unsaturated Fat: 0.5g
- Trans Fat: 0g
- Carbohydrates: 38g
- Fiber: 2g
- Protein: 6g
- Cholesterol: 0mg