Raspberry Jam Recipe
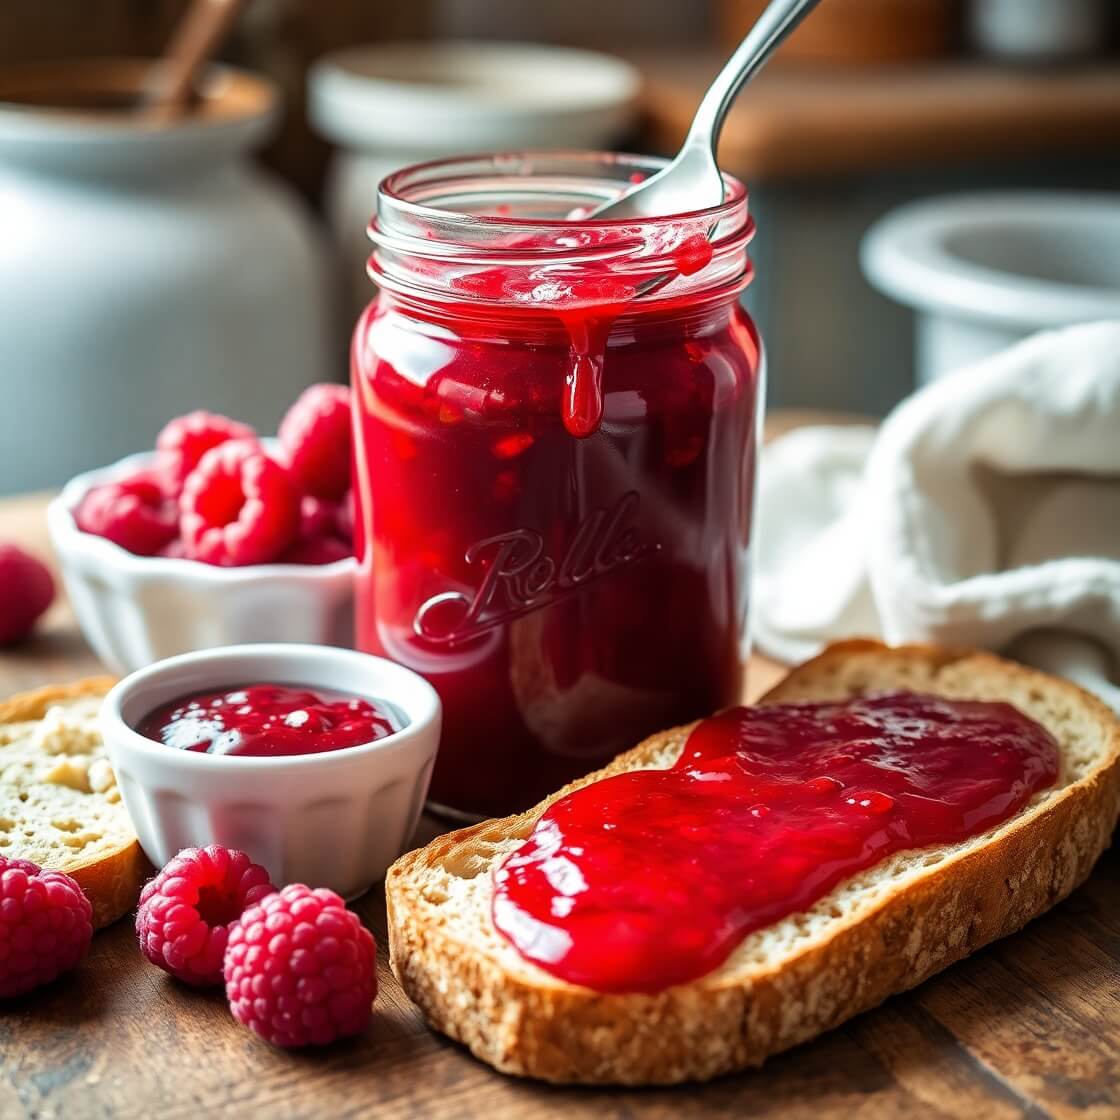
There’s something magical about opening a jar of homemade jam—the glossy, jewel-like spread that tastes like pure summer sunshine captured in a spoonful. I first made this raspberry jam when I had more fresh raspberries than I could eat in one sitting. They were plump, sweet, and slightly tart, and I wanted a way to preserve that incredible flavor so I could enjoy it long after raspberry season ended.
Jam-making has always been one of those old-fashioned kitchen traditions that feels both nostalgic and rewarding. It connects me to simpler times, when families would gather in the kitchen to make preserves for the colder months. And truly, there’s no comparison between store-bought jam and the taste of homemade—rich, vibrant, and bursting with fruit.
If you’ve ever wanted to try your hand at making jam but felt intimidated, this recipe is the perfect place to start. It’s straightforward, requires just a few ingredients, and will leave you with jars of ruby-red goodness to enjoy on toast, scones, or even swirled into yogurt.
Why I Love This Recipe
The beauty of this raspberry jam lies in its simplicity. With only a handful of ingredients—fresh raspberries, sugar, and a squeeze of lemon—you can create something that feels downright luxurious.
I love this recipe because it’s adaptable. You can make a small batch if you have just a couple of baskets of raspberries, or you can scale it up when you’re lucky enough to come home from the farmer’s market with a big haul. Unlike some complicated jams that require specialty equipment, this one is approachable for any home cook.
Another reason I keep coming back to this recipe is the balance of flavor. The raspberries shine through with their natural tartness, while the sugar softens the bite, and the lemon juice brightens everything up. It’s not overly sweet, so you still taste the fruit, not just the sugar. That balance is what makes homemade jam such a treat—it’s more about fruit than filler.
And let’s not forget the satisfaction factor. There’s something deeply rewarding about spreading jam you’ve made yourself on warm bread or gifting a jar to a friend. It’s one of those kitchen projects that pays off in more ways than one.
Ingredients for Raspberry Jam Recipe
When it comes to jam-making, fewer ingredients usually mean better flavor, and this recipe is the perfect example. To make this raspberry jam, you’ll need:
- Fresh raspberries: The star of the show. Choose berries that are bright red, plump, and free from mushy spots. If fresh raspberries aren’t in season, you can use frozen ones, just be sure to thaw them first.
- Granulated sugar: Sugar doesn’t just sweeten the jam—it also helps it set and preserves the fruit so it lasts longer. The amount may sound like a lot, but it’s essential for both taste and texture.
- Lemon juice: Freshly squeezed lemon juice adds brightness and helps the jam set. It balances the sweetness and enhances the raspberry flavor.
That’s really all you need—three simple ingredients to make the best jam you’ve ever tasted. Some recipes call for added pectin, but raspberries are naturally high in pectin, so you don’t need it here.
How Much Time Will You Need
Making raspberry jam is surprisingly quick. From start to finish, you’ll need about 40–50 minutes.
- Preparing the raspberries: 5 minutes
- Cooking the jam: 20–25 minutes
- Cooling and transferring to jars: 10–15 minutes
In less than an hour, you’ll have jars of homemade jam ready to enjoy. And the best part? Most of that time is hands-on cooking, so you won’t be waiting around for hours.
How to Make This Raspberry Jam Recipe
Making jam may sound complicated, but once you follow the steps, you’ll see just how simple it is.
Step – 1: Prepare the raspberries
Rinse your raspberries gently under cool water, then let them drain in a colander. If you’re using frozen berries, make sure they’re fully thawed before starting.
Step – 2: Combine berries and sugar
Place the raspberries in a large, heavy-bottomed saucepan. Add the sugar and stir to coat the berries evenly. Let the mixture sit for about 5–10 minutes. This allows the sugar to start drawing out the raspberry juices, creating a syrupy base.
Step – 3: Add the lemon juice
Stir in freshly squeezed lemon juice. This not only brightens the flavor but also helps the jam set properly.
Step – 4: Cook the jam
Set the saucepan over medium heat and bring the mixture to a gentle boil, stirring frequently to prevent sticking. As the jam cooks, the raspberries will break down, and the mixture will thicken. Use a spoon to skim off any foam that rises to the top.
Step – 5: Test the jam for doneness
After about 20 minutes, start testing the jam. Place a small spoonful on a chilled plate and run your finger through it—if it wrinkles and holds its shape, it’s ready. If not, cook for another few minutes and test again.
Step – 6: Transfer to jars
Once the jam has reached the right consistency, remove it from the heat. Carefully ladle the hot jam into sterilized jars, leaving about ¼ inch of space at the top. Seal tightly.
Step – 7: Cool and store
Let the jars cool at room temperature before storing them in the refrigerator. For long-term storage, you can process them in a water bath canner.
Substitutions
One of the great things about making jam is that it’s flexible. If you’re missing an ingredient, there are ways to adapt the recipe.
- Sugar alternatives: If you’d like to reduce the sugar, you can substitute part of it with honey or maple syrup. Just note that the texture may be slightly softer.
- Mixed berries: You can use a mix of raspberries, strawberries, blueberries, or blackberries for a more complex flavor.
- Citrus swaps: If you don’t have lemons, you can use lime juice or even orange juice for a different twist.
These substitutions make it easy to tailor the jam to your taste or to what you have on hand.
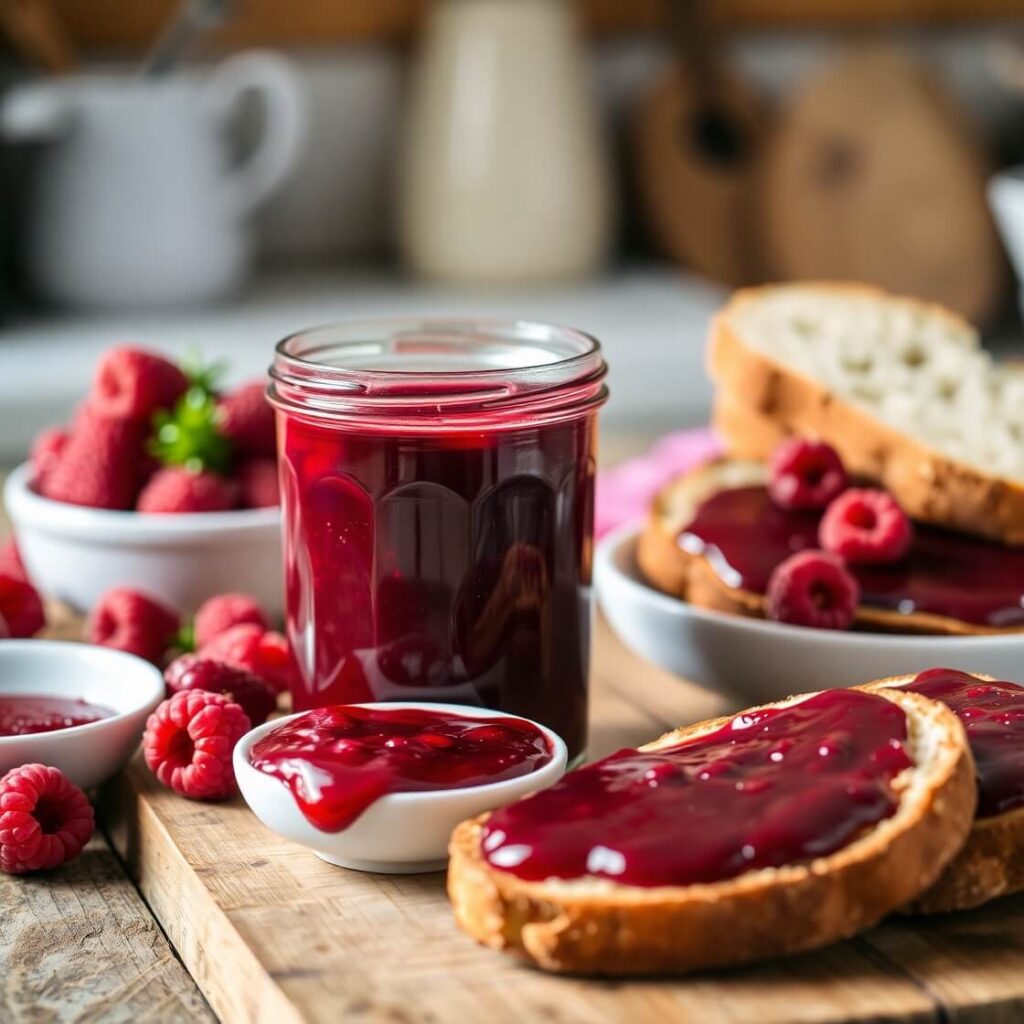
Best Side Dish of Raspberry Jam Recipe
Homemade raspberry jam is delicious all on its own, but pairing it with the right food can elevate it even more. Here are a few of my favorite pairings:
- Freshly baked scones – The buttery, crumbly texture of scones is the perfect match for sweet-tart raspberry jam.
- Classic pancakes – Instead of maple syrup, drizzle warm jam over a stack of pancakes for a fruity twist.
- Cheese board – Raspberry jam pairs beautifully with creamy cheeses like brie or tangy goat cheese, making it a lovely addition to any charcuterie spread.
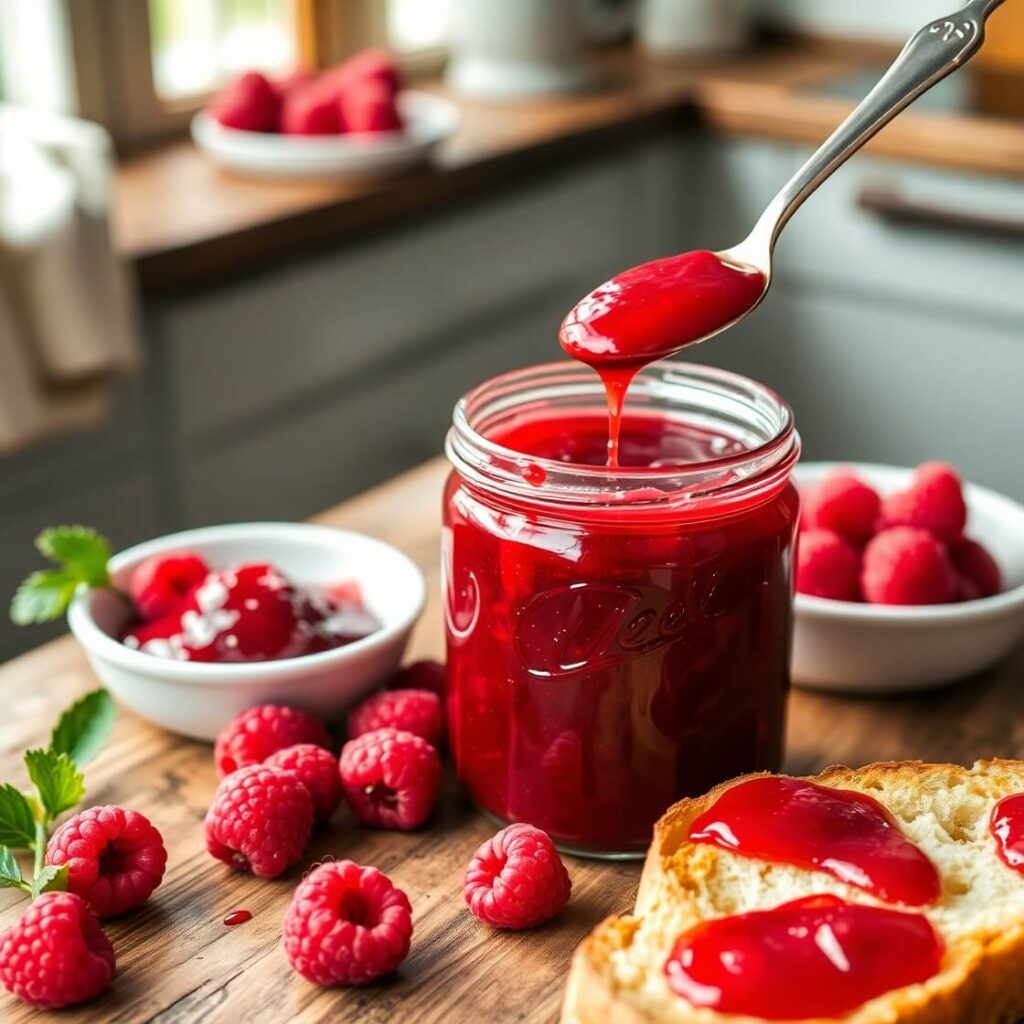
Serving and Presentation Tips
Homemade raspberry jam deserves to be shown off—it’s just too pretty to hide away in the back of the fridge. I always find that the way you serve and present it makes a big difference in how special it feels.
One of my favorite ways is to spoon it into small glass jars and tie a ribbon or piece of twine around the lid. It instantly transforms your jam into a thoughtful gift that looks as lovely as it tastes.
For everyday enjoyment, I like to transfer a portion of jam into a small bowl when serving breakfast or brunch. It feels more inviting than dipping straight from the jar, and it adds a touch of elegance to the table. A little garnish—like a sprig of mint or a few fresh raspberries on the side—can make it look like something out of a café.
And don’t be afraid to get creative. Swirl your jam into yogurt parfaits, drizzle it over cheesecake, or use it as a glaze on roasted meats. Presentation isn’t just about looks—it’s also about finding new ways to enjoy that jewel-toned jam you worked so hard to make.
Tips and Tricks to Make This Recipe Better

If you want your raspberry jam to come out perfectly every time, a few little tricks go a long way.
- Use ripe but firm berries. Overripe or mushy raspberries can make the jam taste dull, while underripe ones won’t have enough sweetness. The best jams come from berries that are just right.
- Sterilize your jars. This step may seem tedious, but it ensures your jam stays safe and fresh. A quick boil or a run through the dishwasher on the hot cycle works beautifully.
- Keep stirring. Jam can stick and burn quickly if left unattended. A steady stir ensures even cooking and prevents a scorched taste.
- Chill a plate in advance. This makes testing for doneness easy—you’ll know right away if your jam has set properly.
- Adjust sugar carefully. Reducing sugar too much can affect both the flavor and shelf life. If you prefer a lower-sugar jam, balance it with another natural sweetener.
These small steps make the difference between a good jam and a truly memorable one.
Common Mistakes to Avoid
Even though raspberry jam is simple to make, there are a few pitfalls that can trip you up.
- Not measuring properly. Eyeballing ingredients might work for some dishes, but jam requires accuracy. Too little sugar, and it won’t set. Too much, and it becomes overly sweet.
- Cooking on too high heat. Rushing the process by turning up the stove often leads to burning or uneven texture. Low and steady is the way to go.
- Skipping the lemon juice. Lemon juice isn’t just for flavor—it helps the jam set. Leaving it out can result in a runny consistency.
- Under- or overcooking. If you don’t cook the jam long enough, it’ll be too thin. Cook it too long, and it can turn gummy. That wrinkle test on a chilled plate is your best friend here.
- Improper sealing. If you’re canning for long-term storage, make sure your jars are sealed correctly. A loose seal can spoil all your hard work.
Avoiding these mistakes keeps your jam-making process smooth and stress-free.
How to Store It
Storing raspberry jam properly ensures you’ll enjoy it for weeks or even months.
If you’re making a small batch for immediate use, simply keep it in an airtight jar in the refrigerator. It will stay fresh for about 2–3 weeks.
For longer storage, you’ll want to use the water bath canning method. Sterilize your jars, fill them with hot jam, and process them in boiling water for about 10 minutes. This seals the jars, allowing you to keep your jam in a cool, dark pantry for up to a year.
Once opened, always refrigerate the jar and use it within a few weeks. Remember to use a clean spoon each time you dip in—this prevents introducing bacteria that could shorten the shelf life.
FAQ
Can I use frozen raspberries instead of fresh?
Yes, absolutely. Frozen raspberries work just as well—just thaw them completely before cooking.
Do I need to add pectin to this recipe?
No, raspberries naturally contain enough pectin to set without any extra.
How do I make seedless raspberry jam?
After cooking, you can press the mixture through a fine mesh sieve to remove the seeds before jarring.
Can I reduce the sugar in this recipe?
You can, but the jam may not set as firmly, and it won’t last as long. Using honey or maple syrup as a partial substitute can work.
What’s the best way to use raspberry jam beyond toast?
It’s delicious in thumbprint cookies, as a cake filling, swirled into yogurt, or paired with cheese.
Raspberry Jam Recipe
- Total Time: 40 minutes
- Yield: 3 1x
- Diet: Vegetarian
Description
This raspberry jam is a simple yet rewarding recipe that captures the pure taste of summer berries. With just three ingredients—raspberries, sugar, and lemon juice—you can create a jam that’s vibrant, tart-sweet, and far superior to anything store-bought. Perfect on toast, paired with scones, or even served with cheese, this homemade jam will quickly become a staple in your kitchen. It’s easy enough for beginners yet satisfying for experienced cooks who love the tradition of making preserves. Whether you’re making a small batch for your family or stocking up for the pantry, this recipe gives you jars of beautiful, ruby-red jam that will brighten breakfasts and desserts alike.
Ingredients
- 4 cups fresh raspberries (or thawed frozen raspberries)
- 3 cups granulated sugar
- 2 tablespoons fresh lemon juice
Instructions
- Rinse raspberries and let them drain.
- Combine raspberries and sugar in a large saucepan, stirring until coated.
- Let sit for 5–10 minutes to release juices.
- Stir in lemon juice, then bring the mixture to a boil over medium heat.
- Cook, stirring often, until thickened (about 20–25 minutes). Skim foam as needed.
- Test for doneness with the chilled plate method.
- Ladle hot jam into sterilized jars, leaving ¼-inch headspace.
- Seal tightly and cool before storing in the fridge, or process jars in a water bath for longer storage.
Notes
- For seedless jam, strain the cooked mixture through a fine sieve before jarring.
- Use ripe berries for the best balance of sweetness and tartness.
- Adjust sugar cautiously—too little may affect consistency.
- Prep Time: 5 minutes
- Cook Time: 25 minutes
- Category: Condiments
- Method: Stovetop simmering
- Cuisine: American/European-inspired
Nutrition
- Serving Size: 3
- Calories: 55
- Sugar: 12g
- Sodium: 0mg
- Fat: 0g
- Saturated Fat: 0g
- Unsaturated Fat: 0g
- Trans Fat: 0g
- Carbohydrates: 14g
- Fiber: 1g
- Protein: 0g
- Cholesterol: 0mg