Oreo Truffles Recipe
Oreo Truffles are one of those desserts that prove quick and simple can still feel impressive. With just crushed Oreos, cream cheese, and a coating of melted chocolate, these little no-bake bites come together in minutes but taste like something you’d pick up from a fancy bakery.
They’re rich, creamy, and endlessly customizable perfect for holidays, potlucks, or whenever you need a sweet treat without turning on the oven. Add sprinkles, drizzle with white chocolate, or swap in different Oreo flavors to make them your own. However you serve them, they’re always dangerously addictive.
What You’ll Need on Hand
You only need three main ingredients for the classic version, which is why these truffles are so popular. Let’s talk about them in context, so you know exactly what to grab.
Oreos
The star of the show. Regular Oreos give you that classic chocolate-and-cream flavor, but don’t be afraid to experiment with Golden Oreos, Mint Oreos, or even seasonal flavors like Pumpkin Spice if you can find them. Double Stuf works, but they add a little more cream filling, which makes the mixture softer—you may need to chill longer.
Cream Cheese
This is the glue that binds everything together. It gives the truffles their rich, creamy texture and balances the sweetness of the cookies. I prefer full-fat cream cheese for the best structure, but you can use reduced-fat if you’d like. Just avoid whipped cream cheese—it’s too airy for this recipe.
Chocolate for Coating
Here’s where you can get creative. Semi-sweet chocolate is my favorite for dipping because it balances the sweetness of the Oreos, but white chocolate creates a striking contrast. Candy melts are easier to work with since they don’t seize as quickly, but real chocolate gives you that smooth, glossy finish.
Optional extras: sprinkles, crushed Oreos, sea salt flakes, or a drizzle of contrasting chocolate. These aren’t required, but they elevate the presentation if you’re serving them at a party.
How to Make Oreo Truffles
Making Oreo truffles is less about technique and more about patience, especially with chilling time. Here’s the process with all the sensory cues so you know you’re on track.
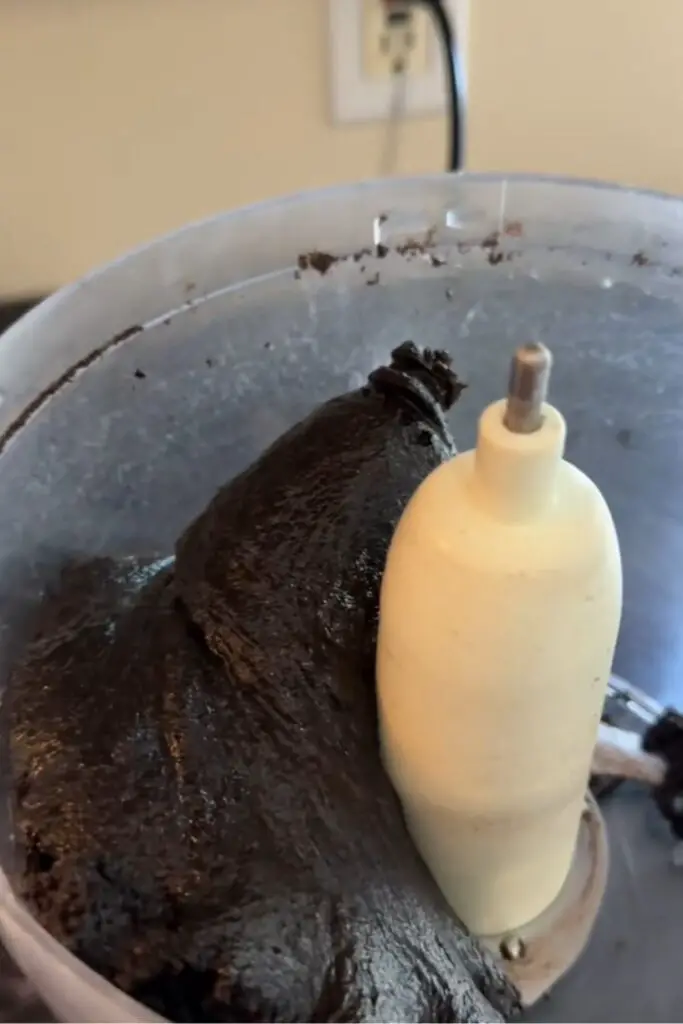
Step 1: Crush the Oreos
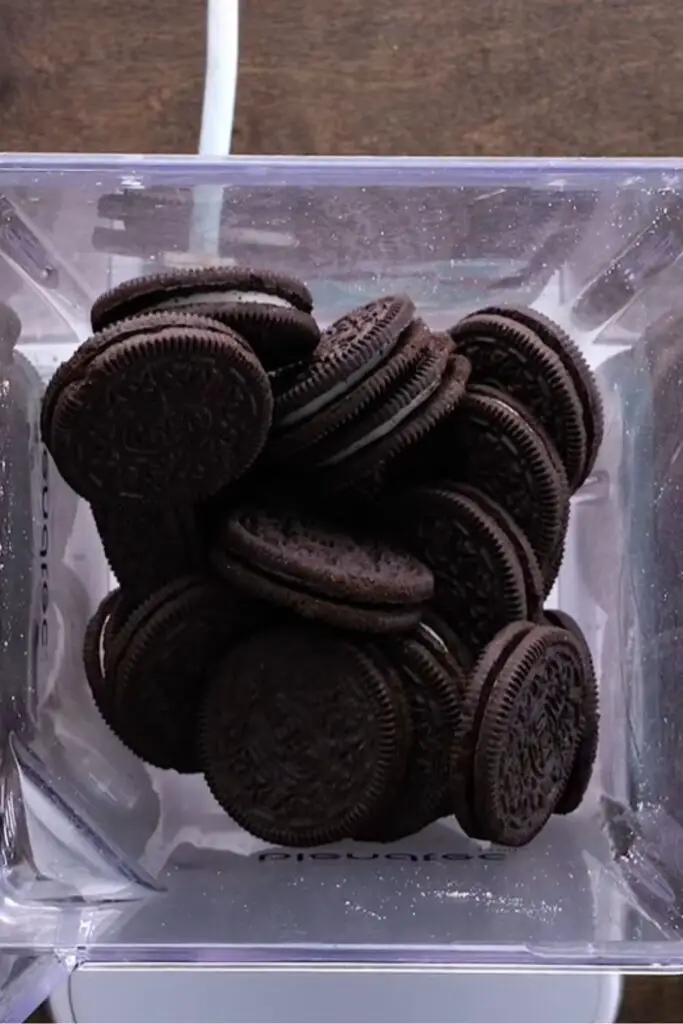
Place your Oreos in a food processor and pulse until they turn into fine crumbs. The texture should resemble potting soil (sounds strange, but trust me). If you don’t have a food processor, put the cookies in a zip-top bag and crush them with a rolling pin. It’s oddly satisfying and works just as well.
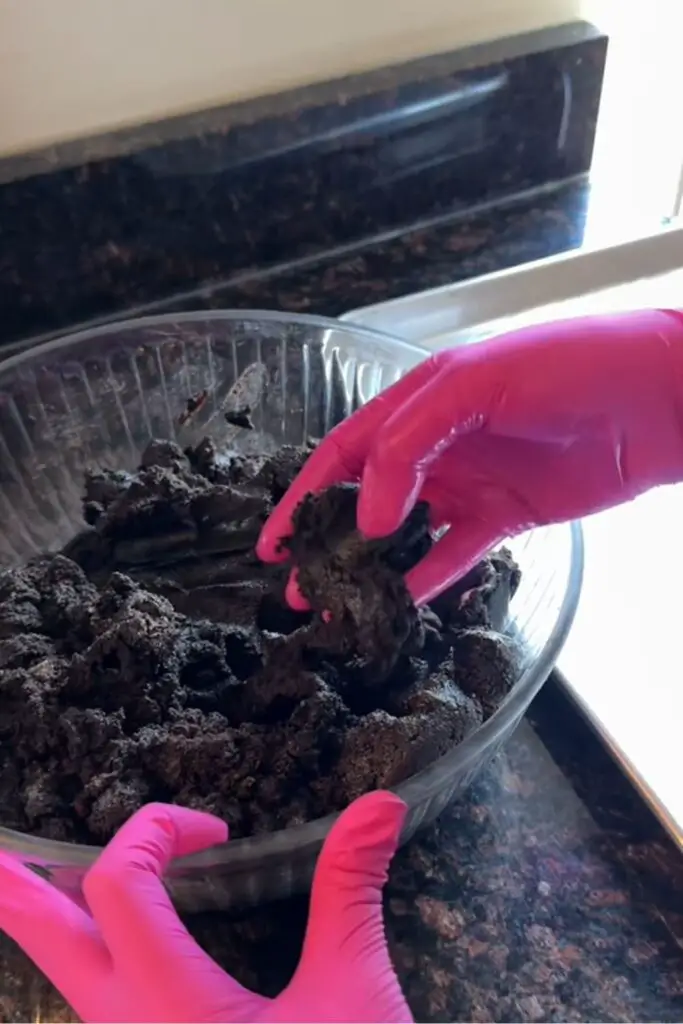
Step 2: Mix with Cream Cheese
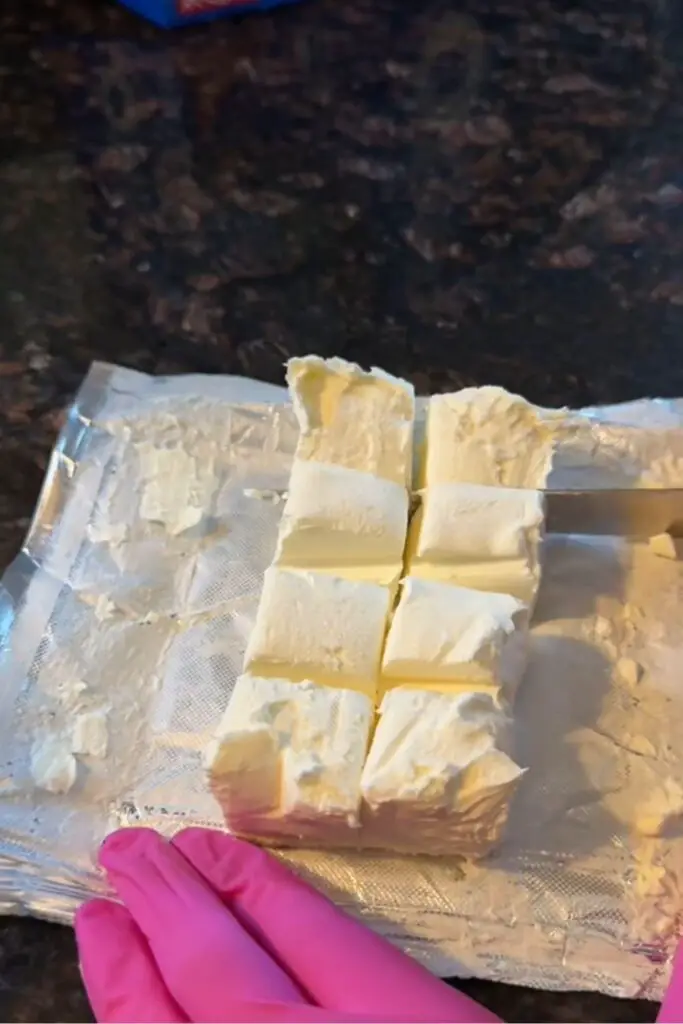
Transfer the crumbs to a bowl and add softened cream cheese. Using a spoon—or better yet, your clean hands—mix until it comes together into a thick dough. It will look slightly sticky, but you should be able to roll it without it falling apart.
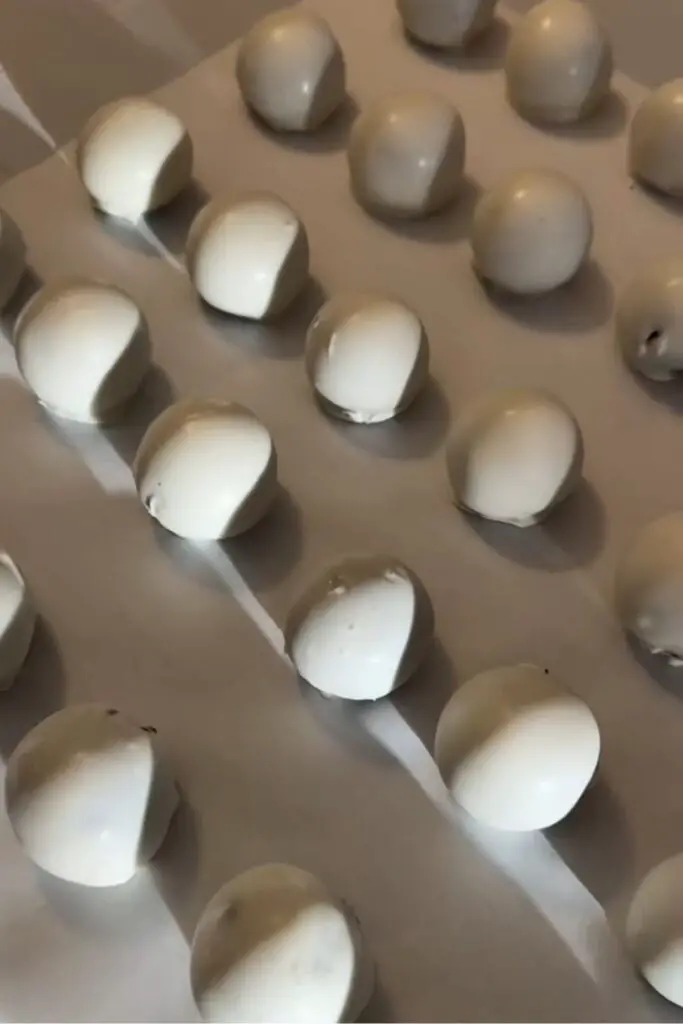
Step 3: Shape the Truffles
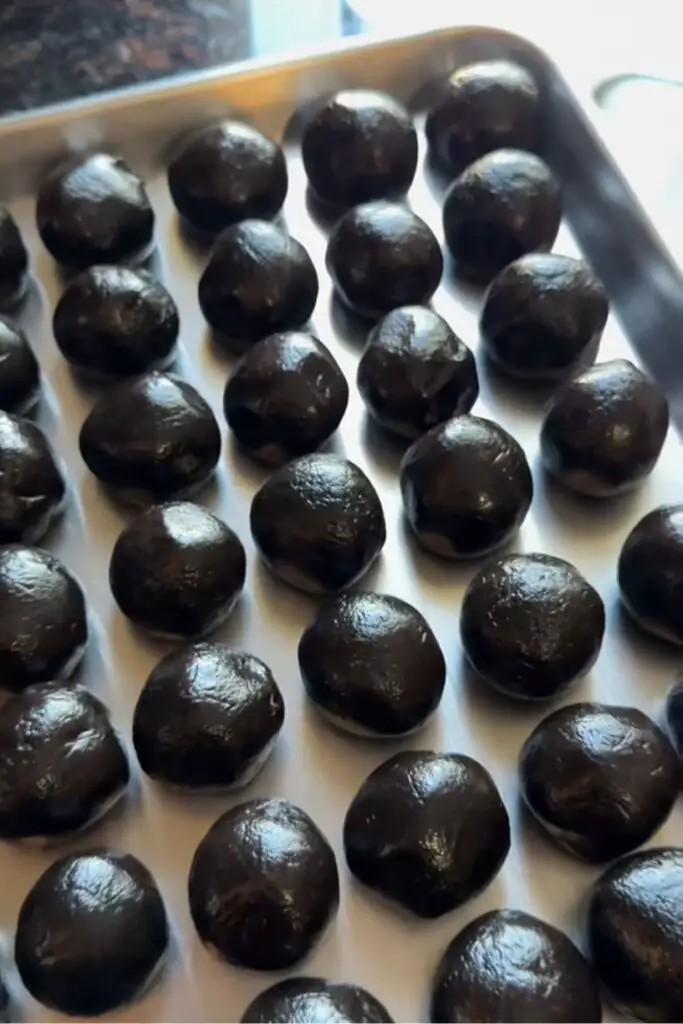
Scoop small portions of the mixture (about 1 tablespoon each) and roll them into balls. Place them on a parchment-lined baking sheet. Don’t worry if they’re not perfectly round—chilling will firm them up, and a chocolate coating hides all imperfections.
Step 4: Chill the Balls
Refrigerate for at least 1 hour, or freeze for 20 minutes if you’re in a rush. This step is key. If you try to dip them too soon, they’ll crumble into the chocolate and create a mess.
Step 5: Melt the Chocolate
In a microwave-safe bowl, melt your chocolate in 20–30 second intervals, stirring between each round. You want it smooth and glossy, not scorched. If the chocolate feels too thick, stir in a teaspoon of coconut oil or shortening to thin it out.
Step 6: Dip the Truffles
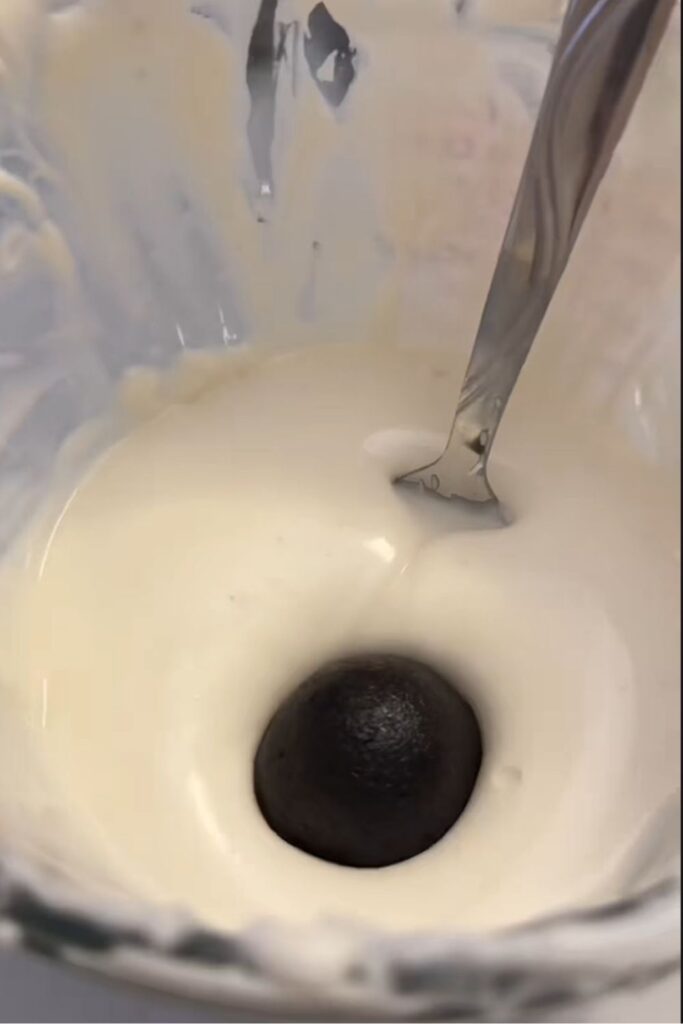
Using a fork, lower each chilled ball into the melted chocolate, tap off the excess, and return it to the parchment paper. If you want a drizzle effect, reserve a bit of chocolate in a piping bag or zip-top bag to drizzle later.
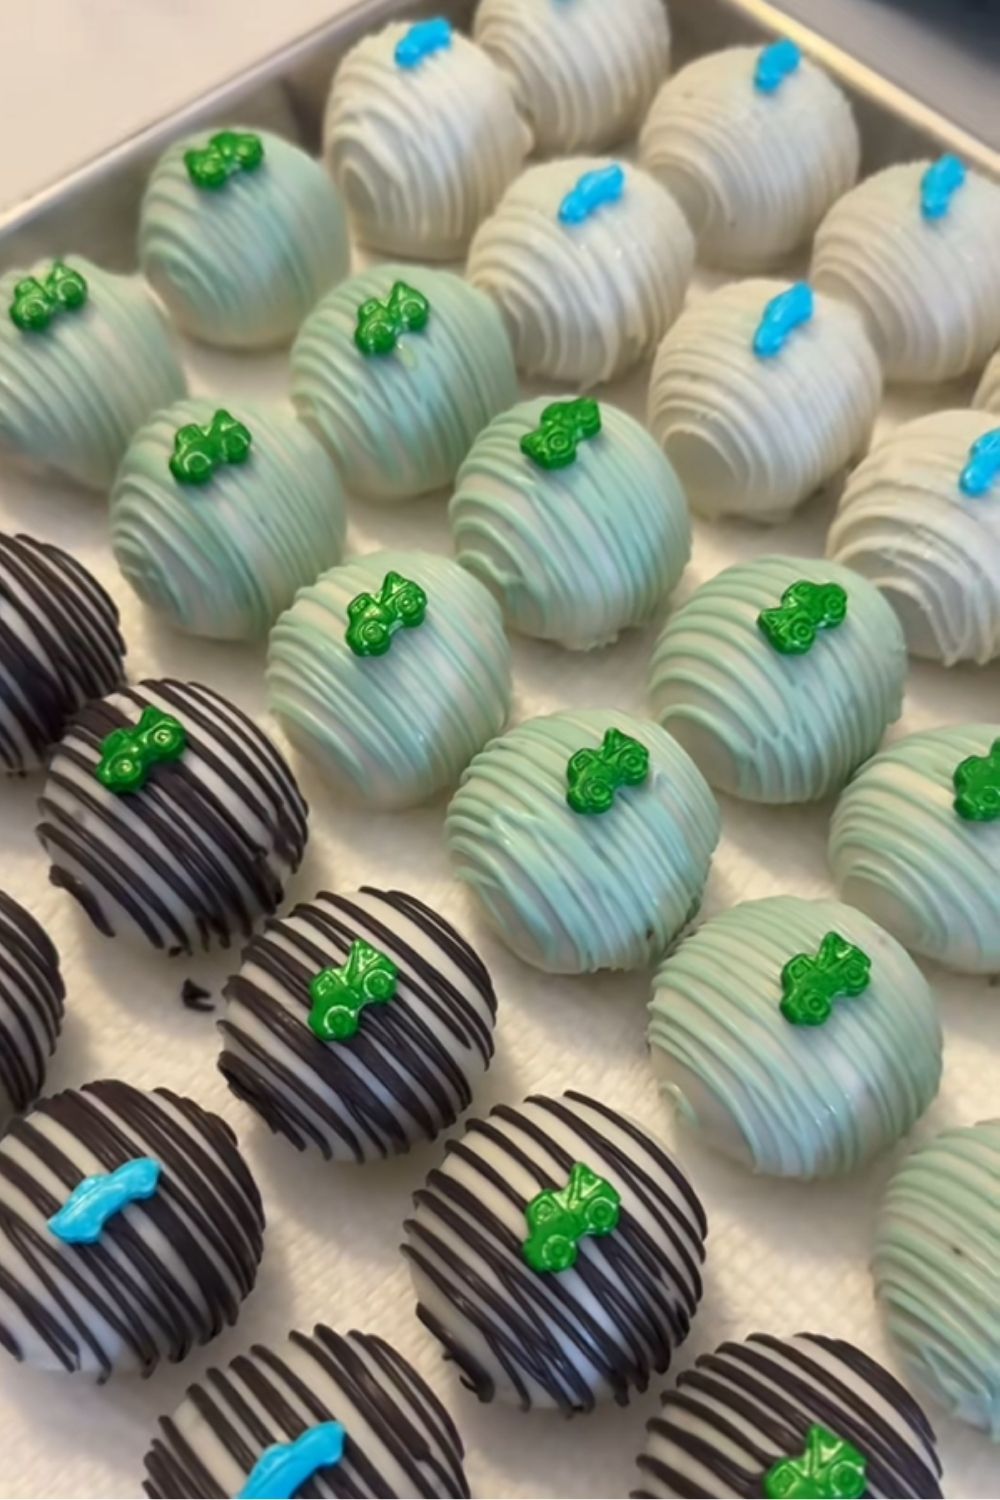
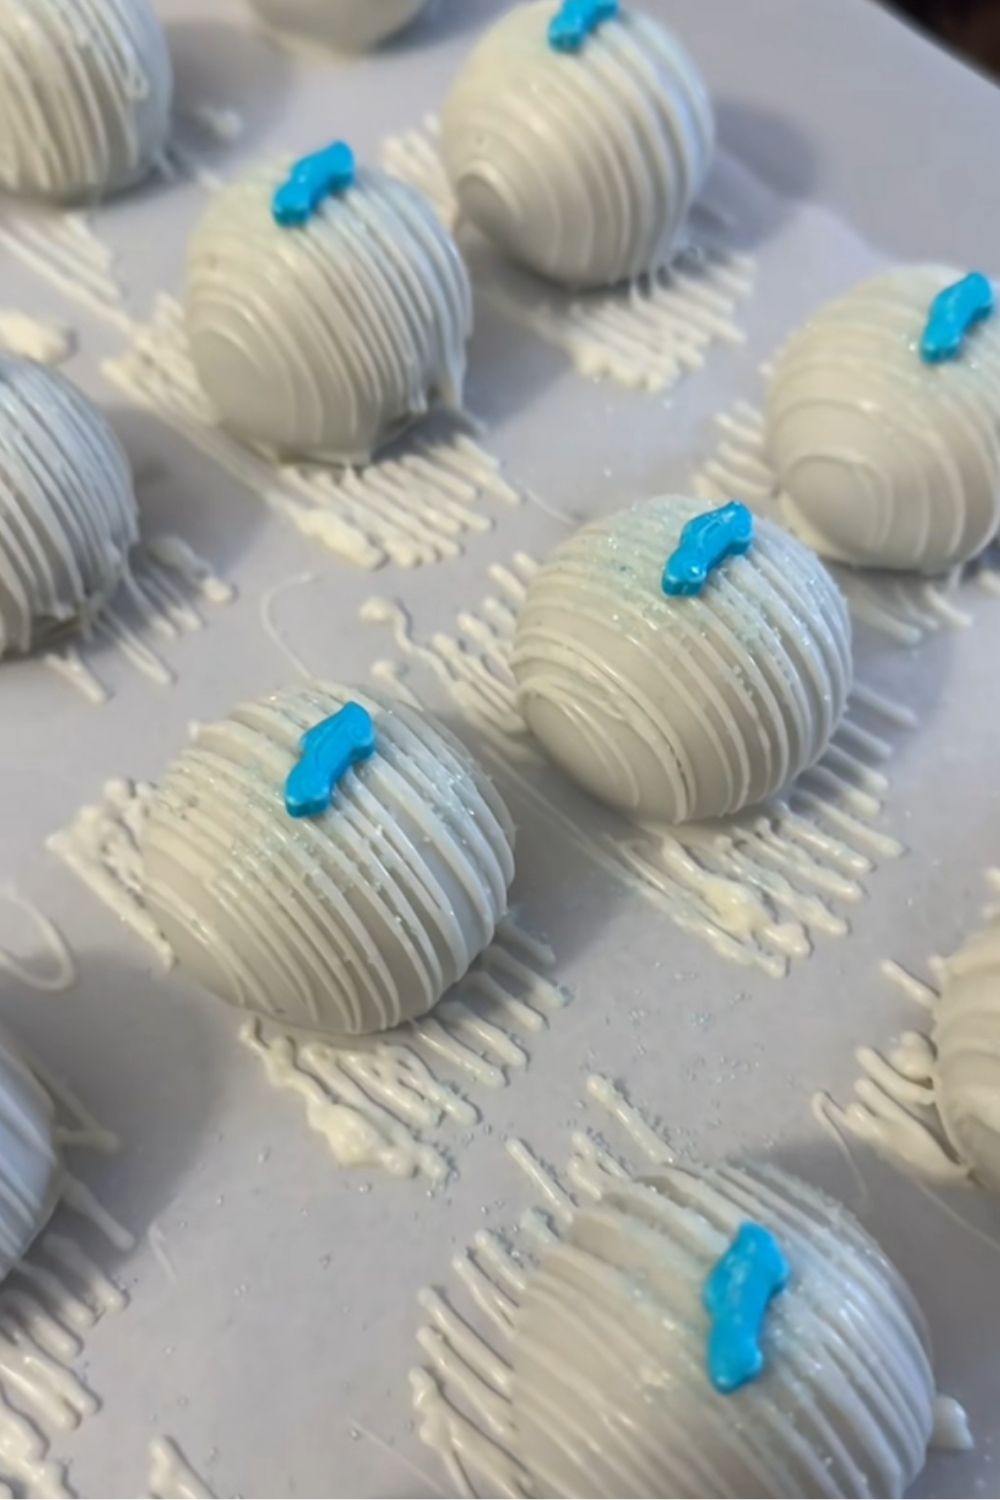
Step 7: Decorate and Set
Before the chocolate sets, sprinkle crushed Oreos, sprinkles, or sea salt on top. Then let the truffles rest until the coating hardens completely.
When you bite into one, you should get that satisfying snap of chocolate, followed by a velvety, melt-in-your-mouth filling. That’s when you know you’ve nailed it.
Storage and Make-Ahead Tips
Oreo truffles are surprisingly forgiving when it comes to storage, which is another reason I adore them.
They’ll keep in an airtight container in the refrigerator for up to 2 weeks. The coating helps seal in freshness, and the cream cheese filling stays soft without going soggy.
For longer storage, freeze them. Lay the truffles flat on a baking sheet and freeze until solid, then transfer them to a freezer bag. They’ll last for about 2 months this way. Just bring them to room temperature before serving, or enjoy them slightly chilled straight from the freezer for a firmer bite.
If you’re hosting a party, you can easily make these 1–2 days in advance. In fact, I think they taste even better after a night in the fridge—the flavors mingle, and the texture gets creamier.
Substitutions and Fun Variations
One of the joys of Oreo truffles is how adaptable they are. Once you’ve mastered the basic method, you can get creative.
Flavor Twists
- Use Golden Oreos for a vanilla version.
- Try Mint Oreos and dip them in dark chocolate for a refreshing twist.
- Red Velvet Oreos with white chocolate coating are stunning for Valentine’s Day.
Diet-Friendly Options
- Gluten-free: Swap in gluten-free sandwich cookies (most stores carry them now).
- Vegan: Use dairy-free cream cheese and vegan chocolate chips. Oreos themselves are accidentally vegan, which is a fun bonus.
- Low sugar: Use sugar-free sandwich cookies and a sugar-free chocolate coating.
Kid-Friendly Decorating
Set up a truffle-decorating station and let kids roll theirs in sprinkles, mini chocolate chips, or crushed candy canes. It’s messy, but it makes the whole process feel festive and fun.
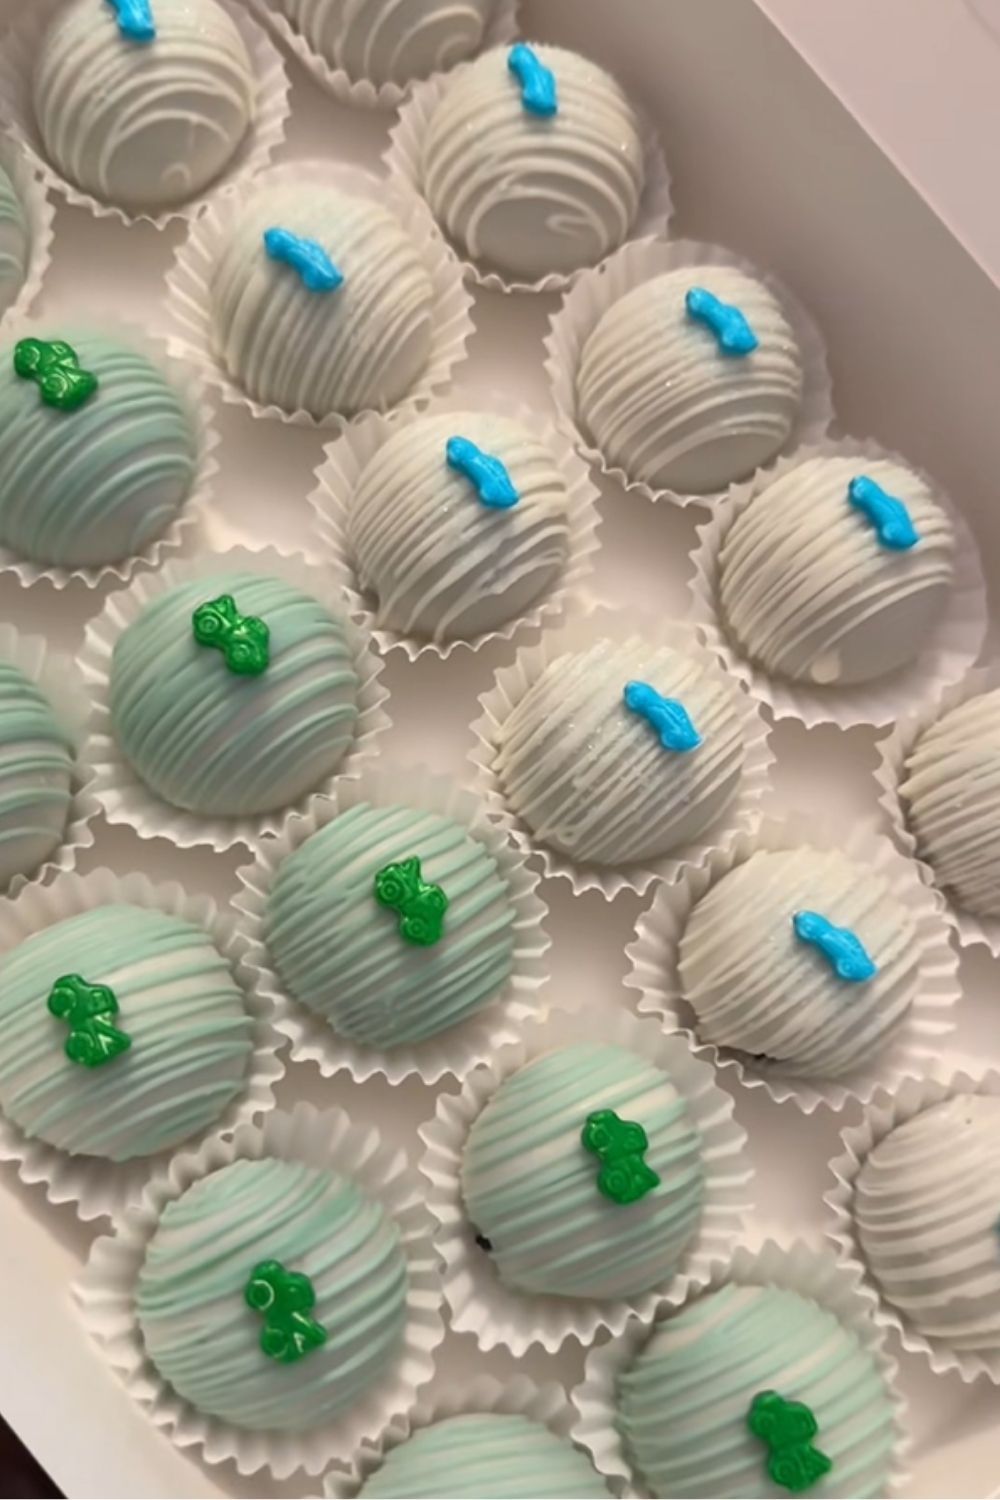
Serving Ideas That Make Them Pop
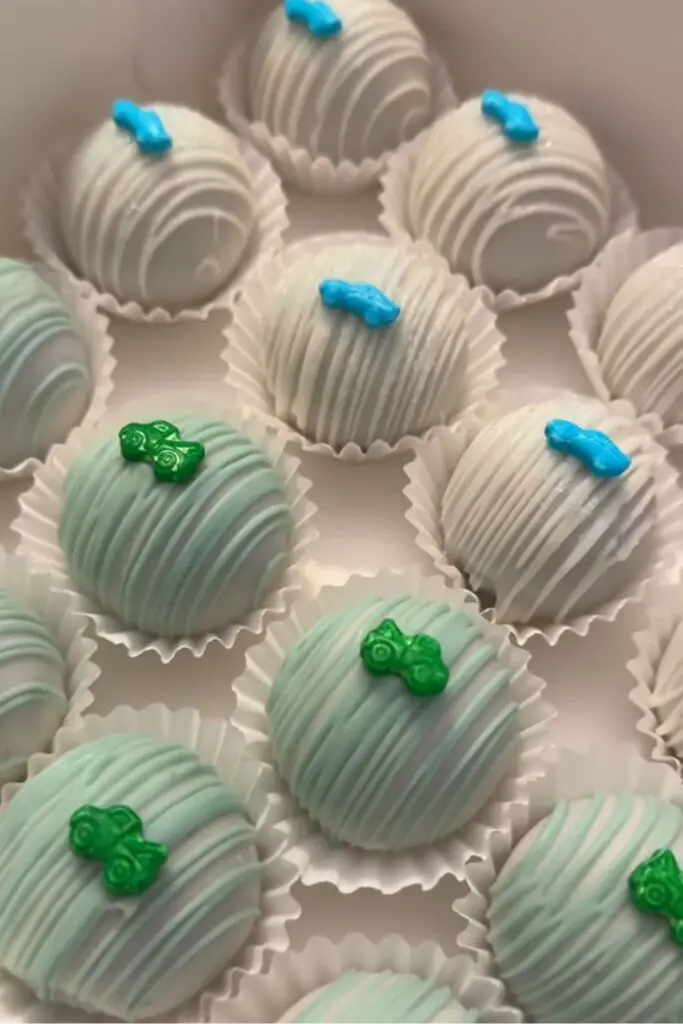
When I bring Oreo truffles to gatherings, I rarely just plop them on a plate. These little bites deserve a bit of presentation love, especially since they’re so easy to dress up.
One of my favorite tricks is to arrange them on a tiered dessert stand alongside strawberries and macarons—the colors and textures look gorgeous together. During the holidays, I place them in mini cupcake liners and sprinkle crushed peppermint on top for a festive touch.
If you’re hosting a summer barbecue, Oreo truffles make a great chilled dessert served straight from the fridge. They hold up well outdoors as long as you keep them shaded and cool. I’ve even skewered them on lollipop sticks for a cake-pop style presentation that kids adore.
Pro Notes & Mistakes to Avoid
I’ve made enough batches of Oreo truffles to learn a few lessons the hard way. Here are my best tips to help you avoid the same pitfalls.
- Don’t skip chilling. I know it’s tempting to rush, but if you try dipping warm or soft truffles, they’ll crumble in the chocolate. Trust the fridge or freezer.
- Avoid overheated chocolate. Burnt chocolate smells bitter and clumpy. Melt it slowly in intervals and stir often. If it seizes, add a splash of coconut oil to rescue it.
- Use a fork, not a spoon, for dipping. A fork lets the extra chocolate drip off, so your truffles don’t end up with puddles around the base.
- Don’t over-mix the cream cheese. Once the crumbs and cream cheese form a dough, stop mixing. Too much handling can make the mixture greasy.
The first time I made these, I rushed the chilling step and ended up with Oreo crumbles floating in my chocolate. The truffles tasted fine, but they looked like a disaster. Now I always remind myself: cold truffles equal smooth dipping.
What Makes This Recipe Shine
There are plenty of easy desserts out there, but Oreo truffles win for three simple reasons:
- Minimal ingredients. Just three basics and you’re set.
- No baking required. Perfect for hot days or when you want dessert without turning on the oven.
- Endless customization. From sprinkles to drizzles, no two batches ever need to look the same.
It’s that balance of simplicity and versatility that makes these truffles a true crowd-pleaser.
FAQs About Oreo Truffles
Do Oreo truffles need to be refrigerated?
Yes. Because of the cream cheese filling, they need to stay chilled. Leave them out for a couple of hours if serving, but store them in the fridge long-term.
Can I use flavored cream cheese?
Stick with plain cream cheese. Flavored versions often have added sugars and seasonings that throw off the balance.
What if I don’t have a food processor?
A rolling pin and zip-top bag work perfectly fine. You’ll get a small arm workout, but it’s oddly satisfying.
Can I double the recipe?
Absolutely. Just make sure you have enough space in your fridge for chilling the trays.
Are these freezer-friendly?
Yes. Freeze them in a single layer first, then store in a bag. Thaw in the fridge for the best texture.

Oreo Truffles Recipe
- Total Time: 1 hour 20 minutes
- Yield: 30 1x
- Diet: Vegetarian
Description
A bite-sized, no-bake treat made with crushed Oreos, cream cheese, and a smooth chocolate coating. Perfect for holidays, parties, or an everyday indulgence.
Ingredients
- 36 Oreo cookies (regular, not Double Stuf)
- 8 oz cream cheese, softened
- 12 oz semi-sweet or white chocolate, for coating
- Optional toppings: sprinkles, crushed Oreos, sea salt, drizzle of contrasting chocolate
Instructions
- Crush Oreos in a food processor until fine crumbs form.
- Mix crumbs with softened cream cheese in a bowl until a thick dough forms.
- Scoop 1 tablespoon portions and roll into balls. Place on parchment-lined tray.
- Chill in the fridge for 1 hour (or 20 minutes in freezer).
- Melt chocolate in microwave-safe bowl in 20-second intervals, stirring until smooth.
- Dip chilled balls into chocolate using a fork, letting excess drip off.
- Place back on tray and decorate with toppings while wet.
- Let set until firm, about 15 minutes at room temperature or in fridge.
Notes
- If chocolate is too thick, stir in 1 teaspoon coconut oil or shortening.
- Oreo truffles taste best after chilling overnight.
- Try seasonal Oreos for fun variations (pumpkin, peppermint, red velvet).
- Prep Time: 20 minutes
- Cook Time: 1 hour
- Category: Dessert
- Method: No-bake
- Cuisine: American
Nutrition
- Serving Size: 30
- Calories: 140
- Sugar: 12g
- Sodium: 85mg
- Fat: 8g
- Saturated Fat: 4.5g
- Unsaturated Fat: 2.5g
- Trans Fat: 0g
- Carbohydrates: 16g
- Fiber: 1g
- Protein: 2g
- Cholesterol: 10mg