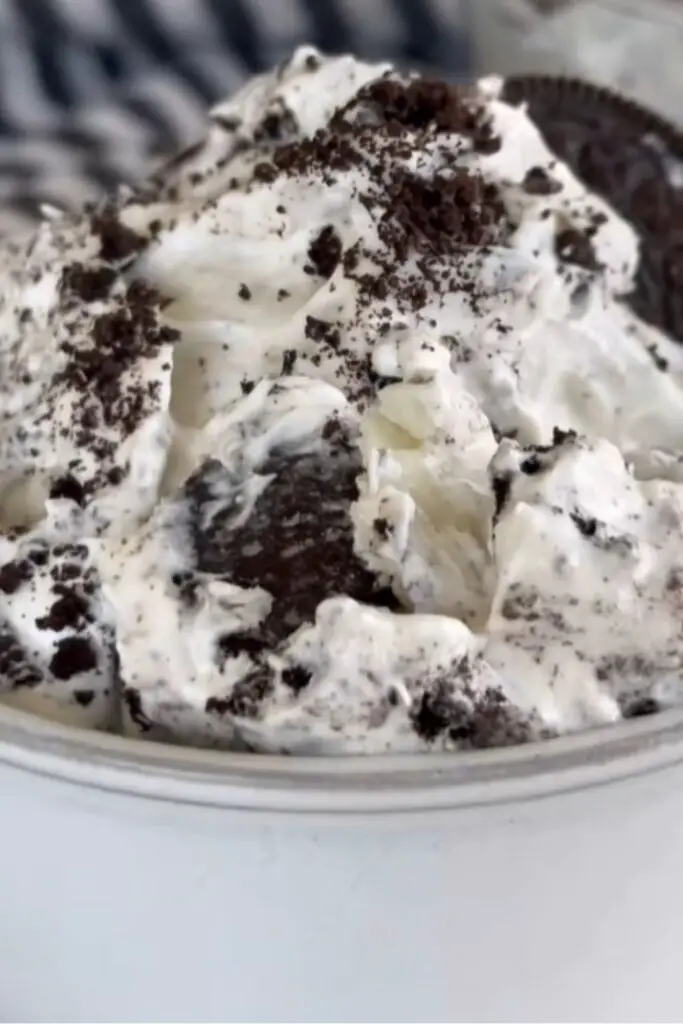
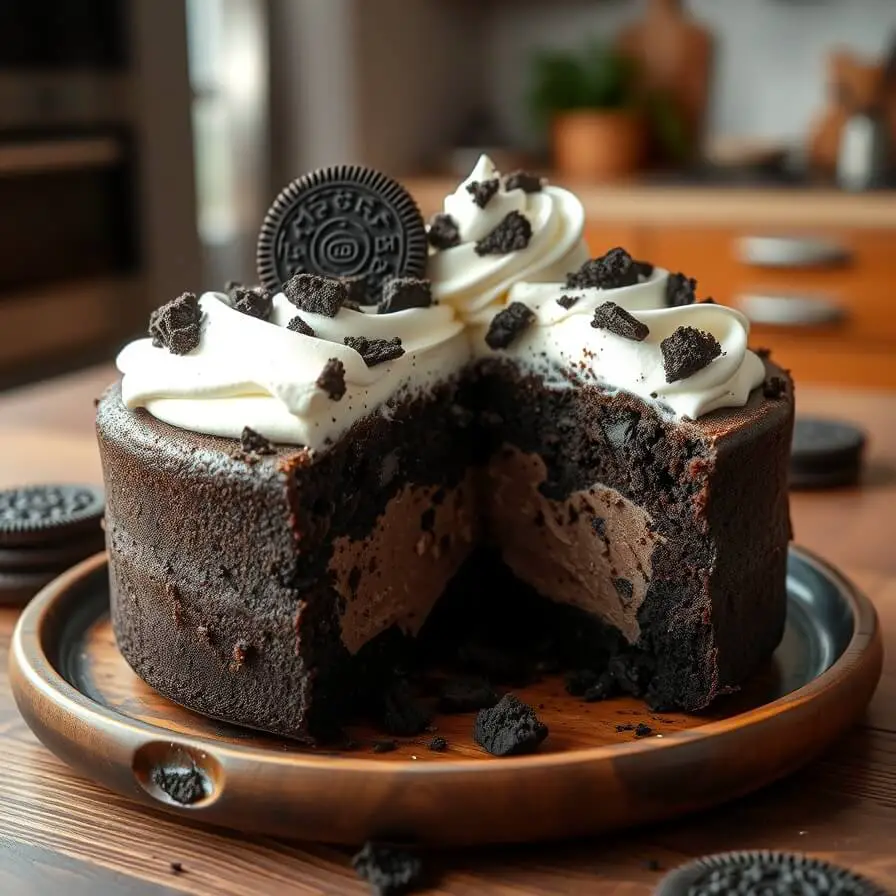
Oreo Pudding Poke Cake {Quick + Easy}
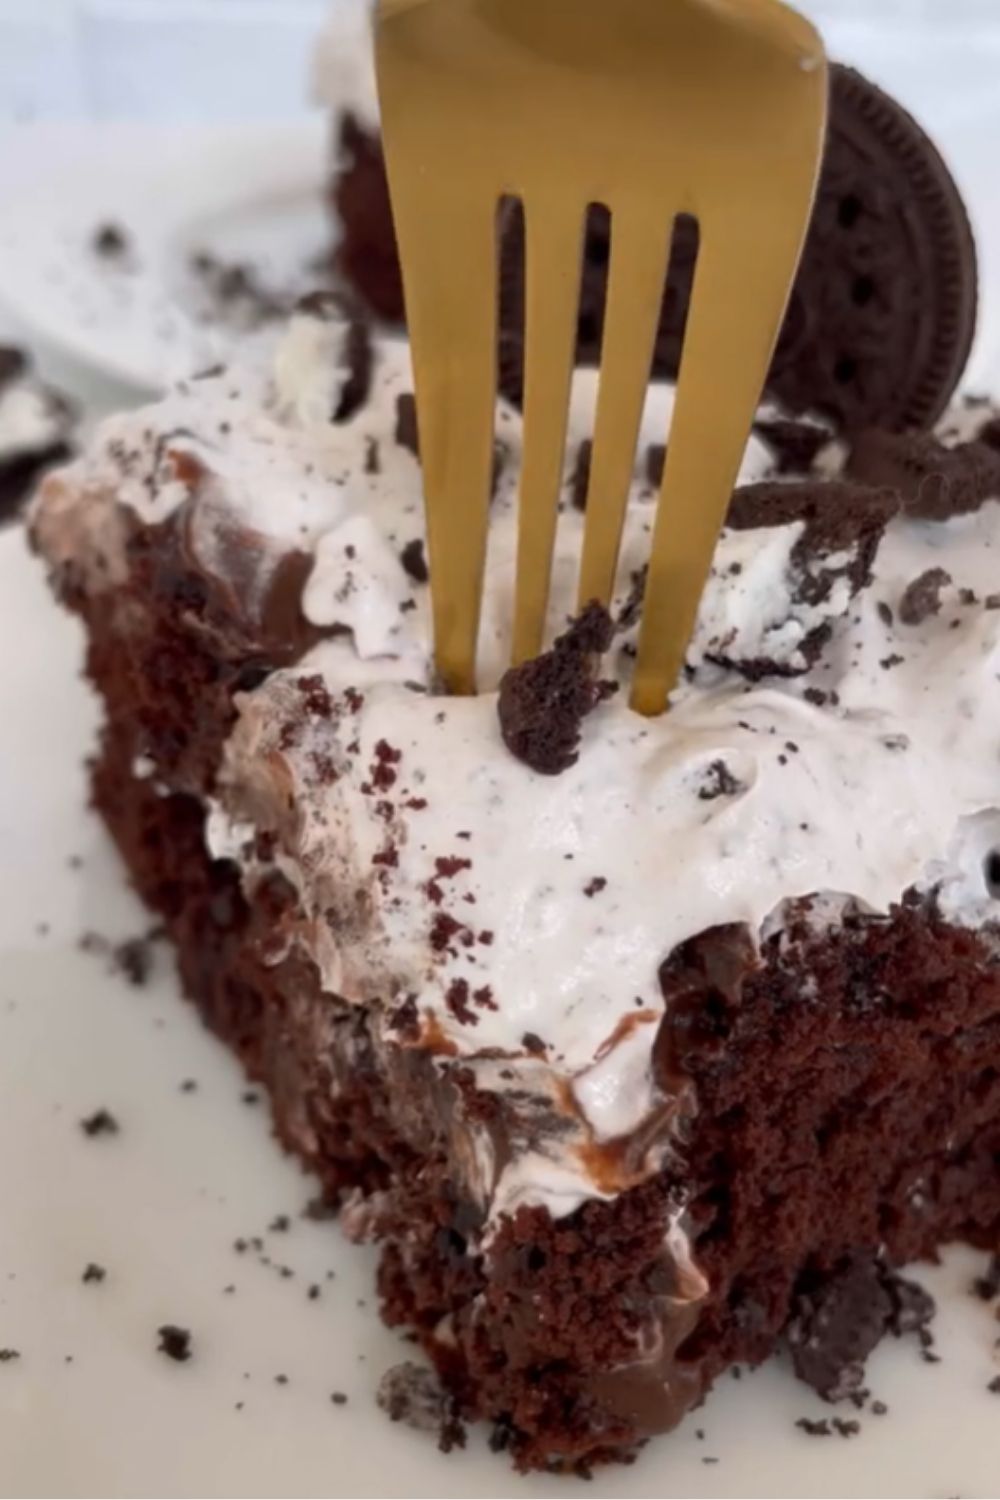
Oreo Poke Cake is one of those desserts that feels both nostalgic and indulgent. A soft chocolate cake is “poked” and filled with rich pudding, allowing every bite to be extra moist, creamy, and full of flavor. Topped with fluffy whipped topping and plenty of crushed Oreos, it’s a crowd-pleaser that’s as fun to make as it is to eat.
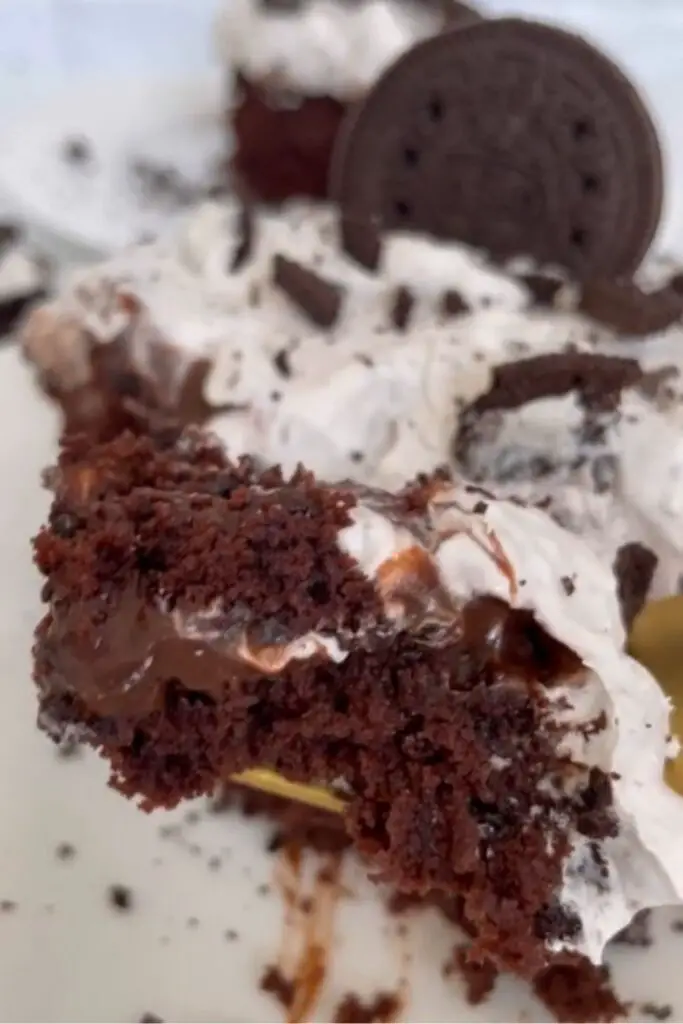
What makes this cake special is its balance soft, tender cake meets creamy filling and crunchy cookie pieces, creating a texture that keeps everyone coming back for seconds. It’s the kind of dessert that turns any gathering into a celebration, whether it’s a birthday, holiday, or a simple weekend treat.
Quick Snapshot of What You’re Getting Into
Before diving in, here’s a practical look at the time and effort you’ll need. This helps me plan my kitchen time, especially when the kids are circling, ready to “help” by sneaking Oreos.
Prep time: 20 minutes
Cook time: 30 minutes
Cooling time: 10–15 minutes before poking and filling
Total time: 1 hour (including chilling)
Servings: 12–16 slices
This snapshot always keeps me grounded—no guessing if I have enough time to make it before dinner, dessert, or a party. And trust me, the results are worth every minute.
Ingredients You’ll Actually Want to Use
Now, let’s talk ingredients. I’m all about keeping it simple but flavorful. You don’t need fancy stuff, but the quality you pick can really make a difference.
- Chocolate cake mix – Boxed cake mixes are a lifesaver, and I usually go for one with a rich cocoa flavor. You can make it from scratch if you like, but honestly, this shortcut is a game-changer.
- Instant chocolate pudding mix – Look for a smooth, creamy pudding; it’s what transforms the poke into that luscious filling we all love.
- Milk – Whole milk gives the pudding a creamier texture, but 2% works too.
- Oreos – Double Stuf or classic—crushed for the cake and some for topping. I sometimes save a few whole ones to place on top for presentation.
- Whipped topping – I usually use thawed whipped topping, not straight from the freezer (lesson learned). It adds lightness and balances the chocolate without being too heavy.
- Butter – Adds richness to the base and the topping if you decide to make a small crumble.
Substitutions you can try:
- For gluten-free, use a certified gluten-free cake mix and pudding.
- For a dairy-free version, swap milk and whipped topping for coconut or almond milk alternatives.
- For extra chocolate punch, drizzle melted chocolate on top or mix in mini chocolate chips.
I like thinking about ingredients this way—it’s not just what goes in, but how each one contributes to texture and flavor. And it’s easier to improvise when you know the role each ingredient plays.
Step-by-Step: Making It Perfect
Now for the fun part—bringing it all together. I always start by reading the recipe fully before touching anything because nothing ruins a perfect bake like realizing halfway through that the pudding needs to chill first.
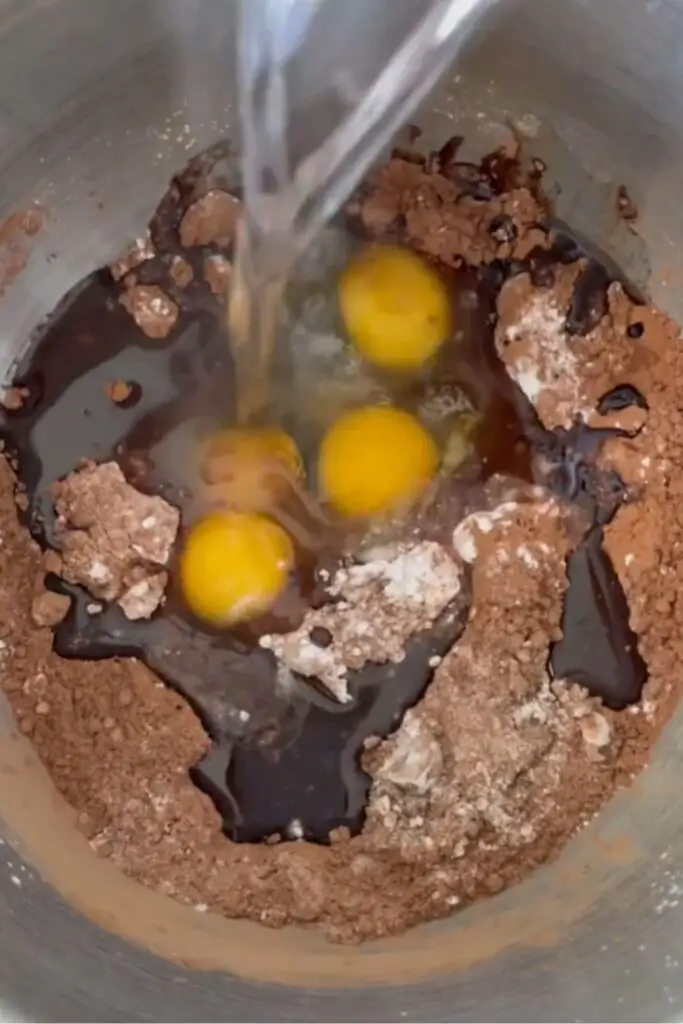
Bake the cake – Prepare your chocolate cake mix according to package instructions. Pour it into a greased 9×13 pan and bake until a toothpick comes out clean. Let it cool for about 10 minutes—cool enough to handle but not stone cold, so it can absorb the pudding.
Poke the cake – Using the handle of a wooden spoon or a fork, gently poke holes all over the surface. Go deep enough to reach the bottom but not so hard that you crumble the cake entirely. This is where the magic begins.
Pour the pudding – Prepare instant pudding with milk as instructed on the box. Pour evenly over the cake, making sure it seeps into the holes. The visual is always satisfying—you’ll see the chocolate filling pool into every crevice.
Chill – Pop the cake in the fridge for at least 30 minutes. This helps the pudding set and meld with the cake. I usually sneak a little taste at this stage, even though it’s messy—worth it for quality control.
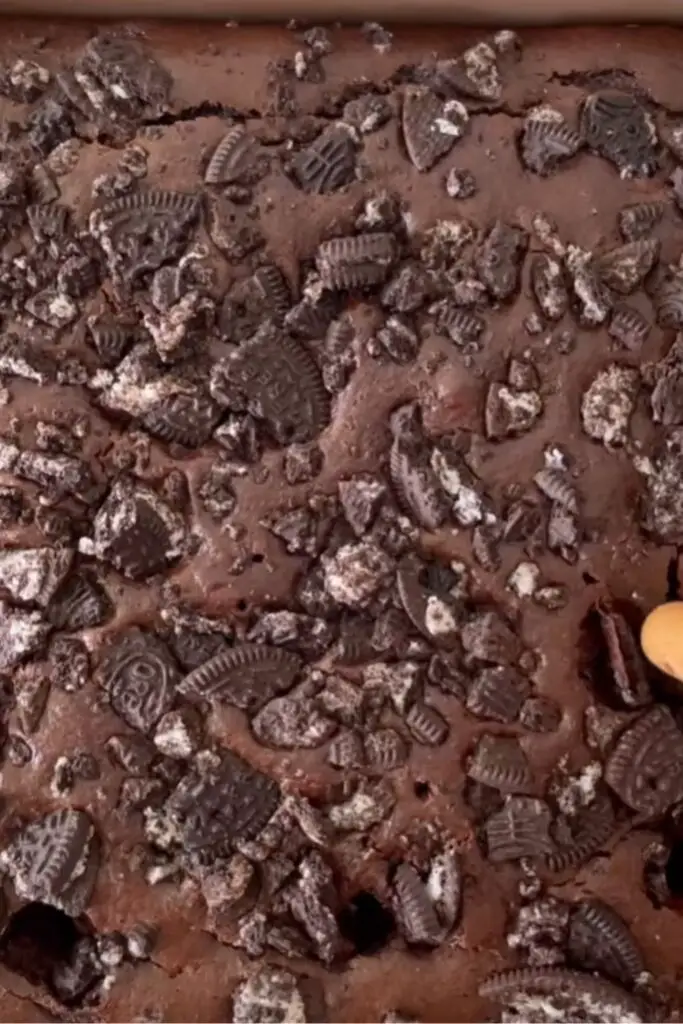
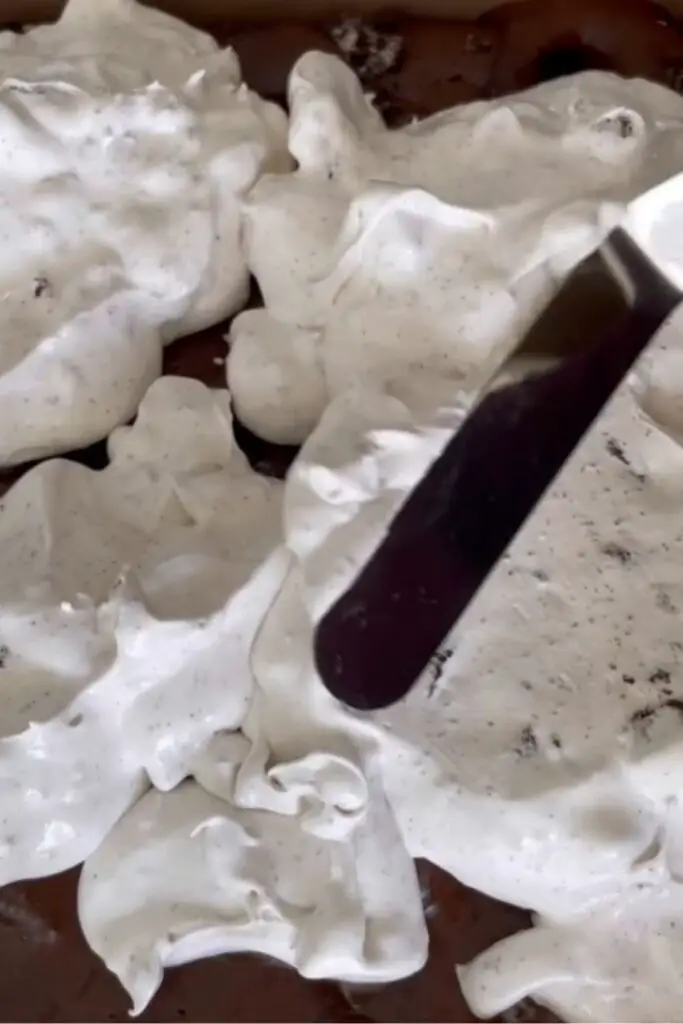
Top it off – Spread thawed whipped topping across the cake. Sprinkle generously with crushed Oreos. If you saved whole cookies for decoration, press them gently into the top for a festive touch.

Serve and enjoy – Slice carefully with a serrated knife to prevent smearing. The first bite always brings a smile—the creaminess, the chocolate, the subtle crunch of Oreos.
Tip: Don’t skip chilling. Pudding filling needs time to soak in; otherwise, the cake can feel dry in comparison. I’ve made this mistake before—an impatient cake is a sad cake.
Storage Made Simple
One of my favorite things about Oreo poke cake is how forgiving it is for storage. If there’s any leftover (and sometimes there is!), keep it covered in the fridge. The cake stays moist, and the flavors actually deepen overnight.
- Refrigerator: Covered tightly for up to 4 days.
- Freezer: If you need to save it longer, freeze slices individually wrapped in plastic, then thaw in the fridge. The texture stays surprisingly good, though the whipped topping may need a quick fluff before serving.
I usually make this cake a day ahead for parties. Not only does it save time, but the extra chilling makes every bite even more decadent.
How to Serve This Crowd-Pleaser
There’s something so satisfying about slicing into an Oreo poke cake. The first forkful always draws an audible “mmm” from anyone nearby. I like to serve mine straight from the fridge, cold and creamy, with each slice holding the perfect balance of cake, pudding, and whipped topping.
For a little flair, I sometimes add a drizzle of chocolate sauce or caramel across the top. It’s an easy way to make it look like a bakery treat without extra fuss. If you’re serving at a party, you can even plate each slice on a small dessert plate with a few fresh berries for color contrast—black and white with a pop of red looks so festive.
For a more casual gathering, I love placing the whole cake in the center of the table and letting everyone help themselves. The crushed Oreo crumbs on top often end up on fingers, but isn’t that part of the fun? My kids think it’s the best kind of messy.
Pro Notes & Mistakes to Avoid
Even though this cake is forgiving, I’ve learned a few tricks along the way:
- Don’t skip the poke step: Poking every inch is crucial. Some people do random holes, but I’ve found spacing them evenly ensures the pudding seeps into every slice.
- Cool the cake, but not too much: If the cake is completely cold, it resists absorbing the pudding. Warm it slightly from the oven, then poke. If it’s too hot, the pudding melts too fast and pools on top. Timing matters.
- Whipped topping tip: Always thaw whipped topping fully. Frozen or partially thawed topping can create a lumpy layer. For extra smoothness, whip it lightly with a hand mixer before spreading.
- Crushed Oreos last: Adding them too early can make them soggy. Sprinkle right before serving for the best crunch.
- Taste-test wisely: I admit, I always sneak a little pudding before pouring. Just make sure to save enough for the cake—it’s easy to underestimate how much is needed to fill all the holes.
Even experienced bakers can have small hiccups with puddings and cake textures. These pro notes have saved me from a few nearly ruined cakes.
Print
Oreo poke cake Recipe
- Total Time: 1 hour 30 minutes
- Yield: 12–16 1x
- Diet: Vegetarian
Description
This Oreo poke cake is a chocolate lover’s dream—moist cake infused with creamy chocolate pudding, topped with whipped topping and crunchy Oreo pieces. Perfect for birthdays, family gatherings, or just an indulgent weekend treat. Simple, forgiving, and always a crowd-pleaser.
Ingredients
- 1 box chocolate cake mix (or homemade equivalent)
- Ingredients listed on cake mix box (usually eggs, oil, water)
- 1 package (3.9 oz) instant chocolate pudding mix
- 2 cups cold milk
- 8 oz whipped topping, thawed
- 15–20 Oreo cookies, crushed
- Optional: Whole Oreos for decoration
Instructions
- Preheat oven to 350°F (175°C). Prepare the cake mix according to package directions. Pour into a greased 9×13 pan.
- Bake 25–30 minutes or until a toothpick comes out clean. Let cool for 10 minutes.
- Using the handle of a wooden spoon or fork, poke holes evenly across the cake.
- Mix instant pudding with cold milk. Pour evenly over the cake, allowing it to seep into all the holes.
- Chill the cake for at least 30 minutes to set the pudding.
- Spread whipped topping over the chilled cake. Sprinkle crushed Oreos on top, and optionally press whole Oreos for decoration.
- Slice carefully and serve cold.
Notes
- For extra flavor, add a teaspoon of vanilla or a pinch of espresso powder to the pudding.
- Make ahead: Cake can be prepared a day in advance; pudding infusion improves overnight.
- Whipped topping should be fully thawed for smooth spreading.
- Prep Time: 20 minutes
- Cook Time: 30 minutes
- Category: Dessert
- Method: Bake & Chill
- Cuisine: American
Nutrition
- Serving Size: 12–16
- Calories: 350
- Sugar: 32g
- Sodium: 210mg
- Fat: 18g
- Saturated Fat: 10g
- Unsaturated Fat: 7g
- Trans Fat: 0g
- Carbohydrates: 42g
- Fiber: 2g
- Protein: 4g
- Cholesterol: 35mg