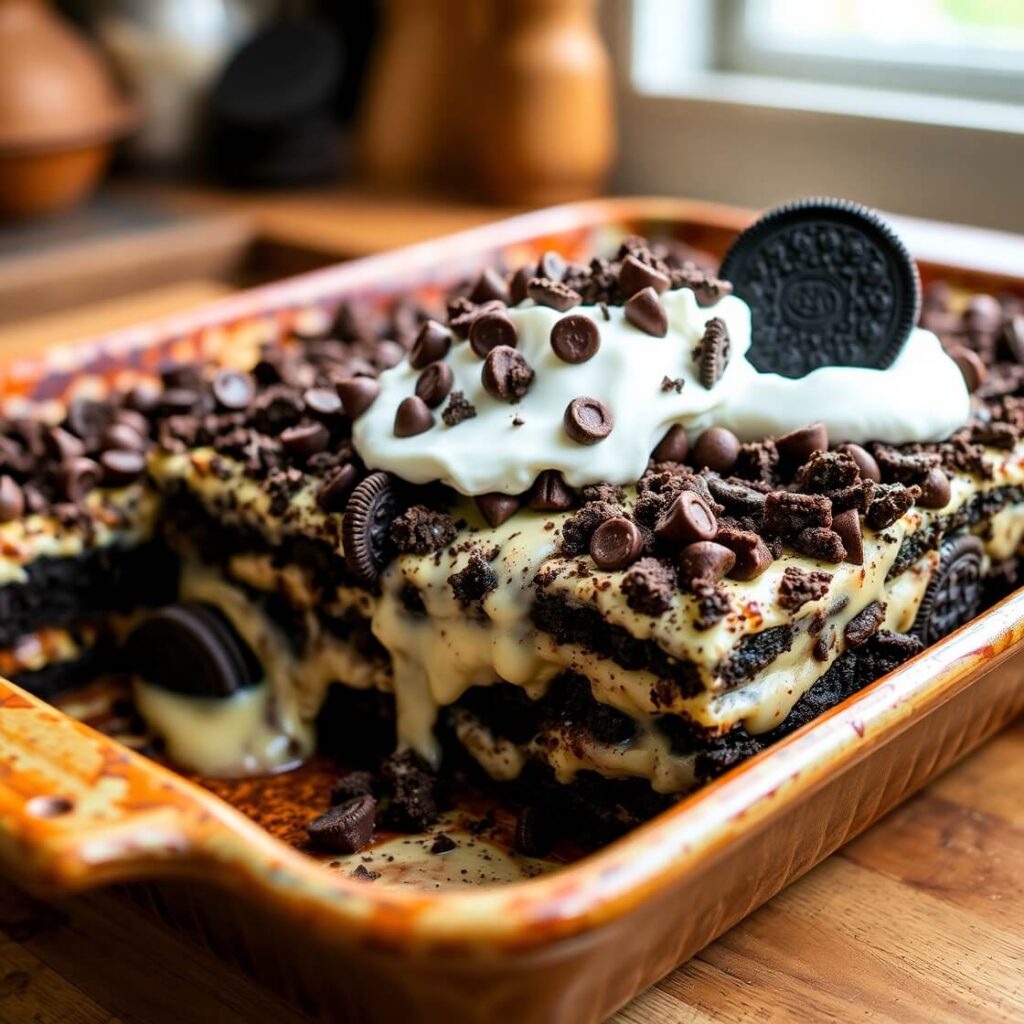
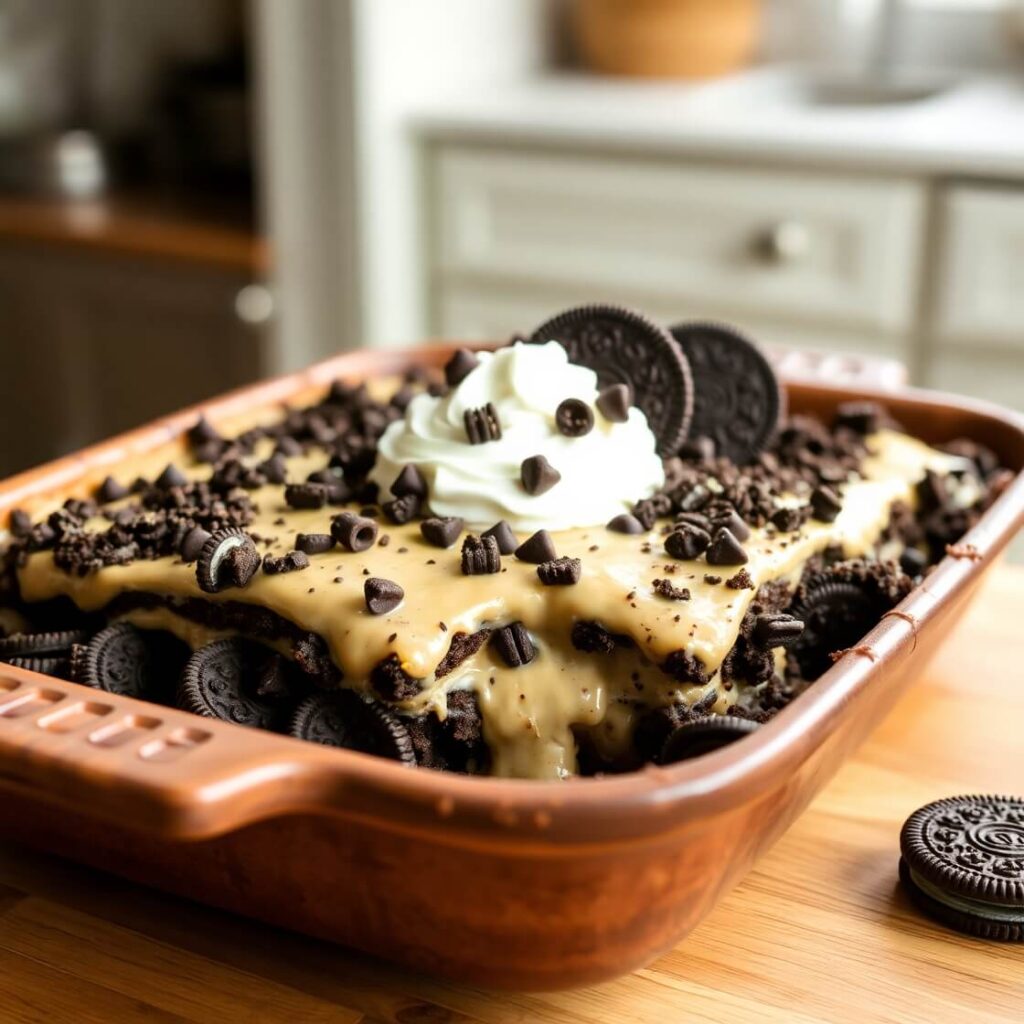
Oreo Dump Cake

I still remember the first time I made this Oreo dump cake. It wasn’t a planned baking session—more like a last-minute “what can I throw together for dessert?” moment on a lazy Saturday afternoon. I had a half-empty carton of Oreos, some butter hanging out in the fridge, and a box of yellow cake mix that was about to expire. The kids were clamoring for something sweet, and I was short on time, so I figured, why not dump it all together and see what happens?
To my surprise, it turned out incredible. The cake came out golden on the edges, soft and gooey in the center, with a perfect layer of crushed Oreos adding a bittersweet crunch. The smell alone was enough to gather the whole family in the kitchen. My husband, usually reserved about desserts, took one bite and said, “This might be better than your birthday cake.” And just like that, this easy, no-fuss Oreo dump cake became a weekend staple in our home.
The beauty of it is in its simplicity. No frosting, no complicated techniques, just layers of flavor that bake themselves into a perfectly indulgent treat. If you’re a fan of Oreos, or just love desserts that feel effortless yet decadent, this recipe will feel like a little gift from the baking gods.
Quick Peek at Time
One of the reasons I adore this recipe is how effortlessly it comes together. Here’s a snapshot of what you’re looking at in the kitchen:
Prep time: 15 minutes
Cook time: 40–45 minutes
Total time: 1 hour
This means you can have a warm, gooey cake ready by the time the kids are done with their Saturday cartoons—or even for a last-minute dinner party dessert. There’s very little standing around, mostly just layering ingredients and letting the oven do the magic.
Ingredients That Make a Difference
Now, let’s talk about what goes into this cake—and why a few simple choices can make all the difference.
- Oreos (about 36 cookies) – I usually go with the classic variety, but chocolate creme or mint Oreos give it a playful twist. Crushing them by hand gives a rustic feel, while a quick pulse in a food processor creates a finer texture.
- Yellow cake mix (1 box) – You can swap for white cake or even devil’s food mix for a chocolateier punch. Just keep in mind that flavors layer differently depending on the cake base.
- Butter (1 cup, melted) – Don’t skimp here. Butter is what helps bind the dry mix into that luscious, gooey layer we all crave.
- Optional extras – A handful of chocolate chips, a sprinkle of chopped nuts, or even a few marshmallows tossed on top can elevate the dessert into something extraordinary.
A small kitchen note: when I first tried this, I didn’t fully melt the butter and ended up with dry patches in the cake. Lesson learned—fully melted butter ensures the cake sets evenly and keeps that irresistible ooze in the middle.
The Secret Behind Its Flavor
What makes this dump cake so addictive isn’t just the Oreos or the cake mix—it’s the way the ingredients play off each other. The butter slowly saturates the cake mix as it bakes, turning it into a rich, almost custard-like layer beneath the crunchy cookie topping. Meanwhile, the Oreos hold their shape just enough to give texture without feeling like chunks of cookie in every bite.
It’s that contrast—the soft, buttery cake against the slightly crisp, chocolatey cookie pieces—that keeps everyone coming back for seconds. And there’s a comforting nostalgia to it too. Oreos have been a childhood favorite for generations, and seeing them baked into something warm and cozy always brings a little spark of happiness to the table.
Step-by-Step Magic
Here’s how this comes together without any fuss:
- Preheat the oven to 350°F (175°C). Grab a 9×13-inch baking dish and give it a light buttering.
- Layer the Oreos evenly on the bottom of the pan. Don’t worry if some break apart—those fragments create little pockets of flavor throughout the cake.
- Sprinkle the dry cake mix over the Oreos. Make sure it’s evenly distributed so each bite has the perfect balance of cookie and cake.
- Drizzle the melted butter over the top, trying to cover as much of the surface as possible. This is where the magic happens—the butter melts into the cake mix and fuses everything together.
- Optional extras: if you’re feeling indulgent, sprinkle chocolate chips or marshmallows over the top now. They melt and add little bursts of flavor.
- Bake for 40–45 minutes, until the top is golden brown and you can smell that unmistakable aroma of buttery cookies. I usually check at 40 minutes; the edges will look crisp while the center remains slightly gooey—that’s exactly what we want.
- Cool slightly for 10–15 minutes before serving. This allows the cake to set just enough so you can scoop it without losing that ooey-gooey charm.
One of my favorite sensory moments is that first whiff when the cake comes out of the oven—the smell of chocolate, butter, and baked cake is almost intoxicating. It’s one of those scents that makes the whole house feel like home.
Pro Notes From My Kitchen
If there’s one thing I’ve learned after making this cake multiple times (and burning one batch entirely because I got distracted by my phone), it’s this: watch your edges. Butter melts faster than you think, and those outer Oreos can go from perfectly crisp to overdone in minutes.
Another tip—let the cake rest a bit before serving. I know the temptation to dig in immediately is real, but giving it just 10–15 minutes improves the texture. It’s still warm, but it holds together beautifully.
And don’t be afraid to play with toppings. A scoop of vanilla ice cream, a drizzle of chocolate sauce, or a light dusting of powdered sugar can take this simple dessert from “weekend snack” to “showstopper dessert.”
Serving Ideas That Impress Without Effort

One of the things I love most about this Oreo dump cake is how versatile it is on the plate. On a lazy weekend, I’ll scoop it straight from the pan into bowls and call it a day—but when friends drop by, it’s easy to turn it into a dessert that looks like you spent hours in the kitchen.
A few ways I like to serve it:
- With ice cream: Vanilla is classic, but cookies-and-cream ice cream makes it feel extra indulgent. The cold, creamy ice cream against the warm, slightly gooey cake is absolute heaven.
- Topped with whipped cream: Lightly sweetened whipped cream balances the richness of the cake and adds a fluffy, airy texture.
- Drizzled chocolate or caramel: If I’m feeling decadent, a zigzag of chocolate sauce or caramel adds visual appeal and a flavor boost.
- Layered in a trifle dish: For a more formal presentation, cut the cake into chunks, layer it with whipped cream and extra crushed Oreos, and serve in a glass dish. It’s instant wow-factor with minimal effort.
Even simple serving can feel special. The kids love sprinkling mini chocolate chips on top, which adds a playful element, and adults tend to linger over the first bite, savoring that buttery, chocolatey goodness.
Tips and Tricks from My Kitchen
While the cake is pretty forgiving, I’ve picked up a few insider tips from repeated baking sessions:
- Butter matters: Fully melted butter ensures the cake mixes evenly with the dry cake mix. Half-melted butter can leave dry spots, so give it a good stir before pouring.
- Don’t overbake: The edges will brown first. Remove the cake when the top is golden and the center is slightly gooey. Remember, it will continue to set as it cools.
- Crush Oreos to your liking: Hand-crushed Oreos give rustic texture, while food-processed ones create a finer, more uniform layer.
- Optional toppings: Chocolate chips, marshmallows, or chopped nuts add flair, but don’t overload—the cake shines on its own.
- Cool before serving: Ten to fifteen minutes of cooling helps the cake hold its structure without sacrificing that melt-in-your-mouth quality.
I learned these the hard way. My first batch had a slightly burnt edge and a gooey center that ran everywhere—but even then, it tasted amazing. Over time, I’ve perfected the balance, and now it comes out reliably delicious every time.
Storage and Make-Ahead Tips
This Oreo dump cake is surprisingly forgiving when it comes to storage:
- Room temperature: Cover loosely with foil and keep it out for up to 2 days. It stays moist and soft, perfect for a quick snack.
- Refrigerator: Store in an airtight container for up to 5 days. The cake firms slightly in the fridge, which can be nice if you want clean slices for serving guests.
- Freezer: Yes, it freezes beautifully. Wrap the cooled cake tightly in plastic wrap and foil, and freeze for up to 2 months. Thaw in the fridge overnight, and reheat gently in the oven to bring back that gooey magic.
I often make a double batch when expecting guests and freeze one portion. It’s like having dessert ready on demand—no extra effort required.
Frequently Asked Questions
Can I make this cake gluten-free?
Yes! Use a gluten-free cake mix and gluten-free Oreos (or similar sandwich cookies). The texture might vary slightly, but the flavor remains indulgent and satisfying.
What if I want it chocolatey?
Swap the yellow cake mix for chocolate cake mix and use double-stuffed Oreos. You can also add a handful of chocolate chips for an extra burst of richness.
Can I make it vegan?
Yes! Use a dairy-free butter substitute and a vegan cake mix. Ensure the Oreos are vegan (most classic varieties are). The cake will be just as indulgent.
Do I have to crush the Oreos?
Crushing is optional. Some people prefer layering whole cookies for pockets of texture, while others like a uniform layer. Either way, it works beautifully.
Can I make it ahead for a party?
Absolutely. Assemble it the night before and refrigerate. Bake the next day or bake in advance and gently reheat—either way, it tastes fresh and indulgent.

Oreo Dump Cake
- Total Time: 55 minutes
- Yield: 10–12 1x
- Diet: Vegetarian
Description
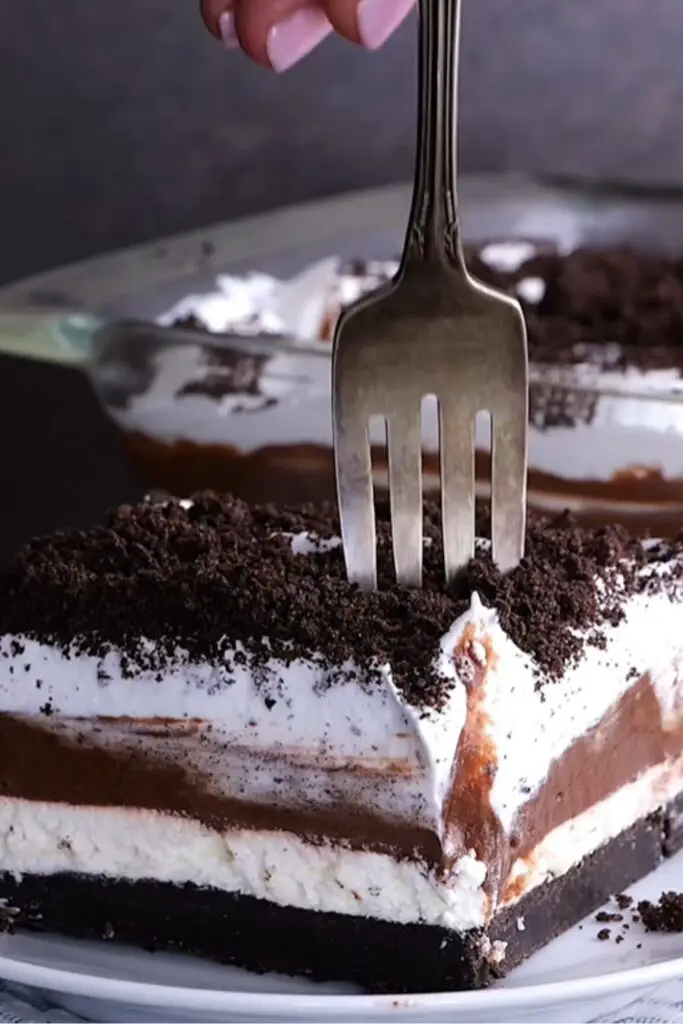
This Oreo Dump Cake is a ridiculously easy, crowd-pleasing dessert that comes together with just a handful of pantry staples. Layers of crushed Oreos, creamy pudding, rich chocolate cake, and melted butter bake into a gooey, decadent treat that tastes like your favorite childhood cookie in cake form. No fancy steps, no mixers, and minimal cleanup—just dump, bake, and enjoy. Whether you’re serving it warm with ice cream or topping it with whipped cream, it’s bound to disappear fast.
Ingredients
- 1 box chocolate cake mix
- 1 package instant vanilla or cookies & cream pudding mix (3.4 oz)
- 2 cups cold milk
- 1 stick (½ cup) unsalted butter, melted
- 20–24 Oreo cookies, roughly crushed
- 1½ cups whipped topping (Cool Whip or similar)
- ½ cup chocolate chips (optional)
Instructions
- Preheat oven to 350°F (175°C). Grease a 9×13-inch baking dish.
- Spread ⅔ of the crushed Oreos in the bottom of the dish.
- In a bowl, whisk together pudding mix and milk. Let sit for 2–3 minutes to thicken.
- Pour pudding over the Oreo layer and smooth it out evenly.
- Sprinkle dry cake mix over the pudding—do not stir.
- Drizzle melted butter over the dry cake mix, covering as much as possible.
- Sprinkle chocolate chips (if using) and remaining crushed Oreos on top.
- Bake for 40–45 minutes until the top is set and edges are bubbly.
- Let cool for 10 minutes. Serve warm with whipped topping.
Notes
- Use Double Stuf Oreos for extra creaminess.
- Let the pudding set slightly before pouring for cleaner layers.
- Don’t mix the layers—it bakes best when they stay separate.
- Add a scoop of ice cream or drizzle with chocolate syrup for an extra treat.
- Prep Time: 10 minutes
- Cook Time: 45 minutes
- Category: Dessert
- Method: Baking
- Cuisine: American
Nutrition
- Serving Size: 10–12
- Calories: 410
- Sugar: 30g
- Sodium: 340mg
- Fat: 20g
- Saturated Fat: 9g
- Unsaturated Fat: 8g
- Trans Fat: 0g
- Carbohydrates: 55g
- Fiber: 2g
- Protein: 4g
- Cholesterol: 35mg