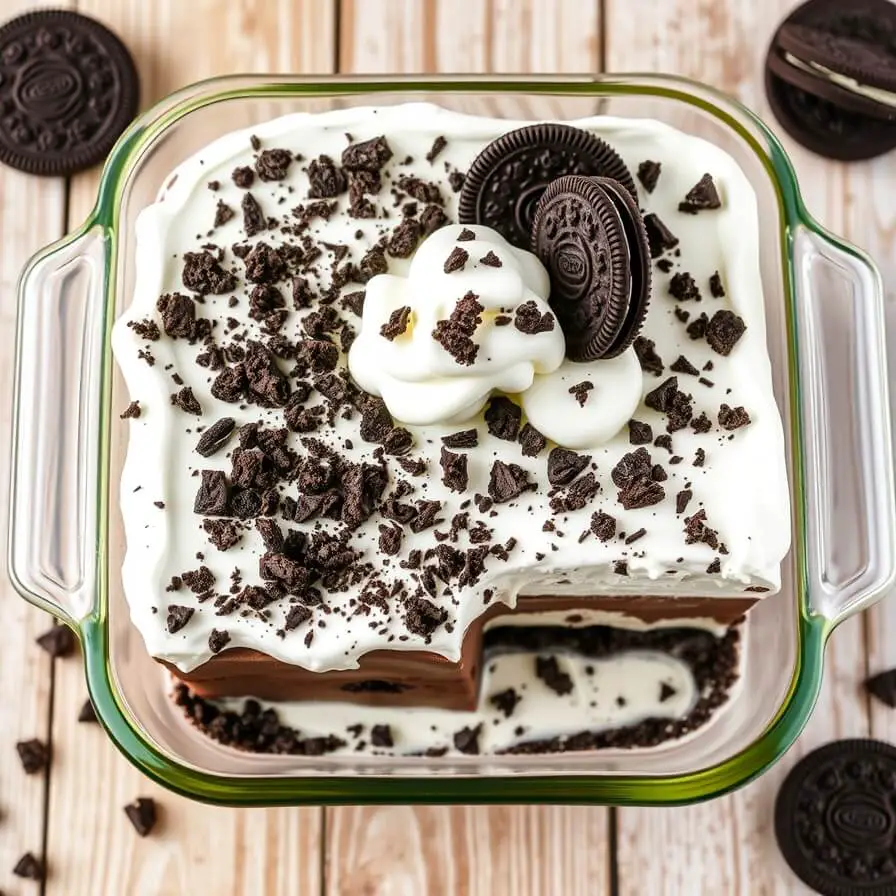
Oreo Pudding Dessert {Oreo Delight}
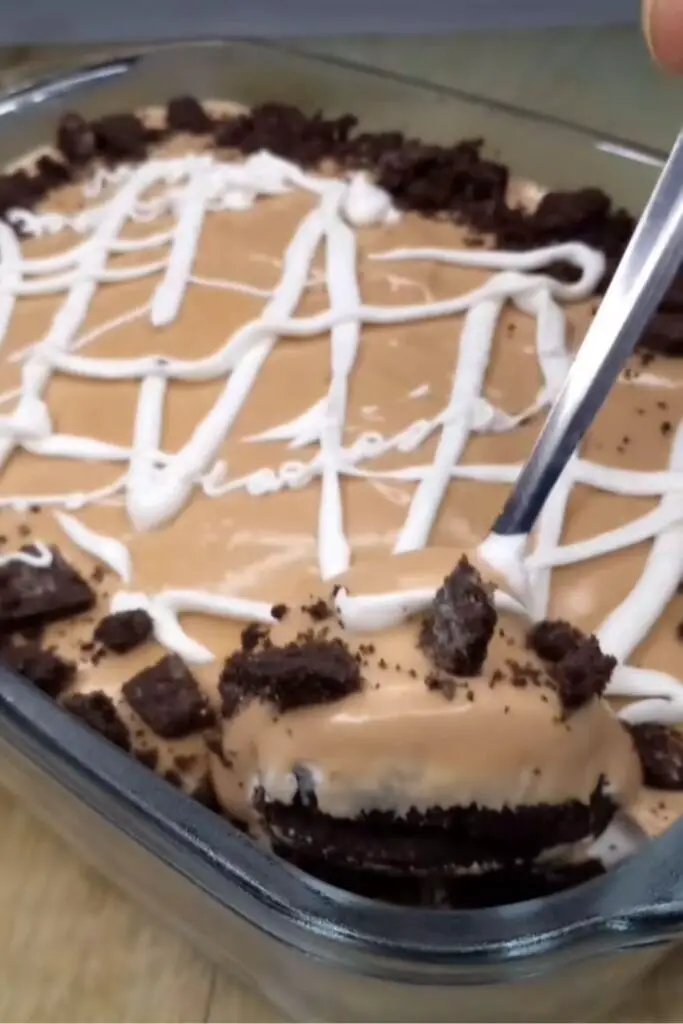
Oreo Delight is the kind of no-bake dessert that proves simple really can be spectacular. With layers of crushed Oreos, creamy filling, chocolate pudding, and whipped topping, it’s a sweet, crunchy, and creamy treat that never lasts long at the table.

What I love most is how forgiving it is whether you’re making it for a family BBQ, a holiday potluck, or just a weeknight chocolate craving, it always turns out delicious. Each bite has that perfect balance of texture and flavor, making it a crowd-pleasing favorite you’ll want to keep in your back pocket.
Recipe Ingredients
The beauty of Oreo Delight is in its simplicity just a handful of everyday ingredients that come together like magic.
- Oreos: The star of the show. I use classic Oreos, but you can swap in Golden Oreos for a vanilla twist or even mint Oreos for a refreshing spin.
- Butter: Melted and mixed with the Oreos to form that crunchy, chocolaty base. Real butter gives better flavor, but margarine will work in a pinch.
- Cream Cheese: Softened until smooth, it creates that tangy balance against the sweetness.
- Powdered Sugar: Adds sweetness to the cream cheese without grittiness.
- Whipped Topping: Light, airy, and the secret to that fluffy texture. Homemade whipped cream works too if you want to elevate it.
- Chocolate Pudding Mix: Instant pudding is your friend here. The silky, chocolatey layer gives the dessert its depth.
- Milk: For the pudding—whole milk makes it richer, but 2% works fine.
- Extra Oreos for Topping: Crumbled on top for crunch and a picture-perfect finish.
What I love most is that these are pantry-friendly ingredients. I’ve even made Oreo Delight last-minute with what I had on hand, and it still came out fantastic.
The Secret Behind Its Flavor
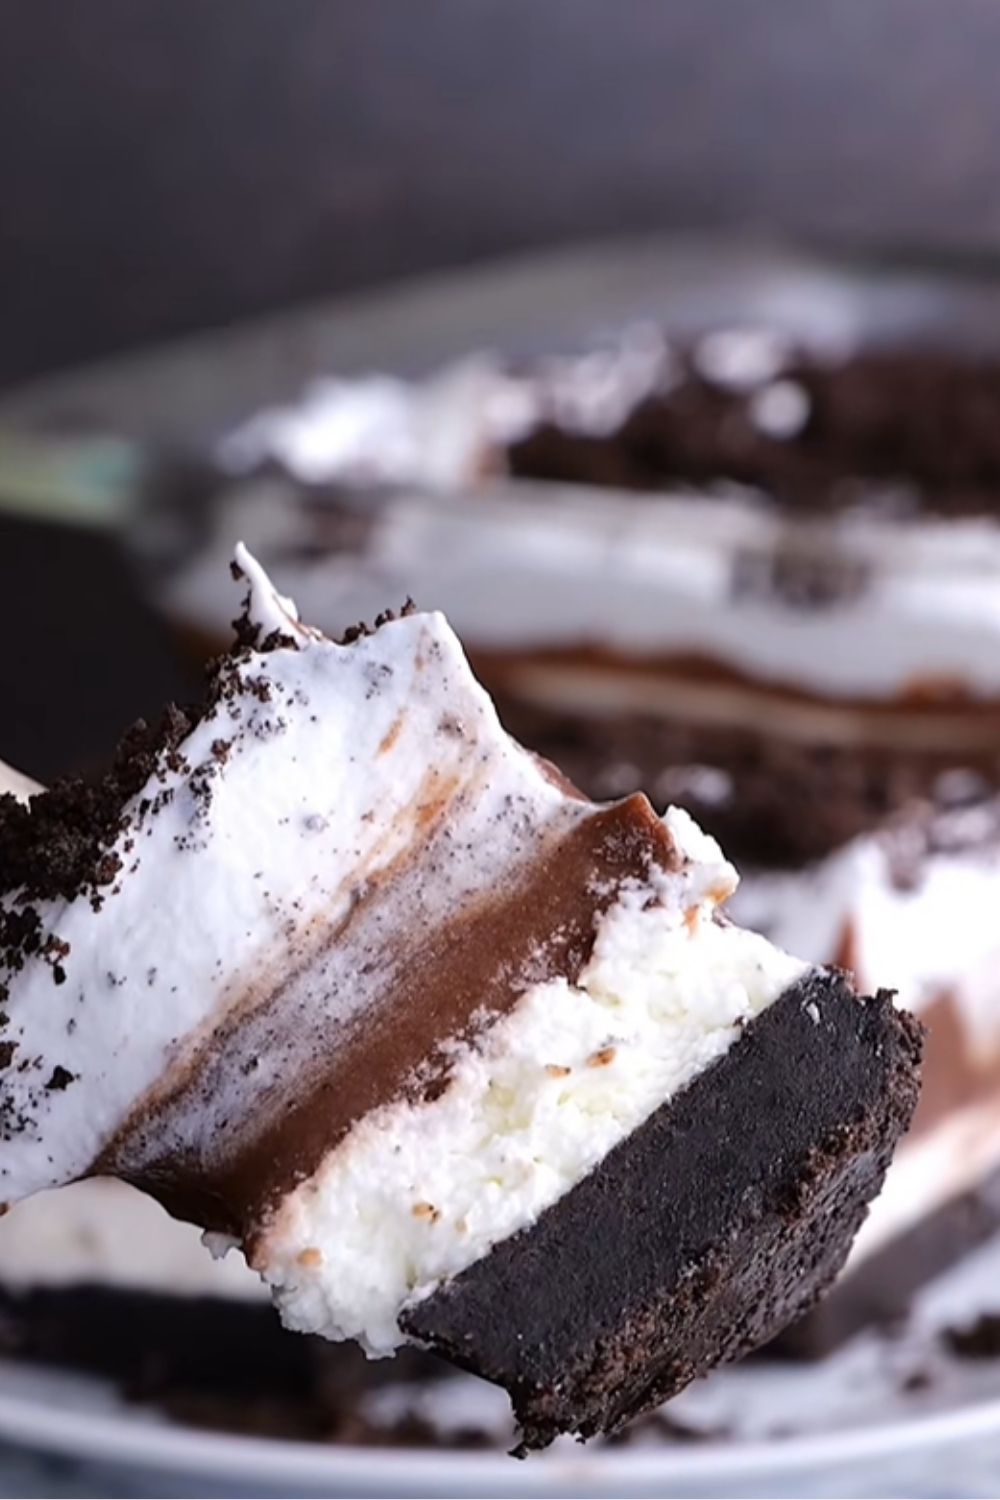
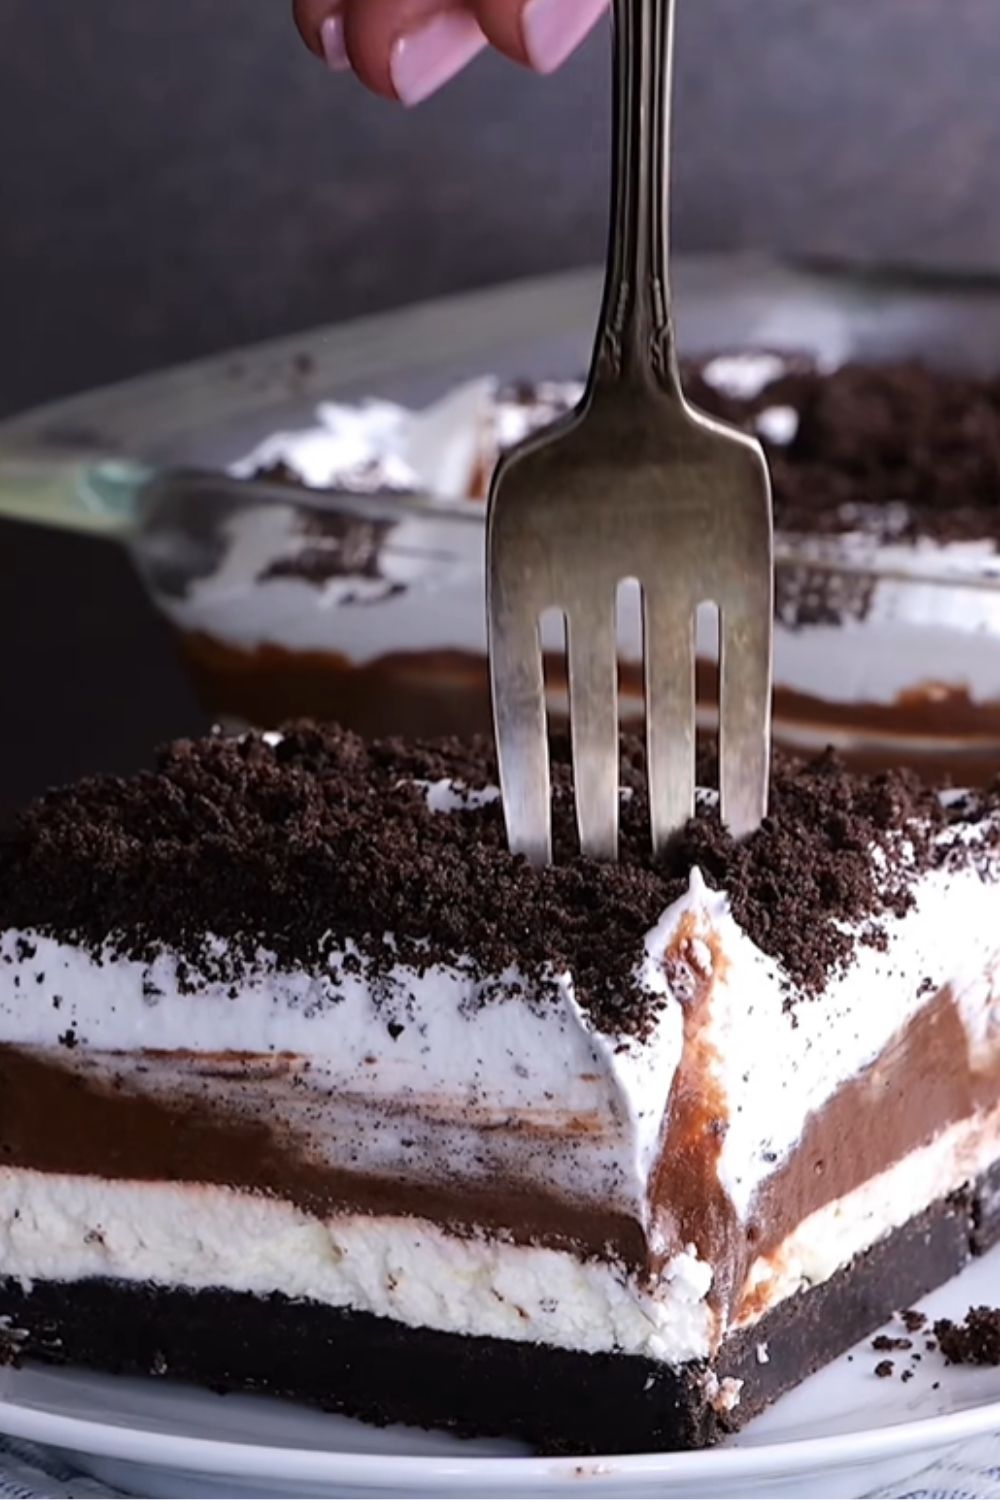
The genius of Oreo Delight is in the layering. Each bite is different—sometimes you get more of the crunchy Oreo crust, sometimes a spoonful that’s all chocolate pudding and whipped topping. The cream cheese layer is what ties it all together, cutting through the richness so it doesn’t taste cloying.
When you first bite into it, you notice the snap of Oreo crumbs giving way to silky cream cheese sweetness. Then the pudding hits—dark, rich, and velvety—balanced by the fluffy topping. It’s a dessert that keeps your spoon coming back because no two bites are exactly the same.
I’ve tried versions with just pudding and Oreos, but they always feel like they’re missing something. That cream cheese layer, slightly tangy and perfectly smooth when done right, is what makes this recipe shine.
How to Make Oreo Delight
This isn’t a recipe that demands perfection—thankfully—but a few sensory cues can help you get it just right.
Crust Layer
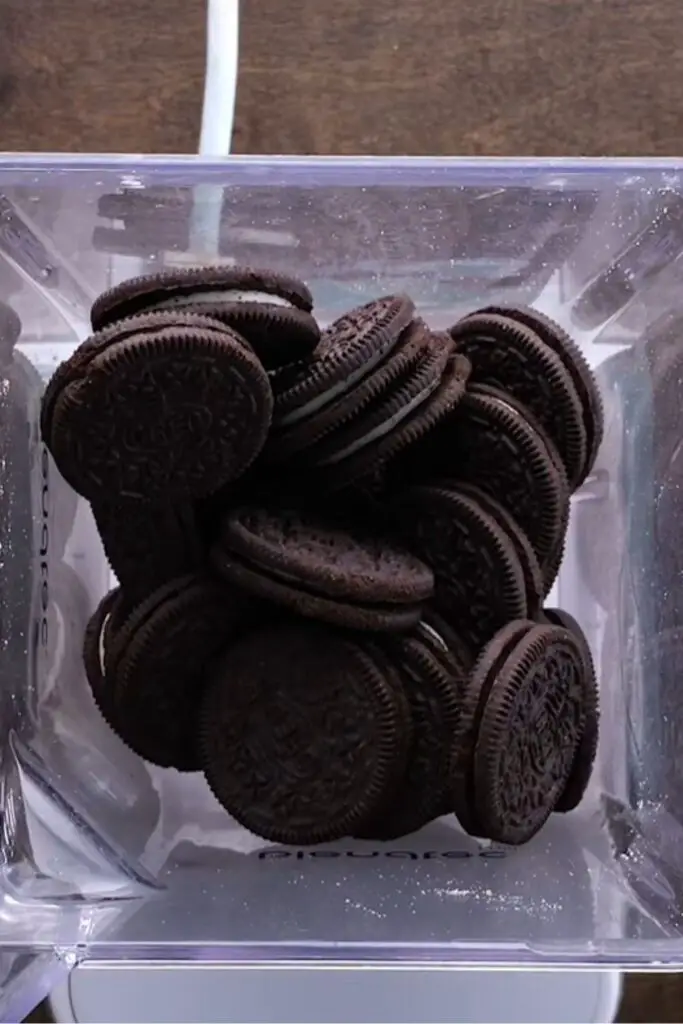
- Crush about 36 Oreos into fine crumbs. I toss mine into a zip-top bag and crush them with a rolling pin for a little stress relief.
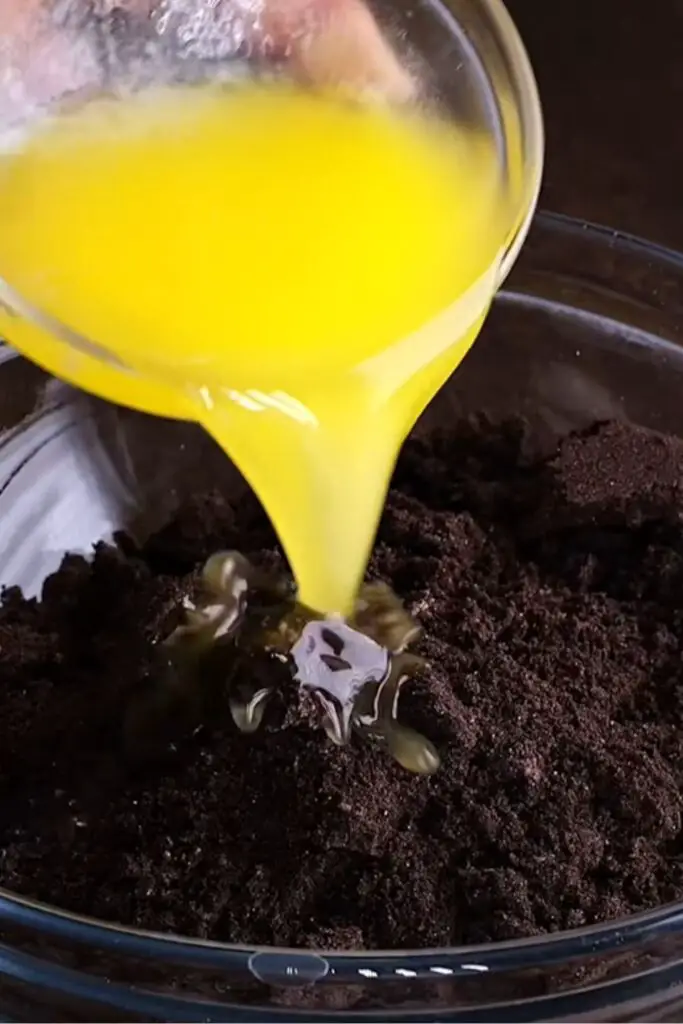
- Mix with melted butter until the crumbs feel like damp sand.
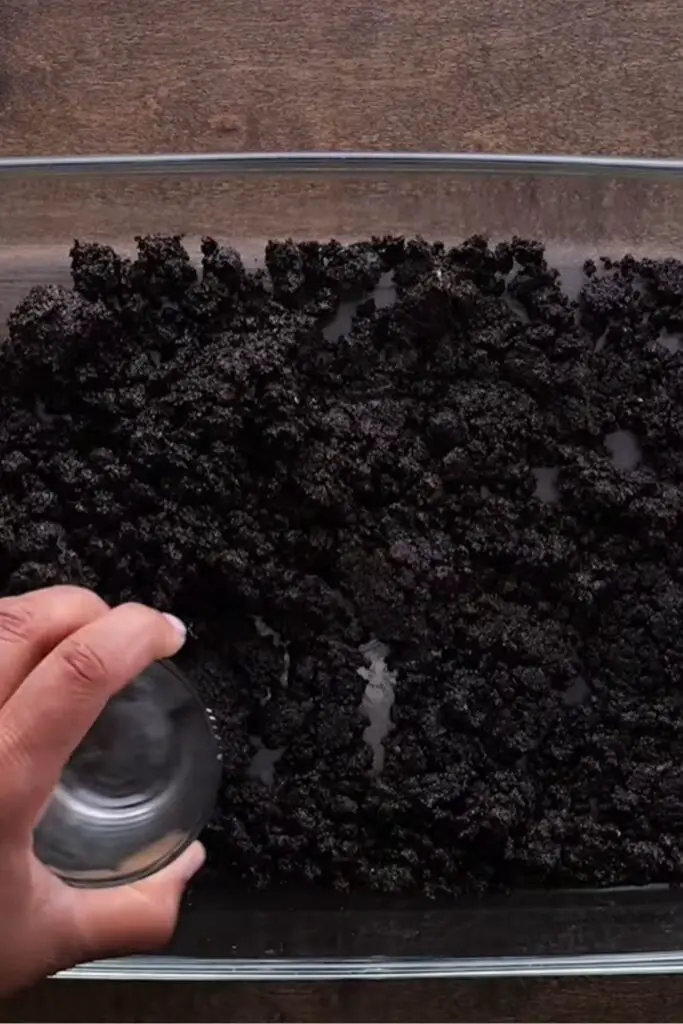
- Press into the bottom of a 9×13-inch dish. You want it firm enough to hold, but not packed too tight. Pop it into the fridge while you prep the filling.
Cream Cheese Layer
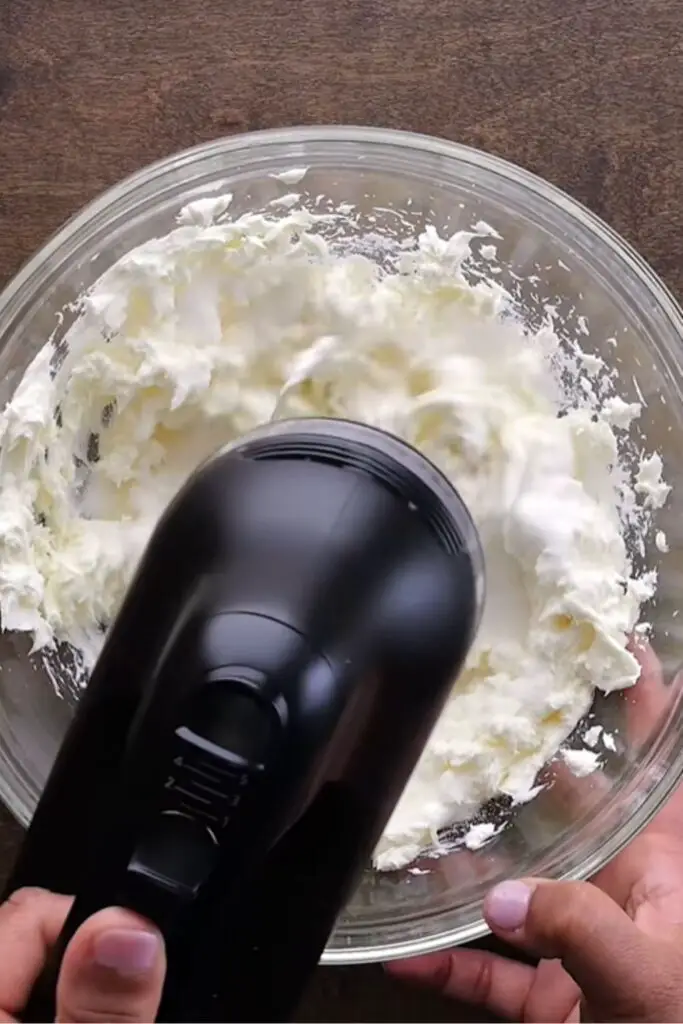
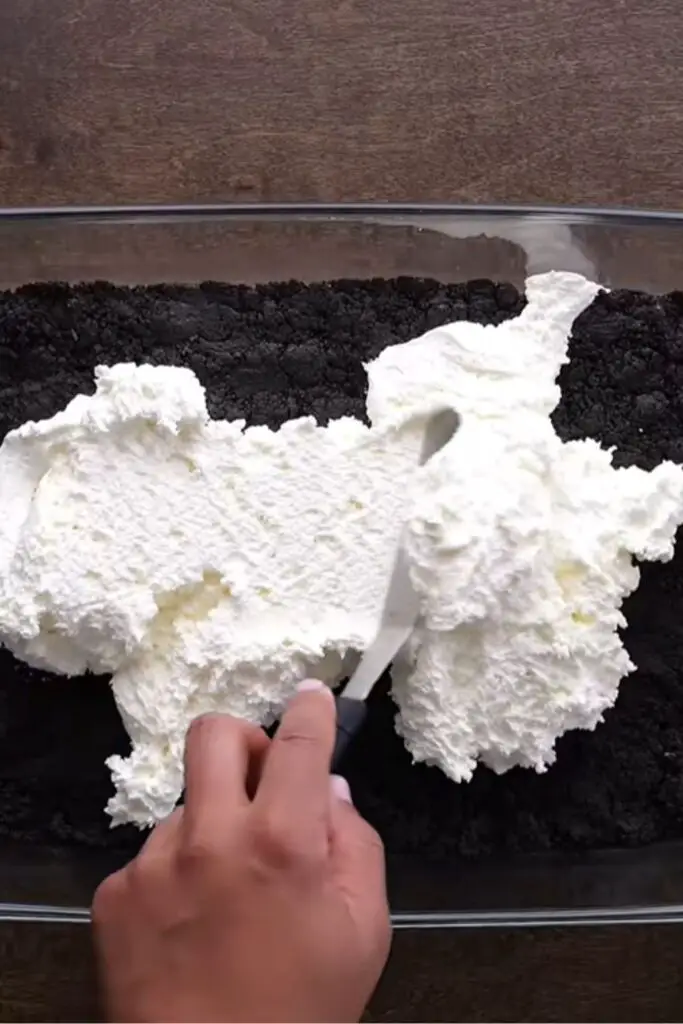
- Beat softened cream cheese until smooth. Add powdered sugar and half of the whipped topping.
- Spread carefully over the chilled crust. It should glide across without pulling up crumbs.
Pudding
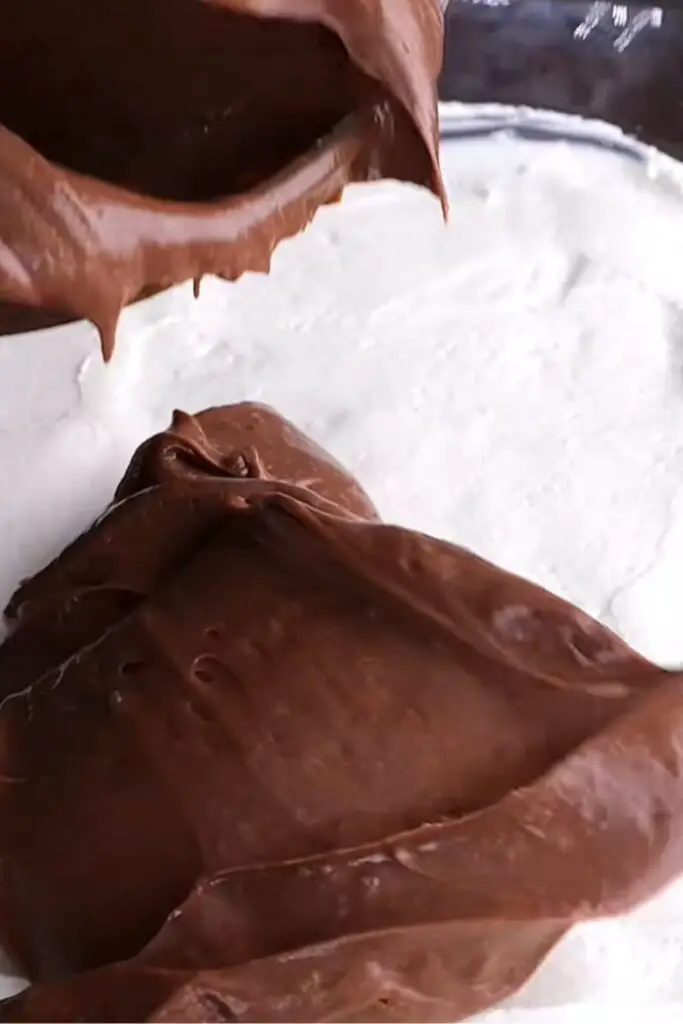
- Whisk the pudding mix with cold milk until thickened. The texture should feel silky and cling to the back of your spoon.
- Spread evenly over the cream cheese layer.
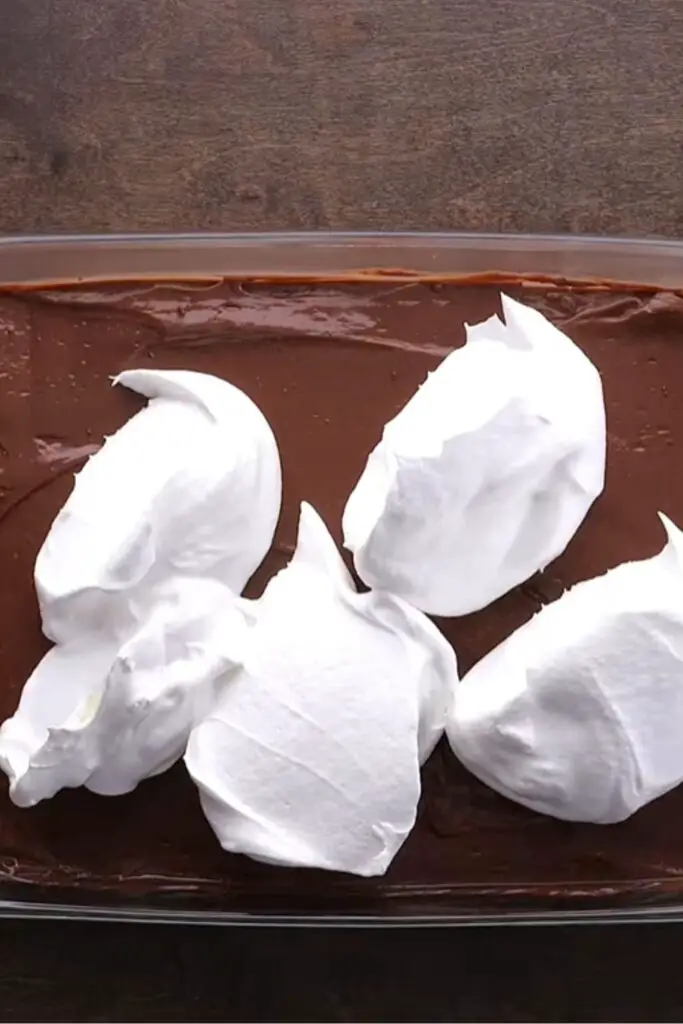
Final Topping
- Spread the remaining whipped topping over the pudding. Smooth it with a spatula so the top looks fluffy and inviting.
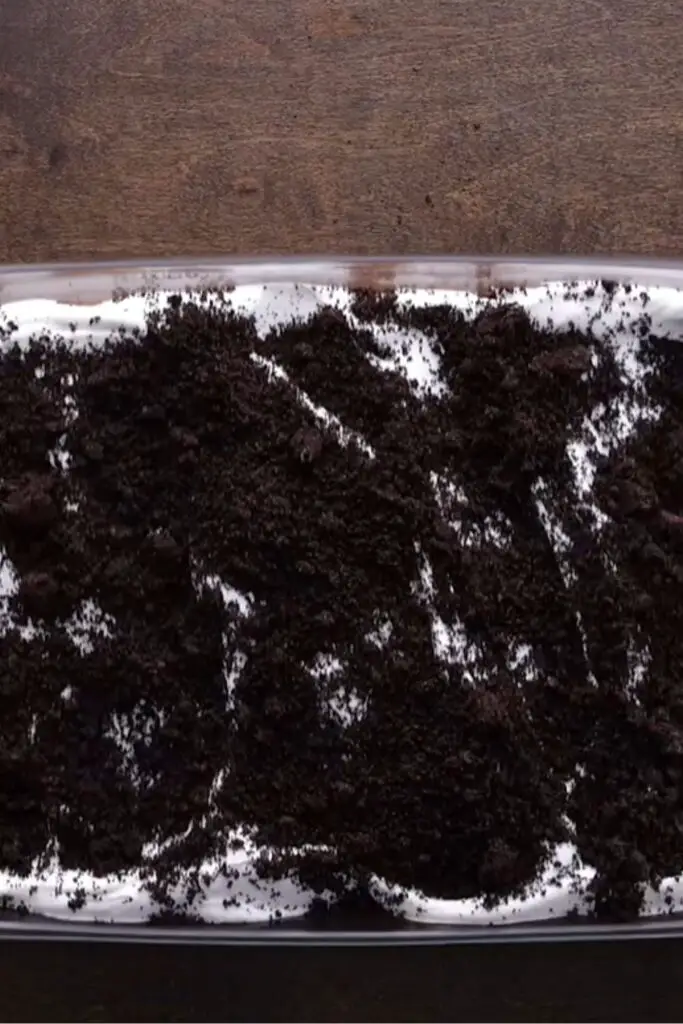
- Crush a few more Oreos and scatter them on top.
Chill & Serve

- Refrigerate for at least 4 hours. Overnight is best if you have the patience.
- Cut into neat squares or scoop with a big spoon for a more rustic feel.
Every time I pull it out of the fridge, my family hovers nearby, asking, “Is it ready yet?” And honestly, it never lasts long.
Serving Ideas
Oreo Delight is one of those desserts that fits in anywhere. I’ve served it at summer cookouts, tucked it into birthday spreads, and even brought it along to Thanksgiving when I needed something quick but impressive.
- For a backyard BBQ: Serve it straight from the dish with a big spoon. There’s something casual and fun about scooping into the layers.
- For holidays or parties: Cut it into clean squares and top each one with half an Oreo for a polished, bakery-style look.
- For kids’ sleepovers: Layer it into individual mason jars or cups—less mess and easier portion control.
- For a fancier twist: Drizzle melted chocolate or caramel over the top before serving. The glossy finish makes it look decadent without extra work.
No matter how you serve it, this dessert always seems to disappear before anything else on the table.
More Pro Notes & Mistakes to Avoid
Even though Oreo Delight is easy, there are a few little things that can make a big difference. I’ve stumbled into most of these mistakes myself, so let me save you the trouble.
- Mistake: Not chilling long enough.
The layers won’t hold, and you’ll end up with a gloopy mess. Patience pays off. - Mistake: Using skim milk for the pudding.
It just doesn’t set as firmly. Stick with whole milk or at least 2%. - Mistake: Over-crushing the topping Oreos.
I once blitzed them into powder, and the top looked like dark dirt. Leave some bigger chunks—it adds texture and looks better. - Pro Note: Try flavored Oreos.
Golden, mint, or peanut butter Oreos change the whole character of the dessert. The peanut butter version was such a hit with my nephew, he begged me to make it for his birthday instead of cake. - Pro Note: Freeze it for a summer treat.
Just 30 minutes in the freezer before serving makes the layers extra firm and refreshing, almost like an Oreo ice cream bar.
Storing & Making Ahead
This dessert is a dream when it comes to storage and prep.
- In the fridge: Cover tightly with plastic wrap or a lid. It’ll keep for up to 4 days, though the crust softens over time.
- In the freezer: Wrap tightly in plastic and foil. It lasts about 1 month. Thaw in the fridge overnight before serving.
- Make-ahead: You can prep it a day in advance, which makes it perfect for holidays or potlucks when oven space is scarce.
I’ve even frozen individual squares in small containers, and they made the best late-night treat when a chocolate craving hit.
Print
Oreo Delight Recipe
- Total Time: 4 hours 30 minutes
- Yield: 12–15 1x
- Diet: Vegetarian
Description
Oreo Delight is a creamy, layered dessert made with crushed Oreos, cream cheese, chocolate pudding, and whipped topping. It’s sweet, crunchy, and fluffy all at once—a guaranteed favorite at any gathering. Best of all, it comes together quickly and doesn’t require turning on the oven.
Ingredients
- 36 Oreo cookies, crushed (about 3 cups)
- ½ cup unsalted butter, melted
- 8 oz cream cheese, softened
- 1 cup powdered sugar
- 16 oz whipped topping (like Cool Whip), thawed and divided
- 2 packages (3.9 oz each) instant chocolate pudding mix
- 3 ¼ cups cold milk
- Extra Oreos for garnish (about 6–8, crumbled)
Instructions
- Crush Oreos into fine crumbs. Mix with melted butter and press into a 9×13-inch dish. Chill.
- Beat softened cream cheese until smooth. Add powdered sugar and 8 oz of whipped topping. Spread evenly over crust.
- In another bowl, whisk pudding mixes with cold milk until thickened. Spread over cream cheese layer.
- Spread remaining whipped topping evenly on top.
- Sprinkle with extra crushed Oreos for garnish.
- Refrigerate at least 4 hours or overnight before serving.
Notes
- For a firmer texture, freeze for 30 minutes before slicing.
- Swap chocolate pudding for vanilla or pistachio to change the flavor.
- Add a drizzle of chocolate syrup over the top for extra richness.
- Prep Time: 25 minutes
- Cook Time: 4 hours (or overnight)
- Category: Dessert
- Method: No-Bake
- Cuisine: American
Nutrition
- Serving Size: 12–15
- Calories: 310
- Sugar: 24g
- Sodium: 290mg
- Fat: 18g
- Saturated Fat: 9g
- Unsaturated Fat: 7g
- Trans Fat: 0g
- Carbohydrates: 36g
- Fiber: 1g
- Protein: 4g
- Cholesterol: 28mg