No Bake Oreo Dessert Recipe
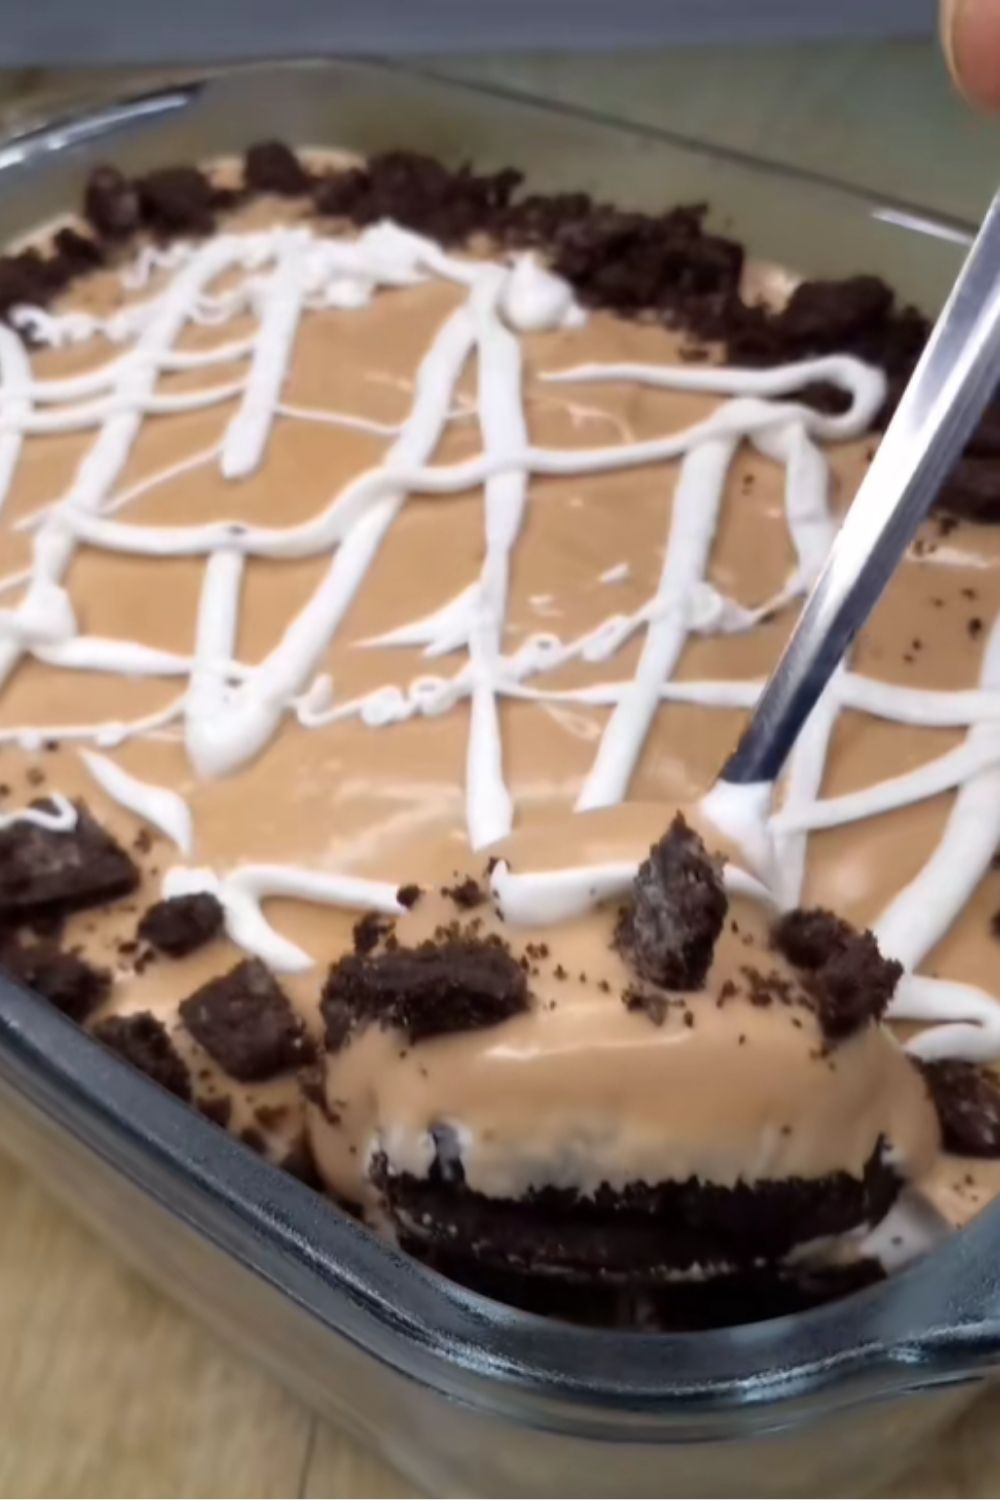
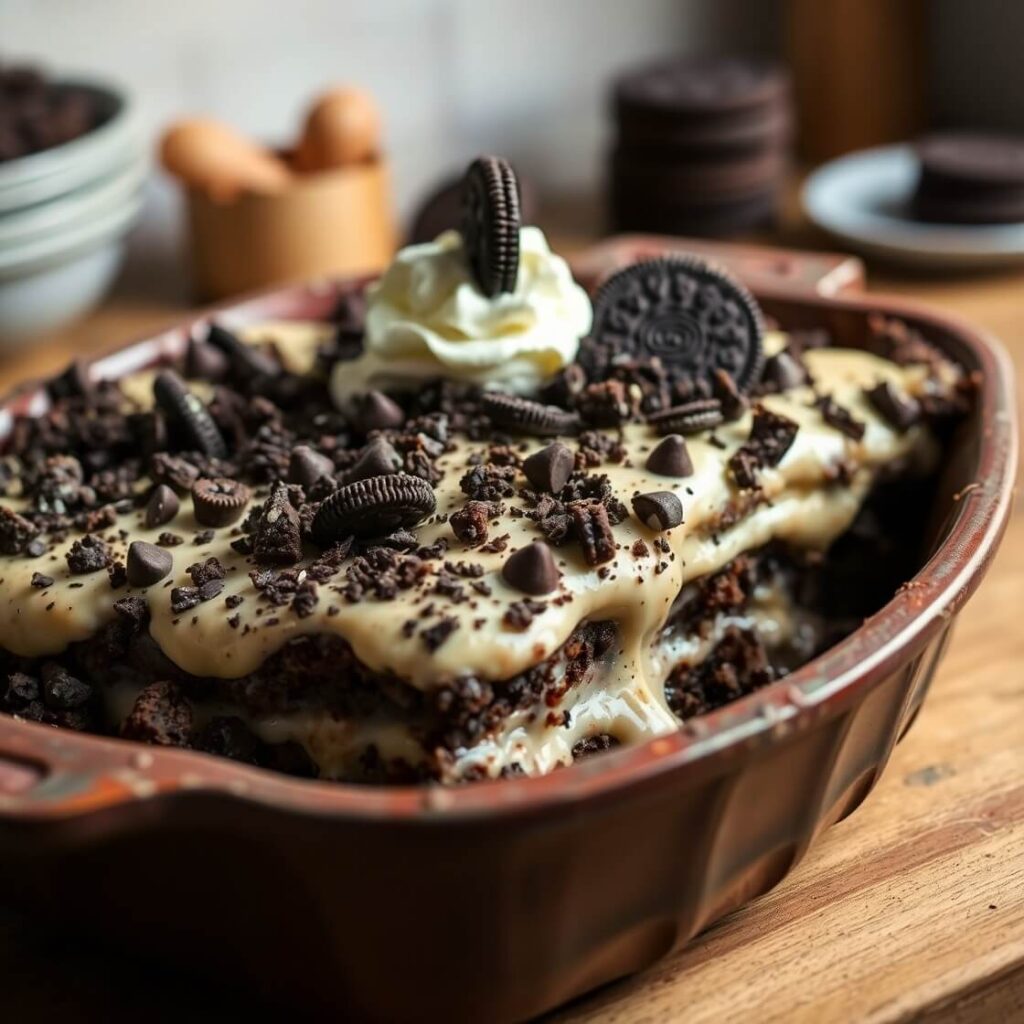
This No Bake Oreo Dessert is everything you crave on a warm day rich, creamy, and unapologetically chocolatey, all without ever touching the oven. It starts with a buttery Oreo crust, followed by layers of sweetened cream cheese, chocolate pudding, fluffy whipped topping, and plenty of crushed Oreos. Every bite has that perfect mix of crunch and cream that makes it irresistible.

Inspired by my mom’s simple Oreo-and-cream trick from childhood, this version feels a little more grown up perfect for potlucks, holidays, or any night you want an easy dessert that still impresses. The best part? It’s quick to assemble, chilled to perfection in the fridge, and dangerously tempting to sneak a bite before it’s ready.
What You’ll Need on Hand
I always say that desserts with only a few ingredients demand good choices. This Oreo dessert is no exception. Here’s how I think about each one:
- Oreos: The star of the show. You’ll need them both crushed for the crust and broken into pieces for the topping. Store brand chocolate sandwich cookies work in a pinch, but there’s something about classic Oreos that makes this shine.
- Butter: Unsalted butter binds the crust and gives it richness. Melt it until fully liquid so it coats the crumbs evenly.
- Cream Cheese: This adds tang and creaminess. Room temperature cream cheese is key cold cream cheese will clump, and no one wants a lumpy layer.
- Powdered Sugar: Dissolves smoothly into the cream cheese, creating that silky texture.
- Instant Pudding: Chocolate or vanilla both work, depending on your mood. Chocolate makes it extra decadent, while vanilla lets the Oreo flavor stand out.
- Milk: For the pudding layer, whole milk gives the best texture, but 2% works fine too.
- Whipped Topping: You can whip heavy cream if you’d like, but for convenience, a tub of Cool Whip keeps the recipe simple and reliable.
A quick tip: If you’re making this for guests, reserve a handful of Oreos to crush right before serving. Freshly crushed cookies sprinkled on top keep their crunch longer than those that sit in the fridge.
Let Me Show You How to Make No Bake Oreo Dessert Recipe
I’ve made this dessert countless times, and every time I do, I pay attention to the small cues the sound of Oreos crunching in the food processor, the way the cream cheese softens under the mixer, the smell of chocolate pudding as it thickens. Those details are how you know it’s coming together just right.
Step 1: Build the Crust
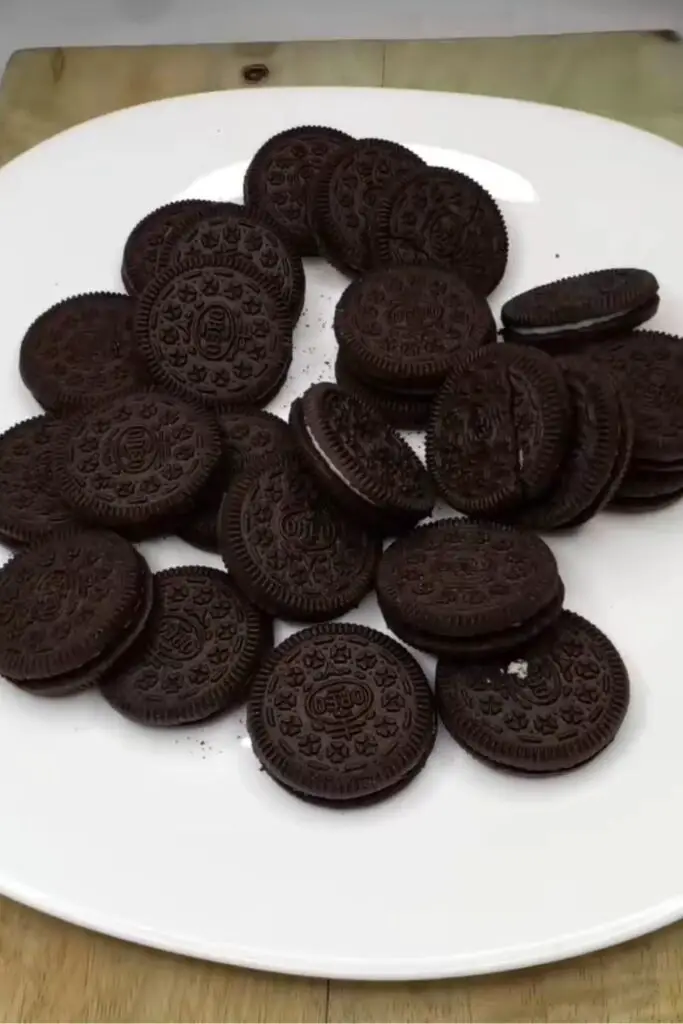


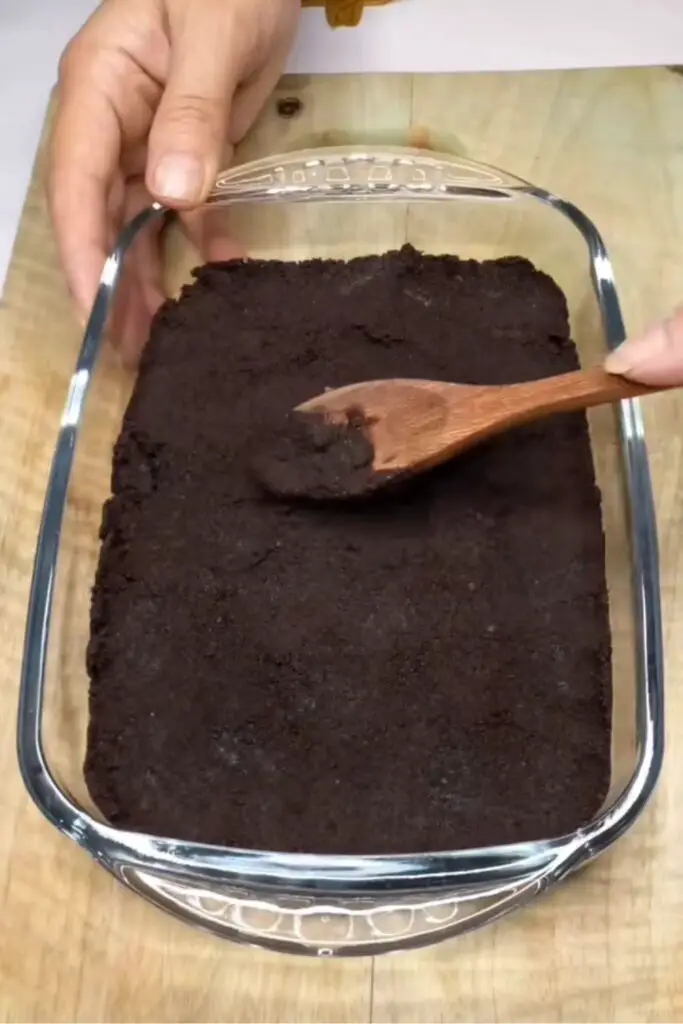
Crush 25–30 Oreos into fine crumbs. A food processor makes this easy, but a rolling pin and a zip-top bag work too (and make the kitchen smell amazing). Mix with melted butter until the crumbs are evenly coated, then press firmly into the bottom of a 9×13-inch dish. Use the flat bottom of a glass to press it helps create a tight, sturdy crust. Chill while you prepare the filling.
Step 2: Whip the Cream Cheese Layer
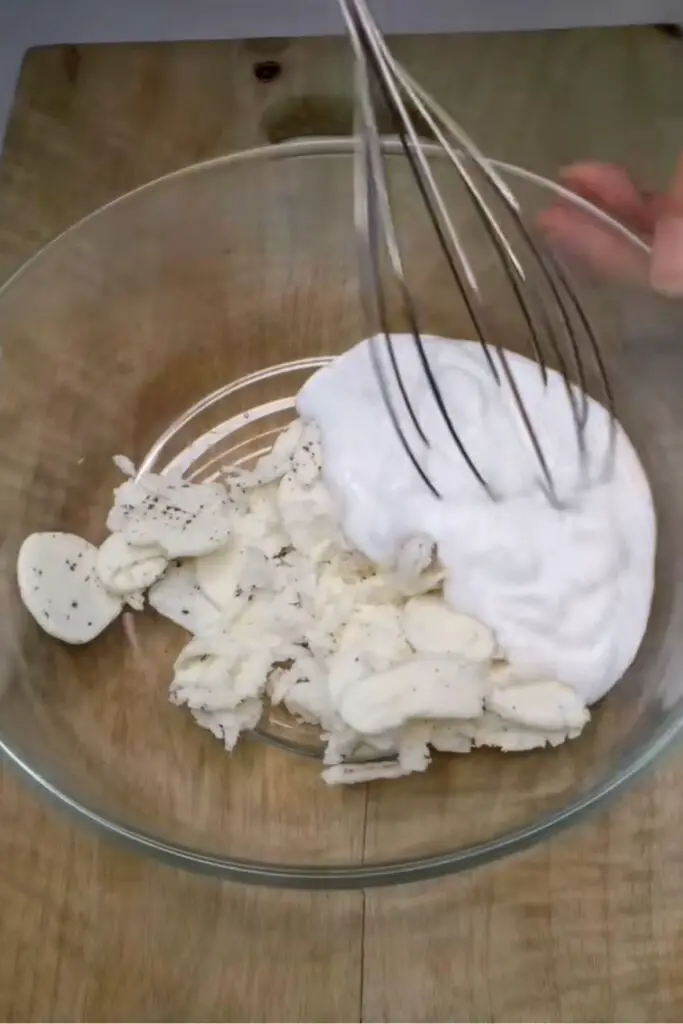

In a mixing bowl, beat softened cream cheese until smooth. Add powdered sugar and a spoonful of whipped topping, mixing until light and creamy. Spread this over the chilled crust. The trick is to spread gently so the crust stays in place.
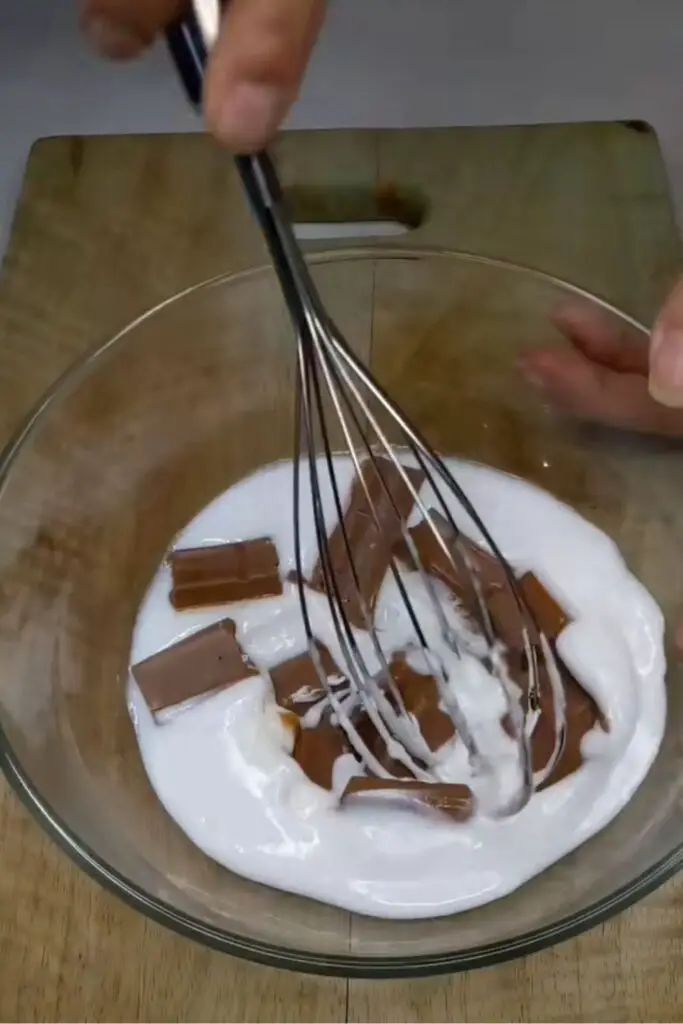
Step 3: Mix the Pudding
Whisk the instant pudding mix with cold milk until thickened. This step takes about 2 minutes, and you’ll notice it transforming from watery to creamy. Spread it carefully over the cream cheese layer.

Step 4: Add the Whipped Topping
Spread the remaining whipped topping over the pudding layer. Smooth with an offset spatula or the back of a spoon. This is the “blank canvas” for your final touch.
Step 5: Finish with Oreos
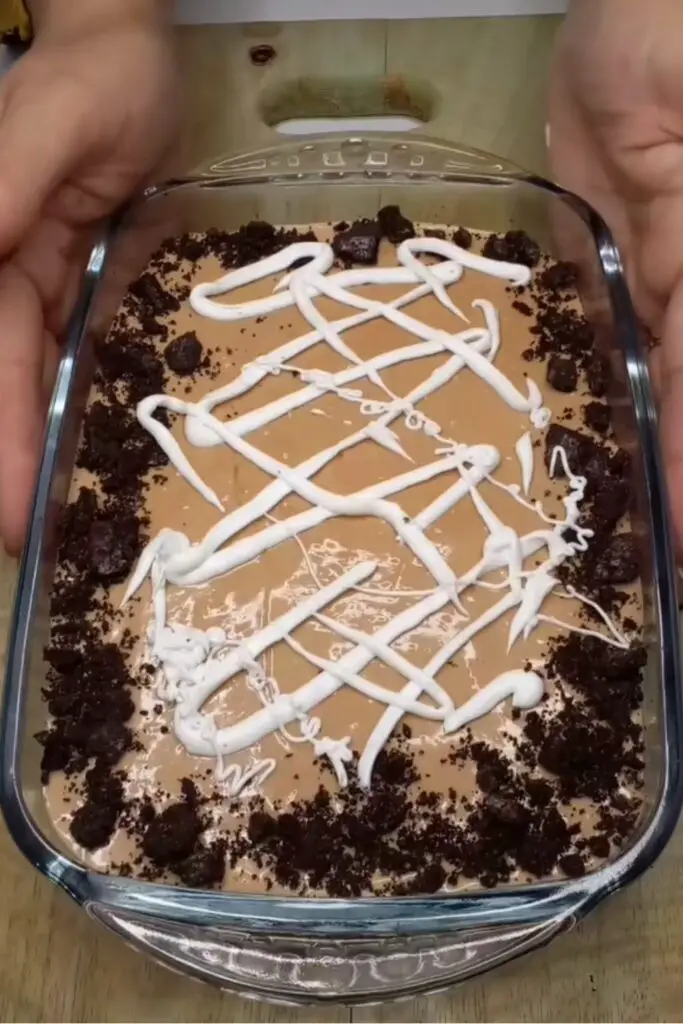
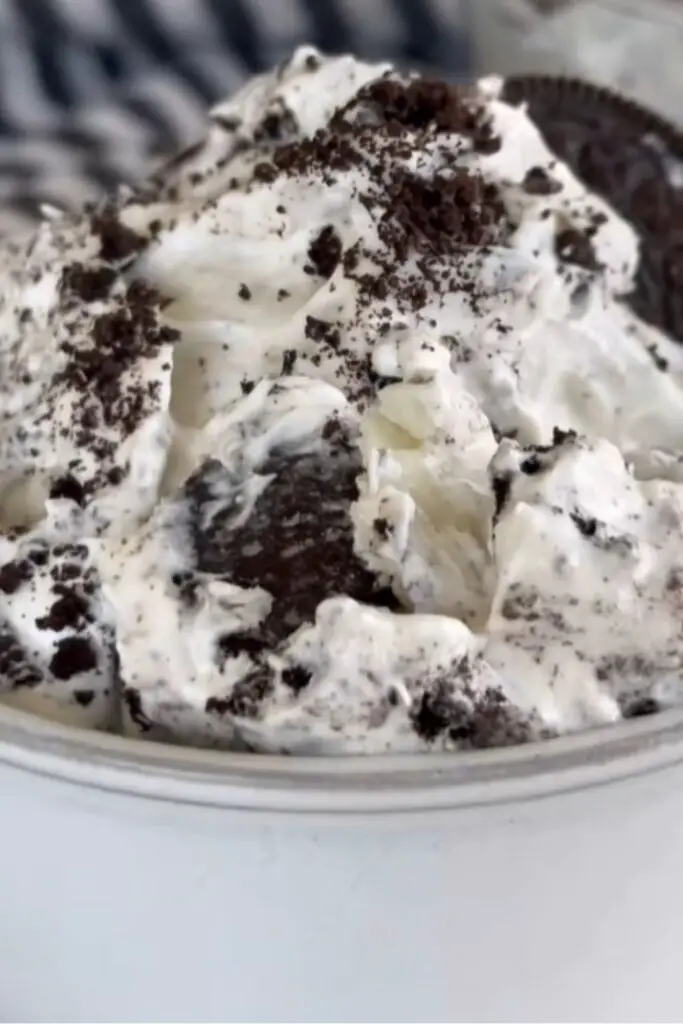
Crush or chop a few Oreos and sprinkle them generously over the top. Sometimes I crumble them into fine bits; other times, I leave chunky pieces for more texture. Both ways work beautifully.
Step 6: Chill and Serve
Refrigerate for at least 4 hours, though overnight is even better. When you cut into it, you’ll see those distinct layers—dark crust, creamy middle, fluffy top—all holding together like a slice of Oreo heaven.
Substitutions & Adaptations
What I love most about this dessert is how flexible it is. With just a few swaps, you can adapt it for almost any table:
- Gluten-Free: Use gluten-free chocolate sandwich cookies (many brands make them now) for the crust and topping.
- Vegan: Substitute vegan cream cheese, dairy-free whipped topping, and plant-based milk. Oreos themselves are already dairy-free, so the swap is easier than you think.
- Kid-Friendly Twist: Layer in mini chocolate chips, sprinkles, or even a drizzle of chocolate syrup between layers. Kids love “helping” with this part.
- Holiday Version: Around Christmas, I like to crush a few peppermint candies into the topping. In summer, fresh raspberries on top make it feel lighter.
The base recipe is a canvas. Once you know the method, the variations are endless.
Serving Ideas to Make It Shine
I’ll admit it: this dessert is just as good eaten straight from the pan with a spoon as it is dressed up for company. But when you’re serving guests—or just want to make it feel special—presentation makes all the difference.
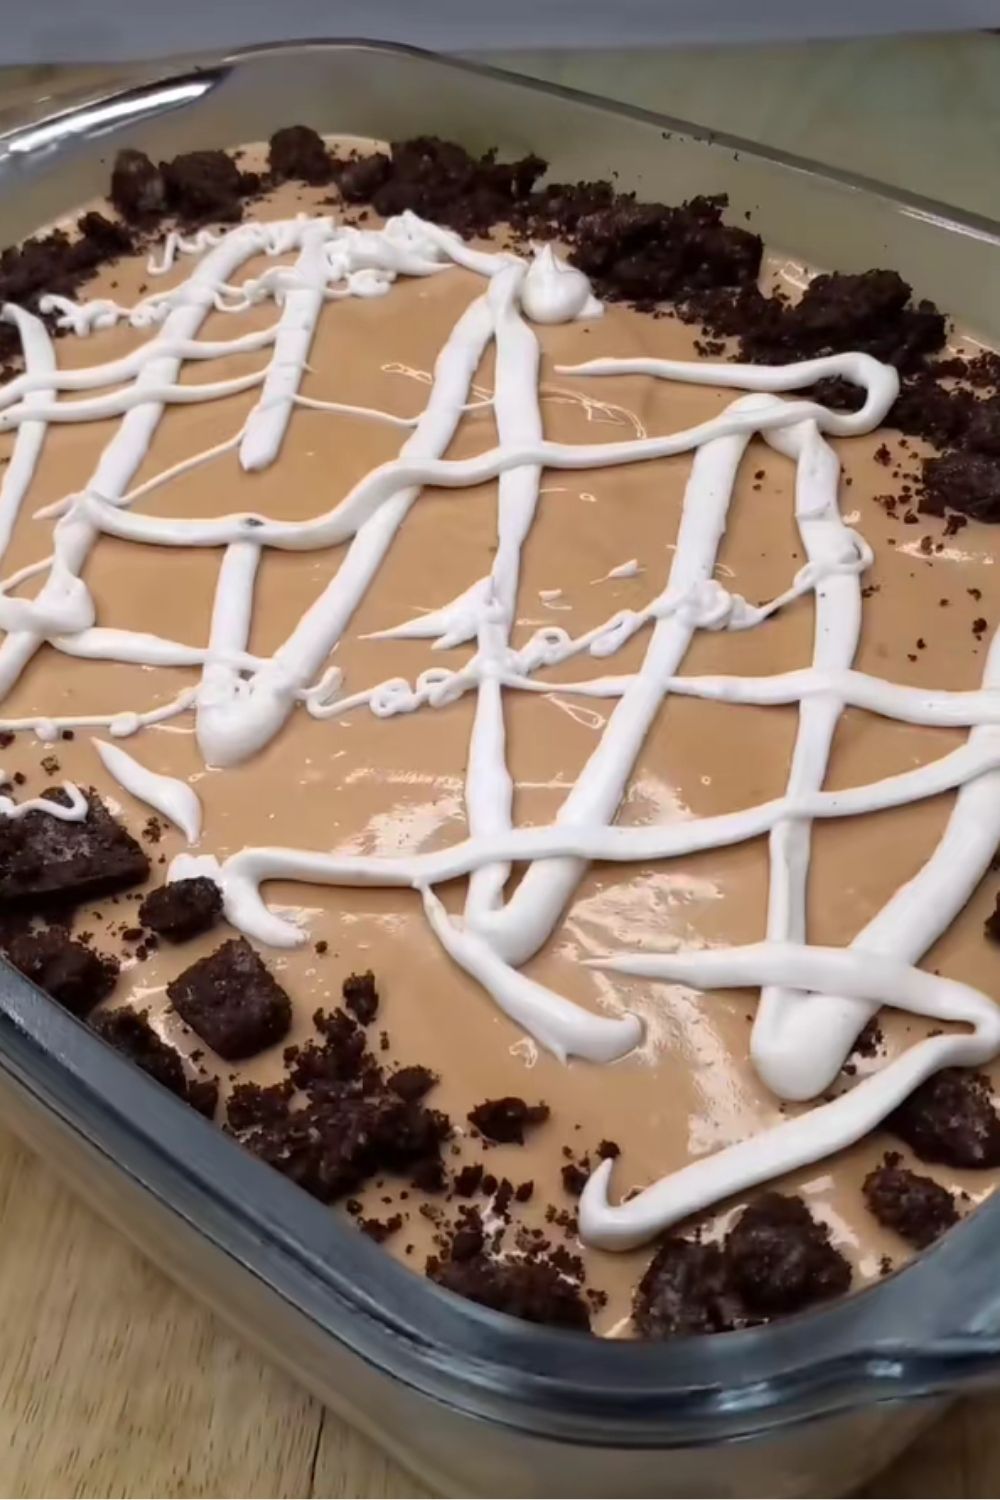
One of my favorite tricks is using clear glass dishes. A trifle bowl or individual glass cups show off the beautiful layers, making each bite feel like a little piece of art. If you’re going casual, cut the dessert into neat squares and wipe the knife clean between slices. That way, you’ll keep those Oreo, cream, and pudding layers distinct and photo-worthy.
For garnishes, crushed Oreos are the obvious choice, but don’t stop there. A drizzle of chocolate sauce zigzagged across the top instantly makes it bakery-worthy. Fresh berries add color and a touch of tartness, balancing all the creaminess. If you’re hosting a holiday party, a sprinkle of crushed candy canes or shaved white chocolate can transform it into a festive centerpiece.
Pro Notes & Mistakes I’ve Made
The first time I made this dessert, I thought pressing the crust lightly would be enough. Big mistake. When I sliced into it later, half the crust crumbled onto the plate, leaving the creamy layers floating above a pile of cookie rubble. I learned quickly that pressing the crust firmly (using the bottom of a glass or measuring cup) is non-negotiable.
Another lesson: don’t rush the chilling time. It’s tempting to slice into it after an hour, especially when the kitchen already smells like chocolate. But if you don’t give the layers enough time to firm up, you’ll end up with a messy scoop instead of clean squares. Four hours is the absolute minimum, but overnight is when the magic really happens.
Finally, make sure your cream cheese is at room temperature before you start mixing. Cold cream cheese leaves lumps no matter how long you beat it, and those little clumps never really disappear once the dessert is layered.
Storage and Make-Ahead
One of the best things about this dessert is that it’s just as good the next day—sometimes even better.
- Refrigerator: Store tightly covered in the fridge for up to 4 days. The layers stay creamy, and the crust holds up surprisingly well. The top layer of Oreos may soften, but that only makes the whole thing taste more like Oreo cake.
- Freezer: If you want to make it ahead, this dessert freezes beautifully. Wrap tightly with plastic wrap and foil, and freeze for up to 2 months. Thaw overnight in the fridge before serving.
- Make-Ahead Tip: Prepare the crust and cream cheese layer the night before, then add pudding, whipped topping, and crushed Oreos the next day. It’s a great way to split up the work if you’re planning for a party.
FAQs
Can I use homemade whipped cream instead of Cool Whip?
Absolutely. Just whip heavy cream with a bit of powdered sugar until soft peaks form. The texture is lighter and fresher, though it won’t hold as long as Cool Whip.
What flavor pudding works best?
Chocolate is the most decadent, but vanilla, cheesecake, or even Oreo-flavored pudding all work beautifully. If you want a twist, try layering half chocolate and half vanilla.
Can I make this in individual servings?
Yes! Mason jars, small cups, or dessert glasses make adorable single-serve portions. They’re great for parties, and kids love having their own little jar.
Will the crust get soggy?
Not if it’s pressed firmly and chilled properly. Over several days, it does soften slightly, but that makes the dessert taste like Oreo icebox cake—which isn’t a bad thing at all.

No bake oreo dessert Recipe
- Total Time: 4 hours 25 minutes
- Yield: 12–15 1x
- Diet: Vegetarian
Description
This no bake Oreo dessert is a dreamy layered treat with a buttery Oreo crust, creamy cheesecake filling, chocolate pudding, fluffy whipped topping, and plenty of crushed Oreos on top. It’s rich but light, simple yet elegant, and best of all—no oven required. Perfect for summer gatherings, holiday potlucks, or whenever you’re craving something chocolatey without turning on the stove.
Ingredients
- 36 Oreo cookies, divided (about 25 for crust, 11 for topping)
- 6 tablespoons unsalted butter, melted
- 8 ounces cream cheese, softened
- 1 cup powdered sugar
- 16 ounces whipped topping (Cool Whip), divided
- 2 packages (3.9 oz each) instant chocolate pudding mix
- 3 ¼ cups cold milk
Instructions
- Crush 25 Oreos into fine crumbs. Mix with melted butter and press firmly into the bottom of a 9×13-inch dish. Chill.
- Beat softened cream cheese until smooth. Add powdered sugar and 1 cup whipped topping, mixing until creamy. Spread over crust.
- Whisk pudding mixes with cold milk until thickened. Spread over cream cheese layer.
- Spread remaining whipped topping over pudding.
- Crush or chop remaining Oreos and sprinkle over top.
- Chill at least 4 hours (overnight preferred) before slicing and serving.
Notes
- Use a flat-bottomed glass to press the crust firmly—this prevents crumbling.
- For a lighter twist, try vanilla pudding instead of chocolate.
- Individual jars make perfect party servings.
- Prep Time: 25 minutes
- Cook Time: 4 hours
- Category: Dessert
- Method: No Bake
- Cuisine: American
Nutrition
- Serving Size: 12–15
- Calories: 345
- Sugar: 26g
- Sodium: 280mg
- Fat: 19g
- Saturated Fat: 9g
- Unsaturated Fat: 8g
- Trans Fat: 0g
- Carbohydrates: 39g
- Fiber: 1g
- Protein: 4g
- Cholesterol: 28mg