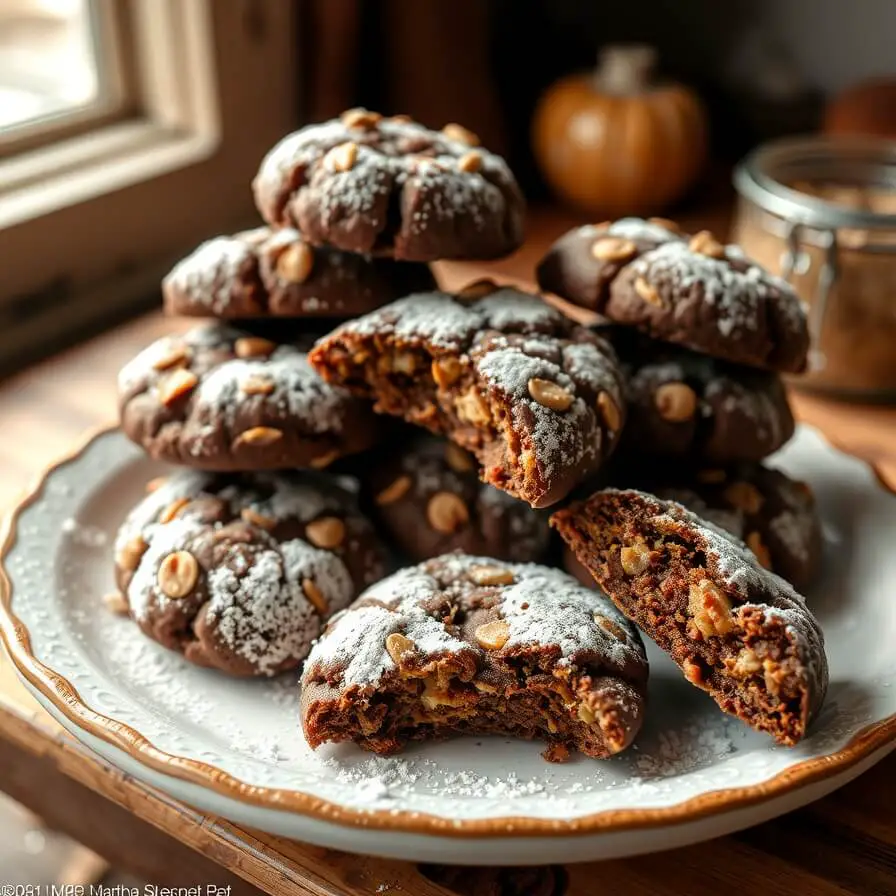
No-Bake Avalanche Cookies Recipe

I still remember the first time I made these No-Bake Avalanche Cookies. It was a hectic Sunday afternoon, and the kids were bouncing off the walls with boredom. I wanted something quick, messy, and fun—something that could double as a snack and a little adventure. That’s when I stumbled upon this recipe, tucked away in an old family cookbook.
What I loved most wasn’t just how quickly they came together; it was the sense of anticipation as we stirred, scooped, and watched the cookies take shape. There’s something inherently magical about no-bake treats—they don’t require an oven, and somehow, that simplicity makes the end result even sweeter. My kids’ eyes lit up when I plopped the first avalanche cookie onto a plate, and I knew this recipe was going to become a staple in our home.
These cookies aren’t just about taste; they’re about the experience—chocolatey, crunchy, and delightfully messy. The combination of oats, chocolate, and a touch of peanut butter is irresistible. I love that they’re easy enough to whip up on a busy weekday yet impressive enough to serve when friends drop by. Trust me, once you try them, they’ll quickly become your “go-to” for any cookie craving.
Why I Love This Recipe
There are countless cookies out there, but the No-Bake Avalanche Cookies hold a special place in my heart. First, they’re incredibly forgiving. I don’t have to worry about my oven being too hot or the cookies spreading too much—these come together perfectly every time. They are wonderfully textured, with the oats giving a hearty bite and the chocolate providing the gooey richness that everyone loves.
What makes this recipe special is that it’s a blend of convenience and nostalgia. It harks back to those childhood afternoons when we’d sneak into the kitchen to nibble on a quick treat. And it’s versatile. I’ve experimented by tossing in dried cranberries, shredded coconut, or even mini marshmallows for a playful twist.
Another reason I adore this recipe is that it’s entirely customizable. You can make it nut-free, add extra chocolate, or make them bite-sized for lunchboxes. These cookies aren’t just sweets—they’re a canvas for creativity. Plus, the clean-up is minimal, and in today’s busy life, that’s nothing short of a blessing.
Ingredients for No-Bake Avalanche Cookies
Making these cookies starts with pantry staples you probably already have. The base is classic rolled oats, which gives them a lovely texture. Quick oats work too, but old-fashioned oats provide a chewier, heartier bite. For the chocolate element, I prefer semi-sweet chocolate chips because they offer a perfect balance between sweet and slightly bitter. But feel free to mix in milk chocolate if you’re after a sweeter treat.
Peanut butter is non-negotiable here—it’s the glue that binds everything together and adds a nutty richness. I usually go for creamy, but chunky adds a fun texture contrast. You’ll also need a bit of butter, sugar, and milk to create the luscious sauce that coats the oats and chocolate. A pinch of vanilla extract takes the flavor to the next level, giving the cookies that comforting homemade aroma. And finally, a sprinkle of salt to balance the sweetness—you don’t want to skip it.
Some variations I’ve tried include adding chopped nuts, coconut flakes, or even mini marshmallows to give that “avalanche” feel. It’s called that for a reason—the ingredients tumble together in a delightful chaos of flavors.
How Much Time Will You Need?
One of the things I love most about these cookies is how fast they come together. You’re looking at about 10–15 minutes of prep time and 20–30 minutes for them to set in the fridge. No waiting for an oven to preheat, no nervous hovering as cookies bake and sometimes burn. The total time is usually under an hour from start to finish.
Even better, you can multitask. While the cookies are chilling in the fridge, I like to clean up the kitchen, brew a cup of tea, or even start prepping dinner. By the time I’m done, the cookies are ready to enjoy. It’s quick, satisfying, and perfect for anyone juggling a busy schedule.
How to Make This No-Bake Avalanche Cookies
Step – 1: Prepare a baking sheet by lining it with parchment paper. This will prevent sticking and make cleanup effortless.
Step – 2: In a medium saucepan, combine sugar, milk, and butter. Heat over medium heat, stirring occasionally, until the mixture begins to boil. Once it reaches a gentle boil, let it cook for about one minute to ensure the sugar is fully dissolved.
Step – 3: Remove the saucepan from heat. Stir in the peanut butter and vanilla extract until smooth and creamy. This is the heart of your cookie—smooth, rich, and full of flavor.
Step – 4: Pour the hot mixture over the oats and chocolate chips in a large mixing bowl. Stir quickly but gently, ensuring every oat is coated in the luscious chocolate-peanut butter mixture. This is when the magic happens—the ingredients avalanche together beautifully.
Step – 5: Using a spoon or cookie scoop, drop small mounds of the mixture onto your prepared baking sheet. You can make them bite-sized or larger depending on your preference.
Step – 6: Let the cookies cool at room temperature for a few minutes, then transfer them to the fridge for at least 20–30 minutes to set.
Step – 7: Once set, serve immediately or store in an airtight container. The cookies should hold together but remain delightfully soft and chewy.
Substitutions
One of the best parts about this recipe is its flexibility. If you’re allergic to peanuts, almond or cashew butter works beautifully. You can swap regular chocolate chips for sugar-free or vegan versions, and even use coconut milk instead of dairy milk for a lighter, dairy-free option.
For oats, gluten-free rolled oats can make this recipe entirely gluten-free. If you prefer a crunchier texture, add some chopped nuts or crispy rice cereal. Every substitution brings a slight twist, allowing you to make the recipe uniquely yours while still keeping the integrity of the original avalanche idea.
Best Side Dishes for No-Bake Avalanche Cookies
While these cookies are delightful on their own, pairing them with something else can elevate the experience. A scoop of vanilla ice cream turns them into a decadent dessert.
A simple glass of cold milk is the ultimate classic pairing—it balances the sweetness and makes for a nostalgic snack.
For a fancier twist, serve alongside fresh berries or a fruit salad; the tartness of the fruit complements the chocolatey richness perfectly.
Serving and Presentation Tips
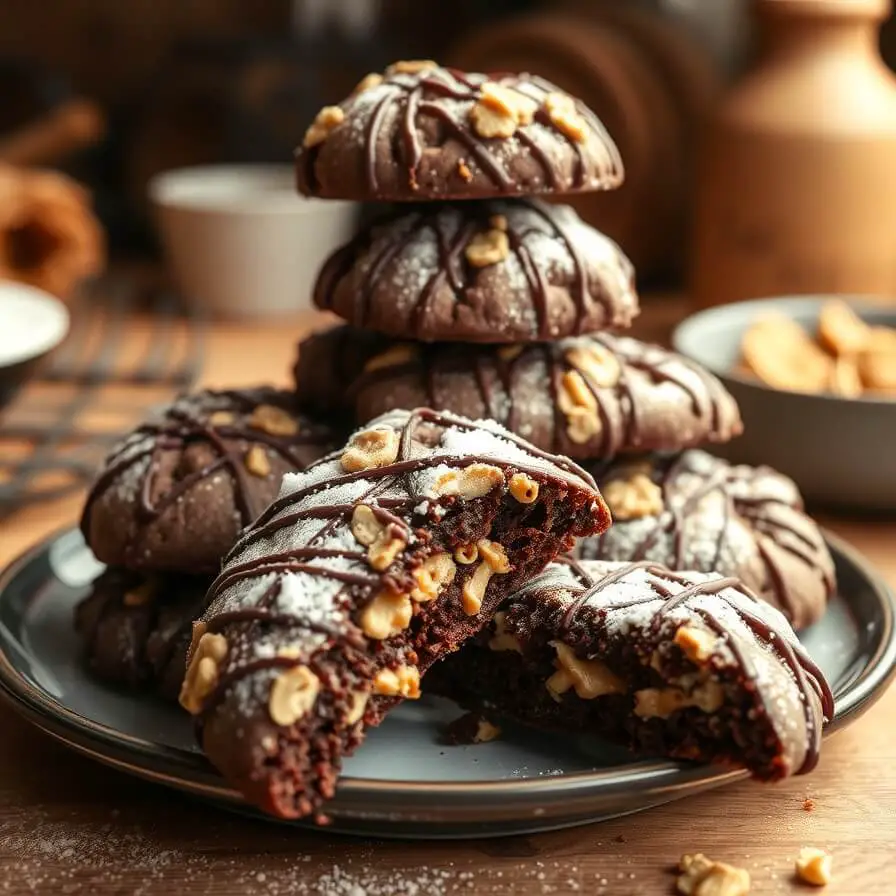
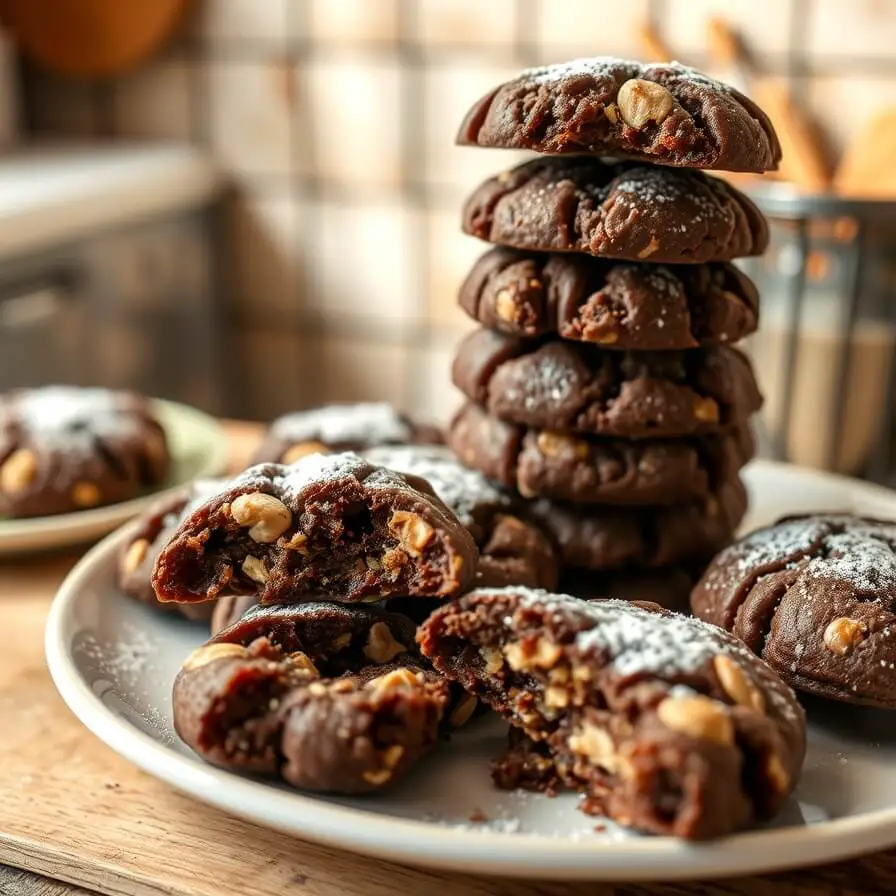
When it comes to serving No-Bake Avalanche Cookies, presentation makes a big difference. I love arranging them on a rustic wooden platter or a colorful ceramic plate to make them feel extra special. A simple sprinkle of powdered sugar on top can mimic a “snowy avalanche” effect, making them visually playful and appealing.
If you’re serving these at a party, I like to stack them in small towers or place them in cupcake liners for easy grab-and-go treats. Pairing them with a small bowl of fruit or a drizzle of chocolate sauce adds elegance without complicating things. Even just a neatly folded napkin and a cup of milk nearby turns an ordinary snack into a charming, indulgent moment.
Tips and Tricks to Make This Recipe Even Better
Here’s where a few insider tricks can elevate your cookies from good to absolutely irresistible. First, don’t skimp on stirring the oats and chocolate mixture—every bite should have that perfect balance of chocolate and peanut butter.
Next, consider using a mix of semi-sweet and milk chocolate chips. This creates depth in the chocolate flavor, preventing it from being overly sweet or one-dimensional.
If you like extra texture, fold in chopped nuts, coconut flakes, or mini marshmallows after mixing in the chocolate sauce. I sometimes even add a pinch of cinnamon or espresso powder to deepen the flavor.
Another tip is to slightly under-scoop your cookies. They set firmer and are easier to handle after chilling. Finally, don’t rush the chilling time—allow them at least 20–30 minutes, or even an hour if you prefer firmer cookies. Patience here makes a huge difference in texture.
Common Mistakes to Avoid
Even the simplest recipes can trip us up if we’re not careful. One common mistake is letting the chocolate and peanut butter mixture sit too long before combining with the oats. It can start to harden, making the mixture difficult to stir.
Another pitfall is skipping the parchment paper on your baking sheet. Without it, the cookies can stick, and removal becomes tricky.
Overfilling your scoops is also a common issue; large mounds can become too thick to set properly, leaving you with a gooey mess. Finally, using the wrong oats can affect texture—instant oats can make the cookies too soft, while old-fashioned oats provide the perfect chewy consistency.
How to Store No-Bake Avalanche Cookies
Storage is straightforward but important to maintain freshness. Place the cookies in an airtight container and keep them in the fridge—they’ll last up to a week. If you want to enjoy them at room temperature, take them out 15–20 minutes before serving.
For longer storage, these cookies freeze beautifully. Layer parchment paper between batches in a freezer-safe container, and they can last up to three months. When ready to enjoy, let them thaw in the fridge or on the counter until soft but still firm.
FAQ About No-Bake Avalanche Cookies
Can I make these cookies nut-free?
Absolutely! Swap peanut butter for sunflower seed butter or a seed-based spread, and use nut-free chocolate chips.
Can I make these cookies vegan?
Yes! Use a plant-based butter, non-dairy milk, and vegan chocolate chips. The cookies taste just as decadent.
Can I make smaller bite-sized cookies?
Definitely. Using a teaspoon or small cookie scoop works perfectly for bite-sized treats. Just reduce chilling time slightly.
Do these cookies need to be refrigerated?
They do better in the fridge. It helps them set properly and keeps them from being too soft at room temperature.
Can I add extras like coconut or dried fruit?
Absolutely! I love tossing in shredded coconut, raisins, or mini marshmallows to give these cookies extra texture and flavor.

No-Bake Avalanche Cookies Recipe
- Total Time: 35–45 minutes
- Yield: 18–20 1x
- Diet: Vegetarian
Description
No-Bake Avalanche Cookies are the ultimate quick treat that combines chocolate, oats, and peanut butter in a chewy, melt-in-your-mouth bite. Perfect for a busy weekday snack or a weekend indulgence, they’re simple to make, fun to serve, and endlessly customizable. These cookies don’t require an oven, making them ideal for hot days or for those who want dessert in a flash. With minimal cleanup and a delightful texture, they’re a family favorite and a recipe you’ll return to again and again.
Ingredients
- 2 cups old-fashioned rolled oats
- 1 cup semi-sweet chocolate chips
- ½ cup creamy peanut butter
- ½ cup butter
- ½ cup granulated sugar
- ¼ cup milk
- 1 tsp vanilla extract
- Pinch of salt
Instructions
- Line a baking sheet with parchment paper.
- In a medium saucepan, heat butter, sugar, and milk over medium heat until boiling. Boil for 1 minute.
- Remove from heat and stir in peanut butter and vanilla until smooth.
- Pour the mixture over oats and chocolate chips in a mixing bowl. Stir until everything is coated.
- Drop spoonfuls of the mixture onto the prepared sheet.
- Chill in the fridge for 20–30 minutes to set.
Notes
- For a nut-free version, substitute peanut butter with sunflower seed butter.
- Add extras like coconut flakes, mini marshmallows, or chopped nuts for variety.
- Slightly under-scoop cookies for a firmer set.
- Prep Time: 10 minutes
- Cook Time: 20–30 minutes
- Category: Dessert / Snack
- Method: No-Bake
- Cuisine: American
Nutrition
- Serving Size: 18–20
- Calories: 180
- Sugar: 12g
- Sodium: 55mg
- Fat: 10g
- Saturated Fat: 5g
- Unsaturated Fat: 4g
- Trans Fat: 0g
- Carbohydrates: 20g
- Fiber: 2g
- Protein: 4g
- Cholesterol: 15mg