Amazingly Easy Irish Soda Bread Recipe
I’ll never forget the first time I tried Irish soda bread. It was a blustery March afternoon, the kind that makes you crave comfort from the inside out. I had just returned from a local farmers’ market in Boston, carrying a basket heavy with flour, butter, and tangy buttermilk. The bread stall at the market had a small handwritten sign: “Irish Soda Bread—Warm, Rustic, Simple.” I bought a loaf on a whim, and the aroma of baking wheat and a hint of sweetness clung to me as I walked home.
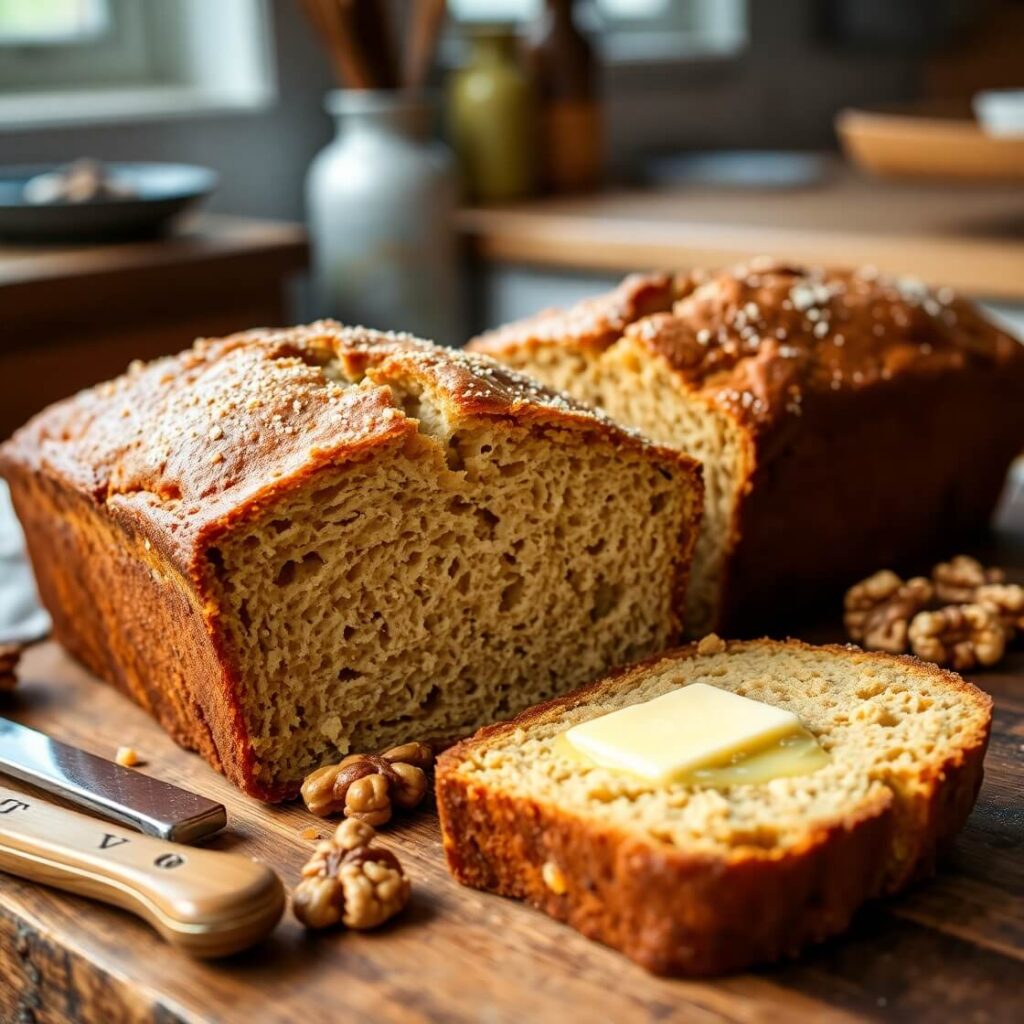
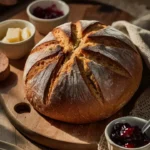
When I finally tore into that golden crust, the tender crumb inside was dense yet airy, almost pillow-like, with a subtle tang from the buttermilk. It wasn’t the fussy, artisanal bread you see in fancy bakeries—it was real, honest, homey. I knew I had to try making it myself. That first attempt was rough; my loaf cracked all the wrong ways, and the center was slightly undercooked. But the smell that filled my tiny kitchen was enough to tell me I was on the right track. Since then, Irish soda bread has become a quiet ritual in my home, especially around St. Patrick’s Day or when the wind bites a little too sharply outside.
Gather Your Ingredients
One of the things that makes Irish soda bread so approachable is the simplicity of ingredients. Here’s what you’ll need:
- All-purpose flour – Stick with a good-quality flour; it makes a noticeable difference in texture. You can also experiment with half whole wheat for a nuttier loaf.
- Baking soda – The secret agent that gives this bread its lift. Make sure it’s fresh—old soda yields a dense loaf.
- Salt – Just a pinch, enough to enhance flavor without overpowering.
- Buttermilk – Traditional, tangy, and tenderizing. If you don’t have any, a mix of milk and a splash of lemon juice works fine.
- Optional add-ins: Some people love raisins or currants folded into the dough for a sweet note. I tend to skip them for everyday baking, but they’re lovely for a festive loaf.
Shopping tip: when I grab buttermilk at the store, I check the fat content. Full-fat buttermilk gives a richer, moister crumb, while low-fat versions work fine but slightly alter the texture.
Overview: How to Make Irish Soda Bread
Here’s how I make my favorite version. Follow along, and you’ll soon recognize the signs that your dough is ready without obsessing over numbers.
- Preheat your oven to 425°F (220°C) and line a baking sheet with parchment paper. A hot oven ensures a lovely crust.
- Mix dry ingredients in a large bowl: 4 cups flour, 1 tsp baking soda, and 1 tsp salt. Stir until evenly combined.
- Add buttermilk gradually (about 1 ¾ cups). Use a wooden spoon or your hands to fold the dough until it just comes together. Sticky is okay; don’t overmix. I often wear an apron—this is the part where flour ends up on the counters and on me.
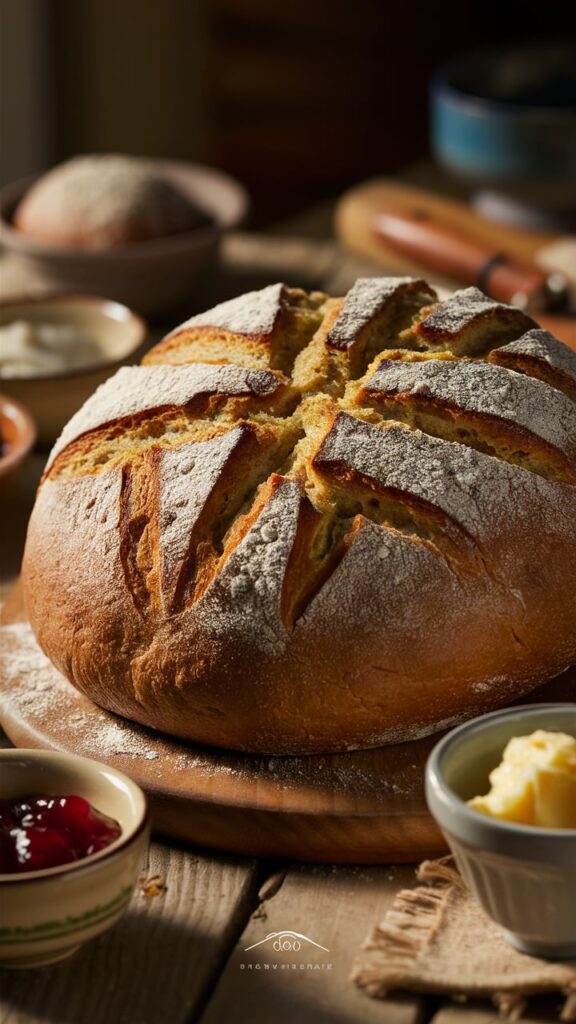
- Shape the dough into a round loaf. Place it on the prepared baking sheet and gently flatten it slightly. Using a sharp knife, cut a deep “X” into the top. This isn’t just decorative; it helps the bread expand and bake evenly.
- Bake for 40–45 minutes. The first time I baked it, I forgot the timer for a few minutes, and the crust browned faster than expected. The smell of caramelizing flour was heavenly and reminded me to keep a closer eye next time.
- Cool slightly on a wire rack. Soda bread is best warm but slices beautifully once it has rested for 10–15 minutes.
You’ll know it’s done when tapping the bottom produces a hollow sound. That first crack as you cut into it is pure satisfaction.
Storage and Make-Ahead Tips

One of the things I love about Irish soda bread is its flexibility. Unlike yeast breads that can get stale in a day, soda bread stays soft for a little longer if stored properly. I usually let my loaf cool completely before wrapping it in a clean tea towel or placing it in a paper bag. This keeps the crust crisp while the inside remains tender.
For longer storage, you can slice the bread and freeze it. I wrap each slice individually in parchment and then store them in a freezer bag. When I need a quick snack or breakfast, I just pop a slice in the toaster or oven for a few minutes. The aroma that fills the kitchen when frozen soda bread warms up is practically intoxicating.
A quick note: avoid sealing it in plastic at room temperature for too long. While it preserves moisture, it can soften the crust too much, and the bottom may get soggy. Paper bags or cloth wraps are the simple solution that keeps it authentic.
Cook’s Notes From My Kitchen
Even though Irish soda bread is forgiving, there are a few common missteps I’ve learned to watch out for:
- Overmixing the dough: I’ve done this more times than I care to admit. Overworked dough leads to dense, tough bread. Mix just until the ingredients come together.
- Ignoring the “X” cut: That cross on top isn’t just decorative. It helps the bread expand evenly during baking. Skipping it can cause the loaf to crack unpredictably.
- Old baking soda: I once tried using soda that had been sitting in my pantry for over a year. The loaf barely rose, and the texture was heavy. Always check the expiration date.
- Baking at the wrong temperature: Too low, and the center won’t cook; too high, and the crust burns before the inside sets. My tip: trust the 425°F (220°C) guideline and preheat the oven thoroughly.
A funny anecdote: the first time I doubled this recipe, I misjudged the baking sheet size. The loaves merged into one giant bread monster in the oven. It looked terrifying, but it tasted just fine, and my family found it hilarious. Ever since, I make sure to give each loaf plenty of space.
FAQs
Can I make this bread sweeter?
Absolutely! Traditional Irish soda bread is slightly tangy and not sweet, but adding a few tablespoons of sugar or honey won’t hurt. You can also fold in raisins or currants for natural sweetness.
Why does soda bread have a tangy taste?
That signature tang comes from the reaction between the baking soda and buttermilk. It’s subtle but gives the bread a depth of flavor that makes it stand out from plain white bread.
Can I bake soda bread in a loaf pan?
Yes, though traditionally it’s free-formed. A loaf pan gives a more uniform shape but slightly reduces the crusty exterior. I prefer the rustic round look, but either works depending on your needs.
How do I know it’s fully baked?
Tap the bottom of the loaf—it should sound hollow. The top should be golden brown, and the edges firm. If you’re unsure, a skewer inserted into the center should come out clean.
Can I make mini soda breads?
Definitely. Just adjust the baking time to 20–25 minutes depending on the size. They’re perfect for individual servings or gifting.
Irish Soda Bread
- Total Time: 55 minutes
- Yield: 1 loaf (8 servings) 1x
- Diet: Vegetarian
Description
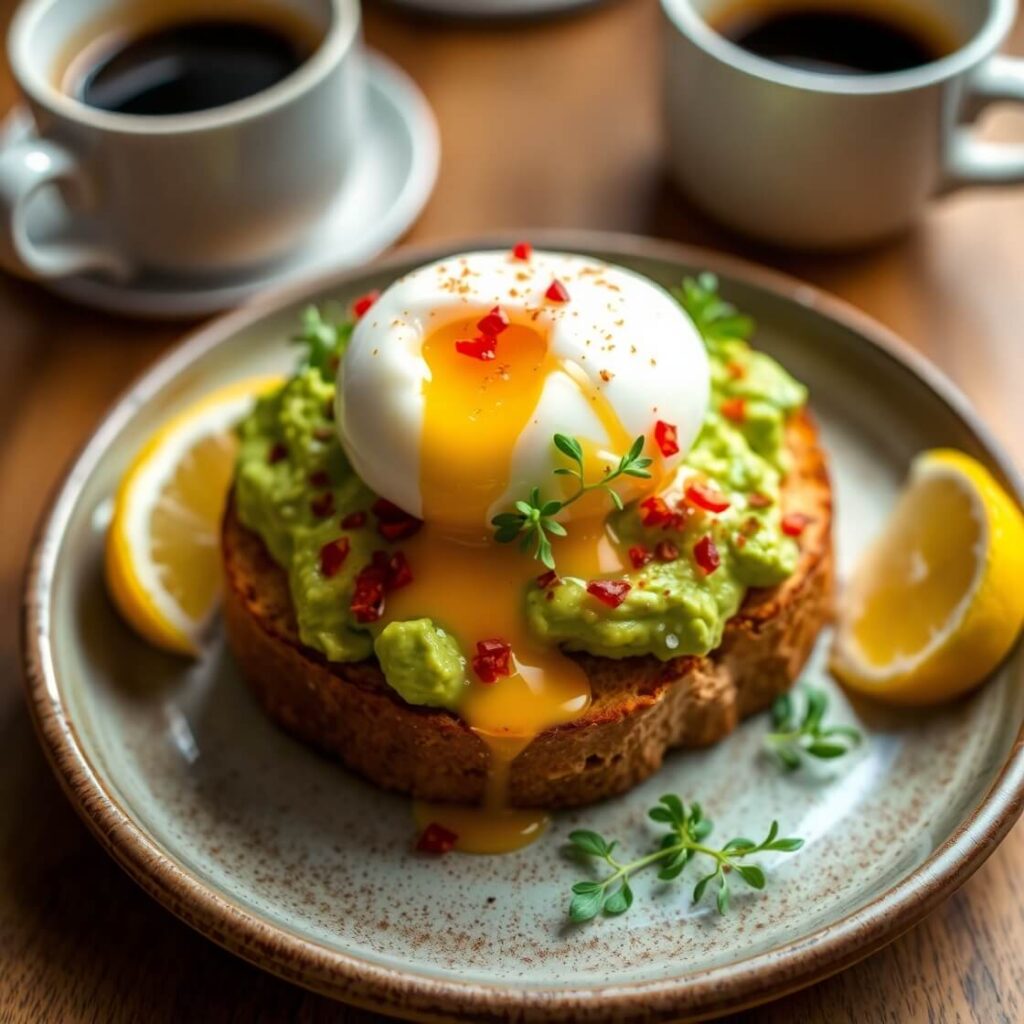
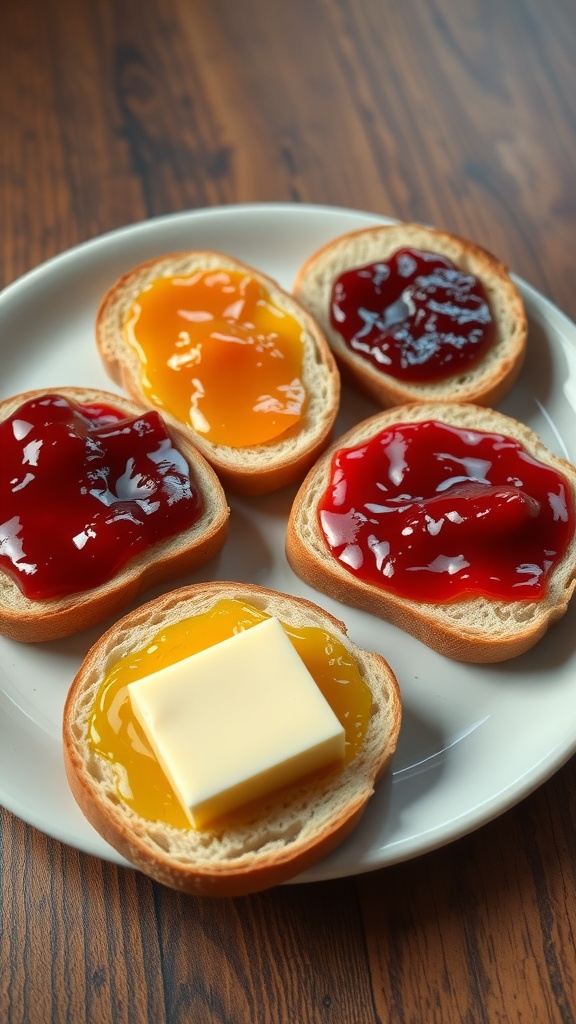
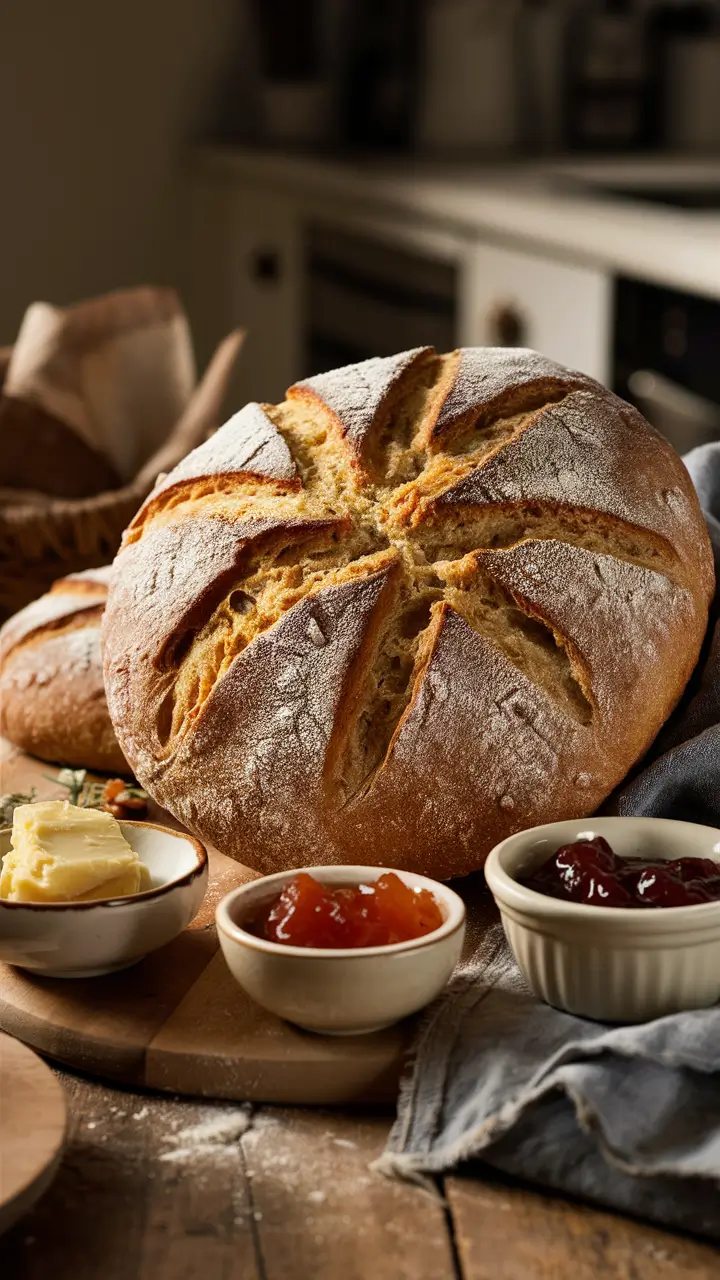
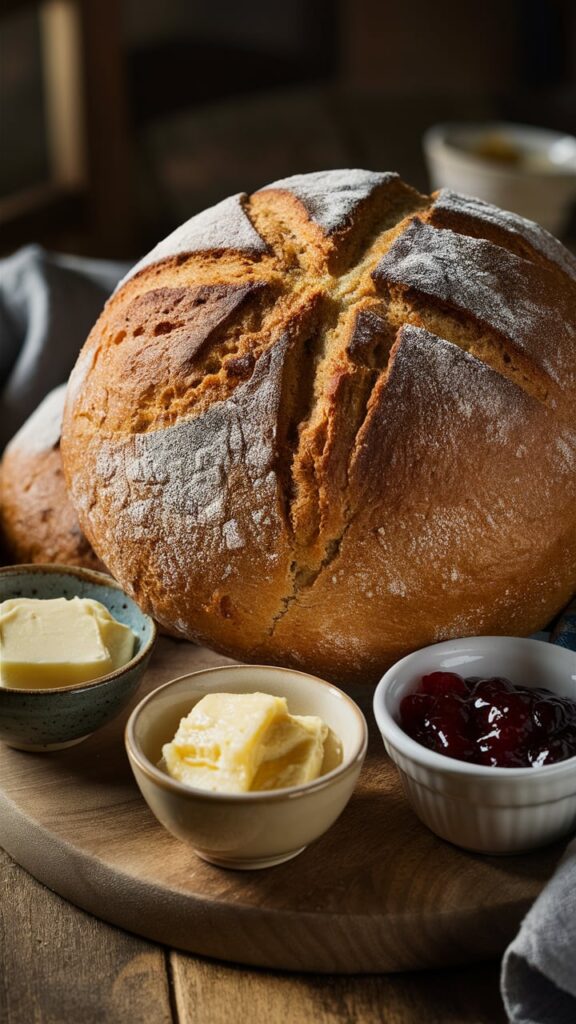
A rustic, no-fuss bread made in under an hour, Irish soda bread is the heart of a cozy kitchen. With no yeast or long rise times, it’s the ideal recipe for beginners and seasoned bakers alike. The crunchy crust gives way to a tender, slightly tangy crumb thanks to the buttermilk. Serve it warm with butter, jam, or beside a hearty stew — either way, it brings comfort in every slice. It’s the type of recipe you’ll reach for when you want something that feels homemade, warm, and proudly imperfect.
Ingredients
- 4 cups all-purpose flour (plus extra for dusting)
- 1 teaspoon baking soda
- 1 teaspoon salt
- 1 ¾ cups cold buttermilk
Instructions
-
Preheat your oven to 425°F (220°C). Line a baking sheet with parchment paper or lightly flour a cast iron skillet.
-
In a large mixing bowl, whisk together flour, baking soda, and salt.
-
Make a well in the center and pour in the buttermilk. Using your hands or a wooden spoon, mix until just combined. The dough should be sticky but hold together.
-
Turn the dough onto a floured surface. Gently shape it into a round — do not knead.
-
Place the round loaf onto the baking sheet or skillet. Use a sharp knife to cut a deep “X” across the top.
-
Bake for 35–45 minutes, or until the crust is golden and a skewer inserted into the center comes out clean.
-
Cool on a wire rack for at least 30 minutes before slicing.
Notes
-
For a softer crust, wrap the hot loaf in a clean tea towel while it cools.
-
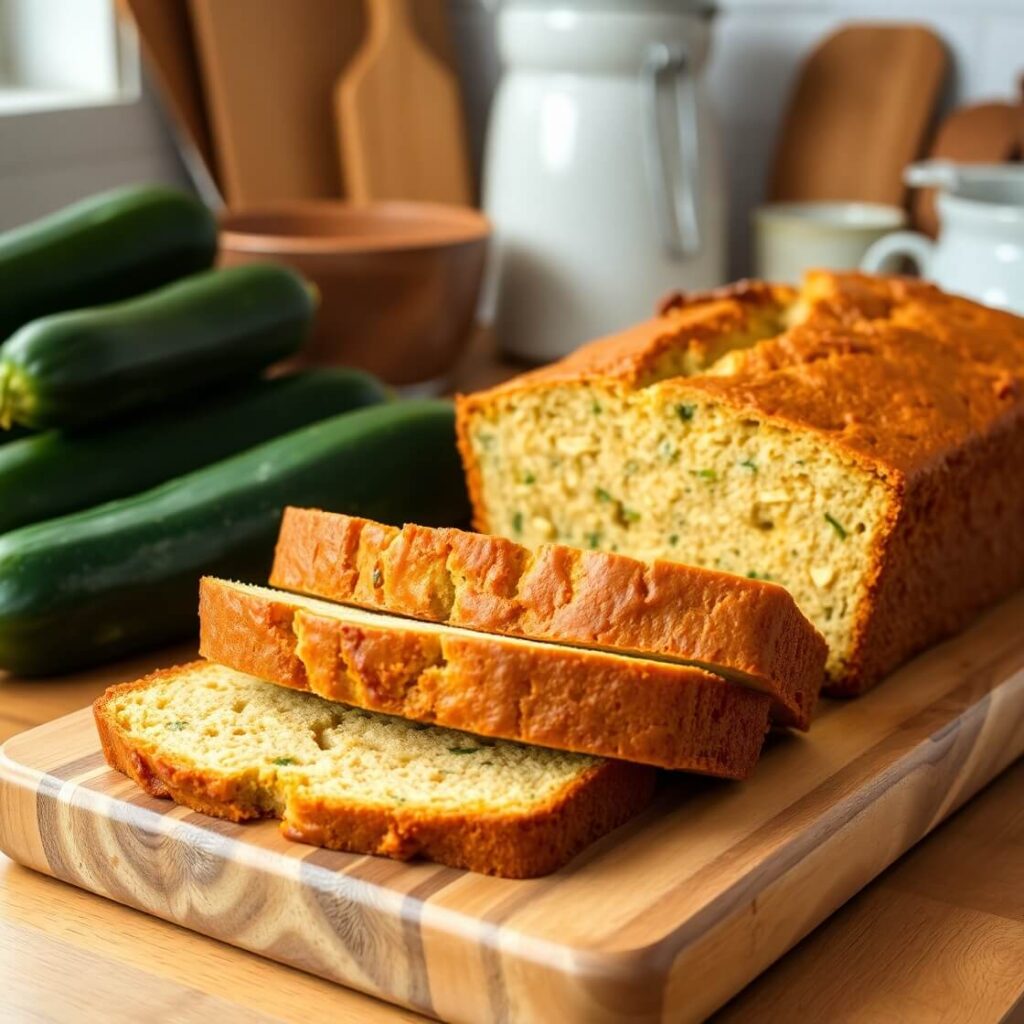
Add raisins, herbs, or shredded cheese for creative variations.
-
Don’t skip the “X” cut on top — it’s more than just tradition; it helps the loaf bake evenly.
- Prep Time: 15 minutes
- Cook Time: 40 minutes
- Category: Bread
- Method: Baking
- Cuisine: Irish
Nutrition
- Serving Size: 1 slice
- Calories: 190
Final Thoughts
Irish soda bread isn’t just a loaf; it’s a ritual, a way to bring warmth and comfort into your kitchen. There’s something deeply satisfying about mixing simple ingredients, watching the dough rise in the oven, and breaking into a crusty, tender loaf just minutes later. It’s rustic, approachable, and full of character—the kind of bread that invites conversation, nostalgia, and maybe even a little mess on the counter.