Easy Ice Box Cake
I’ll never forget the first time I tasted icebox cake. I was around ten, and my grandmother had pulled me into her sunlit kitchen on a hot summer afternoon. The hum of the fridge was the soundtrack, and a faint aroma of chocolate and vanilla lingered in the air. She was unwrapping layers of chocolate wafers and spreading a thick, creamy mixture between each layer. I remember being impatient, hovering around the counter, trying not to peek too much. When we finally cut into it, the wafers had softened into a luscious, cake-like texture that practically melted in my mouth.
That moment stuck with me. I’ve tried countless desserts since then, but nothing captured that effortless, nostalgic magic quite like icebox cake. Over the years, I’ve learned a few tricks to make it perfect every time—and I’ve also made plenty of mistakes, which is why I think sharing them might save you a little heartache (and a lot of wasted ingredients).
Lessons Learned from My First Few Bakes
The first time I made icebox cake on my own, I made what I now call “the soggy catastrophe.” I had slathered the cream too thickly between the layers and skipped chilling it long enough. By the time I sliced it, the layers had melded into one uneven blob. My family laughed it off, and we still ate it—but I learned an important rule: patience matters more than perfection.
Another early misstep? Not letting the cream fully whip to soft peaks. A runny filling will always lead to collapsing layers. And the chocolate wafers—I once used a brand that promised “extra crunch,” and they barely softened even after a night in the fridge. Lesson: the right texture is key, and not every cookie is a good cookie.
Over time, these small mistakes became the foundation of my “icebox cake wisdom.” Each attempt taught me a little more about balance—the delicate softness of the wafers, the airy richness of the cream, and the subtle sweetness that binds it all together.
Ingredients in Context: Picking the Right Staples
When I make icebox cake, I’ve found that ingredient choices can make or break the final result. Chocolate wafers are a must—they should be thin and crisp, so they soften evenly in the fridge without turning mushy. I prefer brands with a rich cocoa flavor but minimal additives. If you’re in a pinch, graham crackers or thin chocolate cookies can work, though the texture will differ slightly.
For the cream, heavy whipping cream is non-negotiable. I learned the hard way that using half-and-half or a lighter cream yields a filling that won’t hold up between the layers. Sweeten it with powdered sugar for smooth integration, and add a splash of vanilla extract for warmth. Some days, I throw in a spoonful of mascarpone for extra richness—it’s indulgent, but worth it.
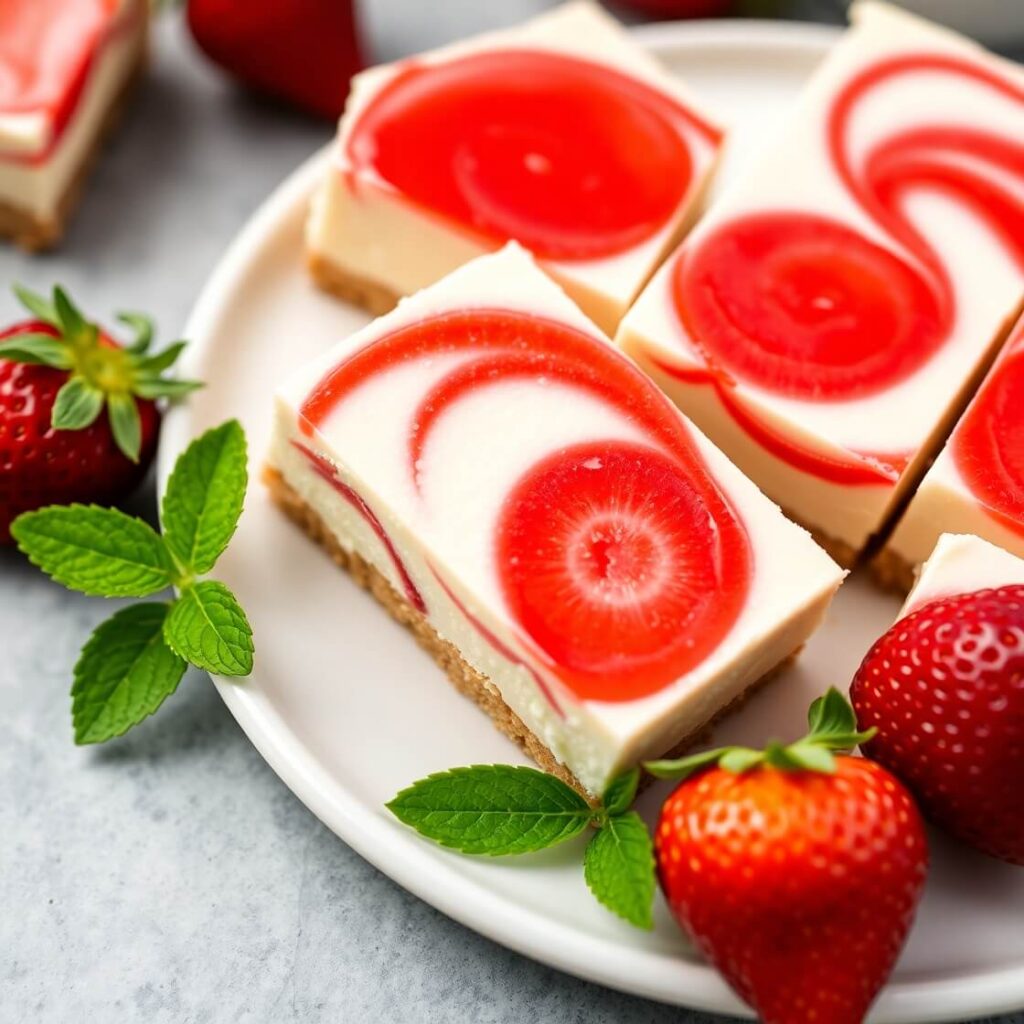
Optional extras are where you can get playful. Fresh berries add a tart counterpoint, crushed nuts offer crunch, and a dusting of cocoa powder or grated chocolate before serving can make it feel extra special. I’ve even experimented with coffee or liqueur in the cream for grown-up versions that taste straight out of a café.
Step-by-Step Instructions: From Fridge to Flavor
Here’s how I like to layer my icebox cake:
- Start by whipping the cream until soft peaks form. This is where patience pays off; overwhipping can make it grainy, underwhipping will leave it too runny.
- Prepare your wafer or cookie layers on a large tray or baking sheet lined with parchment. You want enough for multiple layers, usually four to five, depending on your pan.
- Spread a thin, even layer of whipped cream over the first wafer layer. Think about gentle coverage—too much cream, and the cake collapses.
- Repeat, alternating layers of wafers and cream. If using extras like berries or chocolate chips, scatter them lightly between layers.
- Cover the assembled cake tightly with plastic wrap and refrigerate for at least 6–8 hours, preferably overnight. This is crucial: the magic happens while it chills, as the wafers absorb moisture and become cake-like.
- Before serving, let it sit at room temperature for 10–15 minutes for easier slicing. A serrated knife works best to preserve the layers.
The first bite is always the most rewarding—the creamy, chocolaty layers that almost fall apart but stay just intact enough to make you grin.
Print
Ice Box Cake
- Total Time: 4½ to 8½ hours
- Yield: 10 1x
- Diet: Vegetarian
Description
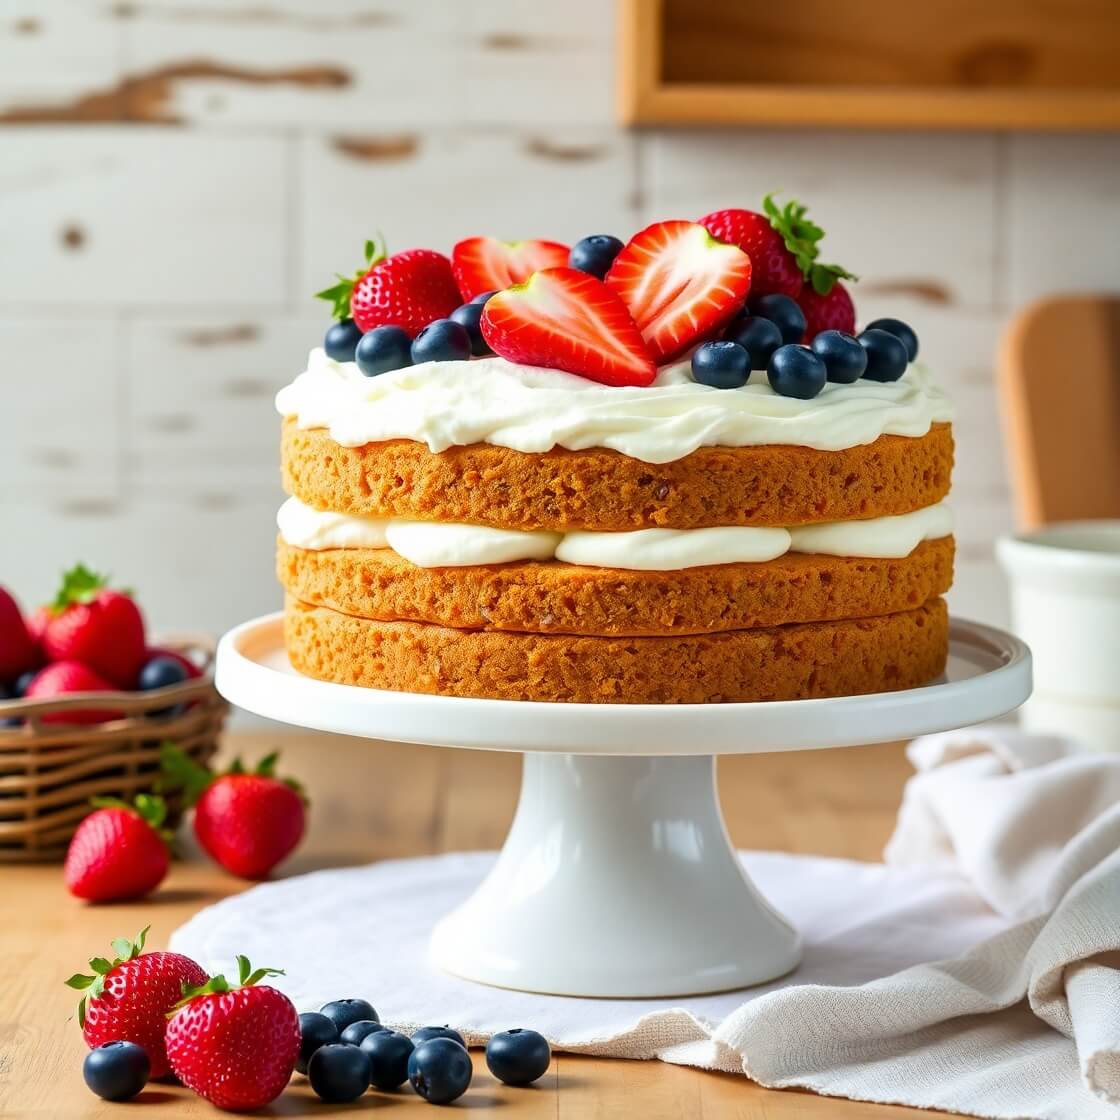
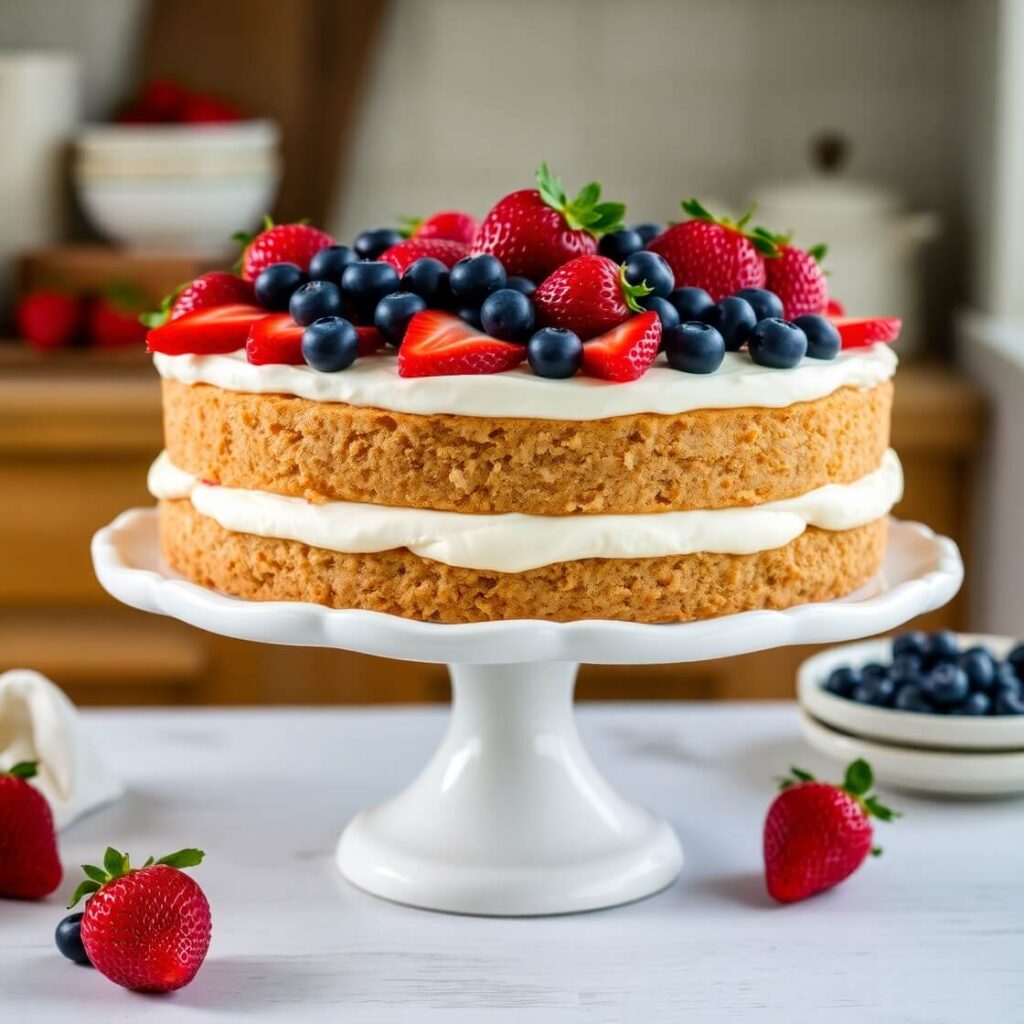
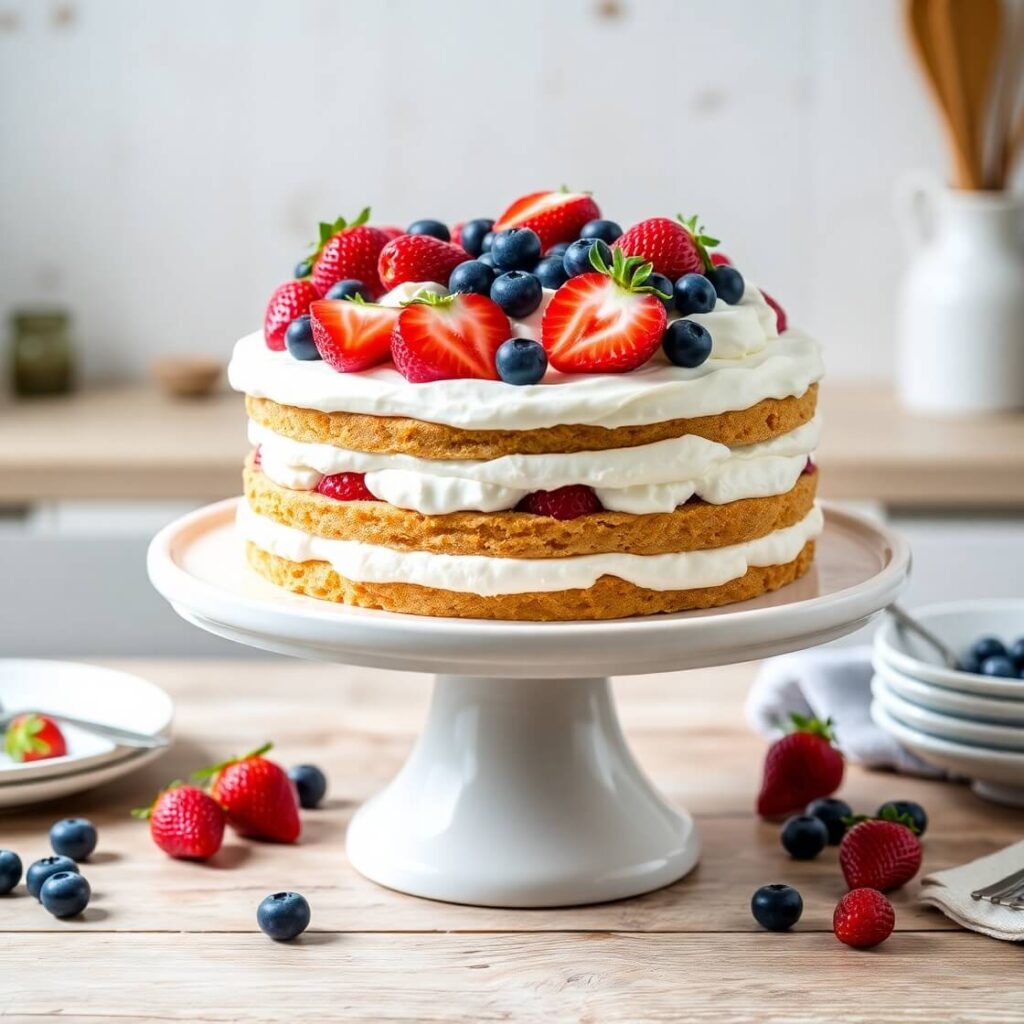
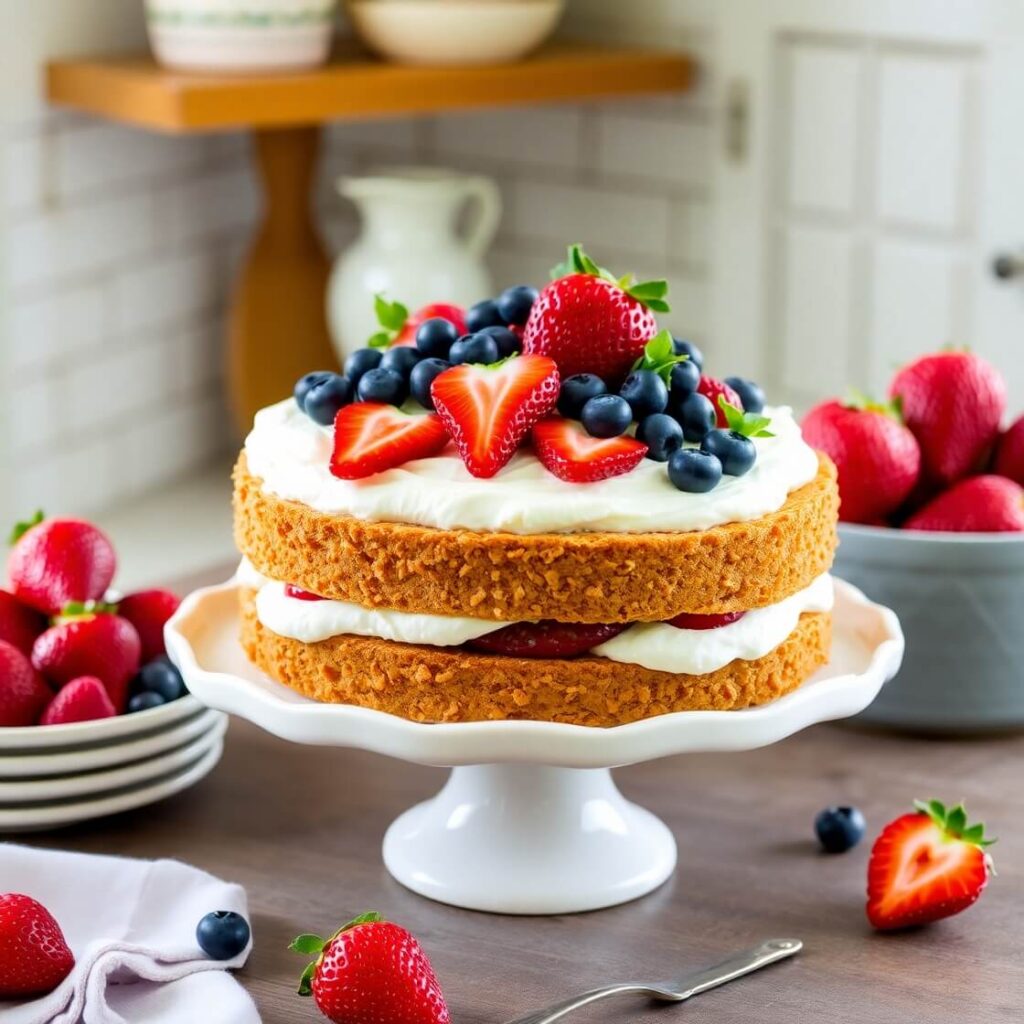
This no-bake ice box cake is a nostalgic summer dessert layered with whipped cream, graham crackers, and fresh berries. It’s easy to prepare, no oven required, and perfect for make-ahead entertaining. The cookies soften into a cake-like texture as it chills overnight, making every bite light, creamy, and full of flavor. Perfect for warm-weather gatherings or any time you need a simple, crowd-pleasing treat.
Ingredients
- 3 cups heavy whipping cream
- ½ cup powdered sugar
- 2 tsp vanilla extract
- 1 box graham crackers (about 14 oz)
- 2 cups sliced strawberries
- 1 cup blueberries
- Optional: lemon zest, fruit preserves, mint, chocolate shavings
Instructions
- Whip the cold cream with powdered sugar and vanilla until soft peaks form.
- Spread a layer of whipped cream in a 9×13 dish.
- Add a layer of graham crackers, covering the bottom.
- Spread more whipped cream and scatter fresh berries on top.
- Repeat the layers, ending with whipped cream and decorated berries.
- Cover and chill in the fridge for at least 4 hours or overnight.
- Slice with a clean, sharp knife and serve cold.
Notes
- For a more stable whipped cream, fold in a few tablespoons of mascarpone or cream cheese. Swap berries for mangoes, bananas, or even caramel sauce for different flavors. Chill overnight for best results.
- Prep Time: 30 minutes
- Cook Time: 4–8 hours
- Category: Dessert
- Method: No-Bake
- Cuisine: American
Nutrition
- Serving Size: 10
- Calories: 310
- Sugar: 15g
- Sodium: 140mg
- Fat: 20g
- Saturated Fat: 13g
- Unsaturated Fat: 6g
- Trans Fat: 0g
- Carbohydrates: 28g
- Fiber: 2g
- Protein: 3g
- Cholesterol: 60mg
Pairings and Presentation Tips
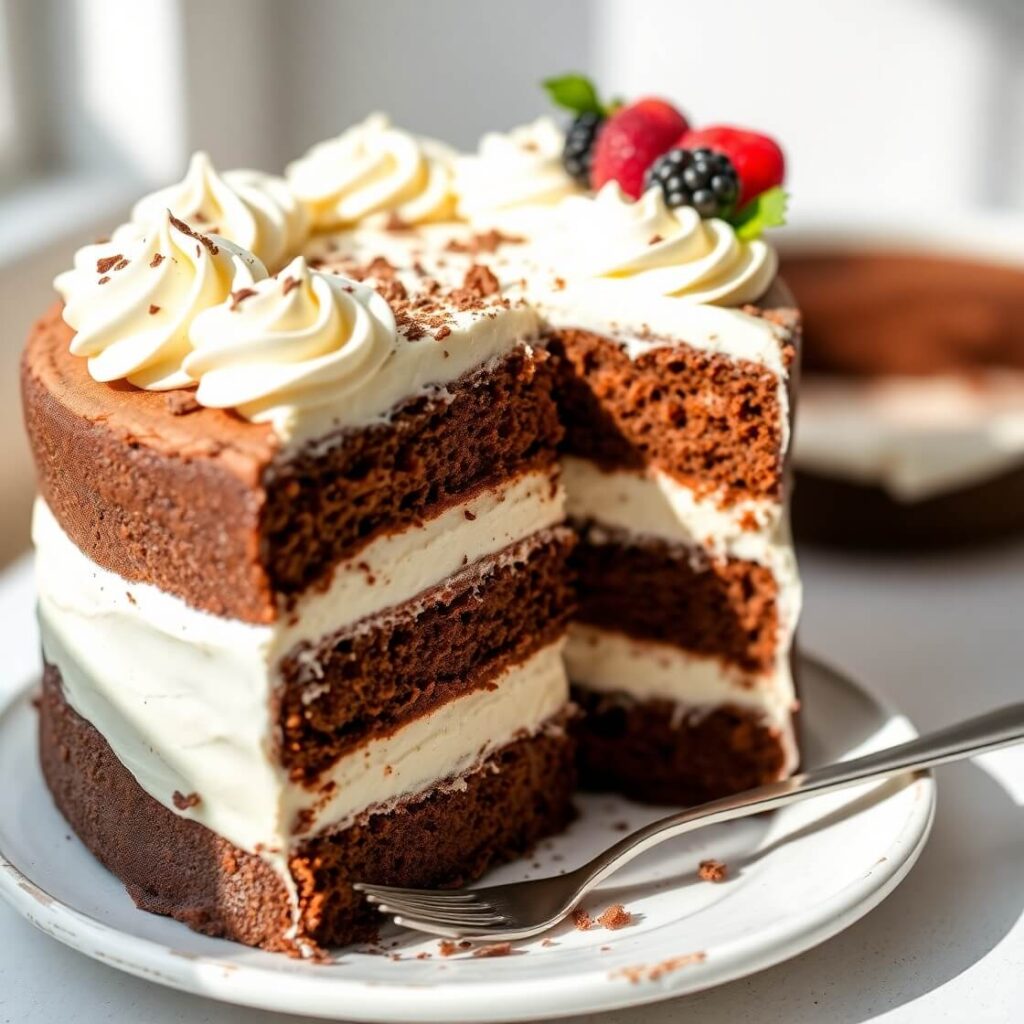
I often serve icebox cake with a dollop of lightly sweetened whipped cream and a few fresh berries on the side. For summer gatherings, a sprinkling of mint leaves adds brightness. I’ve even layered thinly sliced peaches or strawberries between the wafers for a fruity twist that feels like summer in every bite.
When plating, a simple dusting of cocoa or powdered sugar elevates the presentation without fuss. For casual dinners, I sometimes cut it into squares and serve on small plates—perfect for individual portions. For special occasions, a glass or ceramic trifle dish makes it feel a little more formal, and guests always comment on the elegant layering.
Pro Tips and Common Mistakes to Avoid
Even after years of making icebox cake, I still have a few golden rules that save me from disaster. One of the biggest mistakes is rushing the chilling process. I’ve been guilty of slicing too soon, thinking “it looks firm enough,” only to end up with a messy, collapsing cake. Patience is key—the layers need time to absorb moisture and soften just enough.
Another tip: don’t overload your layers with extras. I once tried a double layer of berries and ended up with a soggy, uneven middle. Now, I scatter extras lightly and reserve some for garnish.
Lastly, mind your cream texture. If it’s overwhipped, it turns buttery and loses that soft, fluffy feel. Underwhipped? The layers won’t hold, and slicing becomes a disaster. Aim for soft peaks, fold gently when adding flavorings, and you’ll get a silky, stable filling every time.
Storage and Make-Ahead Ideas
Icebox cake is a dream make-ahead dessert. You can assemble it the night before a party or family dinner, and it will taste even better after resting. I usually cover it tightly with plastic wrap and refrigerate for at least 8 hours, but 12–24 hours is ideal—the flavors meld beautifully, and the layers soften perfectly.
Once cut, it keeps in the fridge for 3–4 days. Pro tip: slice only what you need, and leave the rest wrapped. It doesn’t freeze well because the texture of the wafers changes, but it can stay in the fridge safely if handled carefully. For extra flair, add garnishes right before serving—berries, mint, or chocolate shavings—to keep it fresh and appealing.
Frequently Asked Questions About Icebox Cake
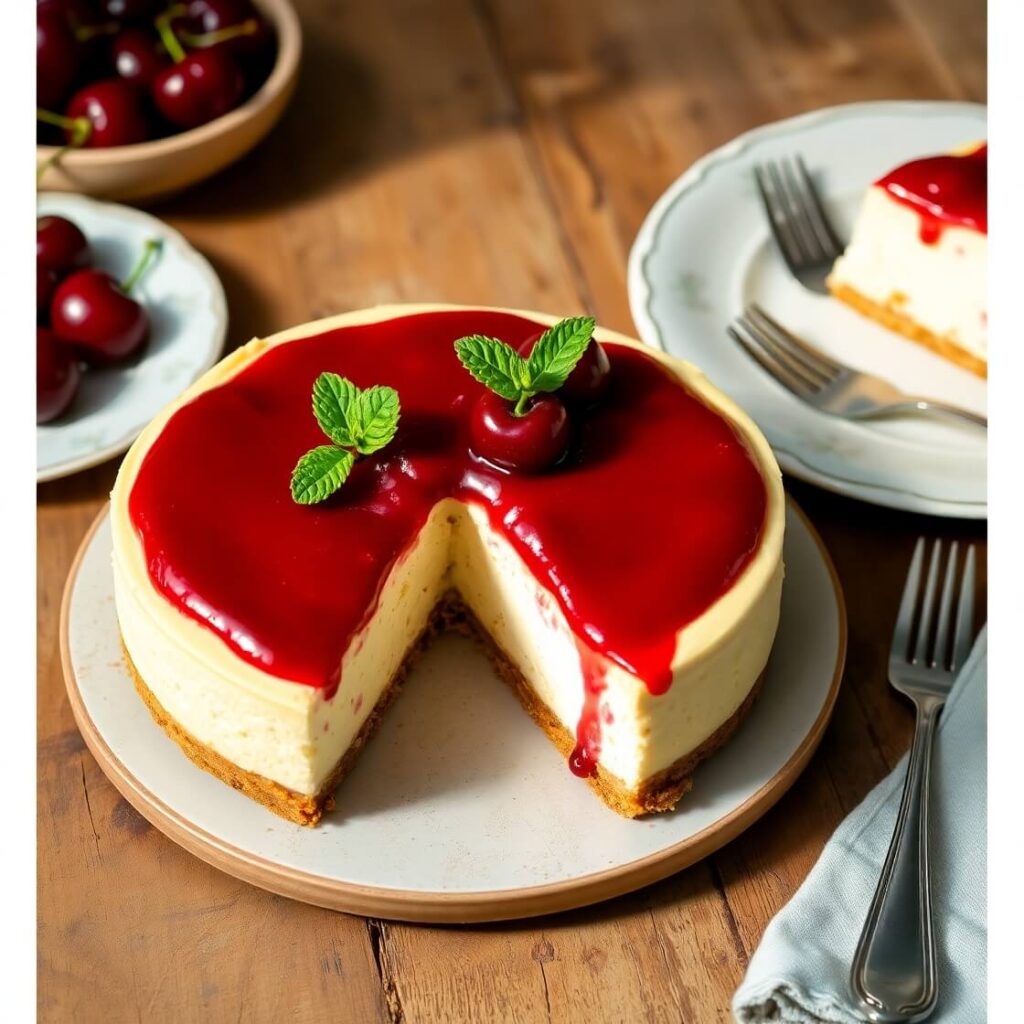
Can I use different cookies instead of chocolate wafers?
Absolutely. Graham crackers, gingersnaps, or thin shortbread cookies all work. The texture may vary slightly, but the dessert will still be delicious.
Can I make this vegan or dairy-free?
Yes. Use coconut cream or a vegan whipping cream alternative. Make sure your cookies are also dairy-free. The result is slightly different in flavor and texture but still creamy and satisfying.
Do I have to use whipped cream?
Whipped cream is traditional, but mascarpone or cream cheese blends work too. Just adjust the sweetness and fold carefully to maintain a soft texture.
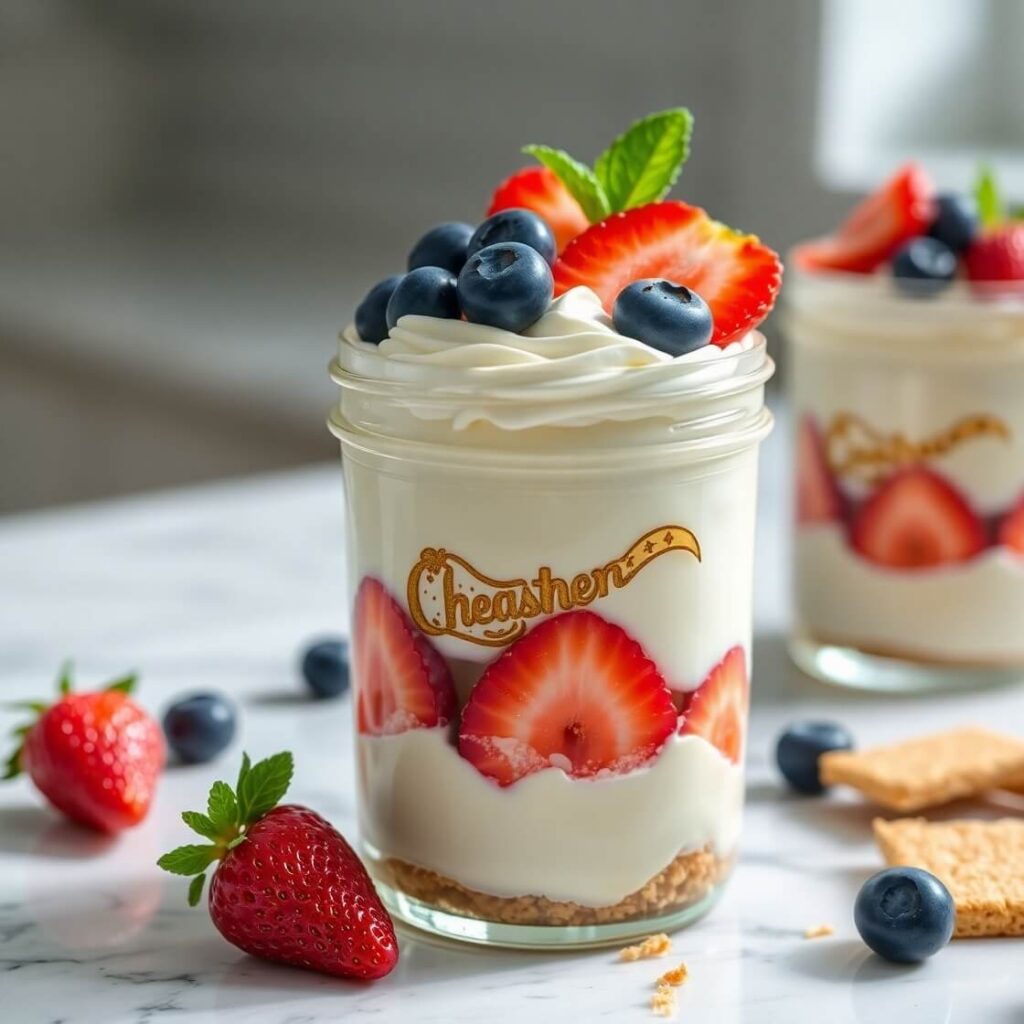
Can I assemble it in individual servings?
Definitely. Mini mason jars or small cups are perfect for single servings and make it easy to serve at parties. Just layer carefully and chill as usual.