Homemade Electrolyte Drink: How to Prepare It Easily?
I’ll never forget the first time I made this homemade electrolyte drink. It was one of those sweltering summer afternoons when my kids had been running around the yard for hours, and I could tell they were in desperate need of hydration. I wanted something healthier than the sugary sports drinks on the store shelves but still fun enough for them to actually drink.
After rummaging through my pantry and fridge, I started experimenting with simple ingredients—citrus, a pinch of salt, a touch of natural sweetener—and what came out was surprisingly refreshing. The kids loved it, and I even caught my husband sneaking sips when he thought no one was looking. It became our go-to for summer afternoons, after workouts, or whenever anyone needed a quick pick-me-up.
What I love most about this recipe is that it feels like a little act of care in a glass. It’s not just hydration—it’s a bright, tangy reminder to slow down and savor the moment. Plus, it’s versatile, so you can tweak it based on what’s in season or what flavors your family prefers.
Perfect for Sharing in Any Season
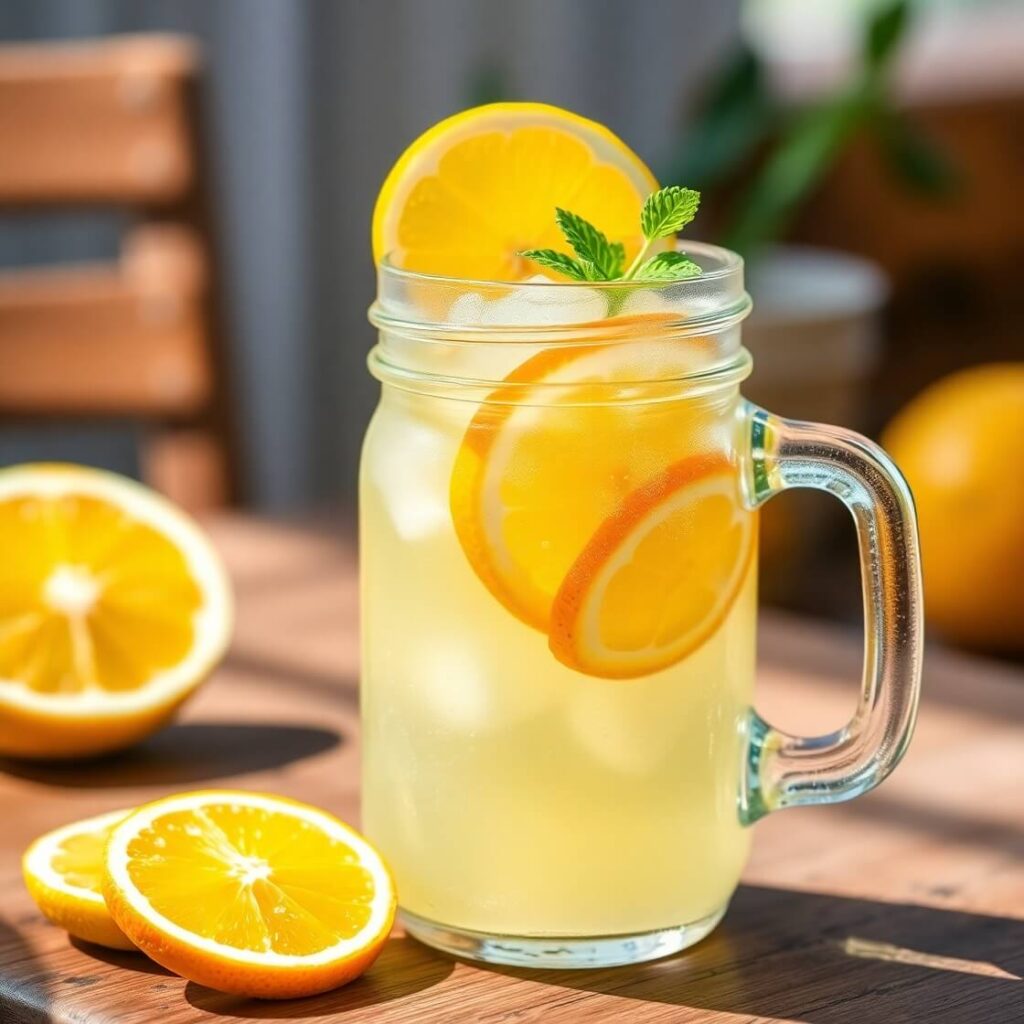
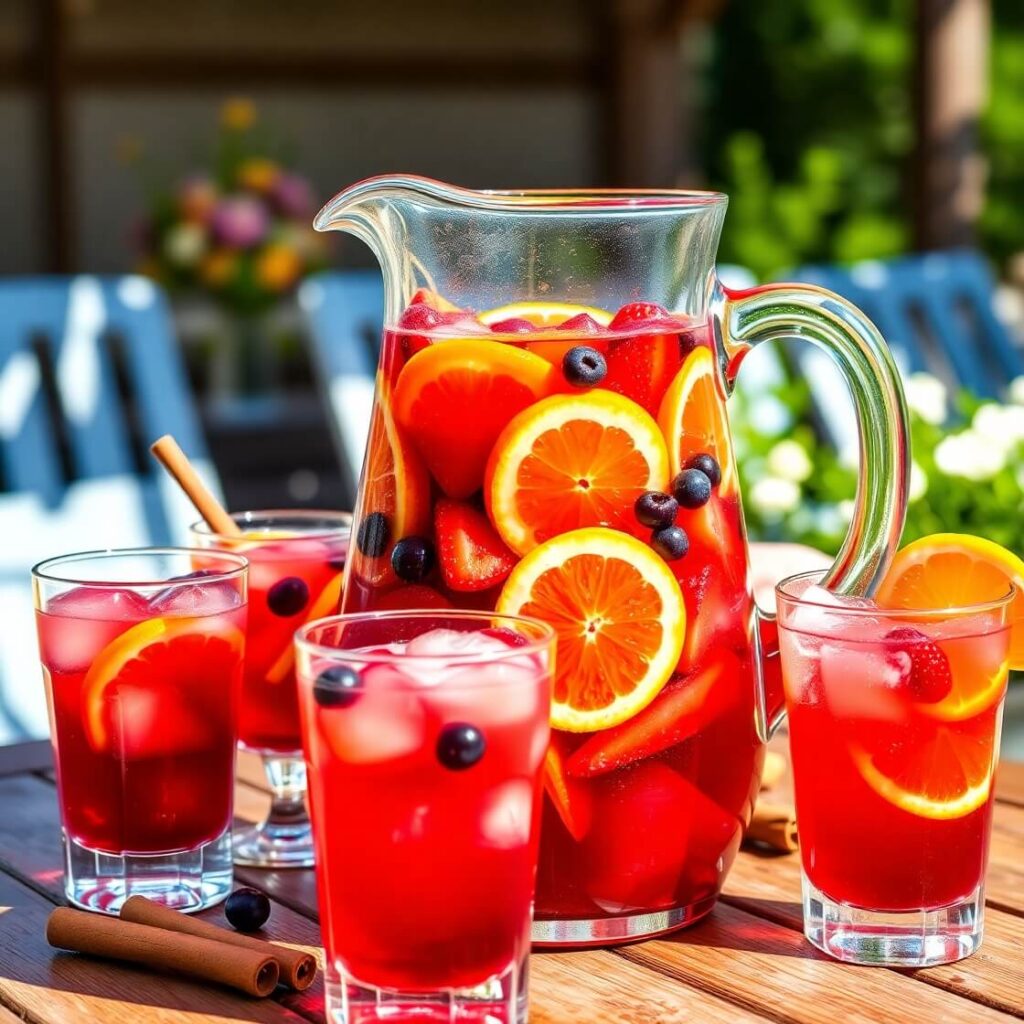
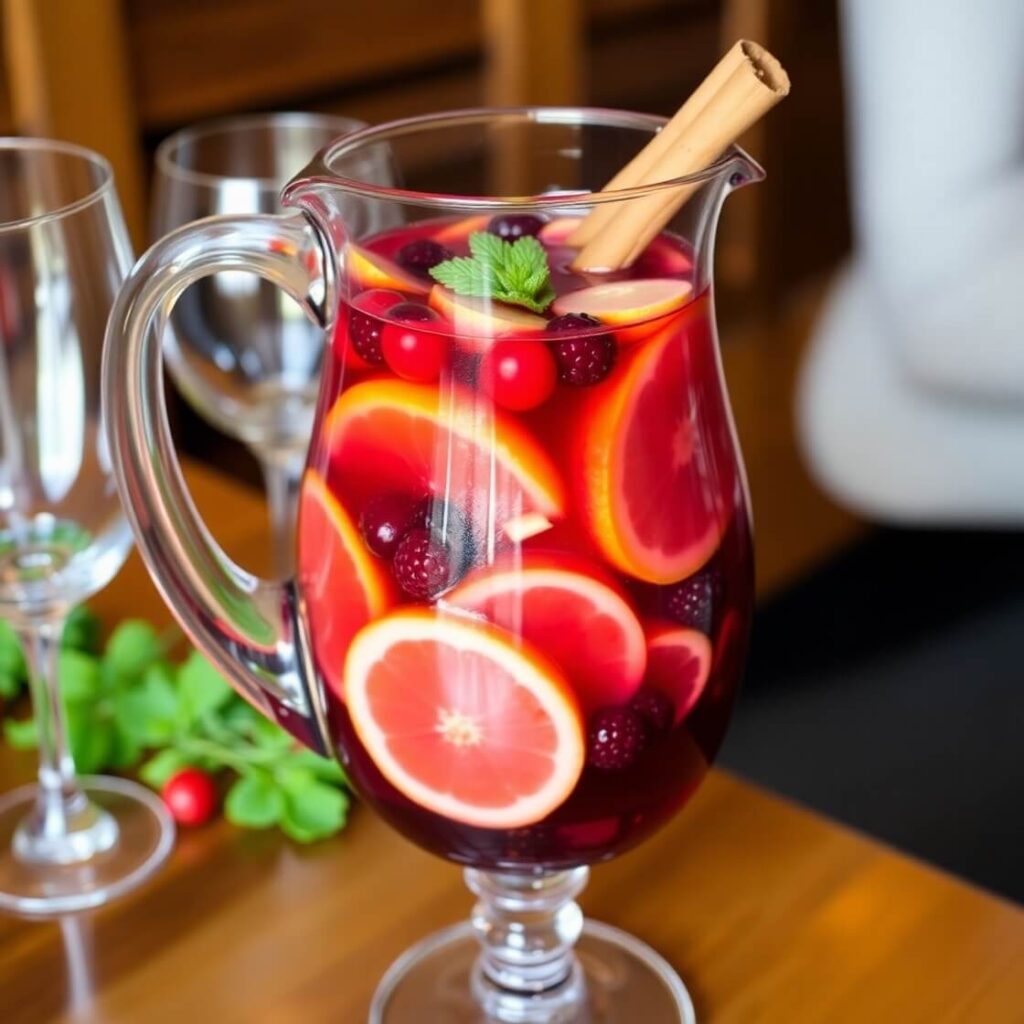
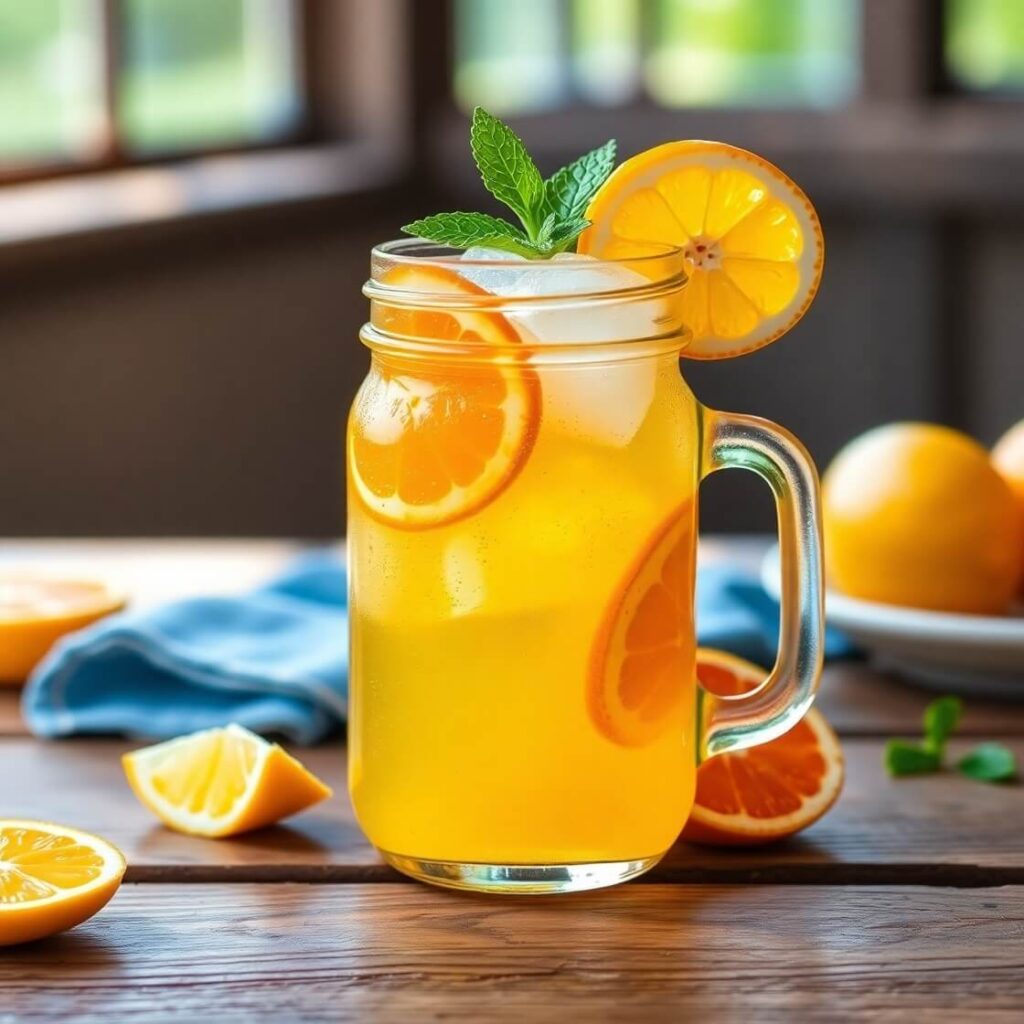
One of my favorite things about this homemade electrolyte drink is how effortlessly it works for gatherings. I once made a big batch for a small backyard picnic with friends, and it disappeared faster than I expected. Serving it in a clear glass pitcher over ice with slices of lemon, lime, or even fresh mint leaves made it look so inviting. Guests kept asking for the recipe, and I realized it wasn’t just the taste—they loved how it brightened the table.
A tip I’ve learned: frozen fruit works beautifully in the pitcher. Not only does it chill the drink without watering it down, but it also adds a lovely visual touch. Blueberries, raspberries, or orange slices can make it look like something you’d find in a boutique café rather than your own kitchen.
Gather Your Ingredients
The magic of this electrolyte drink lies in using simple, fresh ingredients. Here’s a quick peek at what you’ll need:
- Fresh citrus: Lemons, limes, or even oranges. Freshly squeezed juice makes all the difference—you can taste the brightness immediately.
- Natural sweetener: Honey or maple syrup adds just the right touch of sweetness without overpowering the citrus tang.
- Salt: Just a pinch of sea salt to replenish electrolytes. I prefer sea salt for its subtle mineral flavor.
- Water: Filtered or spring water works best for a clean taste.
- Optional flavor boosters: Fresh herbs like mint, or a small piece of ginger, for extra zing.
When shopping, I always aim for ripe, fragrant citrus. The juice should smell sweet and fresh—avoid fruits that feel too hard or dry. If you like a slightly sweeter drink, a splash of coconut water can add natural electrolytes and a hint of tropical flavor.
Step-by-Step Instructions
Here’s how I usually make it, with a few sensory cues so you can tell when it’s just right:
- Juice the citrus: I usually start with 3–4 lemons and 2 limes. You’ll know it’s perfect when the juice smells sweet and tangy.
- Mix the base: In a large pitcher, combine the juice with 3–4 cups of cold water. Stir gently.
- Add sweetener and salt: Start with 2 tablespoons of honey (or maple syrup) and a pinch of sea salt. Taste and adjust—you’re looking for a balance of sweet and tart.
- Optional flavor add-ins: Drop in a few sprigs of mint or thin slices of ginger. The aroma should be lively, fresh, and inviting.
- Chill and serve: Add ice or frozen fruit, and let it sit for at least 10–15 minutes to meld flavors.
I remember the first time I added a few raspberries—my daughter squealed at the pretty pink color, and it instantly became her favorite version. Little details like this make serving drinks more fun than you might expect.
Print
Homemade Electrolyte Drink Recipe
- Total Time: 5 minutes
- Yield: 1 1x
- Diet: Vegan
Description
This homemade electrolyte drink is a refreshing and natural way to rehydrate your body with essential minerals after exercise, illness, or during hot weather. Using fresh citrus juice, natural sweetener, and mineral-rich sea salt, it replenishes sodium, potassium, and glucose needed for optimal hydration and energy. It’s quick to prepare, budget-friendly, and free from artificial ingredients common in commercial sports drinks. Perfect for anyone seeking a healthier hydration alternative that tastes delicious and supports overall wellness.
Ingredients
- 1 large lemon, juiced (about 3 tablespoons)
- 1 medium orange, juiced (optional, about ¼ cup)
- 2 cups filtered water
- 1 tablespoon raw honey or maple syrup
- ⅛ teaspoon sea salt or Himalayan pink salt
- Optional: ¼ cup coconut water, ½ teaspoon apple cider vinegar, or fresh ginger slices
Instructions
- Juice the lemon and orange into a glass or jar.
- Add the sea salt and raw honey or maple syrup. Stir well to dissolve.
- Pour in the filtered water and mix thoroughly.
- Add any optional ingredients like coconut water or ginger, then stir or shake to combine.
- Chill for 30 minutes or serve over ice. Enjoy!
Notes
- Adjust sweetness and salt levels to taste. For a lighter version, dilute with extra water. Use fresh juices for best flavor. Store refrigerated in an airtight container up to 3 days.
- Prep Time: 5 minutes
- Category: Beverage
- Method: No cook
- Cuisine: American
Nutrition
- Serving Size: 1
- Calories: 70
- Sugar: 15g
- Sodium: 230mg
- Fat: 0g
- Saturated Fat: 0g
- Unsaturated Fat: 0g
- Trans Fat: 0g
- Carbohydrates: 18g
- Fiber: 1g
- Protein: 0g
- Cholesterol: 0mg
Storing and Making Ahead
One of the best things about this drink is that you can make it in advance. I often prepare a big pitcher in the morning and keep it chilled in the fridge so it’s ready when the kids come in from playing outside or when I finish my workout.
Stored in a sealed glass container, it stays fresh for about 3 days. Just be sure to stir or shake before serving because the salt and natural sweetener can settle at the bottom.
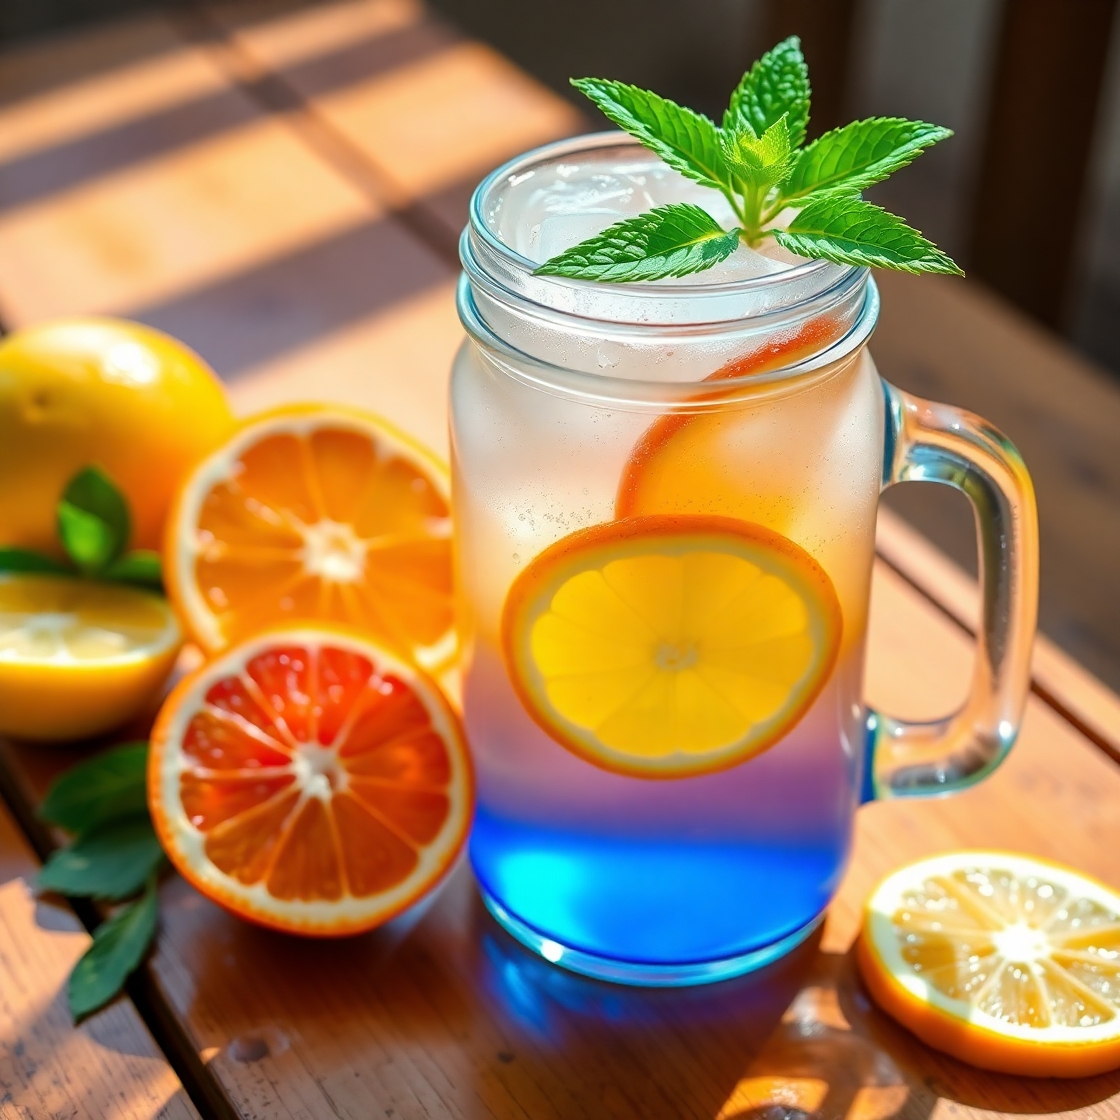
If you want single-serve convenience, pour it into mason jars with lids—grab-and-go style. I’ve also frozen it in ice cube trays, which works beautifully. Toss a few cubes into your water bottle, and you’ll have a cool, refreshing boost as they melt.
Notes from My Kitchen
The first time I made this drink, I got a little too enthusiastic with the salt. Let’s just say it was more “pickle brine” than refreshing citrus water. Lesson learned: a pinch truly means a pinch.
Another small but important trick—always taste before chilling. Citrus varies in sweetness and tartness depending on the season. Sometimes lemons are lip-puckering sharp, while other times they’re mellow. Adjusting sweetness right away ensures you won’t end up with a drink that tastes “off” after chilling.
And here’s a hosting hack I swear by: chill your glasses in the freezer for 10 minutes before serving. When you pour in the drink, condensation beads up beautifully, and it feels like something you’d get at a summer café.
Common Questions
Can I make this without sweetener?
Yes! It will be more tart, but if you’re used to unsweetened drinks, you’ll still find it refreshing. Coconut water can also naturally sweeten it.
Is this safe for kids?
Absolutely. In fact, my kids love it after playing sports or running around in the heat. Just go light on the salt.
Can I add powdered electrolytes or supplements?
You can, but I like keeping this drink clean and natural. If you do add powders, taste carefully to balance flavors.
What’s the difference between this and sports drinks?
This version skips artificial dyes, preservatives, and excess sugar. It hydrates and replenishes naturally with real citrus and minerals.