5-Ingredient Homemade Chocolate Syrup

There’s something magical about chocolate syrup. It’s one of those simple kitchen staples that instantly transforms an ordinary dessert into something indulgent. Growing up, I remember my mom pulling out the familiar store-bought bottle whenever we had ice cream sundaes or pancakes for breakfast. But as I got older and became more conscious of what went into my food, I started wondering—why not make my own at home?
Homemade chocolate syrup is richer, more flavorful, and has none of the artificial ingredients or preservatives you find in the bottled version. It’s made with just a handful of pantry staples, yet it tastes like something decadent and gourmet. This recipe became my go-to when I wanted to elevate desserts, drizzle over my morning coffee, or even stir into warm milk for a cozy cup of hot chocolate.
If you’ve never tried making chocolate syrup from scratch, this is the perfect place to start. It’s easy, budget-friendly, and once you taste the difference, you’ll never want to go back to store-bought again.
Why I Love This Recipe
The reason I adore this recipe is that it’s both practical and indulgent. On one hand, it’s one of the easiest things you can make in your kitchen—no special equipment required, no complicated steps. On the other hand, the flavor payoff is enormous. You get a glossy, velvety syrup that’s intensely chocolatey without being cloyingly sweet.
Another thing I love is how versatile it is. This syrup can be drizzled over pancakes, waffles, or crepes for breakfast, spooned over a scoop of vanilla ice cream, swirled into milk for a homemade chocolate drink, or even used as a sauce for cakes and brownies. And unlike many store-bought brands, you get to control the sweetness and richness.
For anyone who enjoys adding homemade touches to their kitchen routine, this syrup feels like a small luxury. It’s proof that sometimes the simplest recipes are the most rewarding.
Ingredients for Homemade Chocolate Syrup
The best part about this recipe is that you probably already have everything you need in your pantry. Making your own chocolate syrup means no preservatives, no artificial flavors—just real, wholesome ingredients that come together beautifully.
Here’s what you’ll need:
- Unsweetened cocoa powder – This is the star of the show. Choose a good-quality cocoa powder because it directly impacts the flavor. Dutch-processed cocoa gives a deep, rich taste, while natural cocoa is slightly lighter and fruitier.
- Granulated sugar – Provides sweetness and balances the bitterness of cocoa. You can adjust the amount depending on your taste preference.
- Water – The base that brings everything together into a pourable syrup.
- Salt – Just a pinch enhances the chocolate flavor and prevents the syrup from tasting flat.
- Vanilla extract – Adds warmth and depth to the chocolate syrup.
That’s it—five simple ingredients. No mystery, no long ingredient list, just a few basics that create something amazing.
How Much Time Will You Need
This is one of those recipes you can whip up in no time. From start to finish, it takes about 10 minutes. That includes bringing the mixture to a simmer, whisking it until smooth, and letting it cool before storing.
It’s the perfect last-minute addition when you want to dress up a dessert or make a homemade gift for someone special.
How to Make This Homemade Chocolate Syrup
Making this syrup is straightforward and quick, but I’ll walk you through the process step by step so you can see exactly how it comes together.
Step – 1: Combine the dry ingredients
In a medium saucepan, whisk together the cocoa powder, sugar, and salt. Mixing the dry ingredients first ensures that the cocoa powder won’t clump once you add the liquid.
Step – 2: Add the water
Slowly pour in the water while whisking continuously. This helps create a smooth paste that will prevent lumps. Keep whisking until the mixture is well combined and no dry spots remain.
Step – 3: Heat the mixture
Place the saucepan over medium heat and bring it to a gentle simmer. Stir frequently as it heats up—this prevents the bottom from scorching and helps dissolve the sugar.
Step – 4: Simmer until thickened
Once it reaches a simmer, let it cook for about 5 minutes, stirring constantly. You’ll notice the syrup becoming glossy and slightly thicker. Remember, it will continue to thicken a little as it cools, so don’t cook it too long.
Step – 5: Add vanilla extract
Remove the saucepan from the heat and stir in the vanilla extract. Adding it at the end preserves its rich aroma.
Step – 6: Cool and store
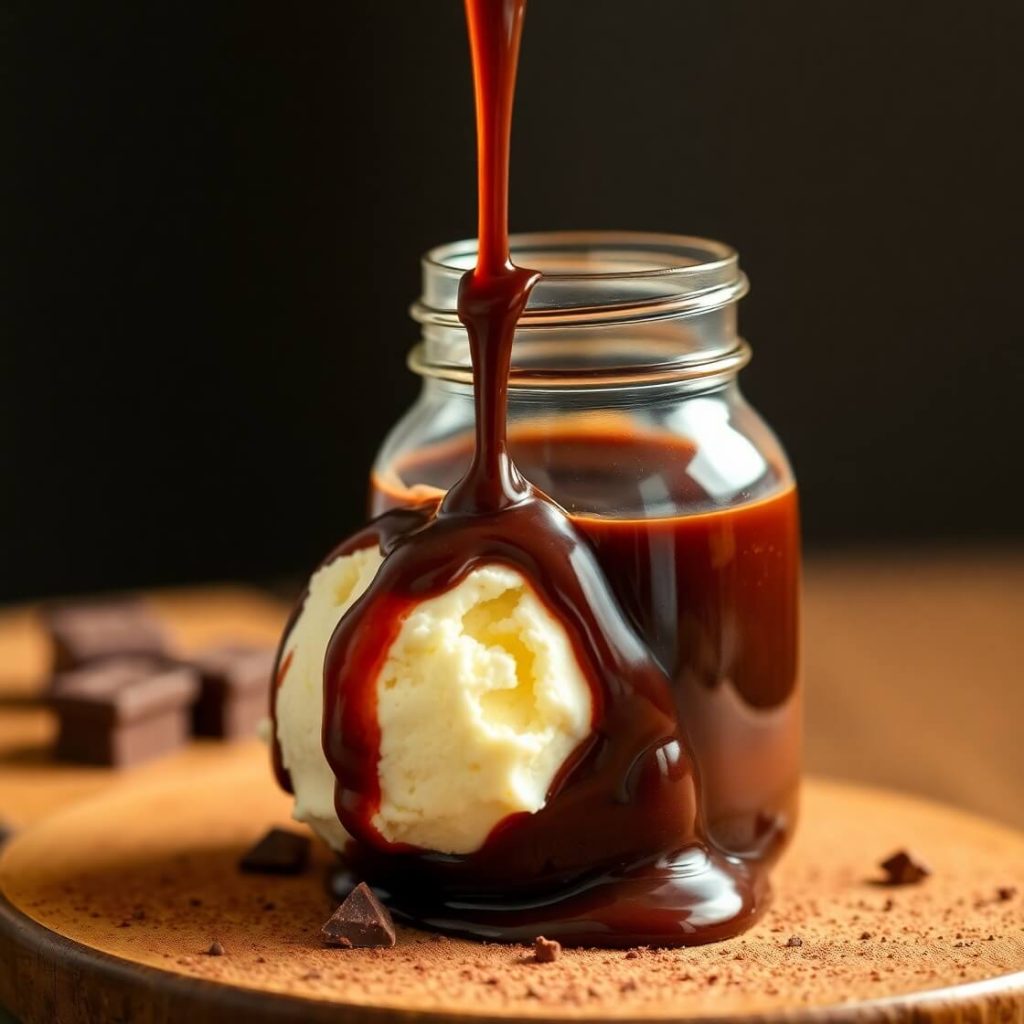
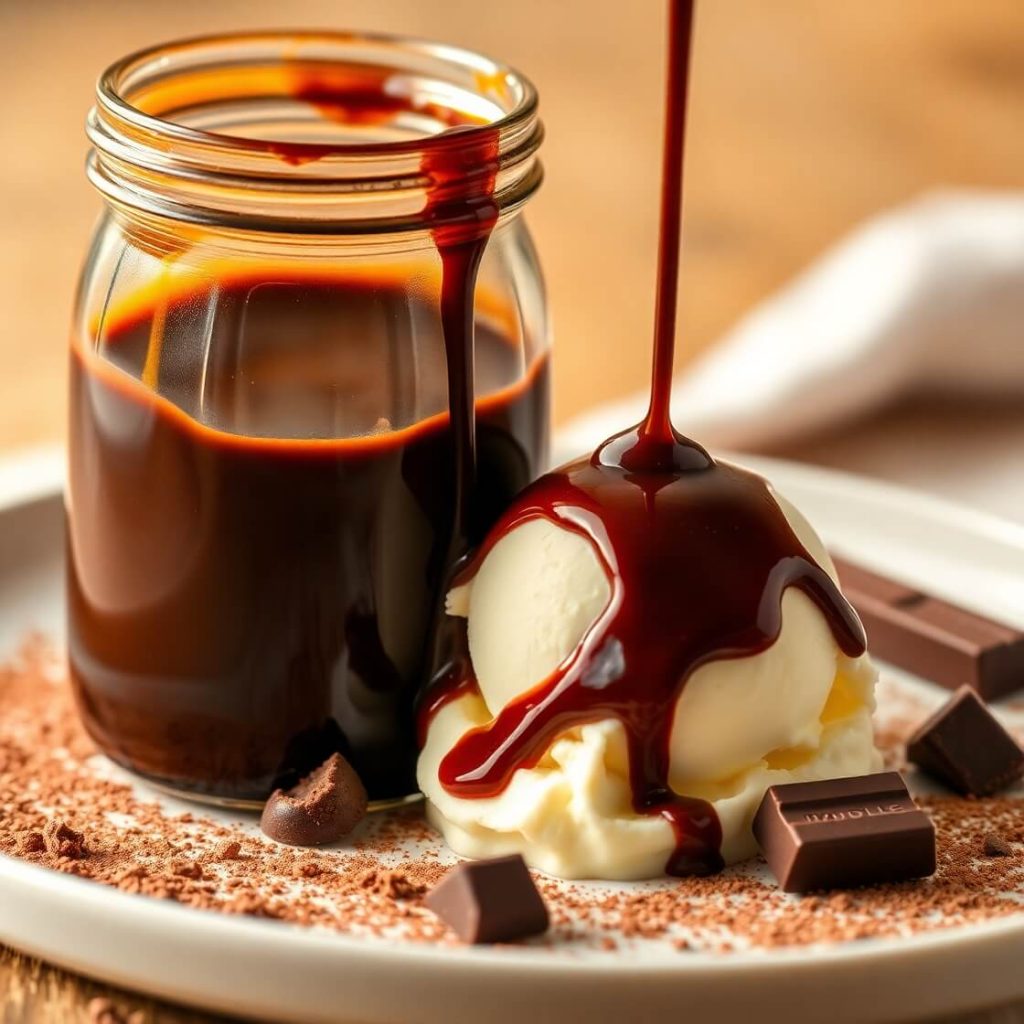
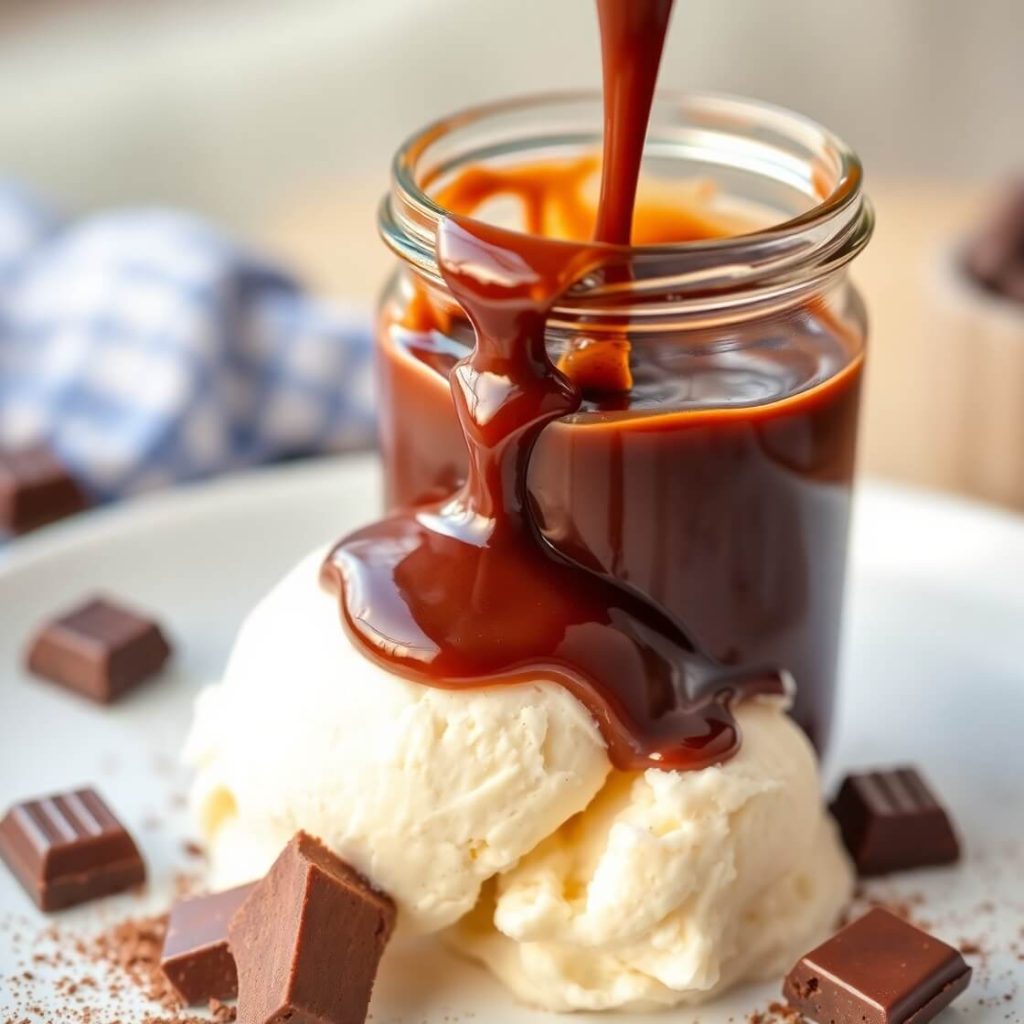
Let the syrup cool before transferring it into a glass jar or bottle. Store it in the refrigerator and shake before using.
That’s all it takes—six simple steps to homemade chocolate goodness.
Best Side Dish of Homemade Chocolate Syrup
Chocolate syrup isn’t just a topping—it’s a partner for so many delicious treats. To make the experience even better, here are three side dishes that pair perfectly with it:
- Vanilla ice cream – A timeless combination. Drizzle warm syrup over a scoop of vanilla ice cream for a classic sundae.
- Fluffy pancakes – Skip the maple syrup for a change and pour this chocolate syrup over a stack of pancakes for a decadent breakfast.
- Fresh fruit – Strawberries, bananas, or even apple slices become irresistible when dipped or drizzled with chocolate syrup.
This syrup adds a touch of indulgence to both simple snacks and elaborate desserts, making it one of the most versatile recipes you can have on hand.
My Best Kitchen Secrets
While this homemade chocolate syrup is already fantastic, a few small tweaks can take it to the next level.
- Use high-quality cocoa powder: The flavor of the syrup directly depends on your cocoa powder. Investing in a premium cocoa will make the chocolate taste more robust and smooth.
- Adjust sweetness to taste: Start with the suggested sugar amount but taste as you go. You can always add more sugar if you like it sweeter or reduce it for a darker, richer chocolate flavor.
- Control the consistency: If your syrup turns out too thick, simply whisk in a little warm water until it reaches the desired pourable consistency. Conversely, if it’s too thin, simmer a bit longer to thicken.
- Store properly: Keep it in a tightly sealed container in the fridge. Always give it a good shake before using because natural separation may occur.
- Enhance the flavor: For an adult-friendly twist, a splash of coffee, espresso powder, or even a pinch of cayenne pepper can deepen the flavor and make it more complex.
Keeping Leftovers Delicious
Storing homemade chocolate syrup properly ensures it stays fresh and ready for use. Transfer the cooled syrup into a clean, airtight jar or bottle. It keeps well in the refrigerator for up to 3 weeks.
Before each use, shake or stir the syrup as natural separation can occur over time. If it thickens too much in the fridge, microwave a small amount for 10–15 seconds or whisk in a teaspoon of warm water until it’s pourable again.
You can also freeze the syrup in an ice cube tray for longer storage. Once frozen, pop the cubes into a freezer-safe bag. This way, you can use small portions as needed without thawing the entire batch.
FAQ
Can I make this syrup sugar-free?
Yes, you can substitute granulated sugar with stevia, monk fruit sweetener, or erythritol. Keep in mind that texture may slightly change.
How long does homemade chocolate syrup last?
Stored in an airtight container in the refrigerator, it lasts up to 3 weeks. It can also be frozen for up to 3 months.
Can I make it thicker like fudge sauce?
Yes, simply simmer a little longer to reduce the water content or add a teaspoon of cornstarch dissolved in water to thicken.
Can I use it for baking?
Absolutely! It can be swirled into brownie batter, used as a glaze for cakes, or drizzled over cupcakes.
Can I adjust the sweetness?
Yes, taste as you go. You can add more sugar for a sweeter syrup or less for a richer, darker chocolate flavor.

Homemade Chocolate Syrup
- Total Time: 10–11 minutes
- Yield: 1 1x
- Diet: Vegetarian
Description
There’s nothing quite like the indulgent, velvety taste of homemade chocolate syrup. This simple recipe combines just five basic ingredients—cocoa powder, sugar, water, salt, and vanilla—to create a rich, glossy syrup that elevates anything from pancakes and ice cream to hot chocolate. With no artificial preservatives and the ability to adjust sweetness, it’s a versatile kitchen staple you’ll reach for again and again. Quick to make and endlessly customizable, this chocolate syrup is a must-have for any dessert lover.
Ingredients
- 1 cup unsweetened cocoa powder
- 2 cups granulated sugar
- 1 cup water
- 1/4 teaspoon salt
- 1 teaspoon vanilla extract
Instructions
- Whisk together cocoa powder, sugar, and salt in a medium saucepan.
- Gradually add water, whisking continuously until smooth.
- Place over medium heat and bring to a gentle simmer, stirring constantly.
- Let simmer for 5 minutes until syrup thickens slightly.
- Remove from heat and stir in vanilla extract.
- Allow to cool before storing in a jar or bottle. Shake before use.
Notes
- Adjust sweetness to taste while cooking.
- Warm slightly before drizzling for a glossy finish.
- Store in the fridge for up to 3 weeks; shake before using.
- Prep Time: 5 minutes
- Cook Time: 5–6 minutes
- Category: Dessert/Topping
- Method: Stovetop
- Cuisine: American
Nutrition
- Serving Size: 1
- Calories: 110
- Sugar: 24g
- Sodium: 10mg
- Fat: 0g
- Saturated Fat: 0g
- Unsaturated Fat: 0g
- Trans Fat: 0g
- Carbohydrates: 28g
- Fiber: 2g
- Protein: 1g
- Cholesterol: 0mg