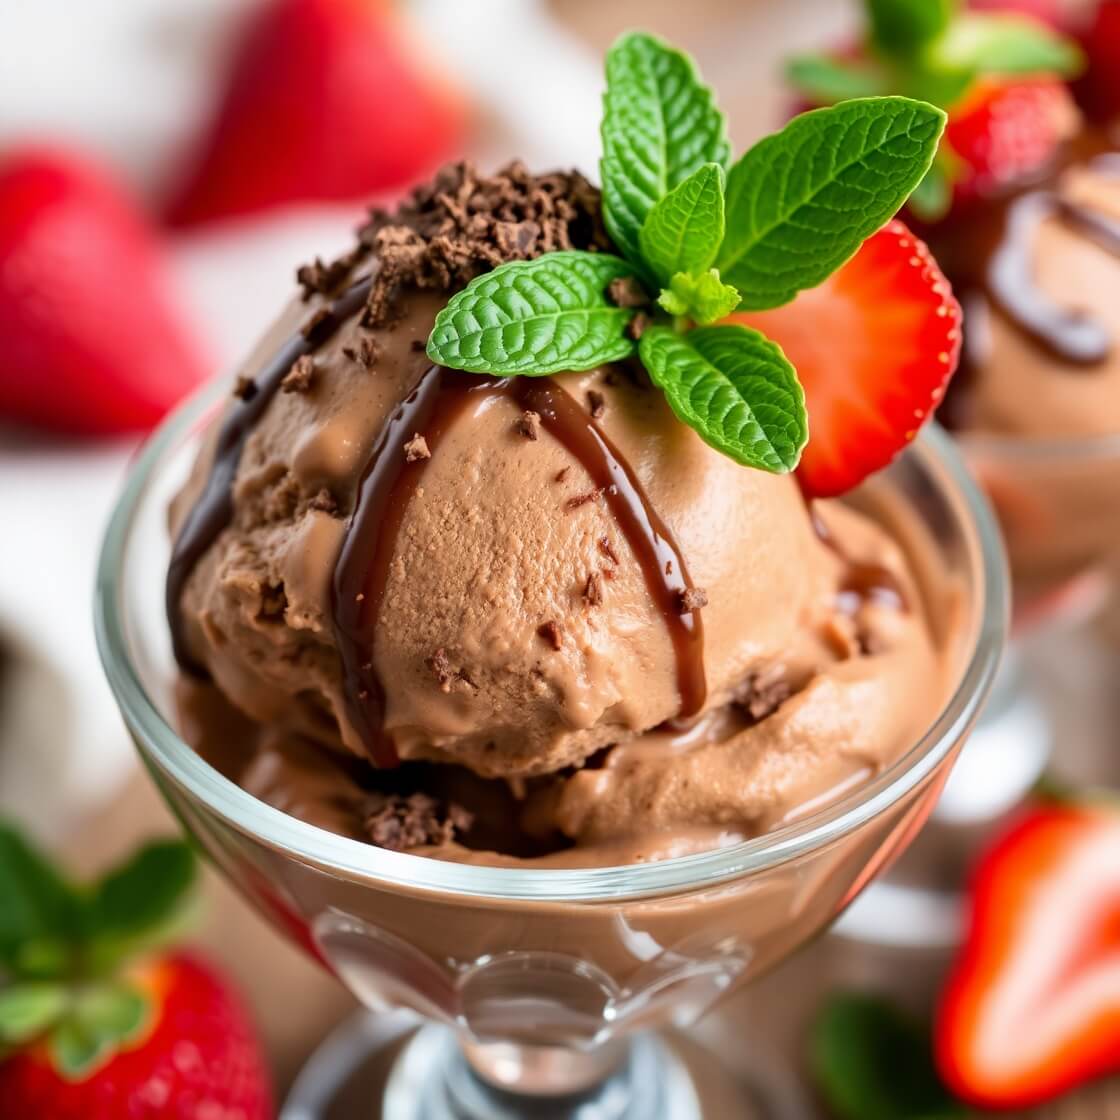
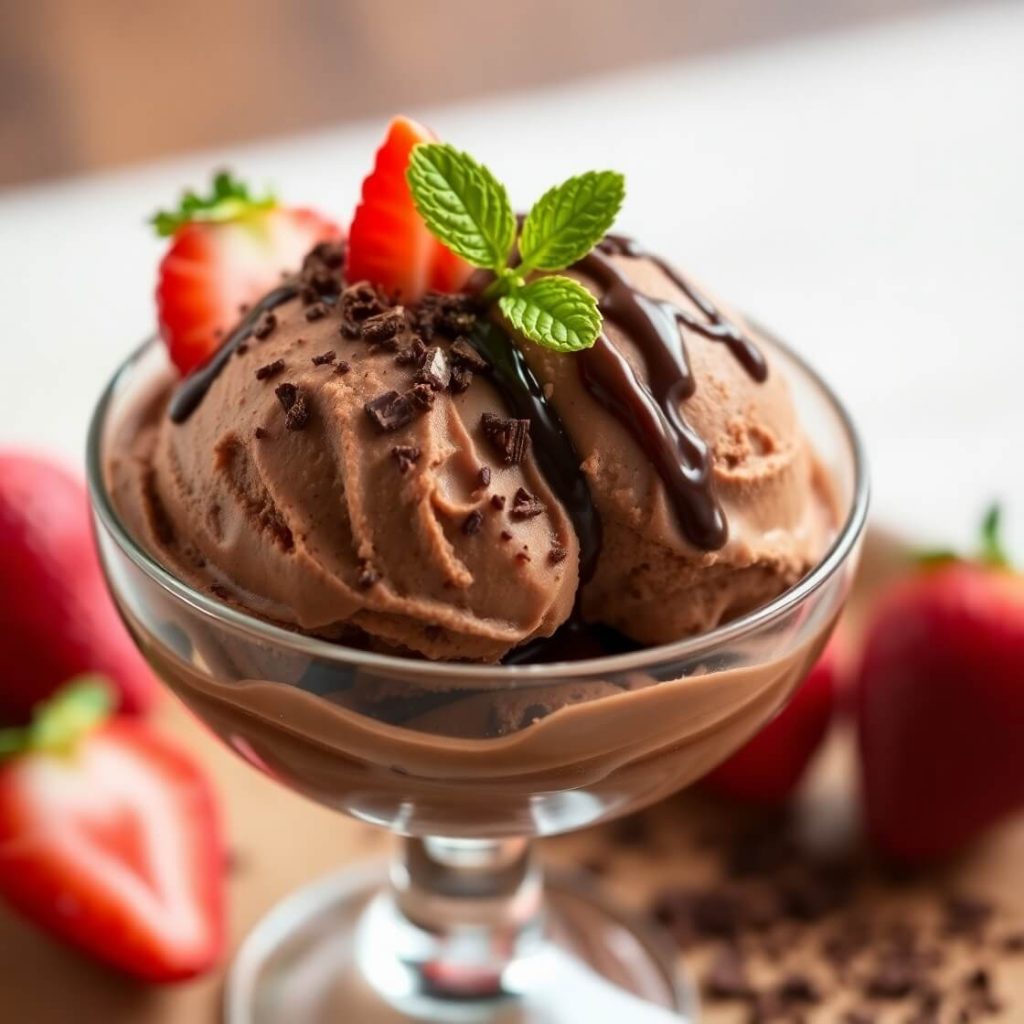
The Best Homemade Chocolate Ice Cream
I have always had a sweet spot for chocolate in all its forms, but there’s something magical about chocolate ice cream that takes it to another level. The idea of making my own chocolate ice cream first came to me on a hot summer afternoon. I was craving a dessert that was creamy, rich, and indulgent, yet made with wholesome ingredients I could trust. Store-bought chocolate ice cream can be convenient, but making it at home allows me to control the richness, the sweetness, and the depth of chocolate flavor.
There’s a special satisfaction in stirring the creamy base, watching it thicken, and finally seeing it transform into smooth, decadent chocolate ice cream. Whether you’re sharing it with family on a weekend or indulging in a quiet evening treat, this recipe is a celebration of chocolate in its most luxurious frozen form. And the best part? You can customize it with your favorite chocolate chips, nuts, or even a swirl of caramel to elevate it further.
If you’ve ever wondered how to make chocolate ice cream that’s far superior to anything you can buy in a carton, this is the recipe you’ve been waiting for. It’s indulgent, simple, and worth every minute of preparation.
What I Love Most About It
What I love most about this homemade chocolate ice cream is its simplicity and depth of flavor. Unlike pre-packaged ice creams that can taste overly sweet or artificial, this recipe allows the real chocolate to shine. The velvety texture, rich cocoa aroma, and subtle sweetness create an irresistible dessert experience.
People make this chocolate ice cream because it’s versatile—it can be a standalone treat, a decadent topping for cakes, or a complement to fresh fruits. The creaminess comes from the perfect balance of heavy cream and milk, while the cocoa and melted chocolate provide a luxurious chocolate punch that melts beautifully on the tongue.
Every scoop feels like a personal indulgence, a little moment of joy, and it’s a recipe that can be passed down and shared, creating memories with every batch.
Everything You’ll Need on Hand
Making this chocolate ice cream doesn’t require exotic ingredients, but the quality of each component matters immensely. Here’s what you’ll need to get started:
- Heavy cream: This provides the luscious, creamy texture that’s the hallmark of a perfect ice cream.
- Whole milk: Balances the richness of the cream and helps create a smooth consistency.
- Granulated sugar: Sweetens the ice cream gently without overpowering the chocolate.
- Unsweetened cocoa powder: Brings deep chocolate flavor and a beautiful dark color.
- Semi-sweet or dark chocolate: Melted into the mixture for richness and smoothness.
- Egg yolks: Optional, but they create a custard base that makes the ice cream extra creamy.
- Vanilla extract: Enhances the chocolate flavor and adds aromatic depth.
- Salt: Just a pinch to bring out all the flavors.
I like to use high-quality cocoa powder and chocolate for the best results, because it really makes the ice cream taste like a decadent treat rather than a sugary dessert.
How Much Time Will You Need
This recipe may seem luxurious, but it’s surprisingly manageable in terms of time. You’ll need roughly 20 minutes for prep, 30 minutes to cook and thicken the custard (if using egg yolks), and at least 4 hours of freezing to get the perfect scoopable texture. Planning ahead is key, but the time investment is entirely worth it.
How to Make Homemade Chocolate Ice Cream
Step-by-step guidance is essential to achieving that smooth, creamy texture and deep chocolate flavor. Here’s how I make it:
Step – 1: Start by heating the milk and heavy cream in a medium saucepan over medium heat. Stir occasionally to prevent a skin from forming on top.
Step – 2: While the cream mixture is warming, whisk together the sugar, cocoa powder, and salt in a separate bowl. This ensures the cocoa is evenly distributed and avoids clumps.
Step – 3: Gradually add a small amount of the warm milk mixture to the cocoa mixture to temper it, then whisk it back into the saucepan. This prevents the cocoa from clumping and gives a smooth chocolate base.
Step – 4: If using egg yolks, whisk them in a separate bowl, then slowly temper them with a small amount of the hot chocolate mixture before combining them with the rest. Cook over low heat, stirring constantly, until the custard thickens slightly. This will create a luxurious, creamy texture.
Step – 5: Remove the mixture from heat and stir in the chopped chocolate and vanilla extract until fully melted and incorporated. Let the mixture cool slightly at room temperature.
Step – 6: Chill the mixture in the refrigerator for at least 2 hours, or until completely cold. Cold base ensures better ice cream texture and prevents ice crystals from forming.
Step – 7: Pour the chilled mixture into an ice cream maker and churn according to the manufacturer’s instructions until soft-serve consistency. If you don’t have an ice cream maker, pour into a shallow dish, freeze, and stir every 30 minutes until smooth.
Step – 8: Transfer to an airtight container and freeze for at least 2 more hours to firm up.
Mistakes I Made (So You Don’t Have To)
Even though this recipe is simple, a few little adjustments can take your chocolate ice cream from great to unforgettable. First, always use high-quality chocolate and cocoa powder. The flavor difference is immediately noticeable—rich, deep chocolate notes instead of a flat sweetness.
Chilling the custard base thoroughly before churning is another essential tip. A cold base churns faster and produces smoother ice cream with fewer ice crystals. If your ice cream seems too soft after churning, let it firm up in the freezer for a couple more hours—it’ll be scoopable and creamy.
For a more complex flavor, consider adding a pinch of espresso powder to the chocolate base—it intensifies the chocolate without adding a coffee taste. Finally, when storing, keep it in an airtight container and press a layer of plastic wrap directly onto the surface to prevent ice crystals from forming.
Save It for Tomorrow
Homemade chocolate ice cream keeps best when stored in an airtight container in the coldest part of your freezer. For maximum freshness, place a sheet of plastic wrap or parchment paper directly on top of the ice cream before sealing—it prevents ice crystals from forming.
It’s best eaten within two weeks, although properly stored ice cream can last up to a month. If it becomes slightly hard in the freezer, let it sit at room temperature for 5–10 minutes before scooping for a perfect creamy texture.
FAQ
What makes homemade chocolate ice cream different from store-bought?
Homemade ice cream is fresher, creamier, and allows you to control the quality of ingredients and the sweetness level.
Can I make this ice cream without an ice cream maker?
Yes! Pour the chilled mixture into a shallow dish, freeze, and stir every 30 minutes until smooth and creamy.
Can I add mix-ins?
Absolutely! Chocolate chips, nuts, cookie crumbs, or caramel swirls all work beautifully. Add them in during the last 5 minutes of churning.
Is this recipe gluten-free?
Yes, all the ingredients are naturally gluten-free. Just ensure your chocolate doesn’t contain gluten additives.
Can I make it vegan?
You can substitute coconut milk and coconut cream for the dairy, and skip the egg yolks, to make a rich, creamy vegan chocolate ice cream.

Homemade Chocolate Ice Cream
- Total Time: 5–6 hours
- Yield: 4 1x
- Diet: Gluten Free
Description
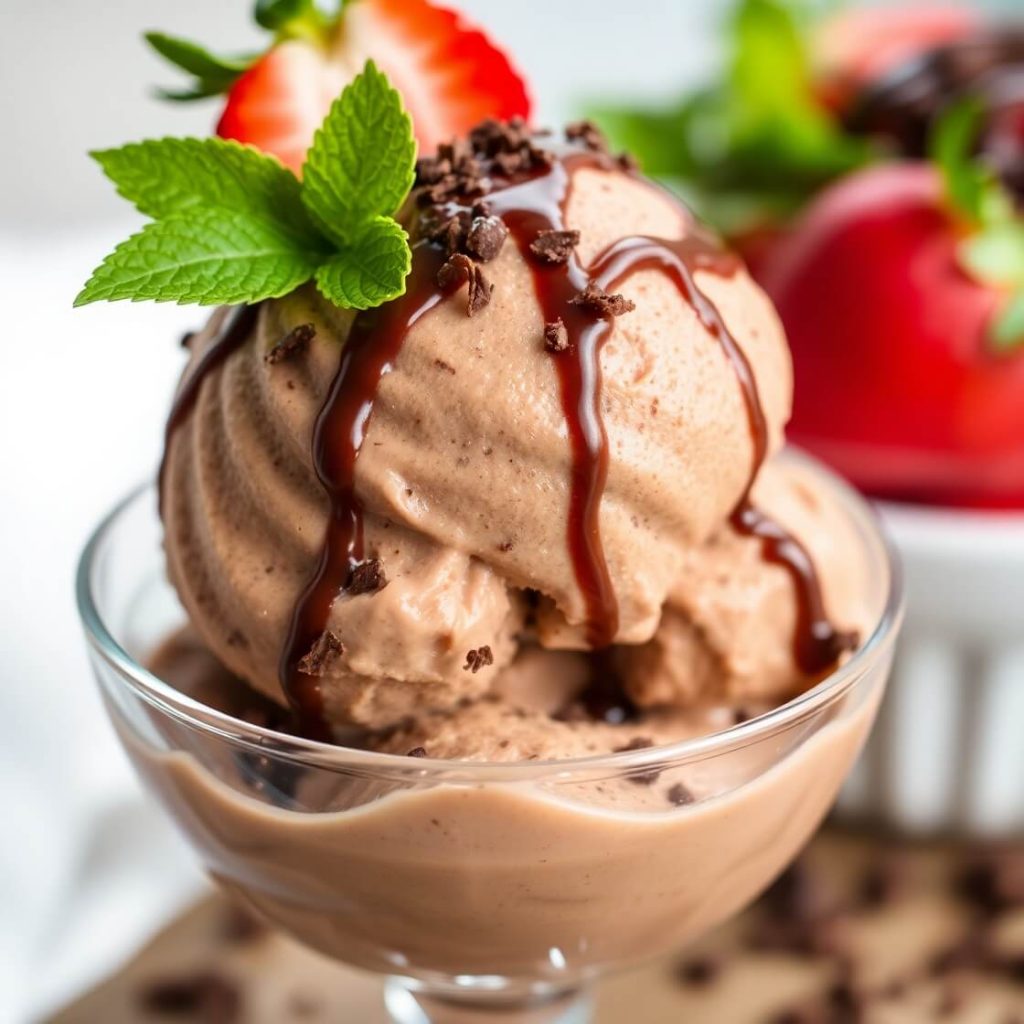
Homemade Chocolate Ice Cream is a rich, creamy, and indulgent dessert that’s perfect for chocolate lovers. Made with high-quality cocoa, smooth melted chocolate, and a touch of vanilla, this ice cream delivers decadent flavor in every scoop. Churned to perfection and frozen until firm, it’s a treat that’s easy to customize with toppings like fresh berries, nuts, or chocolate shavings. Whether you’re serving it at a family gathering or enjoying a quiet night in, this recipe promises the perfect balance of creamy texture and deep chocolate richness.
Ingredients
- 2 cups heavy cream
- 1 cup whole milk
- ¾ cup granulated sugar
- ½ cup unsweetened cocoa powder
- 4 oz semi-sweet or dark chocolate, chopped
- 4 large egg yolks (optional)
- 1 tsp vanilla extract
- Pinch of salt
Instructions
- Heat milk and cream in a saucepan over medium heat.
- Whisk sugar, cocoa, and salt separately, then temper with a small amount of warm milk mixture.
- Combine mixtures and cook custard over low heat until slightly thickened (if using yolks).
- Stir in chopped chocolate and vanilla, melt completely.
- Chill mixture in refrigerator for at least 2 hours.
- Churn in ice cream maker until soft-serve consistency.
- Transfer to airtight container and freeze for 2+ hours to firm up.
Notes
- Use high-quality chocolate and cocoa for best flavor.
- Chill the mixture thoroughly for smooth ice cream.
- Press plastic wrap directly on ice cream surface to prevent ice crystals.
- Prep Time: 20 minutes
- Cook Time: 30 minutes
- Category: Dessert
- Method: Stovetop + Freezer
- Cuisine: American
Nutrition
- Serving Size: 4
- Calories: 350
- Sugar: 28g
- Sodium: 45mg
- Fat: 22g
- Saturated Fat: 14g
- Unsaturated Fat: 6g
- Trans Fat: 0g
- Carbohydrates: 32g
- Fiber: 3g
- Protein: 5g
- Cholesterol: 95mg