My Best Grilled Cheese Sandwich
I still remember the first time I tried to make a grilled cheese sandwich for my little brother. I was about ten, standing on a wobbly stool in our tiny kitchen, determined to prove I could cook something “fancy.” The first attempt was a disaster—the bread scorched, the cheese barely melted, and my brother gave me a look that could curdle milk.

But as I fumbled with the heat, I learned an important lesson: patience is everything. A perfectly golden, buttery sandwich isn’t rushed—it’s nurtured, flipped at just the right moment, and loved a little while it sizzles.
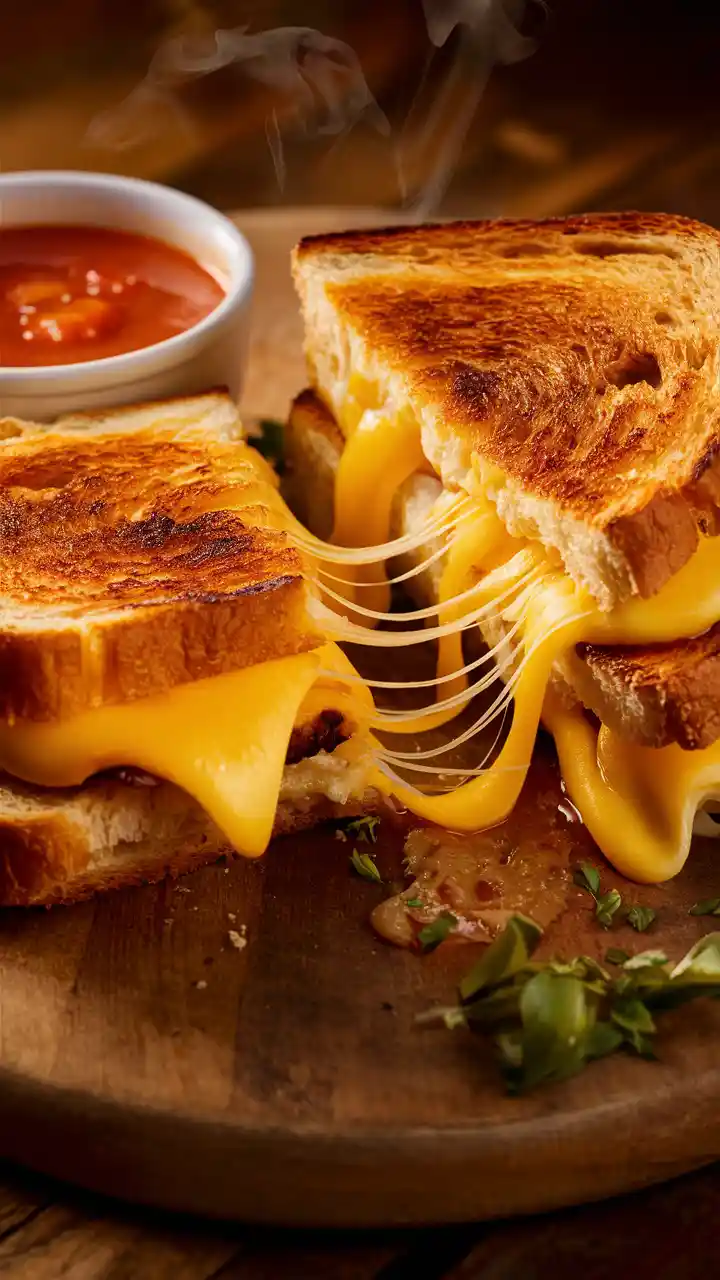
Now, years later, a grilled cheese sandwich isn’t just lunch—it’s a little ritual, a moment of nostalgia. It reminds me of quiet afternoons, the smell of butter filling the air, and the simple joy of dipping the melty cheese into a warm tomato soup. There’s a magic in how crispy bread and gooey cheese combine, and while everyone thinks they know how to make one, the details really make the difference.
What You’ll Need
This is where grilled cheese becomes an experience. I’ve learned that the cheese and bread truly make or break the sandwich. For bread, I love a sturdy sourdough or a soft, slightly sweet white loaf. It holds the cheese without getting soggy and browns beautifully. Butter is non-negotiable—real, unsalted butter for flavor and even browning.
Cheese-wise, I’m a fan of combining sharp cheddar with a touch of mozzarella. Cheddar gives that classic tang, and mozzarella brings that stretchy, melty satisfaction. If you’re feeling adventurous, add a sprinkle of gruyère for nuttiness or even a slice of tomato for freshness. And if you’re vegan or dairy-free, there are great plant-based cheeses that melt surprisingly well, though the flavor profile will change slightly.
Other pantry helpers include a pinch of salt, maybe a hint of garlic powder for extra aroma, and a dash of paprika if you like a little smoky warmth.
Step-by-Step Guide to Sandwich Perfection
- Butter both slices of bread evenly. Make sure you cover edge to edge for even browning.
- Layer your cheese thoughtfully. Start with cheddar, add mozzarella, and if you like, a slice of tomato or gruyère.
- Heat your skillet over medium-low heat. Let it warm gently before adding the sandwich.
- Place the sandwich in the pan. Press lightly with a spatula and listen for that gentle sizzle.
- Flip carefully after 3–4 minutes. The crust should be golden brown. Cook the other side another 3–4 minutes.
- Check the cheese. If it hasn’t fully melted, lower the heat and cover the pan for a minute.
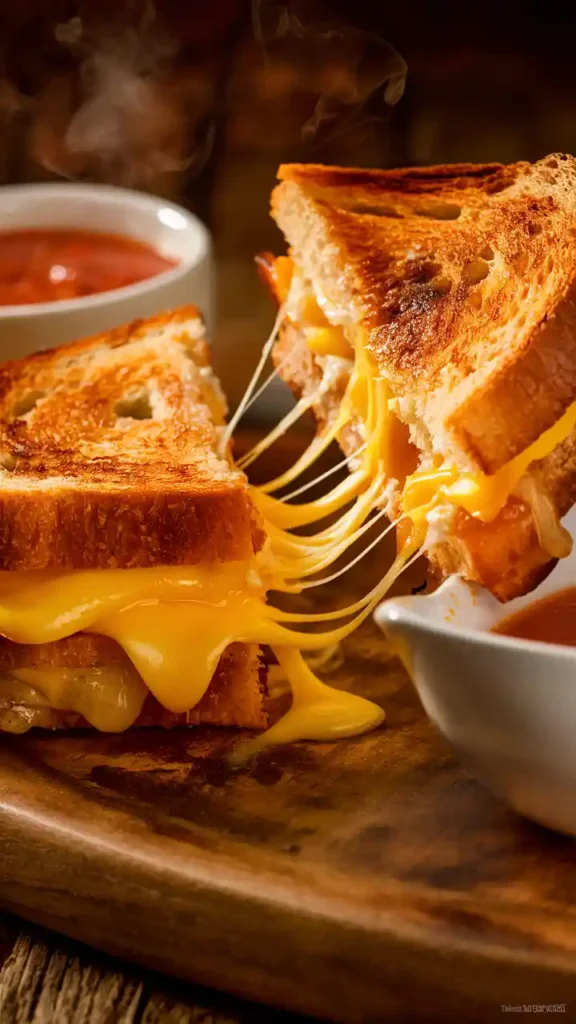
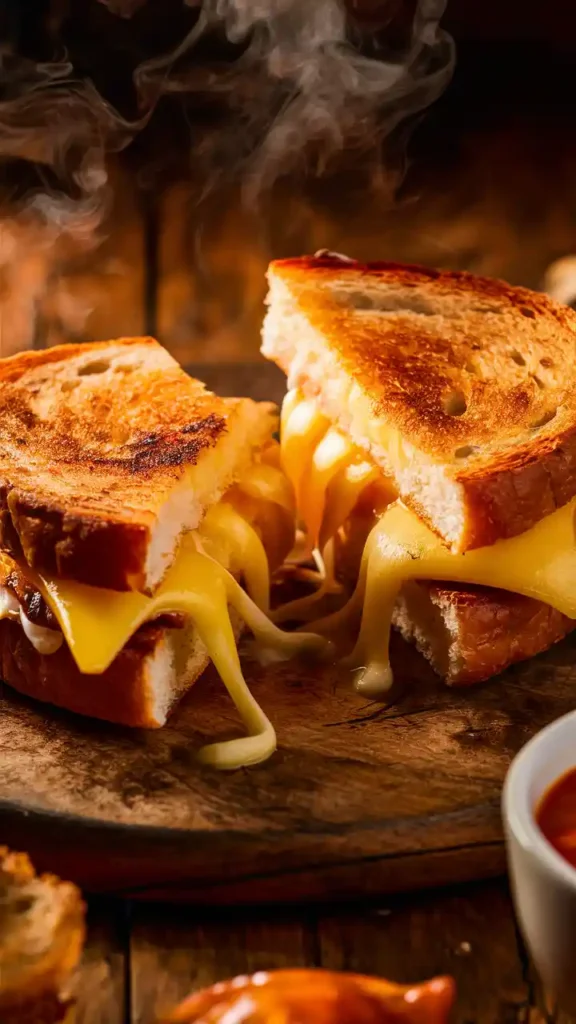
- Slice diagonally and serve. The first bite is always the best—the cheese pulls and stretches like a warm hug.
The aroma while cooking fills the kitchen, drawing everyone near. My family always appears magically at this stage, claiming they “weren’t hungry,” only to devour the sandwich in seconds.
Pro Notes and Common Mistakes to Avoid
Even though a grilled cheese seems simple, a few small missteps can ruin the experience. One time, I got overconfident and cranked the heat—suddenly, my first slice was burnt before the cheese even thought about melting. Lesson learned: patience is key.
A few things I always keep in mind:
- Butter evenly, not excessively. Too much butter can cause the bread to soak and become greasy.
- Use medium-low heat. This gives the cheese time to melt while the bread crisps.
- Don’t overcrowd the pan. If your skillet is small, cook one sandwich at a time to ensure even heat distribution.
- Cover briefly if needed. A lid traps heat, helping stubborn cheese melt fully.
Following these tips will turn an average sandwich into the kind that makes people hum with satisfaction after the first bite.
Storage and Make-Ahead Tips
Grilled cheese is best fresh, but if you need to prep ahead:
- Make-Ahead: Assemble the sandwiches without buttering, wrap tightly in plastic wrap, and refrigerate up to a day. Butter and cook right before serving.
- Reheating: Use a skillet over low heat rather than a microwave to maintain crispiness. Cover with a lid for a minute to help the cheese soften.
- Freezing: Wrap sandwiches individually in parchment and foil. Reheat in a 350°F oven for 10–12 minutes for a close-to-fresh taste.
Following these tips keeps the sandwich satisfying even when you can’t make it fresh on the spot.
Print
- Total Time: 15 minutes
- Yield: 1 sandwich 1x
- Diet: Vegetarian
Description
This classic grilled cheese sandwich recipe is crispy on the outside, melty on the inside, and endlessly comforting. Made with real butter and a mix of flavorful cheeses, it’s the perfect quick lunch or nostalgic dinner. Whether served solo or paired with a cozy bowl of soup, this sandwich delivers big flavor with simple ingredients. Great for kids, adults, and anyone who loves comfort food done right.
Ingredients
- 2 slices of thick-cut sourdough or white bread
- 2 tablespoons unsalted butter, softened
- ½ cup grated cheddar cheese
- ¼ cup grated mozzarella
- Optional: pinch of garlic powder, herbs, or chili flakes
Instructions
- Spread butter on one side of each bread slice.
- Place cheese on the unbuttered side of one slice. Sprinkle with optional seasonings.
- Top with the second bread slice, buttered side out.
- Heat skillet over medium-low.
- Place sandwich in skillet and press gently with spatula.
- Cook for 4 minutes, or until golden.
- Flip and cook another 3–4 minutes until both sides are crisp and cheese is melted.
- Let rest for 1 minute before slicing and serving.
Notes
- For extra melt, cover the pan with a lid.
- Grating cheese helps melt it faster and more evenly.
- To upgrade, add thin tomato slices, caramelized onions, or a swipe of Dijon.
- Prep Time: 5 minutes
- Cook Time: 8–10 minutes
- Category: Lunch, Snack
- Method: Skillet
- Cuisine: American
Nutrition
- Serving Size: 1 sandwich
- Calories: 490