Easy Oreo Desserts
I still remember the first time I made an Oreo dessert for a casual family get-together. My niece had insisted on “the cookie one with the cream in the middle,” and I didn’t want to disappoint. I pulled out a bag of Oreos, a tub of cream cheese, and a few simple pantry staples, thinking I’d throw something together. By the time the dessert hit the table, it was gone within minutes.
My family’s reactions—big smiles, sticky fingers, and half-whispered requests for seconds—made me realize just how magical these little cookies could be when transformed into a simple, indulgent treat. Since then, Oreo desserts have become my go-to for potlucks, birthdays, and even impromptu Sunday gatherings.
It’s funny because these recipes are deceptively simple. There’s no fancy equipment, no hours of baking, and yet they feel special. I’ve learned that a little layering, a sprinkle of chocolate, or a touch of whipped cream can elevate something as humble as an Oreo into a dessert that feels like a celebration.
Presentation Tips for Sharing and Hosting
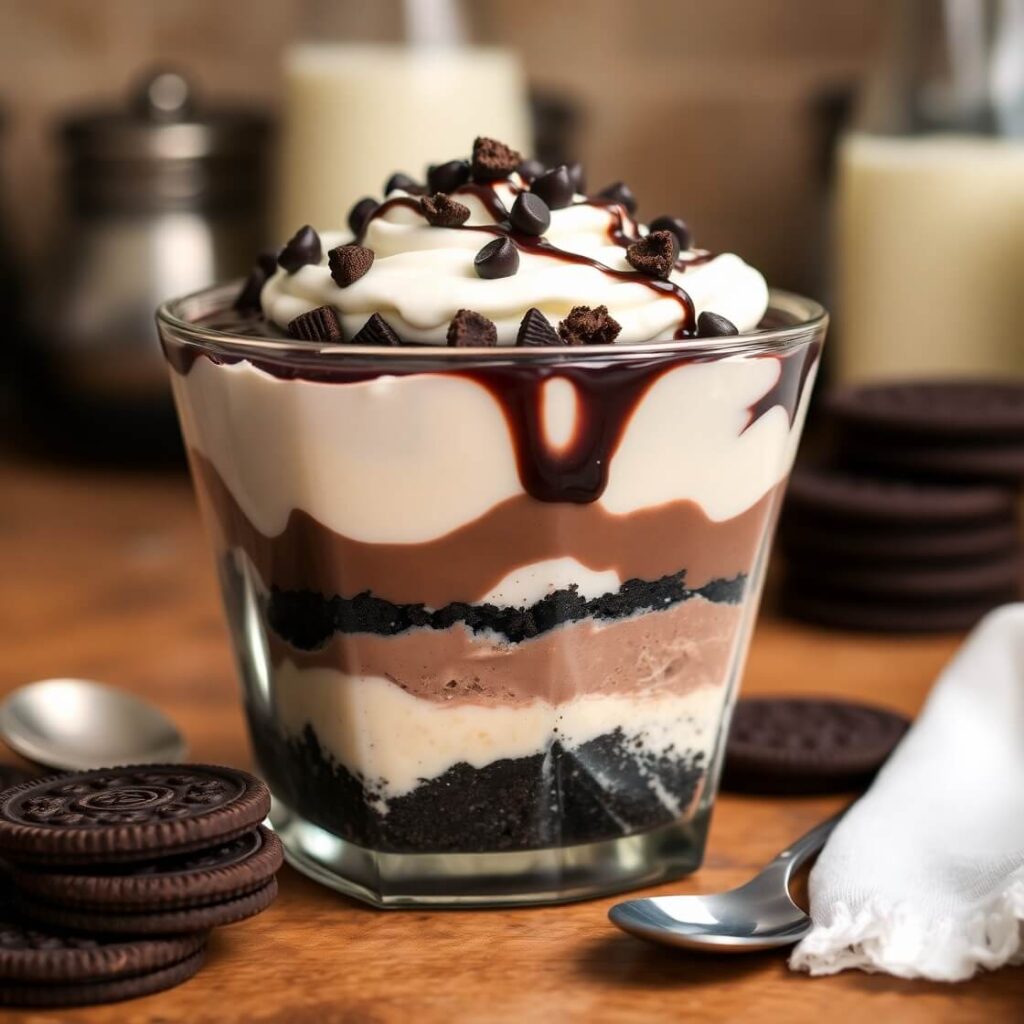
When I bring an Oreo dessert to a gathering, half the fun is in the presentation. Mini parfait cups are perfect for individual servings, making it easy for guests to grab and dig in without worrying about a messy slice. If you’re making a larger dessert, like an Oreo dump cake or a layered no-bake pie, I like to garnish it with extra cookie crumbs or a few whole Oreos on top—simple, yet elegant. A drizzle of chocolate or caramel sauce always makes it feel a bit more special, and it’s a great way to add some visual contrast.
Serving these desserts with a few hot beverages or cold milk also adds to the experience. I’ve noticed that family members tend to linger around the table longer, sharing stories and laughs, when a dessert is both delicious and inviting.
Ingredients Notes
- Oreos: The base of most recipes—crush them for a crust or layer them whole.
- Creamy Layer: Keep cream cheese, powdered sugar, and heavy cream on hand for easy fillings.
- Flavor Boost: A splash of vanilla extract adds warmth and depth.
- Fun Add-Ins: Try chocolate pudding, crushed nuts, or raspberries for extra texture and flavor contrast.
- Gluten-Free Option: Use gluten-free Oreos to make the recipe accessible.
- Vegan Twist: Swap in plant-based cream cheese and whipped cream. The result is still indulgent and nearly identical in taste.
How to Make This Oreo Desserts
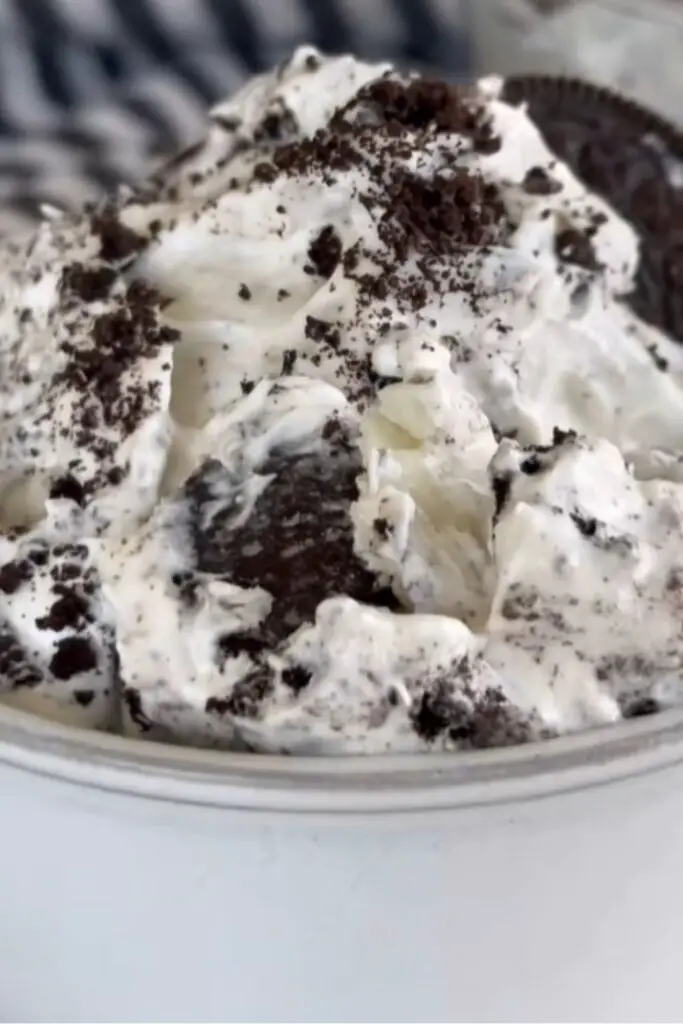
Making an Oreo dessert is mostly about layering and gentle assembly. Here’s a simple no-bake Oreo parfait I love:
- Crush Oreos: Place about 15 cookies in a zip-top bag and crush with a rolling pin until coarse crumbs form.
- Mix cream layer: Beat 8 oz cream cheese with ½ cup powdered sugar and 1 tsp vanilla until smooth. Whip 1 cup heavy cream separately until stiff peaks form, then fold gently into the cream cheese mixture.
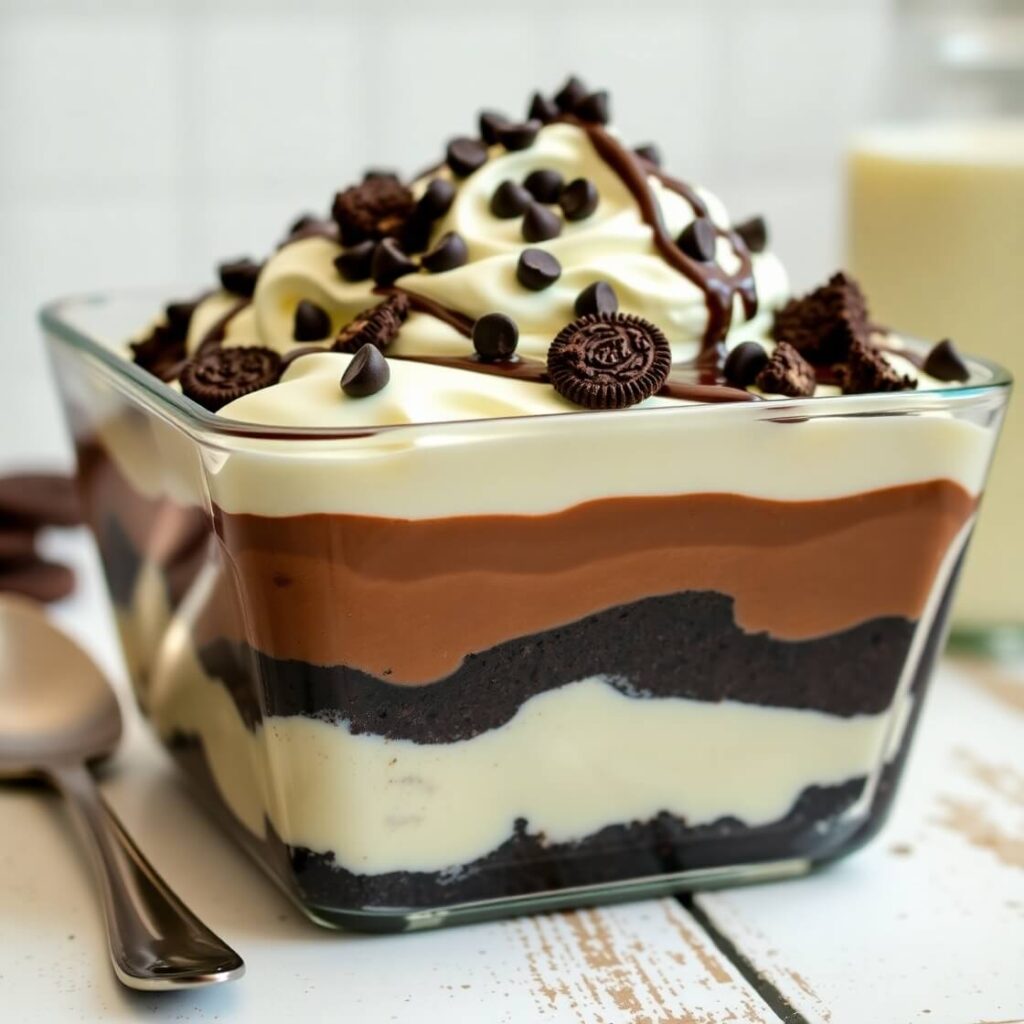
- Layering: Start with a layer of crushed Oreos at the bottom of your cup or dish. Top with a generous dollop of the cream mixture. Repeat for 2–3 layers, ending with cream on top.
- Garnish: Sprinkle extra cookie crumbs or a few mini Oreos on top. For a little flair, drizzle melted chocolate or caramel over the top.
- Chill: Refrigerate for at least 2 hours before serving to allow the layers to set.
I remember once trying to speed things up and skipping the chilling step—the dessert was fine, but the layers slipped when I scooped them. Lesson learned: patience really does pay off with these creamy treats.
Storage and Make-Ahead Tips
One of the best things about Oreo desserts is their flexibility with timing. You can assemble them a day ahead, which makes them perfect for parties. Keep individual servings covered in the fridge; they’ll last 2–3 days without losing flavor or texture. If you make a larger dish, cover tightly with plastic wrap.
I’ve also found that slightly over-chilling a no-bake Oreo dessert doesn’t hurt—it actually helps the layers firm up, making for clean, perfect slices when serving. Just remember that if it sits too long, the cookies can become very soft, so aim for a balance that works for your schedule.
Pro Tips and Common Mistakes
Even though Oreo desserts are forgiving, a few small tips can make them shine. One mistake I often see (and made myself!) is overmixing the whipped cream into the cream cheese. It’s tempting to fold aggressively, but this can deflate the cream and make the dessert less fluffy. Gently fold in a few strokes at a time, and you’ll get those perfect airy layers.
Another tip is to crush the Oreos to the right consistency. Too fine, and the cookie base becomes mushy; too chunky, and it’s hard to layer smoothly. I aim for coarse crumbs with a few slightly bigger pieces to add texture.
When serving, I’ve found that keeping a small offset spatula or butter knife nearby helps scoop neat portions, especially if you’re using a larger dish. And if you’re hosting a crowd, consider making individual cups—guests love them, and cleanup is a breeze.
FAQs About Easy Oreo Desserts
Can I use double-stuffed Oreos?
Absolutely! Double-stuffed Oreos make the dessert even creamier. Just keep an eye on sweetness—if you’re sensitive, you might want to reduce the powdered sugar slightly.
Can this dessert be made vegan or dairy-free?
Yes. Swap cream cheese for a vegan alternative, and use plant-based whipped cream. Vegan Oreos are widely available, so you can keep the flavor and texture close to the original.
Do I have to chill it for 2 hours?
Chilling is key for structure. While you can serve it sooner, the layers might not set well, and scooping can become messy.
Can I make this ahead for a party?
Definitely. Assemble the night before and refrigerate. Individual cups or a layered dish work perfectly for hosting.

Easy Oreo Desserts
- Total Time: 2 hours 20 minutes (includes chill time)
- Yield: 12 1x
- Diet: Vegetarian
Description
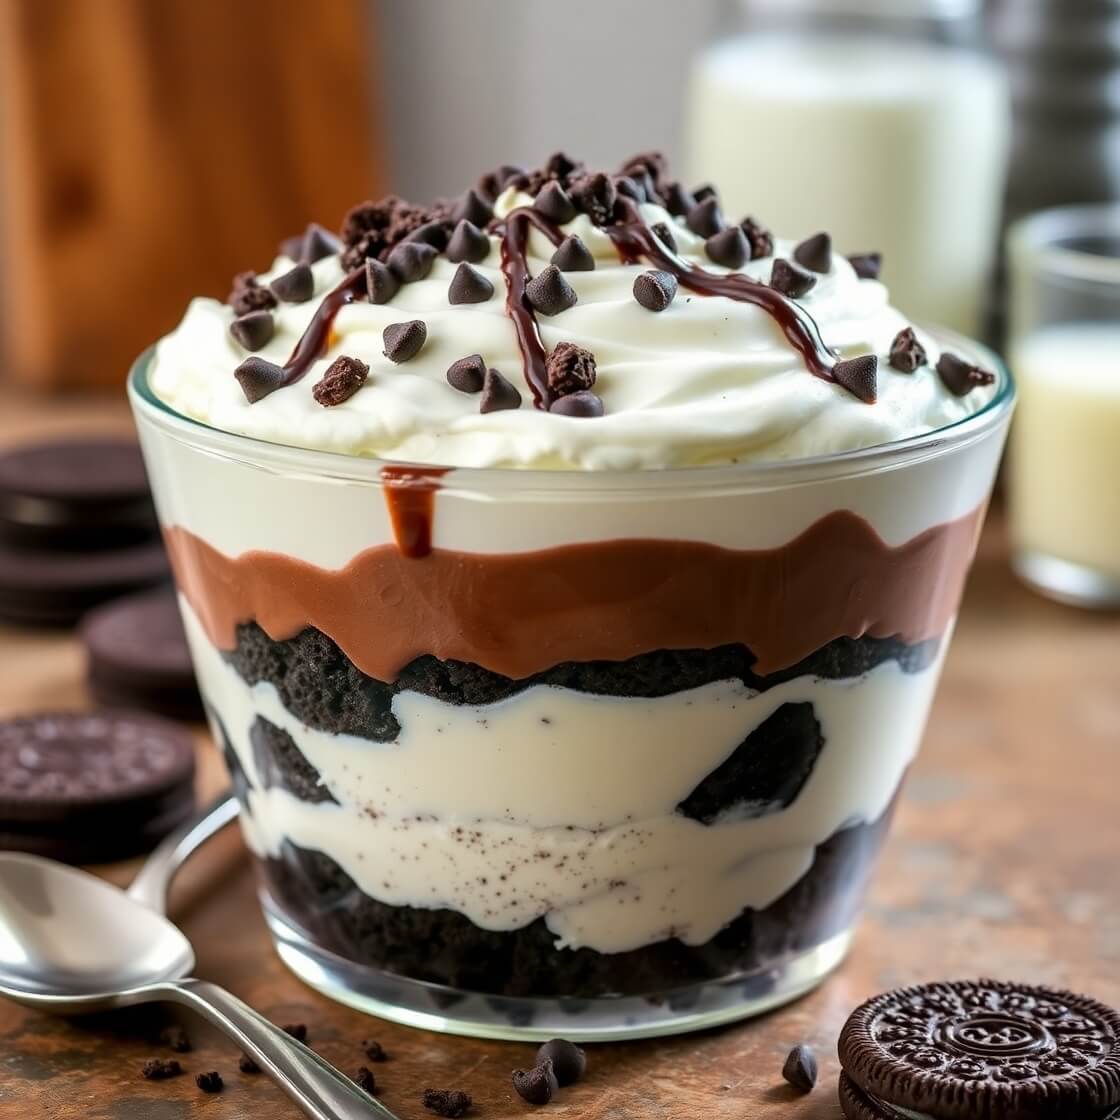
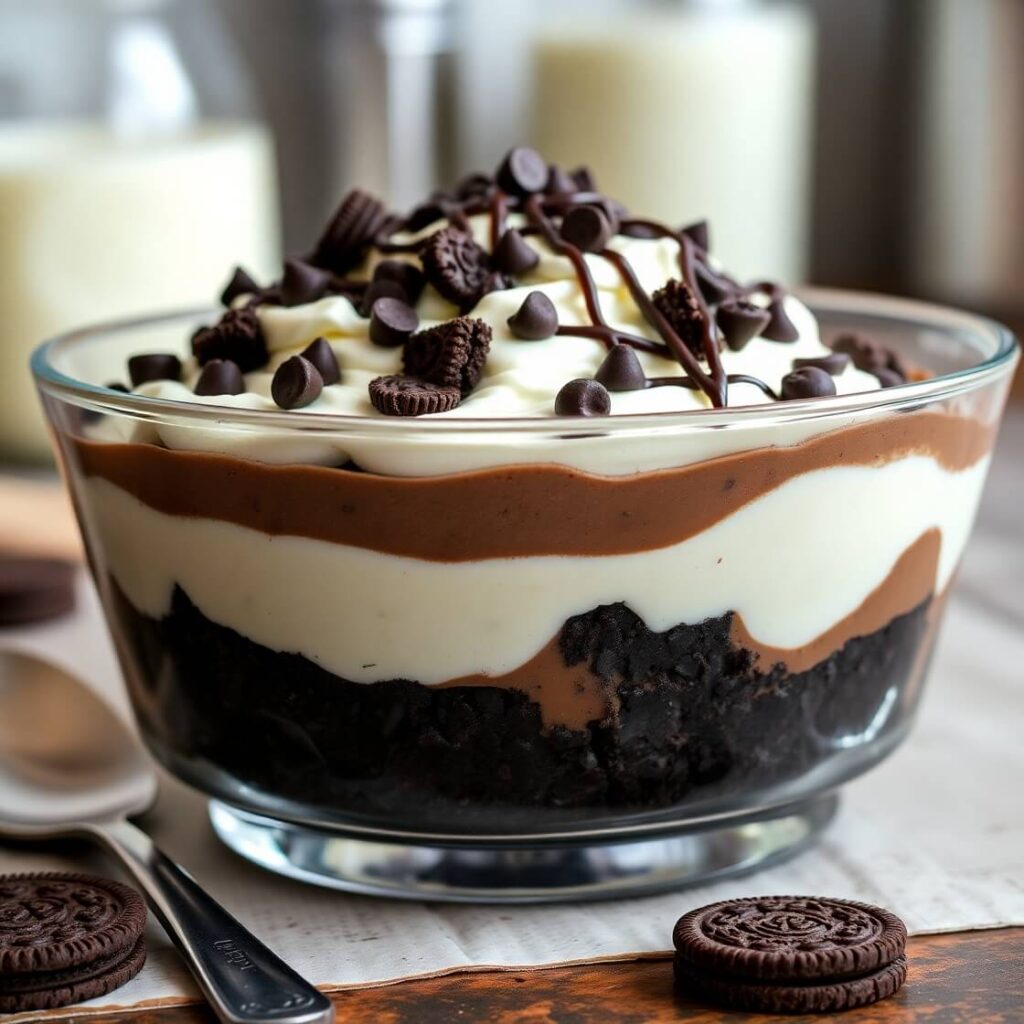
This no-bake Oreo dessert is rich, creamy, and layered with love. With a crunchy Oreo crust, fluffy cream cheese layer, and silky chocolate pudding topping, it’s the perfect make-ahead treat for parties, holidays, or just a weeknight indulgence. Best of all, it requires zero oven time and just a handful of simple ingredients. Whether you’re serving a crowd or just keeping it in the fridge for a midnight craving, this dessert never fails to impress.
Ingredients
- 36 Oreos (divided)
- 6 tablespoons unsalted butter, melted
- 8 oz cream cheese, softened
- 1 cup powdered sugar
- 2 teaspoons vanilla extract
- 2 (8 oz) tubs Cool Whip (or 4 cups whipped cream), divided
- 1 (5.1 oz) box instant chocolate pudding mix
- 2 ¾ cups cold milk
Instructions
- Crush 24 Oreos and mix with melted butter. Press into a 9×13″ dish and chill.
- Beat softened cream cheese, powdered sugar, and vanilla until smooth. Fold in 1 cup Cool Whip and spread over crust.
- Whisk pudding mix with cold milk until thickened. Pour over cream layer and spread evenly.
- Top with remaining Cool Whip.
- Crush remaining Oreos and sprinkle on top.
- Chill for at least 2 hours before serving.
Notes
- For best results, chill overnight.
- Garnish with chocolate syrup, berries, or chocolate curls for added flair.
- Store covered in the fridge for up to 4 days or freeze for longer storage.
- Prep Time: 20 minutes
- Cook Time: 0 minutes
- Category: Dessert
- Method: No-Bake
- Cuisine: American
Nutrition
- Serving Size: 12
- Calories: 360
- Sugar: 27g
- Sodium: 340mg
- Fat: 20g
- Saturated Fat: 11g
- Unsaturated Fat: 7g
- Trans Fat: 0g
- Carbohydrates: 39g
- Fiber: 1g
- Protein: 4g
- Cholesterol: 35mg