Dark Chocolate Cheesecake Recipe
I still remember the first time I tried a truly decadent dark chocolate cheesecake. It wasn’t in a fancy bakery or a high-end restaurant—it was at my cousin’s apartment during a rainy Sunday afternoon. The smell of melting chocolate mingled with the faint aroma of espresso, and by the time I took the first bite, I was hooked. The texture was impossibly smooth, like silk sliding over my tongue, with a rich, bittersweet punch that lingered long after the fork had done its work.
I had attempted cheesecake before, of course, but mine always felt either too dry or too heavy, missing that luxurious chocolate depth. That day, I watched her take careful measurements, fold ingredients gently, and tap the pan just right to release air bubbles. The secret, she confessed, wasn’t just in the chocolate but in the balance—richness without heaviness, sweetness without cloying, and a crust that gave just enough crunch.
After that day, I experimented with my own version countless times, tweaking the chocolate percentage, adjusting the creaminess, and learning the subtle art of folding with precision. Each attempt brought a new lesson, a tiny kitchen victory or, sometimes, a burnt-bottom mishap. But over time, I finally found the sweet (and bitter) spot. And now, I’m thrilled to share it with you—a dark chocolate cheesecake that’s rich, creamy, and indulgent, yet surprisingly approachable.
The Secret Behind Its Flavor
Dark chocolate cheesecake works its magic because it marries intensity with silkiness. Unlike regular chocolate desserts, this cheesecake relies on high-quality dark chocolate—preferably 70% cacao or above—to give a nuanced depth. It’s slightly bitter, but that bitterness is what makes the cheesecake feel sophisticated rather than cloyingly sweet.
Another key is the cream cheese. Full-fat cream cheese is non-negotiable here. It gives the cheesecake its creamy, dreamy texture that contrasts beautifully with the chocolate’s slight firmness. And don’t underestimate the eggs—they provide structure without turning the cheesecake into a rubbery cake.
The crust is the final piece of the puzzle. I’ve tried graham crackers, chocolate cookies, and even nut-based options, but the buttery chocolate cookie crust stands out. It’s crisp, slightly crumbly, and just sweet enough to counterbalance the chocolate filling. The final touch—baking in a water bath—prevents cracks and keeps the surface glossy and smooth. That’s the kind of detail that transforms a simple dessert into something worthy of celebration.
Ingredients in Context
Let’s talk about what goes into this cheesecake—and why each ingredient matters.
- Dark chocolate: Opt for a bar, not chips. I love using a 70–72% cacao chocolate for its rich flavor. Bars melt more evenly, giving a smoother filling.
- Cream cheese: Full-fat and room temperature. Cold cream cheese can make your batter lumpy, which I learned the hard way during one of my first batches.
- Sour cream: Adds tang and lightness. Without it, the cheesecake can feel too dense.
- Eggs: They set the structure, so don’t skip them or overbeat.
- Sugar: Granulated works fine. I usually start with a little less than some recipes call for because dark chocolate is already slightly sweet.
- Vanilla extract: Just a teaspoon, but it brings warmth and balances the chocolate.
- Chocolate cookie crumbs: For the crust, ideally finely ground and mixed with melted butter for cohesion.
Substitutions can work if needed. Almond flour or gluten-free cookie crumbs work for those avoiding gluten. Coconut cream can replace some of the dairy if you want a slightly lighter texture or need a dairy-free version, but the flavor changes subtly.
Step-by-Step Instructions
Here’s how I make my favorite dark chocolate cheesecake. Follow the cues, especially the sensory ones—they make all the difference.
- Prepare the crust:
Preheat the oven to 350°F (175°C). Mix 1 ½ cups of chocolate cookie crumbs with ⅓ cup melted butter. Press firmly into the bottom of a 9-inch springform pan. I like using the back of a measuring cup to compact it evenly. Bake for 10 minutes, then let it cool. The smell of chocolate in the oven at this stage is pure magic and always makes me impatient for the filling. - Melt the chocolate:
Chop 8 ounces of dark chocolate and melt it slowly in a double boiler or microwave in short bursts. Stir frequently to prevent scorching. Tip: remove it from heat when about 90% melted; the residual heat will finish the process, keeping it glossy and smooth. - Make the filling:
Beat 24 ounces of room-temperature cream cheese until smooth. Add ¾ cup sugar gradually, then mix in ½ cup sour cream and 1 teaspoon vanilla. Gently fold in the melted chocolate until fully incorporated. Add 4 large eggs, one at a time, mixing just until combined—overmixing can trap air and cause cracks. - Bake the cheesecake:
Pour the batter over the cooled crust. Place the springform pan in a larger baking dish and add hot water to come halfway up the sides for a water bath. Bake at 325°F (160°C) for 55–65 minutes, until the edges are set but the center slightly jiggles. Resist the urge to open the oven early; patience here preserves the texture. - Cool and chill:
Let the cheesecake cool at room temperature for an hour, then refrigerate for at least 4 hours, preferably overnight. This is the hardest part—the anticipation—but it makes the cheesecake slice perfectly clean and develop that luscious creaminess.
Substitutions & Adaptations
Life in the kitchen is all about flexibility. Here’s how to adapt this cheesecake for different needs:
- Gluten-free: Swap the chocolate cookie crust for gluten-free cookies or almond flour crust.
- Vegan: Use cashew cream instead of cream cheese and coconut cream in place of sour cream. Dark chocolate must be dairy-free.
- Kid-friendly: Slightly reduce the chocolate intensity (60% cacao) and increase sugar by a tablespoon or two.
- Nutty twist: Fold in chopped toasted hazelnuts or pecans into the crust for extra texture.
I often try little tweaks based on who’s coming for dessert. Once, I added a pinch of espresso powder to the filling, and it elevated the chocolate flavor beautifully, without tasting like coffee.
Serving Ideas That Make It Shine
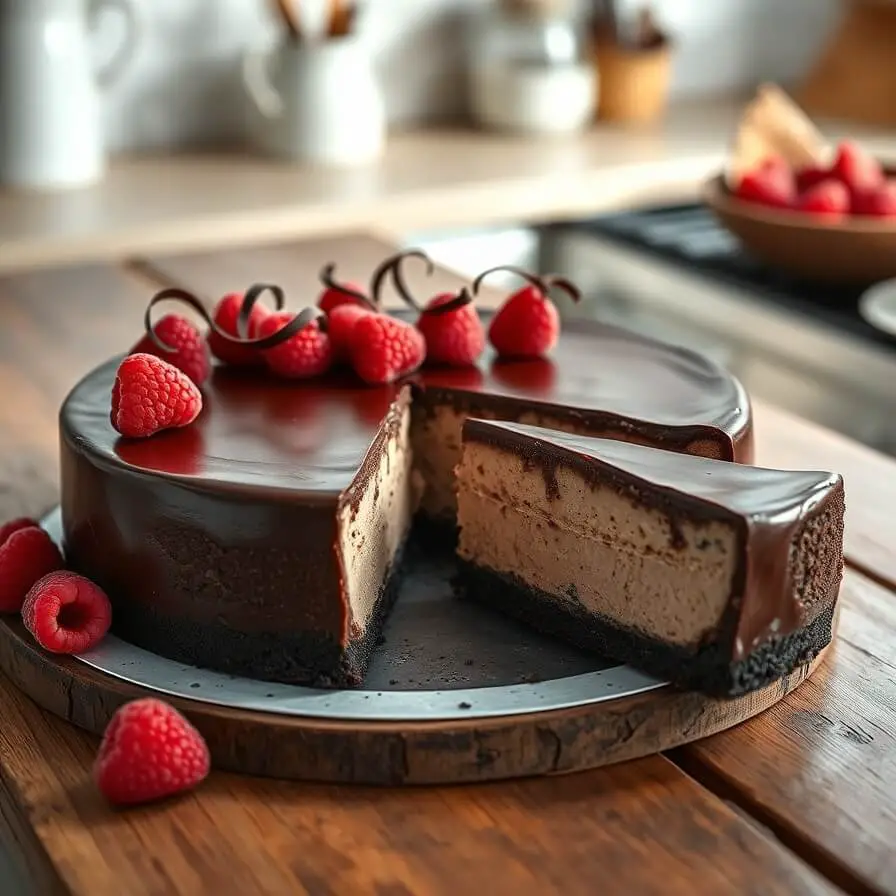
One of the joys of dark chocolate cheesecake is how versatile it is when serving. I like to slice it thin for dinner parties—rich enough to satisfy, but not overwhelming. A small dollop of lightly whipped cream on top softens the intense chocolate flavor and makes each bite feel like a celebration.
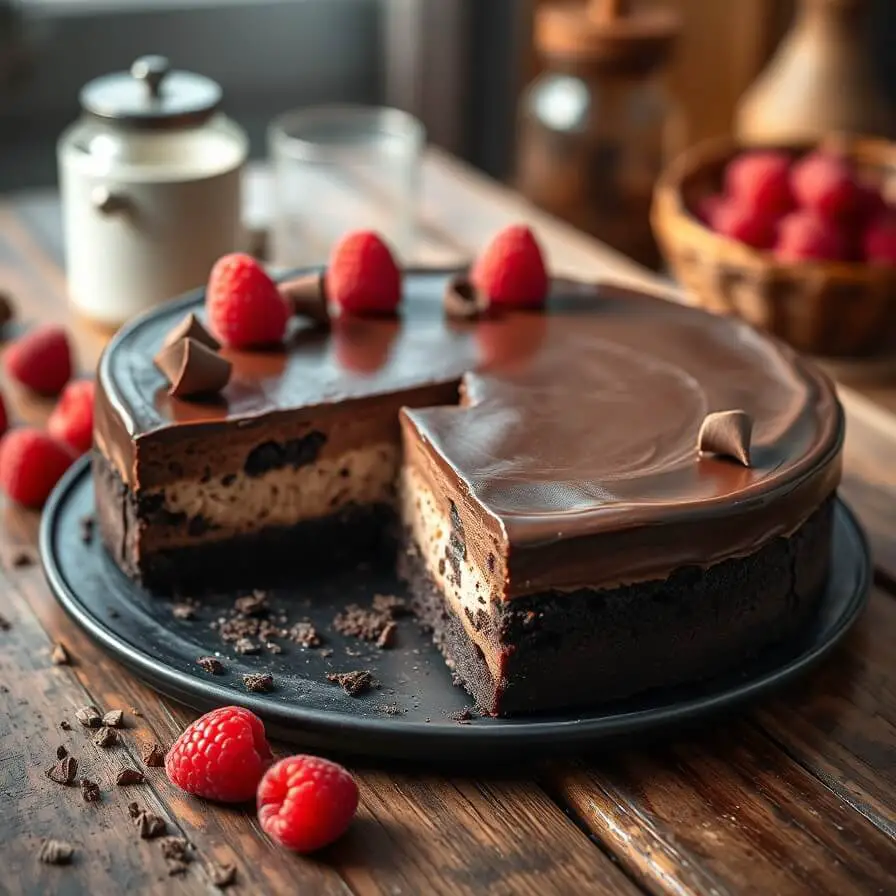
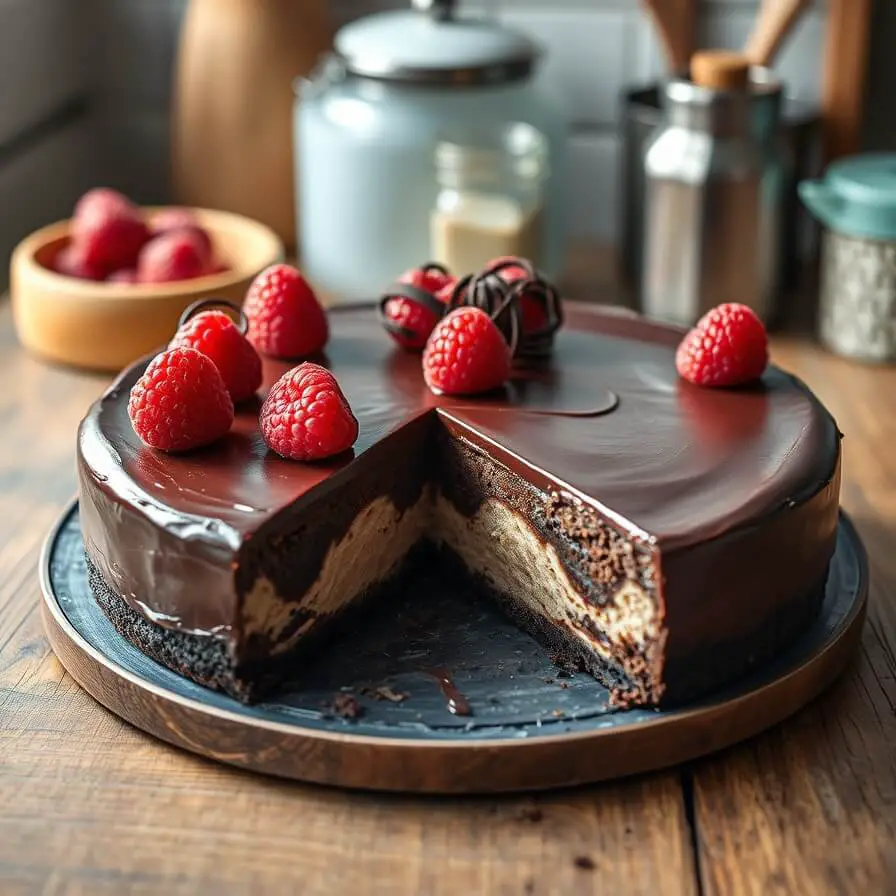
Fresh berries, especially raspberries or strawberries, add a vibrant pop of color and a tart contrast to the chocolate’s richness. Sometimes I drizzle a little raspberry coulis over the top, and it never fails to elicit “oohs” and “ahhs” from my family. For a more indulgent approach, a few shards of tempered chocolate or chocolate curls make the presentation feel professional, even if you made it in your kitchen in pajamas.
I’ve also experimented with espresso drizzle—just a small amount of strong coffee syrup over the cheesecake before serving. It intensifies the chocolate flavor without adding bitterness, creating a sophisticated dessert experience.
Pro Notes & Mistakes to Avoid
Over the years, I’ve learned a few things that make the difference between an average cheesecake and a spectacular one:
- Room temperature ingredients are key: Cold cream cheese or eggs can create lumps in the batter. Let them sit out for at least 30 minutes before mixing.
- Avoid overmixing: When adding eggs, mix gently. Overbeating incorporates air, which can cause cracks during baking.
- Water bath magic: Baking in a water bath keeps the cheesecake moist and crack-free. I learned this the hard way after my first batch split right down the center.
- Chill fully before slicing: The cheesecake needs at least four hours in the fridge. Cutting it too soon makes it runny. I once ignored this step, and the slices looked more like molten lava than cake—lesson learned!
- Use a sharp knife: For clean slices, dip your knife in hot water and wipe it between cuts. It makes a surprisingly big difference.
Storage & Make-Ahead Tips
Dark chocolate cheesecake actually improves if you plan ahead. It can be made a day or two in advance, which is perfect for holidays or dinner parties.
- Refrigerator: Store in an airtight container for up to 5 days. It maintains its creamy texture and flavor.
- Freezer: Wrap individual slices tightly in plastic wrap and foil. Freeze for up to 2 months. Thaw in the fridge overnight before serving.
- Transporting: For potlucks or picnics, place the cheesecake on a flat tray and surround with ice packs to keep it cool.
The ability to make it ahead makes entertaining stress-free—I always have a slice ready for a midnight snack, too, which is admittedly dangerous.
FAQs About Dark Chocolate Cheesecake
Can I use milk chocolate instead of dark chocolate?
Yes, but the cheesecake will be sweeter and less rich. If you go this route, reduce sugar slightly to avoid it being too sweet.
Why did my cheesecake crack?
Cracks usually come from overmixing or sudden temperature changes. Using a water bath and gentle folding helps prevent this.
Can I make it dairy-free?
Absolutely. Substitute cream cheese with cashew cream and sour cream with coconut cream. Use dairy-free dark chocolate. The texture is slightly different but still delicious.
How do I get a glossy top?
A water bath helps, but also resist opening the oven too soon. Some bakers like to brush a thin layer of melted chocolate on top once cooled for extra shine.
What’s the best pan to use?
A 9-inch springform pan works perfectly. Make sure to line the bottom with parchment paper to prevent sticking.

Dark Chocolate Cheesecake Recipe
- Total Time: 5 hours 40 minutes
- Yield: 12 1x
- Diet: Vegetarian
Description
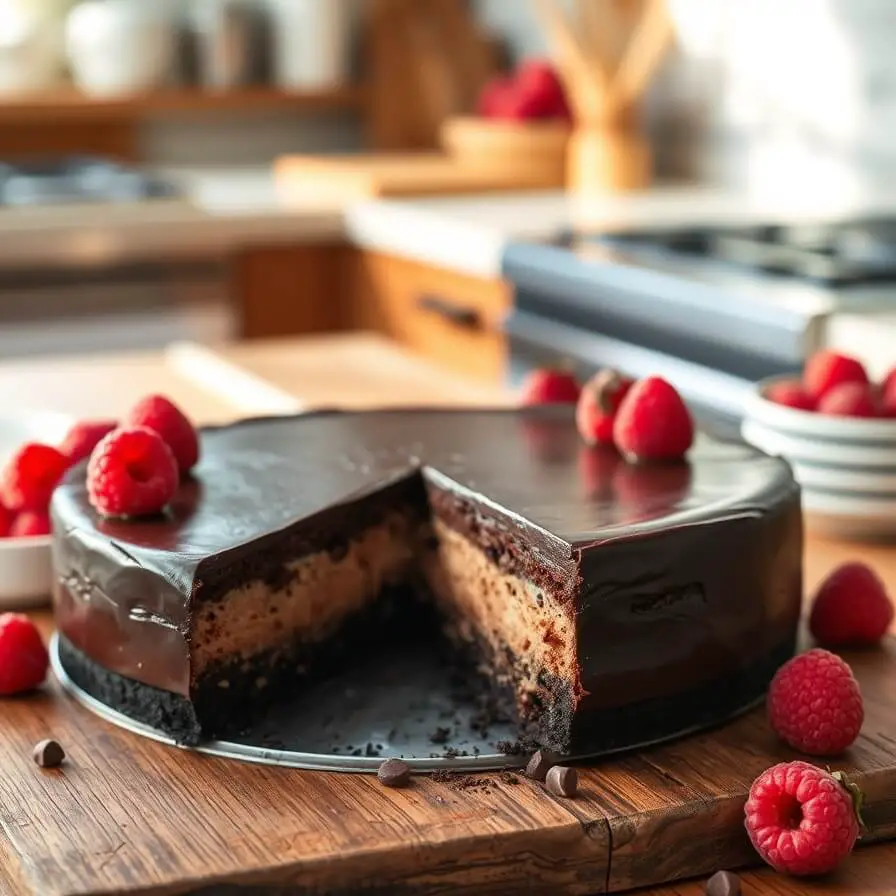
This dark chocolate cheesecake is a decadent, creamy dessert that balances rich chocolate with a buttery chocolate cookie crust. Perfect for special occasions, holidays, or just indulging your sweet tooth, it’s smooth, slightly bittersweet, and irresistibly luxurious. With tips on substitutions, serving, and storage, this recipe is approachable yet elegant.
Ingredients
- 1 ½ cups chocolate cookie crumbs
- ⅓ cup unsalted butter, melted
- 8 oz dark chocolate (70% cacao), chopped
- 24 oz cream cheese, room temperature
- ¾ cup granulated sugar
- ½ cup sour cream
- 1 tsp vanilla extract
- 4 large eggs, room temperature
Instructions
- Preheat oven to 350°F (175°C). Mix cookie crumbs with melted butter and press into a 9-inch springform pan. Bake 10 minutes, then cool.
- Melt dark chocolate gently and set aside.
- Beat cream cheese until smooth, add sugar, sour cream, and vanilla. Fold in melted chocolate.
- Add eggs one at a time, mixing gently. Pour over crust.
- Place springform pan in larger baking dish, add hot water halfway up sides. Bake at 325°F (160°C) for 55–65 minutes.
- Cool at room temperature 1 hour, refrigerate 4+ hours. Slice with a hot knife for clean pieces.
Notes
- Ensure all ingredients are room temperature.
- Avoid overmixing when adding eggs.
- Use a water bath for crack-free baking.
- Chill fully before slicing for best texture.
- Top with berries, whipped cream, or chocolate curls for presentation.
- Prep Time: 30 minutes
- Cook Time: 1 hour 10 minutes
- Category: Dessert
- Method: Baking
- Cuisine: American
Nutrition
- Serving Size: 12
- Calories: 450
- Sugar: 30g
- Sodium: 220mg
- Fat: 32g
- Saturated Fat: 18g
- Unsaturated Fat: 12g
- Trans Fat: 0g
- Carbohydrates: 33g
- Fiber: 3g
- Protein: 7g
- Cholesterol: 110mg