Dark Chocolate Bark

There’s something deeply satisfying about breaking off a piece of homemade dark chocolate bark — that gentle snap followed by the melt-in-your-mouth richness of real chocolate.
This simple confection is one of those rare desserts that feels both luxurious and effortless. It’s the kind of recipe born out of necessity and creativity — a way to use leftover nuts, dried fruit, or seeds while creating something undeniably elegant.
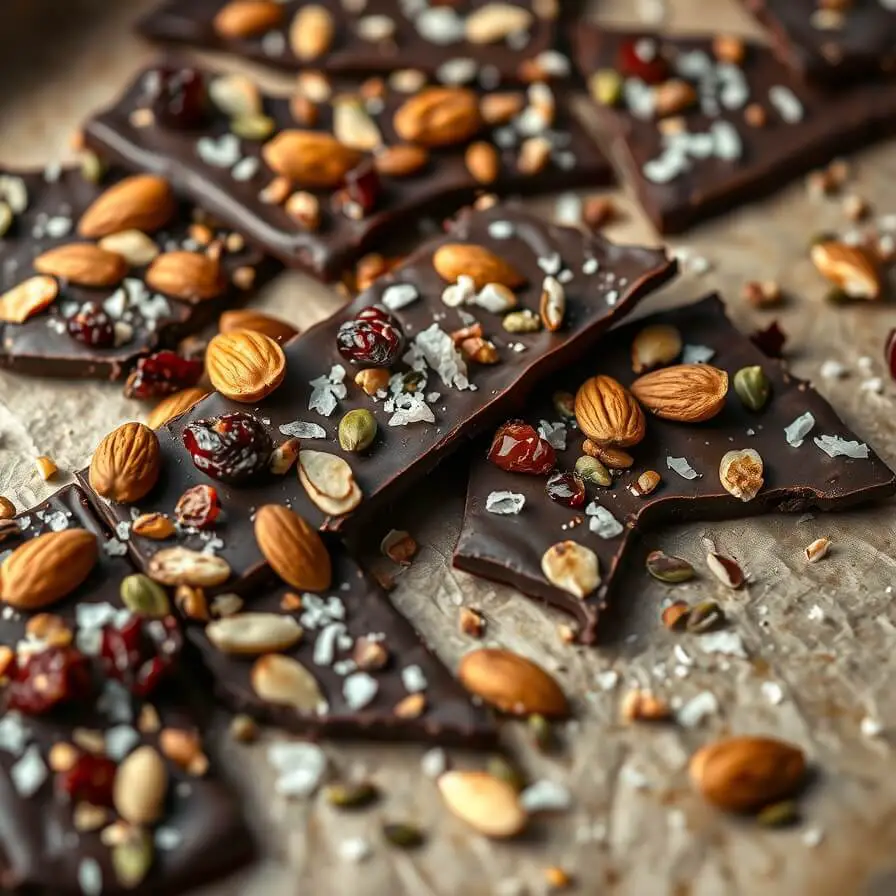
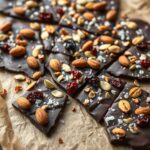
The first time I made dark chocolate bark was during the holiday season. I needed a last-minute gift that felt personal but didn’t require hours in the kitchen. I melted dark chocolate, sprinkled on roasted almonds, cranberries, and sea salt, and let it set. When I broke it into pieces, it looked rustic yet refined — a handmade treat that rivaled any gourmet chocolate shop creation.
Since then, I’ve discovered how versatile this recipe can be. Whether you’re craving a healthy-ish snack, planning edible gifts, or simply indulging a sweet tooth, dark chocolate bark delivers every time. It’s a blank canvas for creativity, where textures and flavors come together in every bite.
And the best part? You only need a handful of ingredients and less than 30 minutes of hands-on time to create something utterly beautiful.
Why I Love This Recipe
What makes dark chocolate bark special is its perfect balance between simplicity and sophistication. You don’t need a candy thermometer, fancy molds, or special skills — just good-quality chocolate and your imagination.
It’s incredibly forgiving. If you can melt chocolate and sprinkle toppings, you can make this recipe. The beauty lies in its customization: you can go classic with nuts and fruit, festive with peppermint and white chocolate drizzle, or exotic with coconut flakes and chili.
Beyond the flavor, it’s also a wonderful make-ahead dessert. It stores beautifully for weeks and travels well, making it ideal for gifts or party favors. Plus, dark chocolate has its own health benefits — antioxidants, mood boosters, and that satisfying richness that curbs cravings with just a small piece.
Every batch feels personal. It’s the kind of recipe you can make with kids on a weekend or prepare as an elegant addition to a dessert board. It’s adaptable for every season and occasion — a timeless, fuss-free classic that never fails to impress.
Ingredients for Dark Chocolate Bark
The foundation of a great bark is simple: high-quality dark chocolate and a selection of toppings that complement its flavor and texture.
Here’s what you’ll need to make the perfect batch:
Dark Chocolate
Use good-quality dark chocolate bars or couverture chocolate, preferably around 70% cocoa. This gives you a deep, rich flavor without being overly bitter. Avoid chocolate chips if possible, as they contain stabilizers that can affect melting and texture.
Toppings (choose a mix of texture and flavor):
You can create your own combination, but here’s a balanced example:
- Nuts: Almonds, pistachios, pecans, or walnuts add crunch and richness. Toast them lightly to enhance flavor.
- Dried Fruits: Cranberries, cherries, apricots, or raisins provide natural sweetness and a chewy contrast.
- Seeds: Pumpkin seeds, sunflower seeds, or sesame seeds add a rustic, wholesome touch.
- Flavor Enhancers: A pinch of flaky sea salt, toasted coconut flakes, or crushed pretzels can elevate every bite.
- Optional Drizzles: White chocolate or caramel for contrast and visual appeal.
The secret is balance — mix sweet, salty, chewy, and crunchy elements so each piece feels complete.
How Much Time Will You Need?
This recipe is refreshingly quick from start to finish.
- Prep time: 10 minutes
- Cooling time: 30 to 45 minutes (depending on room temperature or refrigerator method)
- Total time: About 1 hour (mostly inactive time)
In less than an hour, you can have a tray of glossy, beautiful dark chocolate bark ready to break apart and serve.
How to Make This Dark Chocolate Bark
Step 1: Prepare Your Workspace
Line a baking sheet with parchment paper or a silicone mat. This prevents sticking and makes it easy to remove the bark later.
If you’re using nuts or seeds, toast them in a dry skillet over medium heat for 3–5 minutes, stirring frequently until fragrant. Set aside to cool.
Step 2: Melt the Chocolate
Chop your dark chocolate into small, even pieces for smooth melting.
You can melt the chocolate in one of two ways:
Double Boiler Method:
Fill a small saucepan with 1 inch of water and place a heatproof bowl on top (the bottom should not touch the water). Add the chocolate and stir constantly over low heat until melted and glossy.
Microwave Method:
Place the chopped chocolate in a microwave-safe bowl. Heat in 20-second intervals, stirring between each, until smooth and melted. Be careful not to overheat — dark chocolate burns quickly.
Once melted, let it cool slightly (about 1–2 minutes) before pouring.
Step 3: Spread the Chocolate
Pour the melted chocolate onto your prepared baking sheet. Use an offset spatula or the back of a spoon to spread it into an even layer about ¼ inch thick.
Don’t worry about perfect edges — a slightly rustic shape looks more artisanal.
Step 4: Add the Toppings
Immediately sprinkle your chosen toppings evenly across the surface while the chocolate is still warm and glossy.
Start with the larger items (nuts, dried fruit), then layer in smaller elements (seeds, salt flakes, coconut). Press them lightly into the chocolate so they adhere.
For an elegant look, drizzle a thin stream of melted white chocolate across the top in a zigzag pattern.
Step 5: Set the Bark
Let the chocolate set completely at room temperature (this can take 30–60 minutes), or place the tray in the refrigerator for 15–20 minutes to speed things up.
You’ll know it’s ready when the chocolate looks firm and matte.
Step 6: Break and Serve
Once set, lift the chocolate slab from the parchment and break it into irregular pieces using your hands or a sharp knife.
Serve immediately, or store in an airtight container for later.
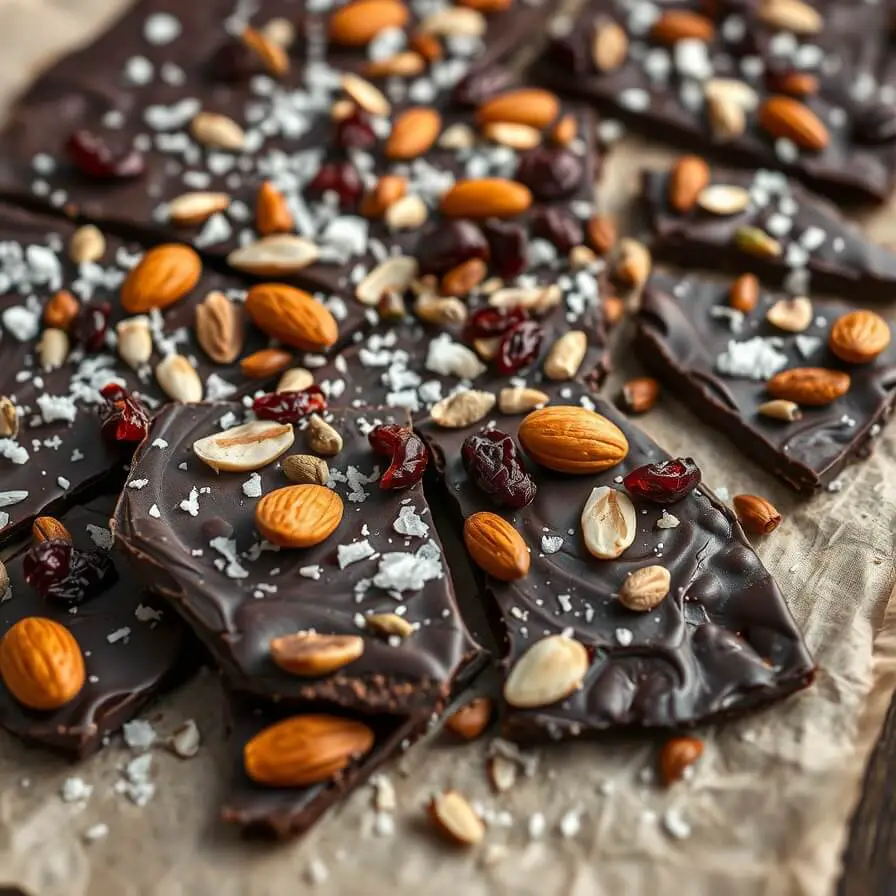
The result? A glossy, snappy bark studded with vibrant colors and irresistible texture — each piece a little different, each bite unforgettable.
Substitutions
The beauty of dark chocolate bark lies in its adaptability. You can customize it based on dietary preferences, pantry staples, or flavor cravings.
Chocolate Alternatives:
If you prefer a milder taste, use semi-sweet or milk chocolate. For a vegan version, ensure the chocolate is dairy-free and labeled vegan.
Nut-Free Options:
Replace nuts with seeds such as pumpkin or sunflower seeds, or use puffed rice for crunch.
Fruit Variations:
Try freeze-dried berries for a tart, crisp contrast or chopped candied ginger for a spicy-sweet twist.
Flavor Enhancements:
Add a pinch of cinnamon, espresso powder, or orange zest to the melted chocolate for extra depth.
Texture Add-Ins:
Crushed pretzels or granola bring a playful salty crunch.
These small swaps can completely change the flavor profile, letting you reinvent this recipe each time you make it.
Best Side Dish of Dark Chocolate Bark
Dark chocolate bark is often enjoyed as a standalone treat, but pairing it thoughtfully can turn a simple dessert into a delightful tasting experience. Here are three ideas that complement its rich flavor:
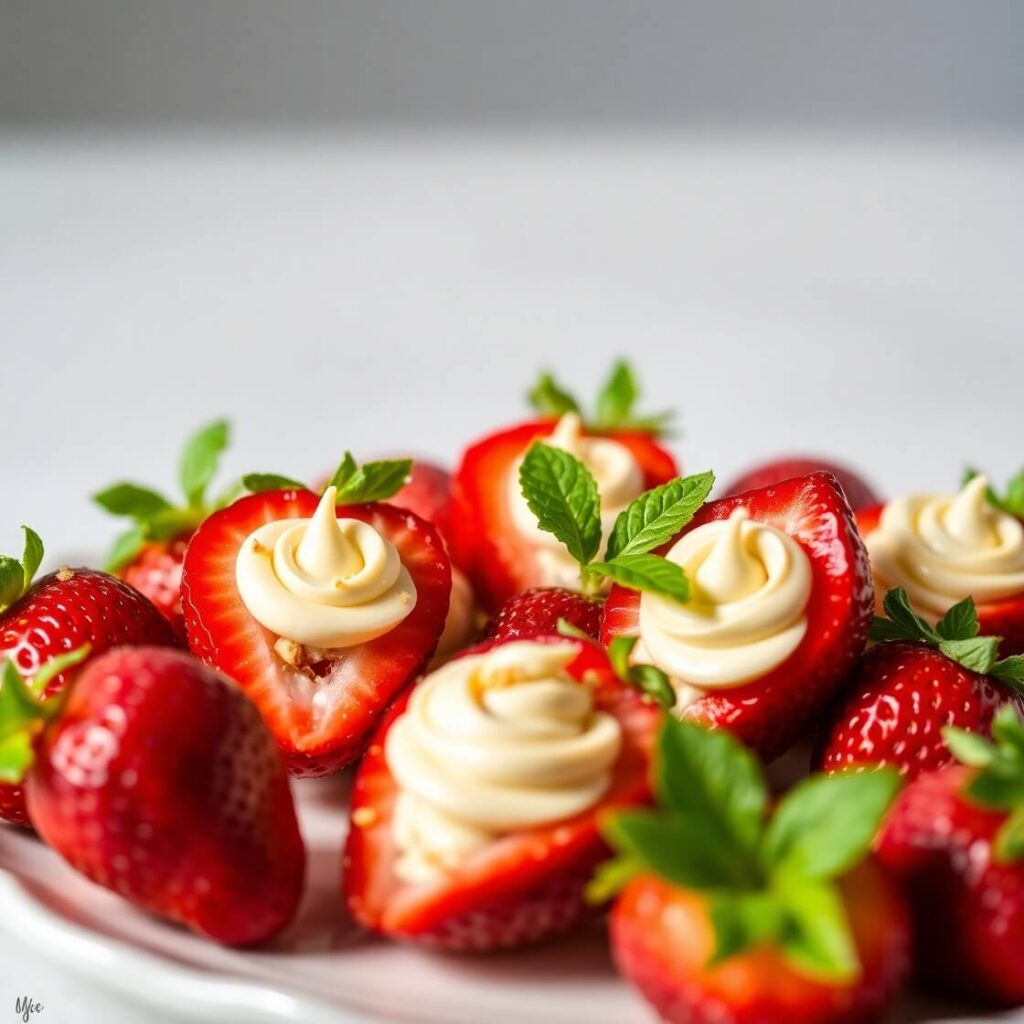
1. Fresh Berries and Whipped Cream:
The light sweetness and acidity of strawberries, raspberries, or blueberries balance the intensity of dark chocolate beautifully.
2. Espresso or Coffee:
The bold bitterness of coffee pairs perfectly with dark chocolate, enhancing its deep cocoa notes. Serve a small cup alongside for a café-style finish.
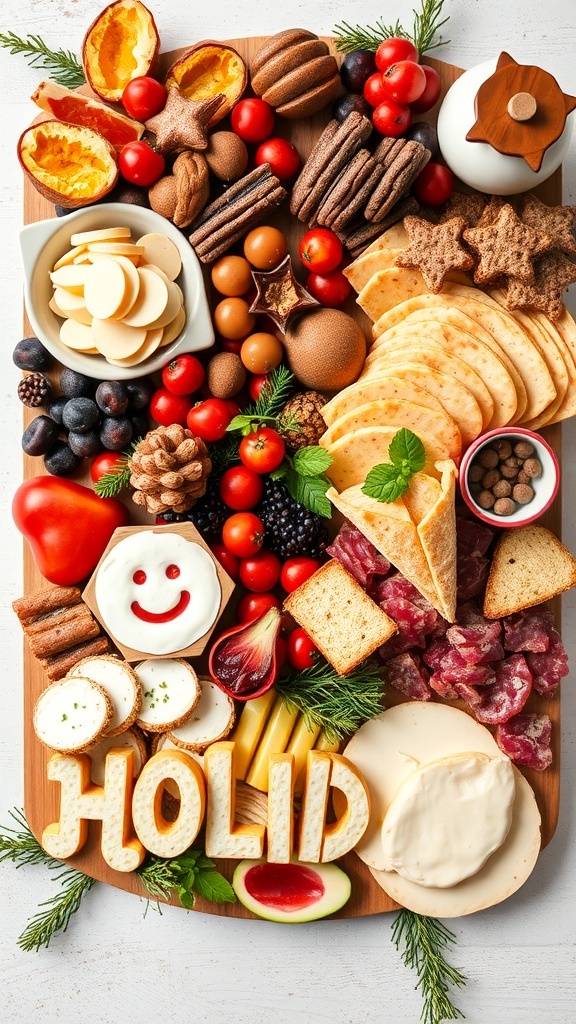
3. Cheese Board Accents:
Add pieces of dark chocolate bark to a cheese platter with brie, aged cheddar, or gouda. The sweet and salty combination makes for an elegant dessert board.
Serving and Presentation Tips
Dark chocolate bark is as visually appealing as it is delicious. The key to presentation lies in showcasing its rustic elegance — the glossy chocolate base, vibrant toppings, and natural, uneven edges all tell a story of homemade craftsmanship.
Here’s how to make it look as stunning as it tastes:
1. Serve on a Contrasting Surface
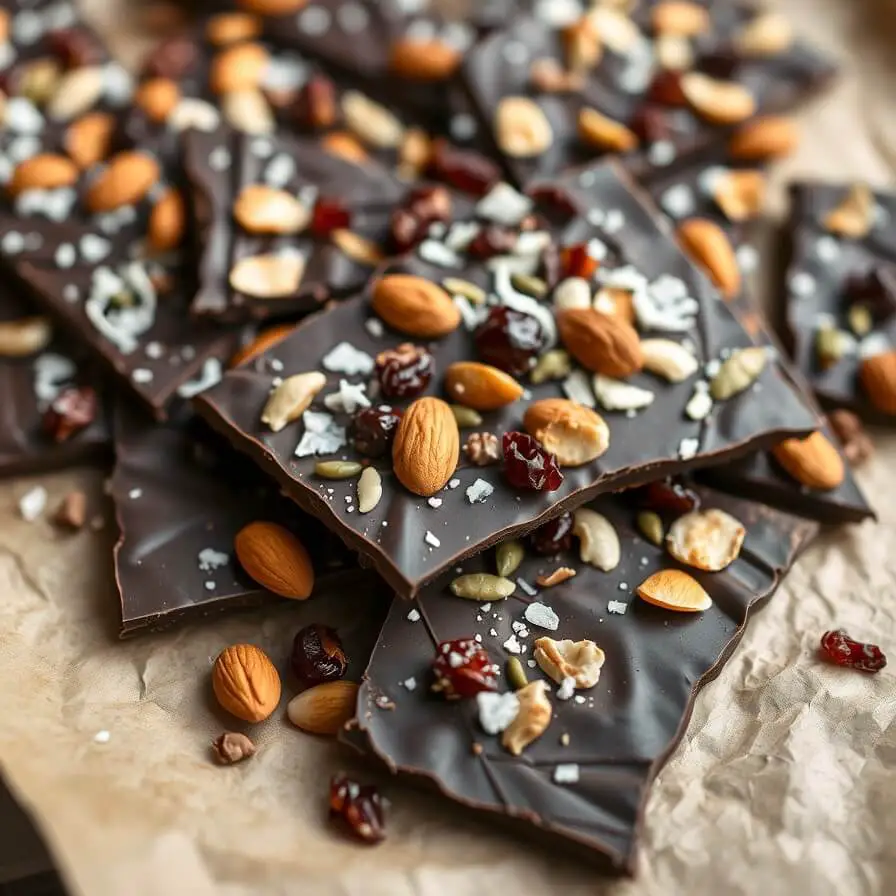
Display your bark on a white marble board, dark slate, or wooden serving tray. The contrast emphasizes the colors of the toppings — the deep brown chocolate, jewel-like fruit, and green pistachios pop beautifully.
2. Create Variation in Shape and Size
When breaking your bark, don’t aim for perfection. Irregular pieces look artisanal and inviting. Include both large shards and smaller bites for variety.
3. Add Garnish at Serving Time
Right before serving, you can lightly dust the bark with cocoa powder or drizzle a few streaks of melted white chocolate to enhance presentation.
4. Gift It Beautifully
If you’re gifting it, wrap the pieces in clear cellophane bags tied with ribbon or pack them in small tins lined with parchment. Homemade dark chocolate bark makes a thoughtful, elegant edible gift — especially around holidays or special occasions.
Tips and Tricks to Make This Recipe Better
The magic of dark chocolate bark is in the details. A few small techniques can take it from good to unforgettable.
Start with quality chocolate.
The flavor of your bark depends almost entirely on the chocolate you use. Choose a bar with at least 70% cocoa and minimal added sugar.
Chop toppings evenly.
Uniform pieces of nuts and fruit ensure even distribution and cleaner bites.
Use dry toppings only.
Moist ingredients like fresh fruit can cause the bark to seize or spoil quickly. Always use dried or toasted items.
Avoid water contact.
Even a drop of water can make melted chocolate grainy and unusable. Make sure bowls, spoons, and spatulas are completely dry.
Cool it slowly.
If possible, let the bark set at room temperature. This prevents condensation and helps the chocolate maintain a glossy, crisp snap.
Enhance flavor with a sprinkle of salt.
A pinch of flaky sea salt just before the chocolate sets brings out the richness of the cocoa and balances sweetness perfectly.
These small touches ensure your bark not only looks gourmet but tastes deeply satisfying with every bite.
Common Mistakes to Avoid
Even though dark chocolate bark is easy to make, a few common mistakes can affect the final result. Here’s what to watch for:
1. Overheating the Chocolate
Chocolate burns easily, especially dark chocolate. Melt it slowly and stir often. If using a microwave, never heat for more than 20 seconds at a time.
2. Using Wet Ingredients
Moisture ruins melted chocolate’s smooth texture. Always ensure your toppings and tools are dry.
3. Spreading Too Thinly
If your bark layer is too thin, it becomes fragile and breaks into crumbs rather than clean shards. Aim for about ¼ inch thickness.
4. Skipping the Cooling Step
If you try to break it before it’s fully set, the bark will bend or smudge. Let it firm up completely before handling.
5. Storing Improperly
Exposure to heat or humidity can cause the chocolate to bloom (develop white streaks). While harmless, it affects appearance and texture.
Avoid these pitfalls, and your bark will always turn out glossy, firm, and irresistible.
How to Store It
Dark chocolate bark keeps beautifully if stored correctly — which makes it a fantastic make-ahead treat.
Store it in an airtight container at cool room temperature, away from sunlight and moisture. A pantry or cupboard works perfectly.
If your kitchen is warm, store it in the refrigerator, but first wrap the bark in parchment paper and seal it in an airtight container to prevent condensation.
Shelf life:
- At room temperature: up to 3 weeks
- In the refrigerator: up to 1 month
- In the freezer: up to 3 months (thaw in the refrigerator before serving to avoid condensation)
Proper storage ensures that every piece remains crisp, glossy, and flavorful.
FAQ
1. Can I temper the chocolate for extra shine?
Yes. Tempering gives the bark a smooth, glossy finish and prevents it from melting easily in your hands. However, it’s optional — this recipe works beautifully without it.
2. Can I use chocolate chips instead of bars?
You can, but chocolate chips contain stabilizers that make them less smooth when melted. If using chips, add a teaspoon of coconut oil to help achieve a silkier texture.
3. How do I make it vegan?
Simply use vegan-certified dark chocolate and plant-based toppings like nuts, seeds, and dried fruit.
4. Why did my chocolate bloom (turn white)?
This happens when chocolate is exposed to moisture or temperature changes. It’s safe to eat, though the texture may feel slightly different.
5. Can I make this with white or milk chocolate?
Absolutely. White and milk chocolate bark are delicious too, though sweeter. Just follow the same process, and feel free to swirl different chocolates together for a marbled look.
Dark Chocolate Bark
- Total Time: 1 hour
- Yield: About 20 pieces 1x
- Diet: Vegetarian
Description
A simple yet sophisticated homemade treat made from rich dark chocolate and your choice of toppings like nuts, dried fruit, and sea salt. Each piece is a delightful mix of sweet, salty, and crunchy — perfect as a snack, dessert, or edible gift. This recipe requires minimal effort but looks and tastes utterly gourmet. With its glossy finish and endless flavor combinations, dark chocolate bark is a crowd-pleaser that you can whip up anytime.
Ingredients
- 12 oz (340 g) dark chocolate (70% cocoa), chopped
- ½ cup toasted almonds, chopped
- ¼ cup dried cranberries
- 2 tbsp pumpkin seeds
- 1 tbsp shredded coconut (optional)
- Pinch of flaky sea salt
Instructions
-
Line a baking sheet with parchment paper or a silicone mat.
-
Melt the chocolate using a double boiler or microwave in short intervals, stirring until smooth.
-
Spread the chocolate evenly on the lined sheet, about ¼ inch thick.
-
Add toppings — sprinkle almonds, cranberries, and seeds evenly, pressing lightly to adhere.
-
Finish with sea salt, then let it cool at room temperature until firm (or refrigerate for 15–20 minutes).
-
Break into pieces and store in an airtight container.
Notes
Use only dry toppings to prevent spoilage.
Toasting nuts intensifies their flavor.
For a luxurious finish, drizzle melted white chocolate across the top before setting.
Let it set at room temperature for the best texture and sheen.
- Prep Time: 10 minutes
- Cook Time: 5 minutes
- Category: Dessert
- Method: No-Bake
- Cuisine: American
Nutrition
- Calories: 180