Cream of Chicken Soup Recipe

It was one of those bone-deep chilly afternoons when the sky looked like it couldn’t decide between rain or snow. I remember standing by the window, wrapped in my grandmother’s old flannel blanket, wishing for something warm enough to chase away the cold. That’s when I thought of her—standing at her stove years ago, a wooden spoon in hand, stirring a pot of golden cream of chicken soup that smelled like heaven itself.
She never used a recipe card, just instinct. A little butter until it sizzled, onions until they whispered sweetly, and chicken that she somehow made taste like pure comfort. I tried to recreate it that day, with less grace and more mess. My first attempt was far too thick, and I forgot the salt entirely (my husband still teases me about “the great bland soup incident”). But by the second batch, something magical happened—the butter browned just right, the cream swirled in like silk, and the aroma filled every corner of the house.
That was the day cream of chicken soup became my ultimate cozy meal. Not from a can, but from scratch—creamy, tender, and deeply flavorful in a way no shortcut could ever capture.
Pro Notes & Mistakes I Learned the Hard Way
If I could go back and give my past self a few pointers, I’d start here—because cream of chicken soup, while simple, can be temperamental if rushed.
First lesson: don’t crank the heat. My first pot curdled because I was impatient. Cream doesn’t like sudden, high heat—it likes gentle coaxing. Keep the temperature low and let it thicken slowly; the reward is a velvety texture instead of a grainy one.
Second: butter and flour are your best friends, but they need balance. The roux (that buttery flour mixture that thickens the soup) should smell nutty, not burnt. Stir it constantly, and stop just when it turns the color of pale sand. If it darkens too much, start over—trust me, it’s worth the extra five minutes.
Third: season in layers. Don’t dump all the salt and pepper at once. Add a pinch when cooking the onions, another when simmering the chicken, and finish with a light touch at the end. That’s how you build depth of flavor instead of ending up with flat creaminess.
And finally, use real chicken stock—homemade if you can swing it. The flavor difference is night and day. When I make a roast chicken, I always simmer the leftover bones with onion, celery, and thyme for an hour. That golden broth becomes the foundation of this soup—and the soul of it, really.
What Makes This Soup Shine
There’s something nostalgic about cream of chicken soup that canned versions just can’t capture. Maybe it’s the way the aroma of butter and garlic hits the air before the cream ever touches the pot. Maybe it’s how the chicken shreds tenderly into each spoonful. Or maybe it’s the balance of richness and freshness—the creaminess of the base cut perfectly by the savory, herb-infused broth.
The secret behind that perfect balance lies in two key choices:
- Roasted chicken pieces instead of plain boiled chicken. Roasting adds caramelized flavor and depth.
- A splash of cream added at the end instead of the beginning. This preserves its silkiness and prevents curdling.
That final swirl of cream is what transforms this from a good soup to one that feels like a warm hug. I sometimes drizzle a little extra over the top before serving—because comfort food, in my book, should look as soothing as it tastes.
Ingredients in Context
When you make cream of chicken soup from scratch, every ingredient plays a purpose. Let’s break them down the way I think about them in my kitchen.
Chicken:
You can use leftover rotisserie chicken or poached chicken breast, but my favorite version uses roasted chicken thighs. They’re juicy, flavorful, and slightly richer. If you’re short on time, shredded rotisserie chicken works beautifully, too.
Butter and Flour:
These form the roux—the thickening base. I always use unsalted butter so I can control the seasoning later. The flour-to-butter ratio should be equal by weight, not by volume, if you want that smooth, luxurious texture.
Onion, Garlic, and Celery:
This trio is the aromatic backbone. Cook them low and slow until translucent and fragrant. They bring subtle sweetness and depth that make the soup feel layered rather than one-note.
Chicken Stock:
Homemade is best, but a high-quality low-sodium stock will do in a pinch. Avoid bouillon cubes if possible—they tend to make the soup too salty and artificial-tasting.
Heavy Cream (or Half-and-Half):
For that luscious, silky finish. If you’re watching calories, you can use evaporated milk, though the flavor won’t be quite as decadent.
Seasonings:
A mix of thyme, bay leaf, and a hint of nutmeg adds warmth without overpowering. And don’t skip the fresh cracked pepper—it cuts through the cream beautifully.
Optional Add-Ins:
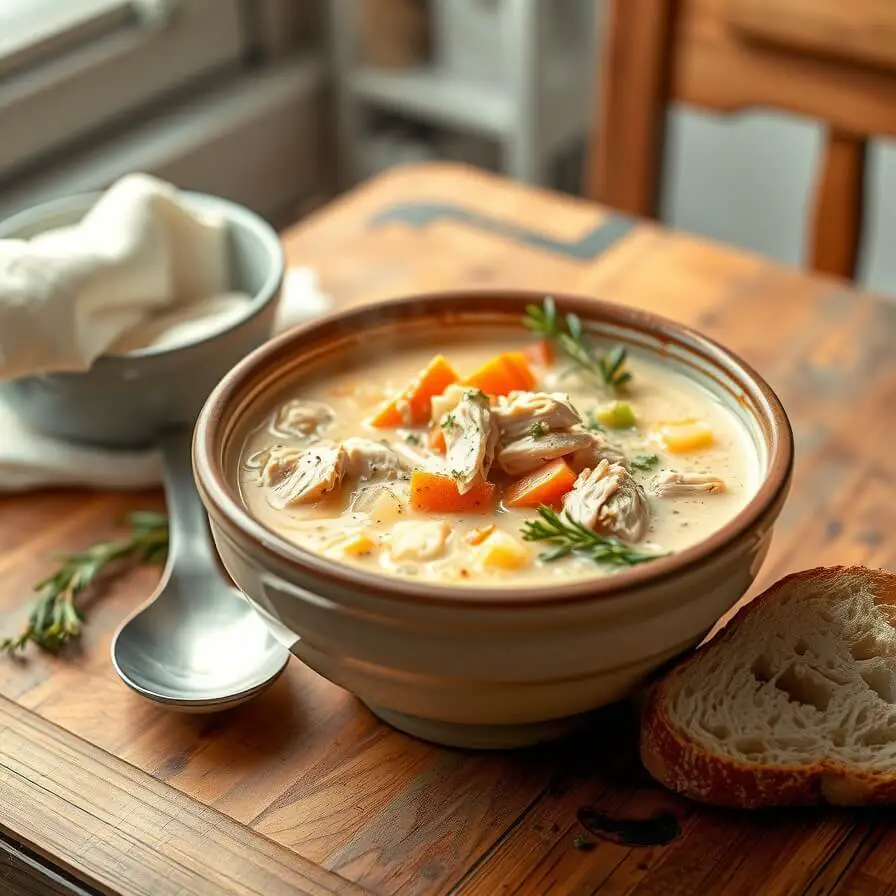
Sometimes I’ll toss in diced carrots, peas, or even wild rice for texture. My kids love it that way—it turns into a hearty meal rather than just a soup.
Step-by-Step Cooking Flow
Cooking cream of chicken soup is part patience, part intuition. Here’s how I walk through it, paying attention to the sights and smells that guide the way.
Step 1: Sauté the Aromatics
Melt butter in a large pot over medium-low heat. When it starts to foam gently, add diced onion, celery, and a pinch of salt. Stir slowly until the onions turn translucent and fragrant, about 5–7 minutes. The key here is not to rush—this slow sauté is what builds your soup’s base flavor.
Step 2: Create the Roux
Sprinkle in the flour and stir constantly for about 2 minutes. You’ll see it turn slightly golden and smell nutty—that’s your cue it’s ready. Don’t let it brown too much, or the flavor will turn bitter.
Step 3: Add the Broth
Gradually whisk in the chicken stock, one cup at a time, stirring to avoid lumps. It’ll look thin at first, but as it simmers gently, it thickens into that beautiful, velvety texture we love.
Step 4: Add Chicken and Herbs
Stir in your shredded or diced chicken, thyme, and bay leaf. Let everything simmer together for about 15 minutes. The broth should taste savory and comforting by now. If it feels too thick, splash in a bit more stock.
Step 5: Finish with Cream
Reduce the heat to low and slowly pour in the cream, stirring constantly. This is the moment that transforms the soup—watch how it turns from pale gold to soft ivory, rich and silky.
Step 6: Taste and Adjust
Season with salt, pepper, and a pinch of nutmeg if you like that cozy warmth. Remove the bay leaf before serving.
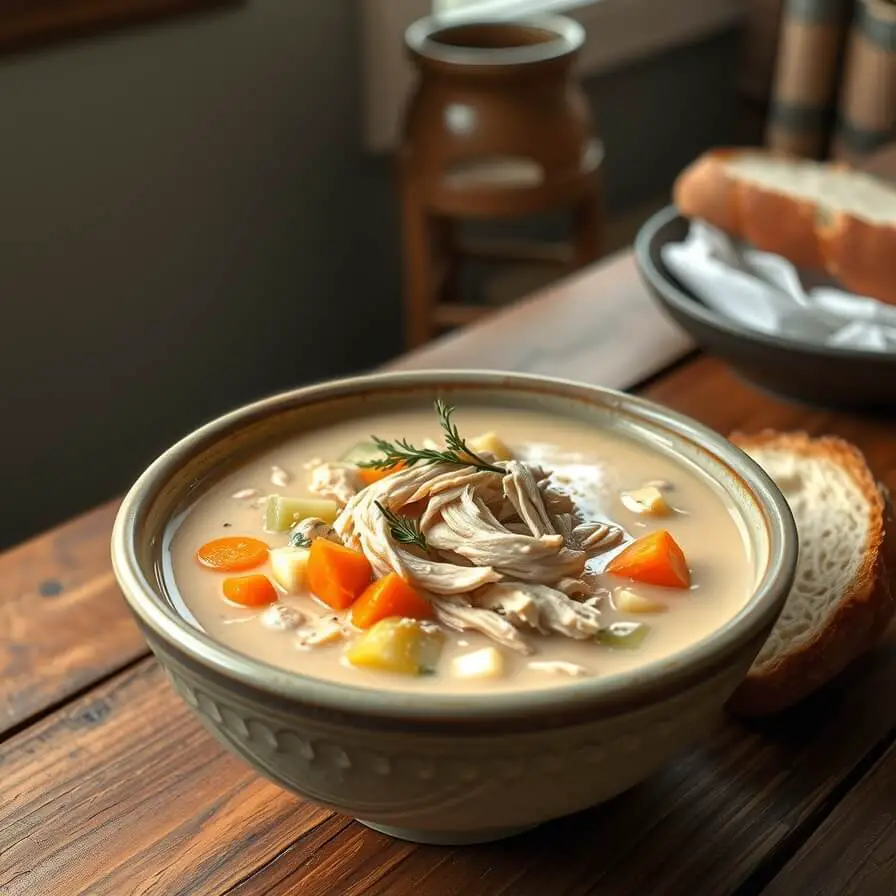
I often ladle it into bowls, top it with a few fresh thyme leaves, and serve it with crusty bread. The first spoonful is always a quiet moment—the kind that makes you close your eyes and breathe a little slower.
Pairing & Serving Ideas
This soup is versatile—it can be a comforting solo meal or part of a cozy dinner spread.
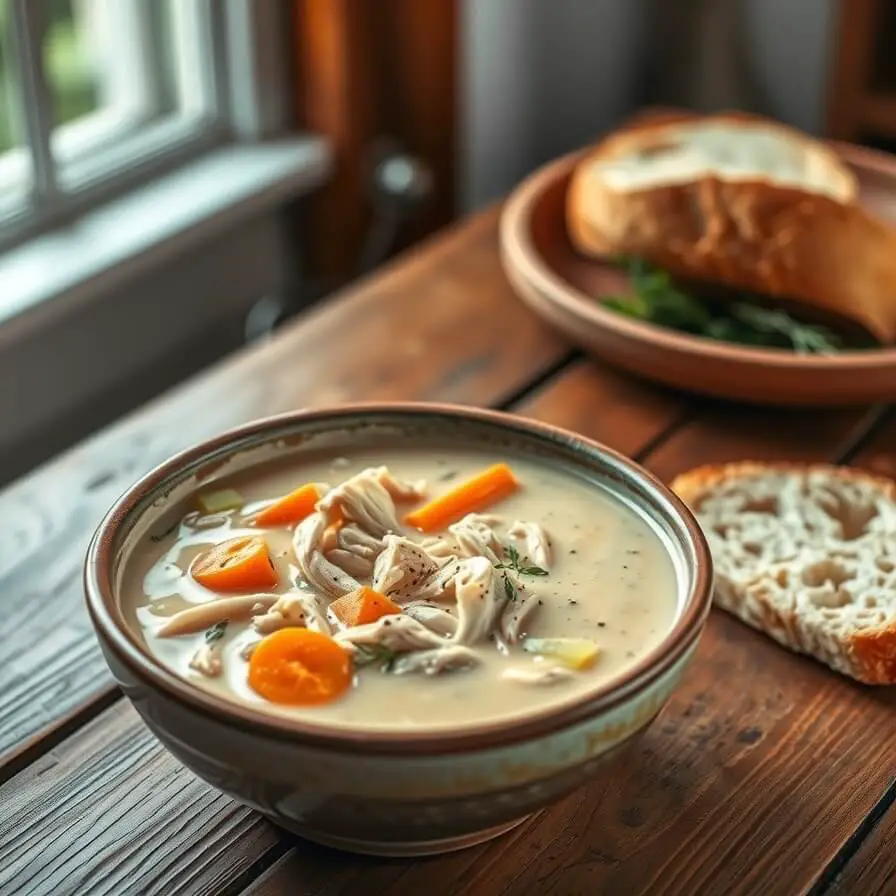
When I’m serving it for lunch, I pair it with a buttery biscuit or a thick slice of homemade bread for dunking. On colder nights, I like to balance it with a crisp green salad with lemon vinaigrette—the freshness cuts through the cream perfectly.
If you’re feeling fancy, drizzle a touch of herb-infused oil or sprinkle a few crispy fried shallots on top for texture. And for a rustic twist, you can pour the soup into small bread bowls (my kids think that’s the greatest thing ever).
Leftovers also make an incredible base for chicken and rice casseroles—just mix the soup with cooked rice, top with breadcrumbs, and bake until golden. It’s like comfort food squared.
Storing the Comfort (and Keeping It Just as Good Tomorrow)
One of the best parts of this recipe is how beautifully it holds up the next day. In fact, I’d argue the flavors get even better overnight. The herbs mingle, the chicken deepens in flavor, and that creamy base thickens slightly—almost like a hug waiting in your fridge.
Here’s how I handle leftovers:
Once the soup has cooled completely, I ladle it into airtight glass containers (plastic tends to absorb that buttery aroma). It keeps well in the refrigerator for up to 4 days. When reheating, do it low and slow on the stove—add a splash of broth or milk to loosen it back to that silky consistency.
For longer storage, I portion it into freezer-safe containers, leaving about an inch of space at the top for expansion. It freezes well for up to 2 months. To reheat, thaw it in the fridge overnight, then warm gently on the stove. Just remember: never boil it after adding cream—it can separate and turn grainy.
I’ve learned this the hard way, rushing on a busy night, turning the heat up high, and watching my beautiful soup curdle. Now I treat it with the same patience it deserves—low heat, gentle stirring, and a moment to breathe.
Pro Notes & Small Secrets That Make a Big Difference
- Use room-temperature cream. Adding cold cream straight from the fridge can shock the soup and cause separation. Let it sit out for 10 minutes first.
- Go for a golden roux. The deeper you toast the flour-butter mixture (without burning it), the richer and nuttier the flavor becomes. I like mine just before it turns caramel-colored.
- Deglaze if needed. If you roast your chicken in the same pot, don’t waste those brown bits stuck to the bottom—splash in a little stock and scrape them up. That’s pure flavor gold.
- Texture tweak: For an ultra-smooth soup, blend half of it before adding the chicken back in. For something heartier, skip the blending and let those tender chunks shine.
- Herb swap: Fresh rosemary can replace thyme for a deeper, woodsy note—but use it sparingly. A little goes a long way.
One small thing I discovered accidentally: a squeeze of lemon juice right before serving wakes up all the flavors. It’s subtle but transformative—especially if your soup tastes a little too rich or flat.
Common Mistakes to Avoid
Overheating the cream:
This is the number-one issue. Always add the cream at the end, on low heat, and stir continuously until blended.
Using low-quality broth:
It’s tempting to grab a quick carton, but the soup’s base flavor depends entirely on it. Go for a slow-simmered stock with bones if you can—or simmer a store-bought one with herbs and garlic for a few minutes to boost it.
Skipping seasoning layers:
Salt and pepper aren’t just afterthoughts. They bring out the natural sweetness of the onion and the depth of the chicken. Taste, adjust, and trust your palate.
Not allowing it to rest:
Soup continues to thicken as it cools. Letting it sit for 10 minutes off the heat before serving helps the flavors come together and gives you that perfectly creamy body.
FAQs
Can I make this gluten-free?
Absolutely. Just swap the all-purpose flour for a 1:1 gluten-free blend or use cornstarch. For cornstarch, mix 1 tablespoon with 2 tablespoons of water and stir it in during the simmer phase instead of making a roux.
Can I use milk instead of cream?
You can, but the texture will be lighter and less silky. If you use milk, I recommend adding an extra tablespoon of butter to keep that richness.
Can I make this vegetarian?
Yes! Substitute the chicken with sautéed mushrooms and use vegetable stock. It becomes a beautiful “cream of mushroom-chicken hybrid,” and the umami flavor still satisfies deeply.
What’s the best way to reheat without curdling?
Stovetop over low heat, stirring often. Avoid microwaving—it tends to separate the cream and broth.
Can I add rice or noodles?
Yes! Cooked wild rice, white rice, or egg noodles can all be stirred in at the end. Just remember: if you plan to store leftovers, keep them separate so they don’t soak up all the broth.

Cream of Chicken Soup Recipe
- Total Time: 50 minutes
- Yield: 4–6 1x
- Diet: Gluten Free
Description
There’s nothing quite like a steaming bowl of homemade cream of chicken soup on a cold day. Rich, velvety, and deeply comforting, this soup blends tender chicken, buttery aromatics, and silky cream into the ultimate bowl of coziness. Forget the canned stuff—this version is pure from-scratch comfort with the kind of flavor only slow simmering can create.
Ingredients
- 3 tablespoons unsalted butter
- 1 small onion, finely diced
- 2 celery stalks, finely diced
- 2 cloves garlic, minced
- 3 tablespoons all-purpose flour (or gluten-free substitute)
- 4 cups chicken stock (preferably homemade or low-sodium)
- 2 cups cooked shredded chicken (roasted or rotisserie)
- 1 teaspoon dried thyme (or 1 tablespoon fresh)
- 1 bay leaf
- 1 cup heavy cream (or half-and-half)
- Salt and pepper, to taste
- Optional: ½ cup diced carrots or peas
- Optional garnish: chopped parsley or thyme leaves
Instructions
- Sauté the base: In a large pot, melt butter over medium-low heat. Add onions, celery, and a pinch of salt. Cook until softened and fragrant, about 6–7 minutes. Add garlic and cook 1 more minute.
- Build the roux: Sprinkle in flour and whisk constantly for 2 minutes, until golden and nutty.
- Add stock gradually: Pour in the chicken stock one cup at a time, whisking to avoid lumps. Bring to a gentle simmer.
- Simmer and season: Add chicken, thyme, and bay leaf. Simmer uncovered for about 15 minutes, stirring occasionally, until thickened.
- Finish with cream: Lower the heat. Slowly stir in the cream and continue to cook for 3–5 minutes, just until heated through. Do not boil. Remove bay leaf.
- Taste and serve: Adjust salt and pepper. Serve warm with fresh herbs, biscuits, or crusty bread.
Notes
- To make it gluten-free, use cornstarch or a GF flour blend instead of all-purpose flour.
- To make it dairy-free, substitute coconut cream or oat milk (texture will differ slightly).
- Add rice, noodles, or diced potatoes for a heartier variation.
- A squeeze of lemon before serving brightens the flavor beautifully.
- Prep Time: 15 minutes
- Cook Time: 35 minutes
- Category: Soup
- Method: Stovetop simmer
- Cuisine: American
Nutrition
- Serving Size: 4–6
- Calories: 370
- Sugar: 3g
- Sodium: 640mg
- Fat: 25g
- Saturated Fat: 14g
- Unsaturated Fat: 9g
- Trans Fat: 0g
- Carbohydrates: 14g
- Fiber: 1g
- Protein: 25g
- Cholesterol: 110mg