Cookies and Cream Cookies Recipe
There’s something about early autumn that makes me crave a warm kitchen. The air outside starts to crisp up, sweaters make their first appearance, and I suddenly find myself reaching for my mixer more than ever. A few years ago, I stumbled across a half-empty sleeve of Oreos after making a birthday cake for my niece. Instead of eating them straight from the package (which, let’s be honest, was tempting), I decided to crumble them into my go-to chocolate chip cookie dough.
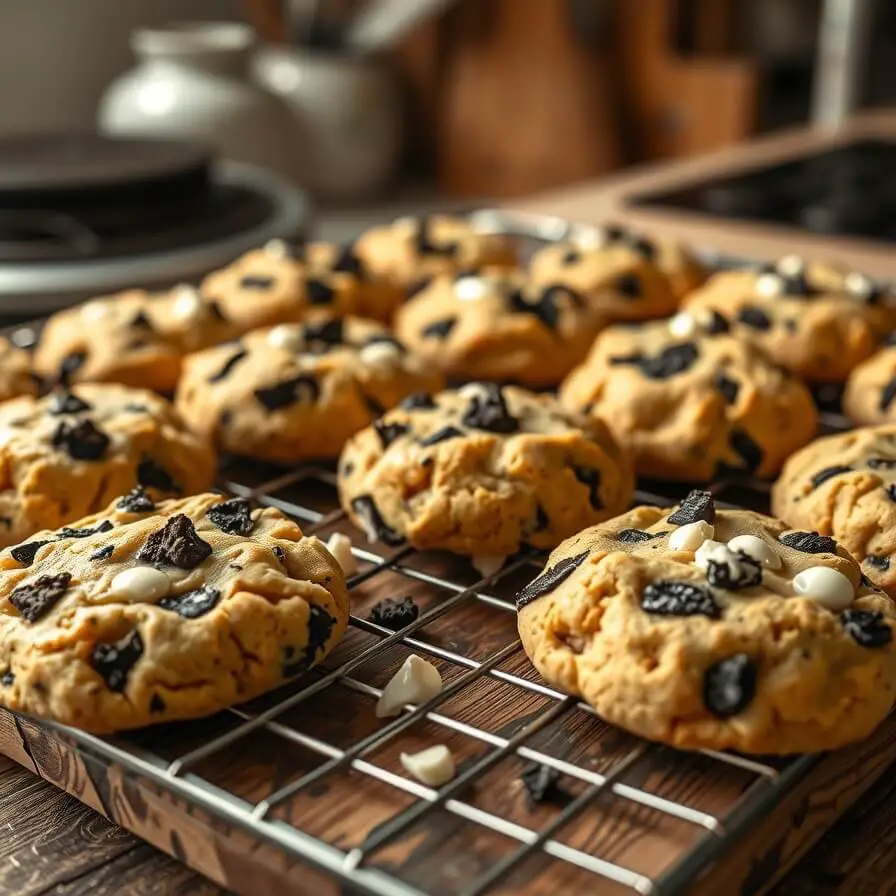
The first batch came out of the oven looking like they belonged in a bakery window—craggy, soft, and dotted with chunks of black and white. The scent filled the whole house, and before I could even transfer them to the cooling rack, my husband walked in, followed by our golden retriever who seemed just as intrigued.
Those cookies never stood a chance. We each “tested” one—then another—to make sure they were “just right.” That’s when I realized this combination of cookies and cream wasn’t just clever; it was magic. A nostalgic nod to childhood, wrapped in buttery, chewy goodness. Ever since, it’s been one of my favorite fall (and honestly, anytime) bakes.
Why I Love Making These in the Cooler Months
Cookies and cream cookies aren’t just about the flavor—they’re about comfort. There’s something deeply cozy about baking these when the weather turns chilly. The kitchen fogs up a little from the oven heat, the smell of vanilla and sugar makes its way into every corner of the house, and suddenly, you’ve got a reason to pause and enjoy a moment.
In our house, these cookies have become a seasonal staple. I bake them every October when the first real cold front arrives. They’re perfect for bringing to bonfires, packing in lunchboxes, or even gifting to neighbors. The little flecks of Oreo not only make them look beautiful but add a crunch that’s unexpected and addictive.
And if you chill the dough overnight (which I highly recommend), the flavors deepen even more. By morning, you’ll have the kind of cookie dough that bakes up thick, soft in the center, and crisp on the edges—the dream texture for anyone who grew up sneaking spoonfuls of cookies and cream ice cream from the freezer.
Perfect Pairings and Serving Ideas
I like to think of these cookies as the “all-day treat.” They pair beautifully with just about anything, from a glass of cold milk to a cup of dark roast coffee.
For a cozy evening, I love serving them slightly warm with a scoop of vanilla ice cream. The cookie’s chocolatey bits melt just enough to streak through the cream, creating that same nostalgic flavor that made Oreos iconic in the first place.
If you’re planning a fall get-together, try turning them into ice cream sandwiches. A batch of these cookies, some softened vanilla or cookies-and-cream ice cream, and a sprinkle of extra crushed Oreos on the edges—it’s an instant crowd-pleaser.
You can even crumble one or two over a warm brownie sundae for extra texture. Honestly, there’s no wrong way to enjoy them.
Ingredients in Context
Every ingredient in this recipe pulls its weight, and a few simple tweaks can make a big difference in flavor and texture. Here’s a quick rundown before you start mixing.
Butter:
Use unsalted butter, softened but not melted. The butter provides richness and that chewy texture you want. If you like a deeper flavor, you can brown half of it—just cool before mixing.
Sugar:
This recipe calls for both granulated sugar and brown sugar. The combination adds depth: white sugar for crisp edges, brown sugar for that soft, caramel-like chew.
Eggs:
Two large eggs bind the dough, adding structure and moisture. Make sure they’re at room temperature to blend smoothly.
Vanilla Extract:
It’s the backbone of that nostalgic “cookies and cream” flavor. If you can find pure vanilla, use it—it’s worth every drop.
Flour, Baking Soda, and Salt:
Classic cookie staples. Measure your flour carefully; too much can lead to dense cookies. I like to spoon and level it instead of scooping directly from the bag.
Crushed Oreos:
The star of the show. Roughly chop or crush 15–18 cookies—enough to get a mix of fine crumbs and chunky bits. You want that variation for texture.
(And yes, off-brand sandwich cookies work fine too—though I’ll always have a soft spot for the real deal.)
White Chocolate Chips:
These add sweetness and balance the slight bitterness from the cocoa cookies. You can use chopped white chocolate bars for a meltier texture if you prefer.
Step-by-Step Instructions (with Sensory Cues)
Step 1: Cream the Butter and Sugars
In a large mixing bowl, beat together the softened butter, granulated sugar, and brown sugar for about 2–3 minutes until the mixture turns pale and fluffy. The scent should be warm and slightly caramelized. If you’re using a stand mixer, medium speed works best.
Step 2: Add the Wet Ingredients
Beat in the eggs, one at a time, then add vanilla extract. Scrape down the sides of the bowl so everything blends evenly. You’ll notice the batter turning glossy and slightly lighter in color.
Step 3: Mix the Dry Ingredients
In a separate bowl, whisk together the flour, baking soda, and salt. Slowly add this to the butter mixture, mixing on low until just combined. Don’t overmix—you’re building a soft dough, not bread.
Step 4: Fold in the Magic
Gently fold in the crushed Oreos and white chocolate chips. You want streaks of black and white running through the dough—like marble. I usually stop mixing just before it’s fully uniform so that each cookie looks unique.
Step 5: Chill the Dough
Cover the bowl and refrigerate for at least an hour (or overnight for thicker cookies). This step makes all the difference—the dough firms up, allowing the cookies to bake taller with chewy centers.
Step 6: Preheat and Scoop
When ready to bake, preheat your oven to 350°F (175°C). Line two baking sheets with parchment paper. Scoop the dough into large balls (about 2 tablespoons each) and space them at least 2 inches apart.
Step 7: Bake to Perfection
Bake for 10–12 minutes, until the edges are golden but the centers look slightly underdone. That’s the secret—they’ll continue cooking on the tray as they cool.
Step 8: Cool and Enjoy
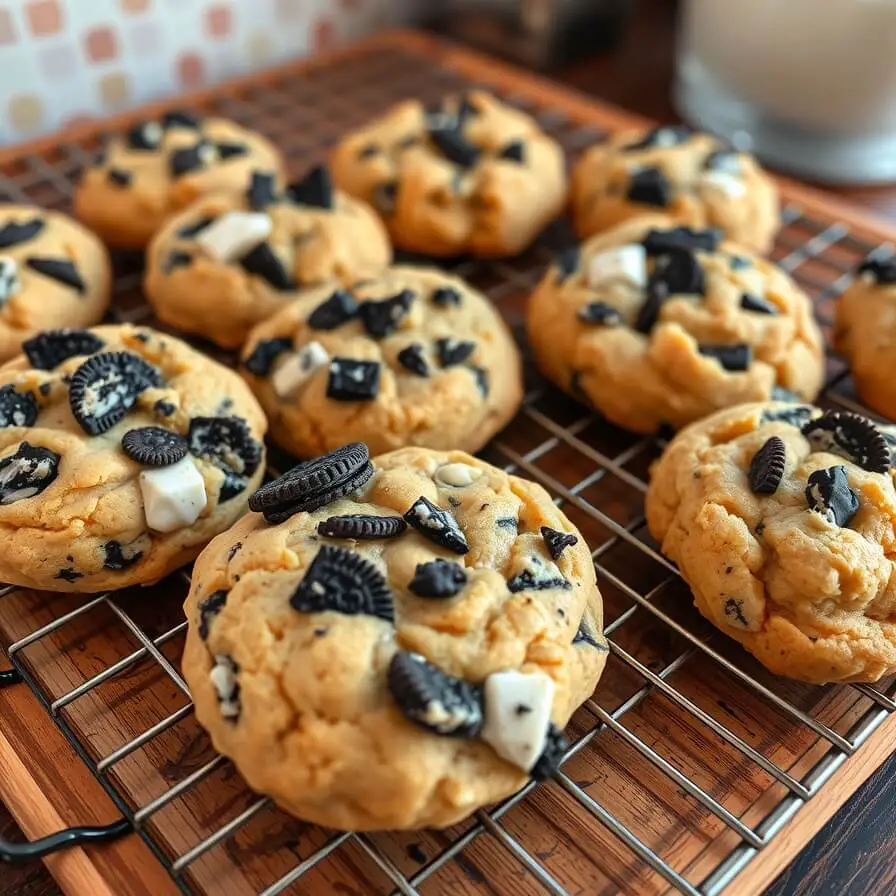
Let the cookies rest on the pan for 5 minutes before transferring them to a wire rack. The aroma at this point is impossible to resist—the buttery, vanilla scent mingling with melted chocolate and a hint of crisp cookie.
If you can wait long enough for them to cool completely, they’ll firm up beautifully with a soft center and just the right amount of crunch around the edges.
Storage and Make-Ahead Tips
Cookies and cream cookies store beautifully, which makes them ideal for gifting or prepping ahead of time.
Room Temperature:
Store them in an airtight container for up to 5 days. I like to add a slice of white bread to the container—it helps keep the cookies soft by absorbing excess moisture.
Freezer:
You can freeze both the baked cookies and the dough balls. For dough, freeze scooped portions on a tray, then transfer them to a zip-top bag. Bake directly from frozen, adding an extra minute or two to the bake time.
Make-Ahead:
If you’re baking for a holiday or event, you can prepare the dough up to three days ahead and refrigerate it. The flavor actually improves as it chills.
Pro Notes & Mistakes to Avoid
I’ve baked these cookies more times than I can count, and through all the trial and error, I’ve learned a few things that make all the difference between “good” and “unforgettable.”
1. Don’t skip the chill time.
This might sound optional, but chilling the dough truly changes the texture. It allows the butter to firm up, which keeps your cookies thick and chewy instead of spreading flat in the oven. If you’re short on time, even 30 minutes in the fridge helps, but overnight is pure magic.
2. Watch for the sweet spot in baking.
The first time I made these, I left them in the oven until they looked completely done — big mistake. They cooled into tough disks instead of soft, pillowy cookies. Now, I pull them out when the centers still look a touch underbaked. They finish cooking on the hot tray and stay perfectly soft inside.
3. Don’t overmix once the flour goes in.
Overmixing develops gluten, which makes the cookies dense. Mix just until you don’t see streaks of flour, then fold in the Oreos and chocolate chips by hand if you can.
4. Use quality white chocolate.
This one surprised me. I used to grab any bag from the baking aisle, but higher-quality white chocolate or chopped bars melt more beautifully and balance the cocoa in the Oreos. If you like a slightly less sweet flavor, use half white and half semi-sweet chips.
5. Size matters.
Larger cookie scoops (around 2 tablespoons of dough) bake up thick and chewy, while smaller scoops bake faster and crispier. I like using a large scoop for bakery-style cookies—just remember to adjust baking time by a minute or two.
What Makes These Cookies Shine
There’s a quiet brilliance to this recipe that I didn’t fully appreciate until I started baking for friends. Everyone has had an Oreo before—but there’s something special about tasting that same flavor freshly baked, still warm, with butter and vanilla enhancing every note.
Unlike most cookies that rely solely on chocolate chips, this recipe layers texture and taste. The Oreo pieces soften slightly in the dough, creating pockets of crunch and cream that melt into each bite. The white chocolate adds balance, and the brown sugar deepens the flavor so the sweetness isn’t one-dimensional.
And then there’s the nostalgia. I’ve served these to kids who light up instantly because they recognize the flavor, and to adults who close their eyes after the first bite, lost in a memory of dunking cookies in milk after school.
It’s simple, yes—but that’s the beauty of it. Comforting, familiar, and effortlessly crowd-pleasing.
Serving and Presentation Tips
These cookies are versatile enough to go from an after-school snack to an elegant dessert platter with just a few tweaks.
Warm and Gooey:
My personal favorite—serve them warm, straight from the oven. Stack them on a rustic wooden board and dust lightly with powdered sugar for a cozy, homemade look.
Cookie Sandwiches:
Spread a layer of whipped cream cheese frosting or marshmallow fluff between two cookies. Roll the edges in mini chocolate chips or extra crushed Oreos. They look bakery-perfect but take just minutes to assemble.
Dessert Board Star:
If you’re hosting, include these on a dessert board with brownie bites, mini cupcakes, and chocolate-covered strawberries. The black-and-white pattern of the cookies adds visual contrast.
Ice Cream Parfait:
Crumble a few cookies over vanilla or cookies-and-cream ice cream, drizzle with chocolate syrup, and top with whipped cream. It’s pure indulgence in a glass.
Holiday Twist:
For winter holidays, swap in red-and-green Oreos or add a dash of peppermint extract to the dough for a festive spin. Around Valentine’s Day, I sometimes drizzle them with pink-tinted white chocolate and call them “sweetheart cookies.”
Storage, Freezing & Gifting Tips
If you bake as often as I do, you know that cookies are one of the easiest (and most appreciated) homemade gifts. Here’s how to keep them fresh and beautiful for days—or weeks.
Room Temperature:
Store cookies in an airtight tin or container lined with parchment paper. I separate layers with parchment to prevent sticking. They stay soft for up to 5 days.
Reheating Tip:
If they lose their softness after a few days, microwave one for 8–10 seconds. It revives that fresh-from-the-oven texture perfectly.
Freezing Baked Cookies:
Let them cool completely, then layer in a freezer-safe container or bag with parchment in between. Freeze for up to 2 months. Thaw at room temperature or pop them in a 300°F oven for 5 minutes.
Freezing Dough Balls:
This is my favorite make-ahead trick. Scoop the dough into balls, freeze on a tray, then transfer to a bag. Bake straight from frozen—just add 1–2 minutes to the bake time.
For Gifting:
Pack 4–6 cookies in a cellophane bag with a ribbon and tag. They make the perfect teacher gifts, holiday treats, or cozy care package additions. I’ve mailed them cross-country (well wrapped in parchment and bubble wrap) and they arrived just as delicious as when they left my oven.
Frequently Asked Questions
Can I make these without eggs?
Yes! Replace each egg with ¼ cup unsweetened applesauce or a flaxseed egg (1 tablespoon flaxseed meal + 3 tablespoons water). The texture will be slightly softer but still wonderful.
Do I need to remove the cream filling from the Oreos?
Nope—keep it in! That’s where the signature flavor comes from. The filling melts into the dough, creating that “cookies and cream” richness.
Can I use gluten-free cookies?
Absolutely. Use your favorite gluten-free sandwich cookies and a 1:1 gluten-free flour blend. You might notice a slightly crispier texture, but the flavor stays spot-on.
How do I keep the cookies from spreading too much?
Make sure your butter isn’t too warm, and chill your dough. Lining your tray with parchment (not silicone mats) also helps keep them from flattening.
Can I make them smaller for a cookie platter?
Yes—use a 1-tablespoon scoop and bake for 8–9 minutes. They’re adorable mini versions, perfect for parties.

Cookies and Cream Cookies Recipe
- Total Time: 1 hour 30 minutes
- Yield: 24 1x
- Diet: Vegetarian
Description
Soft, chewy, and packed with crushed Oreos and white chocolate chips, these homemade cookies and cream cookies are the ultimate comfort bake. Perfect for cozy fall days, dessert platters, or gifting—this easy recipe delivers bakery-quality flavor every time.
Ingredients
- 1 cup unsalted butter, softened
- ¾ cup granulated sugar
- ¾ cup packed brown sugar
- 2 large eggs
- 2 teaspoons vanilla extract
- 2 ¾ cups all-purpose flour
- 1 teaspoon baking soda
- ½ teaspoon salt
- 1 ½ cups roughly crushed Oreos (about 15–18 cookies)
- 1 cup white chocolate chips
Instructions
- Cream butter and sugars until light and fluffy.
- Beat in eggs and vanilla.
- Mix dry ingredients separately, then add to wet.
- Fold in crushed Oreos and white chocolate chips.
- Chill dough for 1 hour or overnight.
- Scoop dough onto parchment-lined trays and bake at 350°F for 10–12 minutes.
- Cool slightly before transferring to a rack.
Notes
- For thicker cookies, chill dough overnight.
- Add a sprinkle of sea salt on top before baking for extra contrast.
- Substitute white chocolate chips with semi-sweet for a less sweet version.
- Prep Time: 15 minutes
- Cook Time: 12 minutes
- Category: Dessert
- Method: Baking
- Cuisine: American
Nutrition
- Serving Size: 24
- Calories: 230
- Sugar: 19g
- Sodium: 115mg
- Fat: 11g
- Saturated Fat: 6g
- Unsaturated Fat: 4g
- Trans Fat: 0g
- Carbohydrates: 30g
- Fiber: 1g
- Protein: 3g
- Cholesterol: 35mg