Homemade Ciabatta Bread Recipe
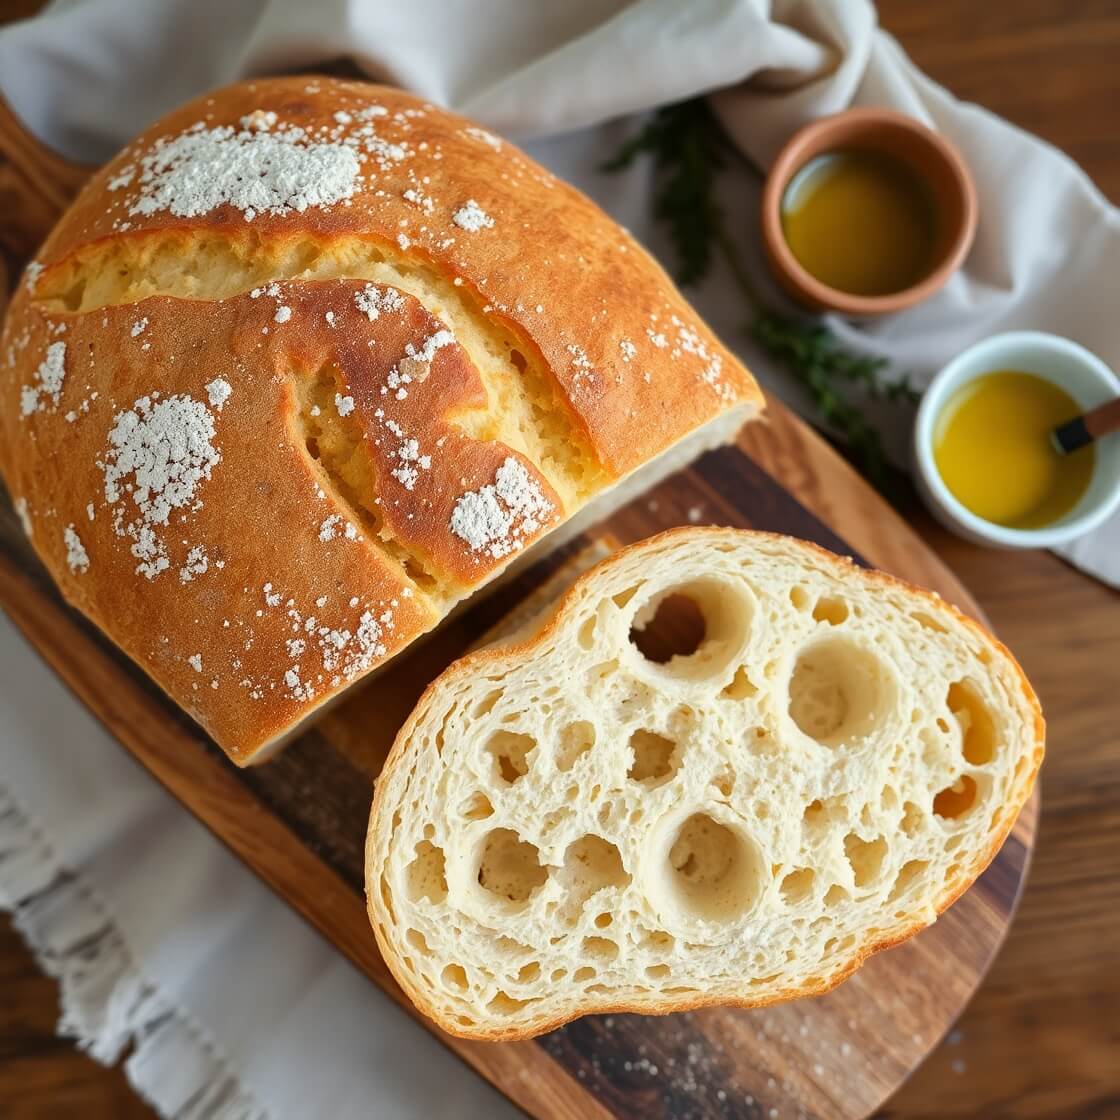
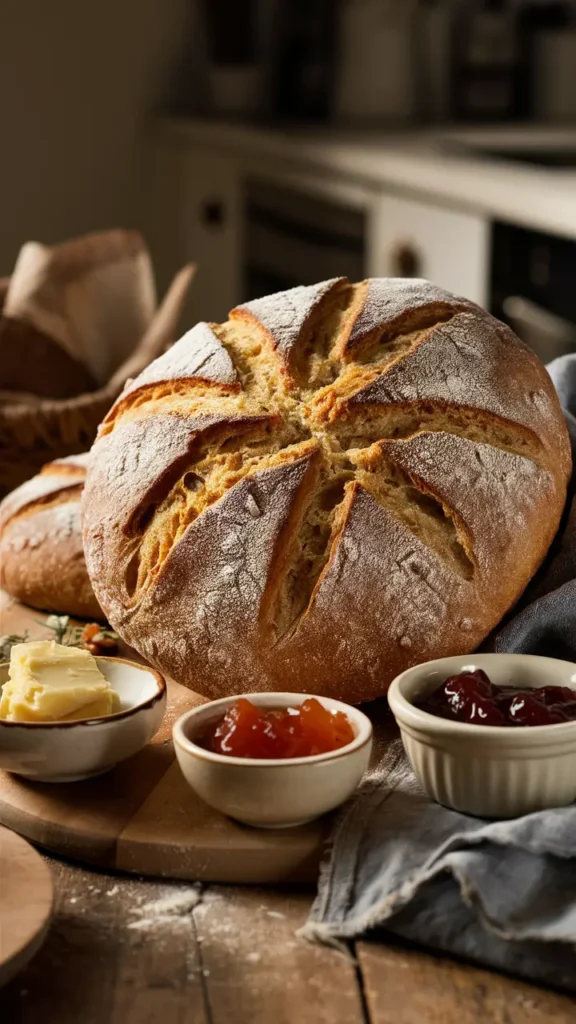
Homemade Ciabatta Bread brings the charm of an Italian bakery right into your kitchen. With its crisp crust and soft, airy crumb, it’s the kind of bread that feels rustic yet elegant at the same time. The dough may seem tricky at first sticky and loose but with a little patience and a hot oven, it bakes into a beautiful loaf with those signature open pockets inside.
Ciabatta is one of those breads that fits almost any meal. Tear it apart to dip in olive oil, slice it for sandwiches, or serve it alongside your favorite soups and pasta dishes. Once you master the technique, it quickly becomes a recipe you’ll return to again and again.
If you’re craving more homemade bread inspiration, try my Easy Cottage Cheese Bread, Banana Bread Recipe, or Banana Bread Muffins.
Why This Recipe Works
Ciabatta is all about balance: a sticky, wet dough and slow fermentation create airy pockets, while high heat delivers a crisp crust. Handle the dough gently, avoid over-flouring, and let it rise fully for the best texture. A drizzle of olive oil adds elasticity and subtle flavor, making homemade ciabatta truly special.
Cooking Time Snapshot
Before we dive in, here’s a quick glance at what this recipe requires. It’s deceptively simple but demands attention to timing and fermentation.
- Prep time: 30 minutes
- First rise: 2 hours
- Shaping & second rise: 45–60 minutes
- Bake time: 25–30 minutes
- Total time: Around 4 hours (mostly hands-off)
- Yield: 2 medium loaves
Only 5 Ingredients in the Dough
When it comes to ciabatta, the ingredients are straightforward, but quality matters.
- Bread flour (500g / 4 cups): High-protein flour is key for that chewy structure. All-purpose can work in a pinch, but the crumb won’t be as open.
- Warm water (400ml / 1 2/3 cups): Temperature matters—around 105–110°F is perfect for activating the yeast.
- Active dry yeast (2 tsp): A little yeast goes a long way. I’ve tried instant yeast too; just reduce it slightly.
- Salt (2 tsp): Adds flavor but also strengthens the dough.
- Olive oil (2 tbsp): Optional but helps with texture and adds a subtle richness.
I usually grab a small bottle of extra-virgin olive oil from the Italian market; it makes the bread smell phenomenal. For flour, I prefer a locally milled bread flour with a slightly nutty aroma—it makes kneading feel almost indulgent.
Substitutions:
- You can make this gluten-free, but you’ll need a mix designed for yeast breads. Expect a denser loaf.
- Vegan-friendly? Absolutely this recipe is naturally vegan.
How to Make Ciabatta Bread
Step 1: Activate the yeast
In a large bowl, combine warm water and yeast. Stir gently and let it sit for 5–10 minutes until foamy. This is your first clue that magic is happening—the yeast is waking up, ready to turn flour into airy bread.
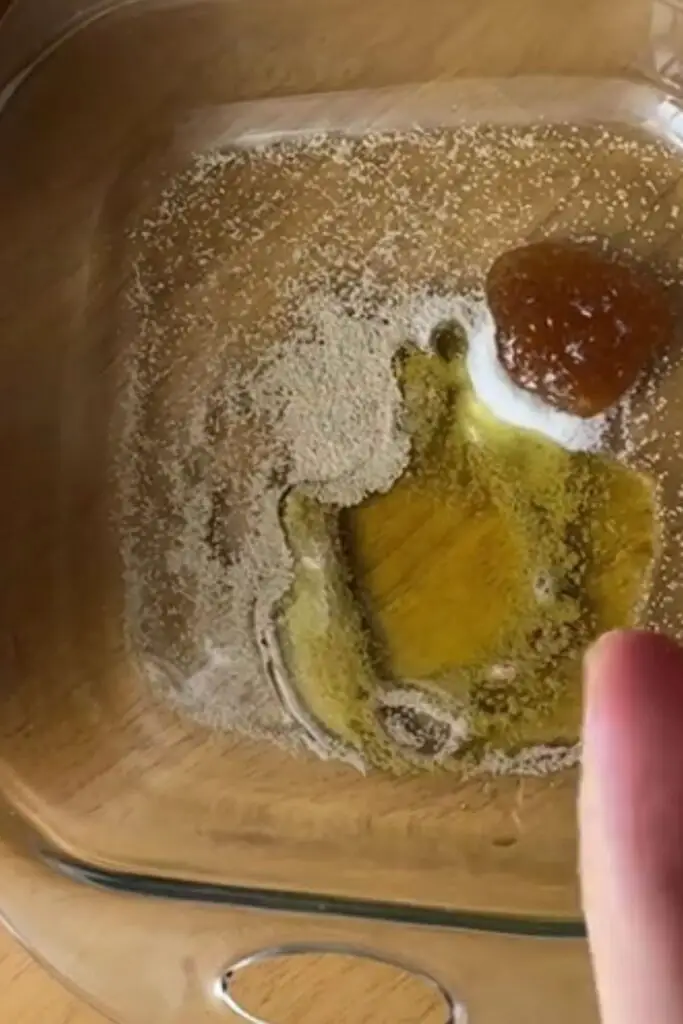
Step 2: Make the dough
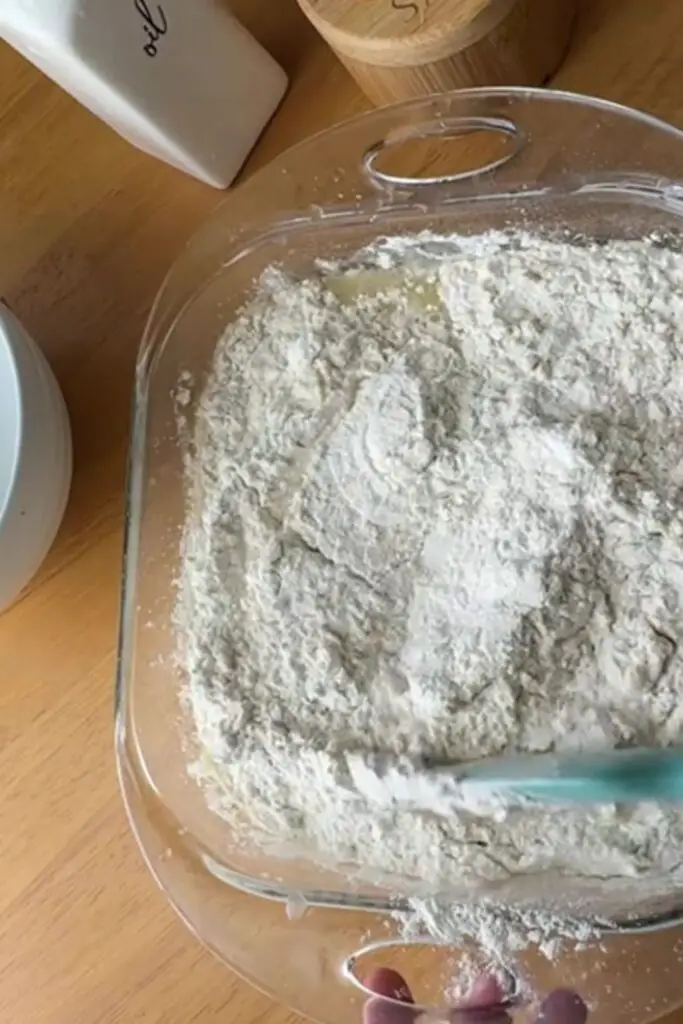
Add flour, salt, and olive oil to the yeast mixture. Stir with a wooden spoon until it comes together into a sticky dough. Don’t worry if it’s wet—ciabatta dough should feel almost like a thick batter.
Step 3: First rise

Cover the bowl with a damp towel or plastic wrap and let it rise in a warm spot for 2 hours. It should roughly double in size, with bubbles forming on the surface. This is the stage where flavor develops—longer fermentation equals more complex taste.
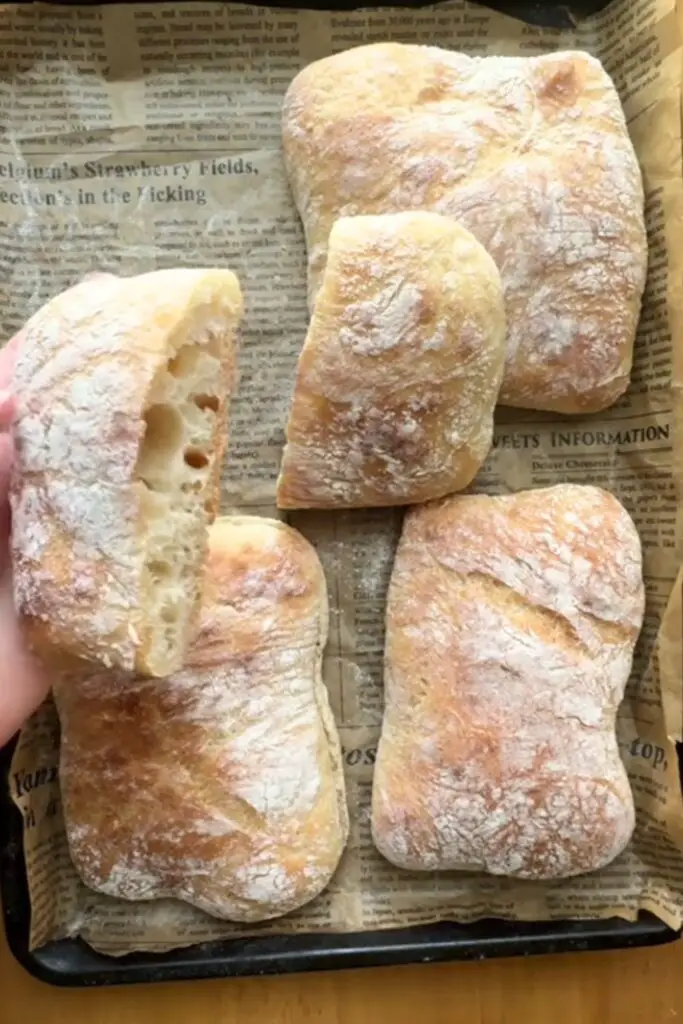
Step 4: Shape the loaves
Generously flour your work surface and gently turn the dough out. Divide it in half and fold each portion once or twice to form a rough rectangle. Place on a parchment-lined baking sheet and cover loosely with a towel for the second rise, 45–60 minutes.
Step 5: Preheat the oven
While the dough rests, preheat your oven to 450°F (230°C). For that perfect crust, place a baking stone or heavy baking tray inside to heat. I also like to keep a small pan of water in the oven to create steam—it gives the bread a beautiful golden finish.
Step 6: Bake
Transfer the loaves onto the hot baking surface. Bake 25–30 minutes until deep golden brown. The aroma will fill your kitchen, and the crust will feel crisp to the touch. A quick tap on the bottom should sound hollow.
Step 7: Cool and enjoy
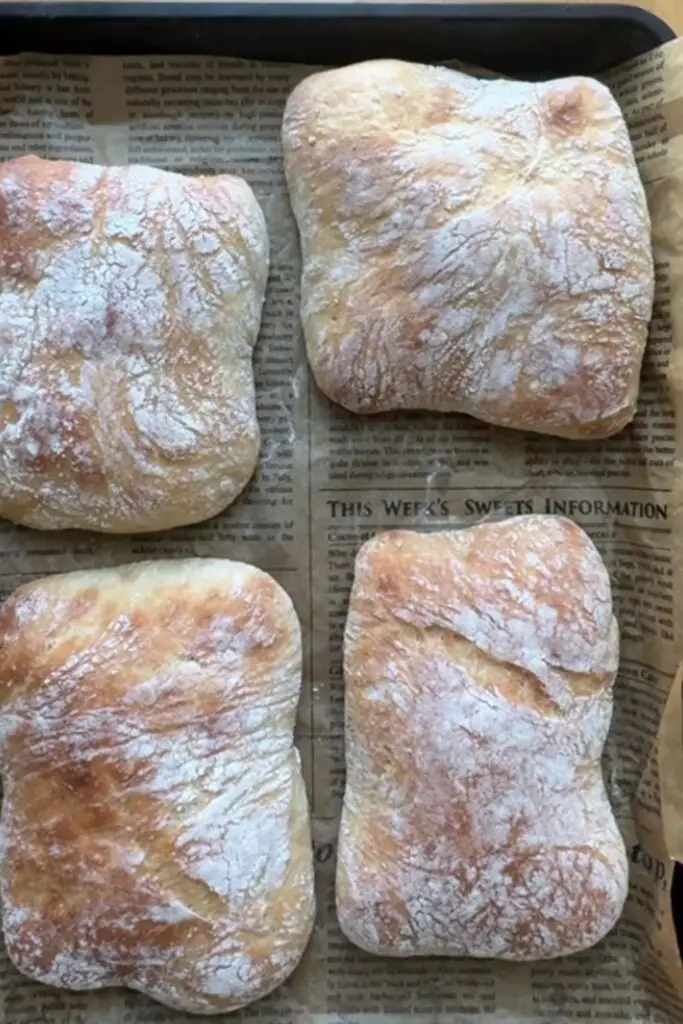
Let the bread cool on a wire rack for at least 20 minutes before slicing. The first slice is always my favorite—the crumb, airy and slightly chewy, melts in your mouth, while the crust provides that satisfying crunch.
Storage / Make Ahead
Ciabatta is best eaten fresh, but it stores well for a couple of days in a paper bag at room temperature. Avoid plastic—it traps moisture and softens the crust.
You can also freeze ciabatta: slice it, wrap in foil, and store in a freezer-safe bag. To revive, bake at 350°F (175°C) for 10–12 minutes straight from the freezer—like magic, it’s almost as good as fresh.
I often bake in batches and freeze half. One morning, I pulled out a frozen loaf, popped it in the oven, and my kitchen smelled just like an Italian bakery again. My kids were convinced I’d made a new batch fresh—sometimes a little trick of the oven is all you need to impress them.
My Tips
Even after baking ciabatta for years, I still make the occasional blunder, and these lessons can save you time:
- Too much flour during shaping: Early on, I tried to knead in extra flour to make the dough less sticky. The result? Dense loaves. Solution: embrace the sticky texture—it yields the open crumb.
- Skipping the steam: I once baked without adding a water pan, and the crust came out dull and soft. Steam creates that signature golden, crackly exterior.
- Overproofing: Dough that rises too long collapses in the oven. Keep an eye on it—the dough should roughly double, not triple.
- Cutting too early: Resist slicing immediately out of the oven. The crumb continues to set as it cools, and slicing too soon leads to a gummy texture.
A personal note: the first time I forgot the olive oil in the dough, the loaves were still tasty, but noticeably less flavorful. That small touch makes a big difference, so don’t skip it.
Print
Ciabatta Bread Recipe
- Total Time: Approximately 4 hours (including rises)
- Yield: 2 1x
- Diet: Vegetarian
Description
Experience the joy of baking authentic Italian ciabatta bread right in your own kitchen with this easy-to-follow recipe. This loaf boasts a crisp, golden crust and a soft, airy crumb filled with characteristic holes, perfect for sandwiches, dipping, or simply enjoying with olive oil. Using simple ingredients like bread flour, water, yeast, salt, and olive oil, this recipe guides you step-by-step through the process to help you create bakery-quality bread at home. Whether you’re a beginner or an experienced baker, you’ll appreciate the delicious results and the comforting aroma of fresh bread filling your home.
Ingredients
- 4 cups (500g) bread flour
- 1 ½ cups (360ml) lukewarm water
- 2 teaspoons active dry yeast
- 2 teaspoons salt
- 2 tablespoons olive oil
Instructions
- Dissolve yeast in lukewarm water and let sit until frothy.
- Mix flour and salt in a large bowl. Slowly add yeast mixture and olive oil; stir until wet, sticky dough forms.
- Knead dough by stand mixer or by hand until smooth and elastic, about 8-10 minutes.
- Place dough in oiled bowl, cover, and let rise until doubled (1.5-2 hours).
- Turn dough onto floured surface, divide into two pieces, shape loosely into rectangles.
- Proof shaped loaves on parchment-lined baking sheet for 45-60 minutes.
- Preheat oven to 450°F (230°C) with baking stone inside. Dust loaves with flour.
- Bake on hot stone for 25-30 minutes until golden and hollow sounding.
- Cool completely before slicing.
Notes
- Do not add too much extra flour; dough should be sticky.
- Perform gentle stretch and folds during first rise to build gluten.
- Use steam in the oven for a crisp crust.
- Prep Time: 20 minutes
- Cook Time: 30 minutes
- Category: Baking, Bread
- Method: Oven baking
- Cuisine: Italian
Nutrition
- Serving Size: 2
- Calories: 210
- Sugar: 0.2g
- Sodium: 350mg
- Fat: 4.5g
- Saturated Fat: 0.6g
- Unsaturated Fat: 3.8g
- Trans Fat: 0g
- Carbohydrates: 38g
- Fiber: 2g
- Protein: 7g
- Cholesterol: 0mg
FAQs
Can I make ciabatta without a stand mixer?
Absolutely. This dough is wet and sticky, so mixing by hand with a wooden spoon works fine. You’ll just need to handle it gently during shaping.
Why is my ciabatta dense?
Most likely, the dough didn’t rise long enough, or you added too much flour. Remember, sticky dough is normal—it creates those airy pockets.
Can I freeze ciabatta dough?
Yes! After the first rise, shape the dough into a log, wrap tightly, and freeze. Thaw overnight in the fridge, let it rise a second time, then bake.
What if my crust isn’t crisp?
Make sure the oven is fully preheated, and add steam via a small pan of hot water. Baking on a preheated stone or tray also helps.
How long does ciabatta last?
At room temperature in a paper bag, 1–2 days. Wrapped tightly in foil or frozen, up to 3 months.