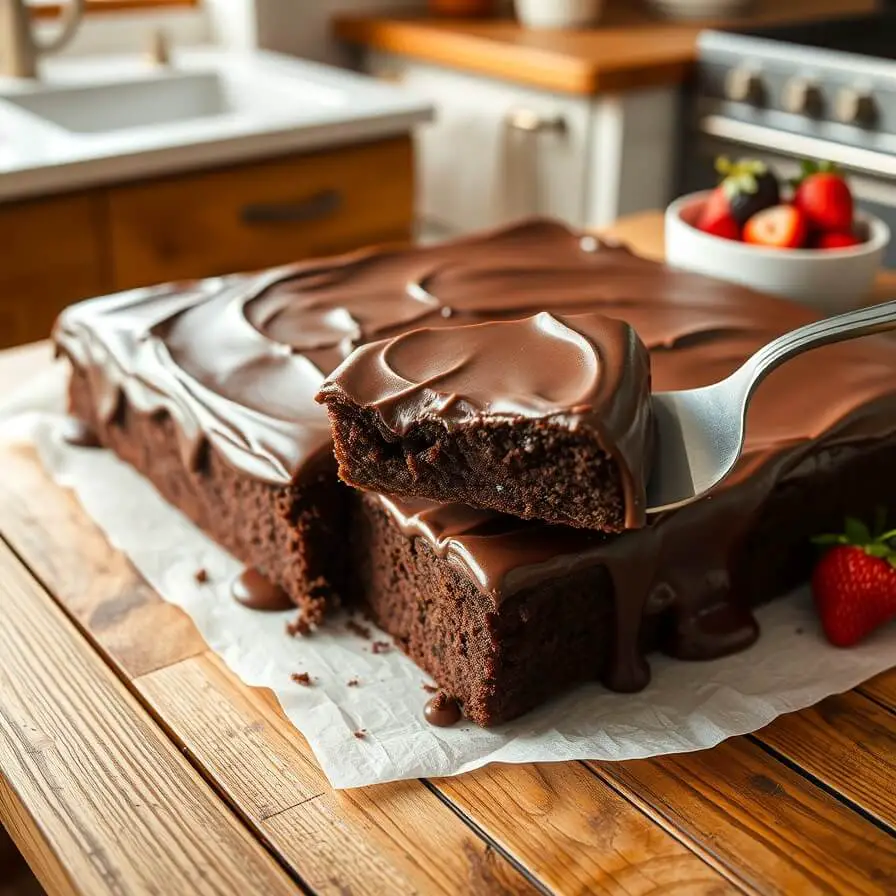
Chocolate Lava Cake Recipe

I still remember the first time I made a chocolate lava cake—it was a quiet Sunday evening, and I wanted something indulgent but quick. I had a craving for something gooey and chocolatey, the kind of dessert that feels like a warm hug in the middle of your week. As I cracked the eggs and melted the chocolate, the kitchen slowly filled with the rich, sweet scent that instantly lifts your mood. When I finally cut into the cake, that molten chocolate center spilled out perfectly—it was everything I had hoped for and more. That moment, watching my family’s eyes widen in delight, made me realize why this dessert is so universally loved. It’s the magic of chocolate in its purest, most comforting form, served warm and fresh from your oven.
Making chocolate lava cake might sound intimidating, but the truth is, it’s easier than it looks. With the right ingredients and a few careful steps, you can create a restaurant-quality dessert in your own kitchen. This recipe is my go-to when I want to impress guests—or even just treat myself after a long day. It’s rich, decadent, and wonderfully indulgent, yet surprisingly simple to make.
Why I Love This Recipe
What makes this chocolate lava cake recipe stand out isn’t just the gooey, molten chocolate center—it’s the balance of textures and flavors that makes each bite unforgettable. The outer layer is perfectly baked, tender, and slightly crisp at the edges, while the inside remains luxuriously soft and flowing. It’s that contrast that keeps people coming back for more.
Another reason I love this recipe is how adaptable it is. You can tweak the chocolate intensity, adjust sweetness, or add a touch of coffee or liqueur to deepen the flavor. It’s versatile enough to suit a cozy family night, an elegant dinner party, or even a special occasion like Valentine’s Day.
This dessert is also a little moment of self-care. There’s something deeply satisfying about making a treat from scratch, watching the chocolate melt, and knowing that the effort will bring smiles and happy sighs. Every time I make it, I feel like I’m giving a small, chocolatey gift to my loved ones—or to myself.
Ingredients for Chocolate Lava Cake
Now, let’s talk about what you’ll need. This recipe doesn’t require exotic ingredients, but quality matters. Start with good dark chocolate; the richer, the better. Semi-sweet chocolate works beautifully if you want a balance of sweetness. Fresh butter is crucial—it melts into the chocolate to create that smooth, velvety center.
You’ll need:
- High-quality dark chocolate: I prefer at least 60–70% cocoa content. It gives that deep, rich chocolate flavor that makes lava cakes irresistible.
- Unsalted butter: Use real butter for the best texture and flavor.
- Eggs: Fresh, at room temperature. They give the cake its structure and help the center stay molten.
- Sugar: I usually go with granulated sugar. Adjust slightly if you prefer a less sweet dessert.
- All-purpose flour: Just a small amount; it helps set the outer layer without overpowering the chocolate.
- Vanilla extract: A splash adds depth and a subtle aromatic note.
- Pinch of salt: To enhance all the flavors.
Optional extras: A teaspoon of espresso powder can intensify the chocolate flavor, or a touch of liqueur like Grand Marnier or Bailey’s can make it feel extra special.
How Much Time Will You Need
One of the reasons I adore this recipe is how fast it comes together. From start to finish, you’re looking at about 30 minutes. That includes 10–15 minutes for prep—melting chocolate and butter, mixing eggs and sugar—and about 12–14 minutes of baking.
It’s the kind of dessert you can whip up in the time it takes to cook a weeknight dinner, yet it feels like something luxurious and indulgent.
How to Make This Chocolate Lava Cake
Step – 1: Preheat your oven and prepare ramekins
Set your oven to 425°F (220°C). Butter your ramekins generously and lightly dust them with cocoa powder. This ensures the cakes come out cleanly without sticking.
Step – 2: Melt the chocolate and butter
In a heatproof bowl over simmering water, melt the chocolate and butter together until smooth. Stir occasionally, and don’t let any water touch the chocolate, or it may seize.
Step – 3: Mix eggs, sugar, and vanilla
In a separate bowl, whisk the eggs, sugar, and vanilla extract until pale and slightly frothy. The texture will be light, which helps the cake rise beautifully.
Step – 4: Combine wet and dry ingredients
Slowly pour the melted chocolate mixture into the egg mixture, folding gently. Add a pinch of salt and sift in the flour, folding just until combined. Avoid overmixing to keep the lava center soft.
Step – 5: Fill the ramekins and bake
Divide the batter evenly among the ramekins. Place them on a baking sheet and bake for 12–14 minutes. The edges should look set, but the center will still jiggle slightly.
Step – 6: Cool briefly and invert
Let the cakes cool for a minute or two, then carefully run a knife around the edges and invert them onto plates. Watch as that molten center flows out—it’s pure magic.
Substitutions
Sometimes you might not have all the ingredients on hand, or you might want to make small adjustments. Here are a few tips:
- Chocolate: If you only have milk chocolate, you can use it, but reduce the sugar slightly. For an extra bitter kick, mix dark chocolate with semi-sweet chocolate.
- Butter: Coconut oil can work for a dairy-free version, though the flavor will be slightly different.
- Flour: Almond flour is a great gluten-free alternative, though it may change the texture slightly.
- Eggs: For a vegan option, a combination of flaxseed meal and water can replace eggs, but the center may not be as molten.
Best Side Dishes of Chocolate Lava Cake
Pairing this cake with the right sides elevates the experience. My top three recommendations:
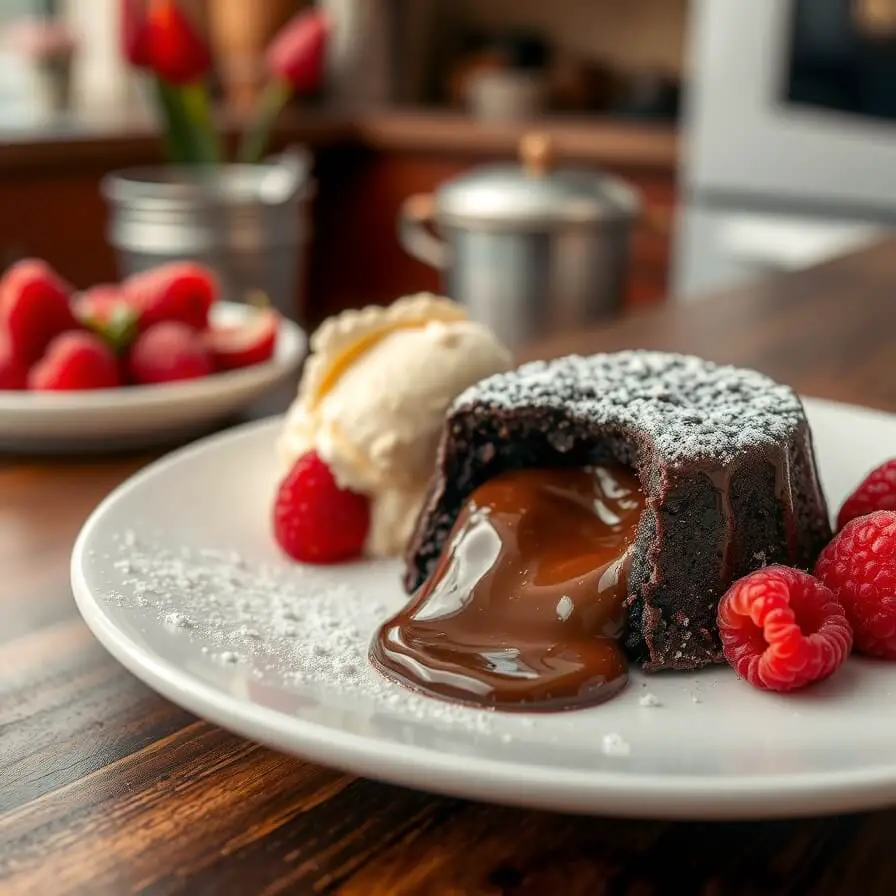
- Vanilla ice cream: The cold creaminess contrasts beautifully with the warm, rich chocolate.
- Fresh berries: Raspberries, strawberries, or blueberries add a tart, juicy balance.
- Whipped cream: Light, airy, and slightly sweet, it makes every bite feel extra indulgent.
Serving and Presentation Tips
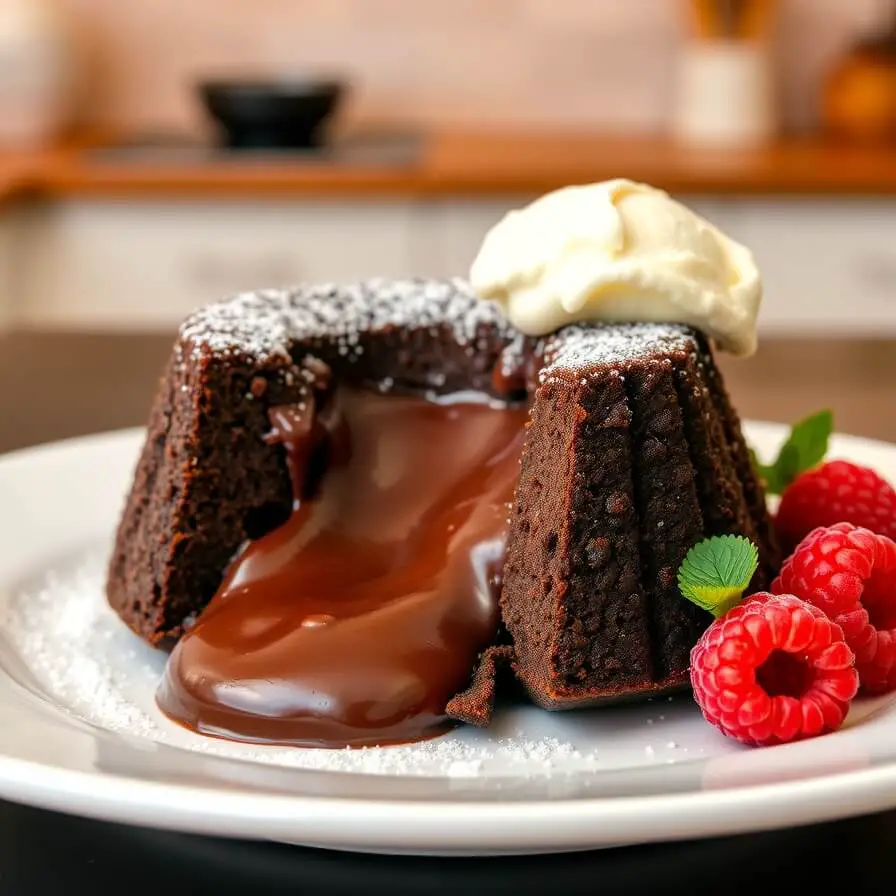
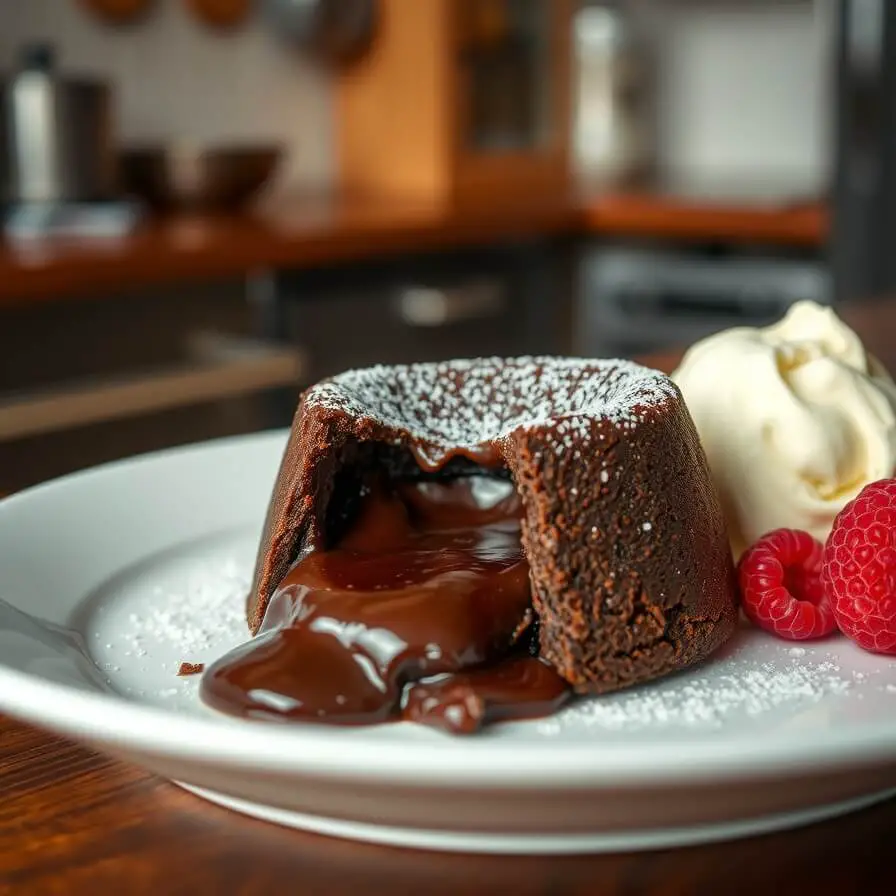
One of my favorite moments is serving the chocolate lava cake. There’s something theatrical about placing it on the plate, running a knife through the top, and watching that molten chocolate spill out. Presentation really elevates the experience, making this dessert feel like a special occasion even on a casual night.
I like to dust the cakes lightly with powdered sugar—it adds a touch of elegance without overpowering the chocolate. A small scoop of vanilla ice cream on the side or a dollop of fresh whipped cream immediately transforms the plate into a decadent treat. For color contrast, I sometimes add fresh raspberries or a sprig of mint. If you’re hosting, serve each cake on a warm plate to keep the center perfectly molten as guests dig in. Simple touches like these turn an already delicious dessert into a visual delight.
Tips and Tricks to Make This Recipe Even Better
Over the years, I’ve picked up a few tricks that make my lava cakes turn out perfectly every time. First, make sure your chocolate and butter mixture is completely smooth before adding it to the eggs. Lumps can affect both texture and baking.
Don’t overbake. The secret to the gooey center is slightly underbaking the cakes. I usually start checking at 12 minutes. The edges should look firm, but the center should jiggle slightly when you gently shake the ramekin.
Another trick is to let the batter rest for a few minutes after mixing. This helps the flour hydrate slightly and improves the texture. And when in doubt, use quality chocolate—it really does make all the difference.
If you want to experiment, add a pinch of espresso powder to deepen the chocolate flavor or a small splash of liqueur like Grand Marnier for a sophisticated twist. Even small additions like these can make your lava cake feel extraordinary.
Common Mistakes to Avoid
Even though this recipe is simple, a few common mistakes can ruin the experience. Overbaking is probably the biggest culprit—if the cakes bake too long, the center will set and lose that signature molten quality.
Another mistake is not properly buttering and dusting your ramekins. A sticky cake can ruin the presentation. Also, avoid overmixing the batter once you’ve added flour. Too much stirring can make the cake dense instead of light and tender.
Lastly, be careful when melting the chocolate. If any water gets in, it can seize and become grainy, which affects both texture and flavor. Taking these small precautions ensures a perfectly molten lava cake every time.
How to Store It
Chocolate lava cake is best enjoyed fresh, straight from the oven. However, if you need to store it, you can refrigerate baked cakes for up to 2 days in an airtight container. To reheat, warm them in the oven at 350°F (175°C) for about 5–7 minutes so the center becomes molten again.
For unbaked batter, you can prepare the ramekins, cover them with plastic wrap, and freeze for up to a month. Bake directly from frozen, adding a few extra minutes to the cooking time. This is perfect if you want to have a decadent dessert ready for unexpected guests.
Frequently Asked Questions
Can I make this gluten-free?
Yes! Substitute the all-purpose flour with almond flour or a gluten-free flour blend. Keep in mind the texture will be slightly different but still rich and decadent.
Can I prepare these in advance?
Absolutely. You can prep the batter in ramekins, cover, and refrigerate for up to a day or freeze for up to a month. Bake fresh when ready.
What type of chocolate works best?
I recommend high-quality dark chocolate with at least 60% cocoa. Semi-sweet works too, and you can even mix in milk chocolate for a slightly sweeter taste.
Can I make this vegan?
Yes, but you’ll need to replace the eggs with flax eggs and butter with coconut oil. The texture will be a bit different, and the center may not be as molten.
Can I use mini ramekins?
Definitely! Mini ramekins are perfect for individual servings, and they may even reduce baking time slightly, so keep an eye on them.
Chocolate Lava Cake Recipe
- Total Time: 30 minutes
- Yield: 4 1x
- Diet: Vegetarian
Description
Indulge in a rich, chocolatey treat with a molten center that melts in your mouth. Perfect for special occasions or a cozy night in, this chocolate lava cake is surprisingly simple to make, yet impressively decadent. With a tender baked exterior and a warm, gooey center, it’s a dessert that feels luxurious without any fuss. Serve it with ice cream, berries, or whipped cream to elevate the experience. This recipe is my go-to when I want a dessert that’s both indulgent and effortlessly impressive.
Ingredients
- 4 oz (115g) high-quality dark chocolate, chopped
- 1/2 cup (115g) unsalted butter
- 2 large eggs, at room temperature
- 2 large egg yolks
- 1/4 cup (50g) granulated sugar
- 2 tbsp all-purpose flour
- 1 tsp vanilla extract
- Pinch of salt
- Optional: 1 tsp espresso powder or 1 tbsp liqueur
Instructions
- Preheat oven to 425°F (220°C). Butter and lightly dust ramekins with cocoa powder.
- Melt chocolate and butter together in a heatproof bowl over simmering water. Stir until smooth.
- Whisk eggs, yolks, sugar, and vanilla until pale and frothy.
- Gently fold melted chocolate into egg mixture, then fold in flour and a pinch of salt. Avoid overmixing.
- Divide batter into ramekins and bake for 12–14 minutes until edges are set but center jiggles.
- Let cool briefly, then run a knife around edges and invert onto plates. Serve warm with optional sides.
Notes
- For extra flavor, add espresso powder or liqueur.
- Dust with powdered sugar or cocoa for a fancy touch.
- Ensure chocolate is smooth before mixing with eggs to avoid lumps.
- Don’t overbake—the center should remain molten.
- Prep Time: 15 minutes
- Cook Time: 12–14 minutes
- Category: Dessert
- Method: Baking
- Cuisine: American
Nutrition
- Serving Size: 4
- Calories: 380
- Sugar: 28g
- Sodium: 85mg
- Fat: 25g
- Saturated Fat: 15g
- Unsaturated Fat: 8g
- Trans Fat: 0g
- Carbohydrates: 33g
- Fiber: 4g
- Protein: 6g
- Cholesterol: 145mg