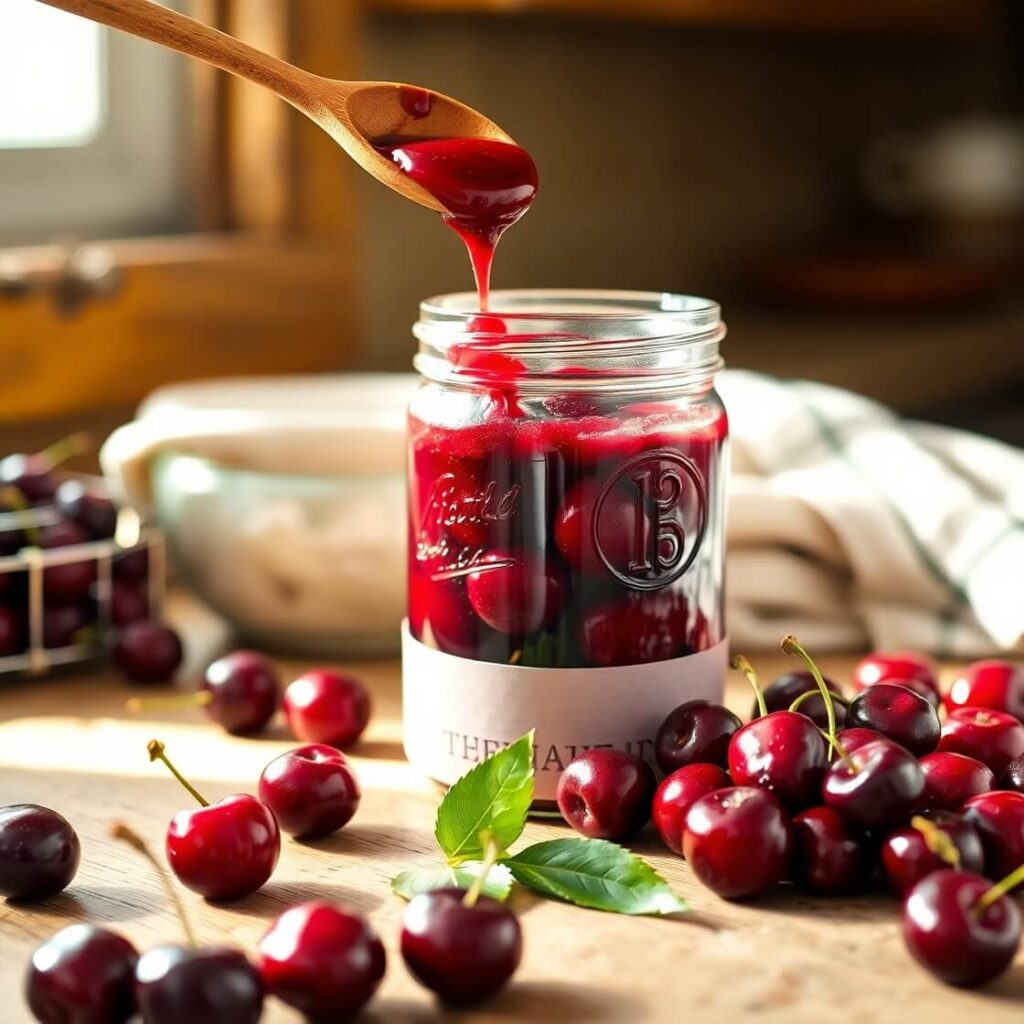
Homemade Cherry Pie Filling
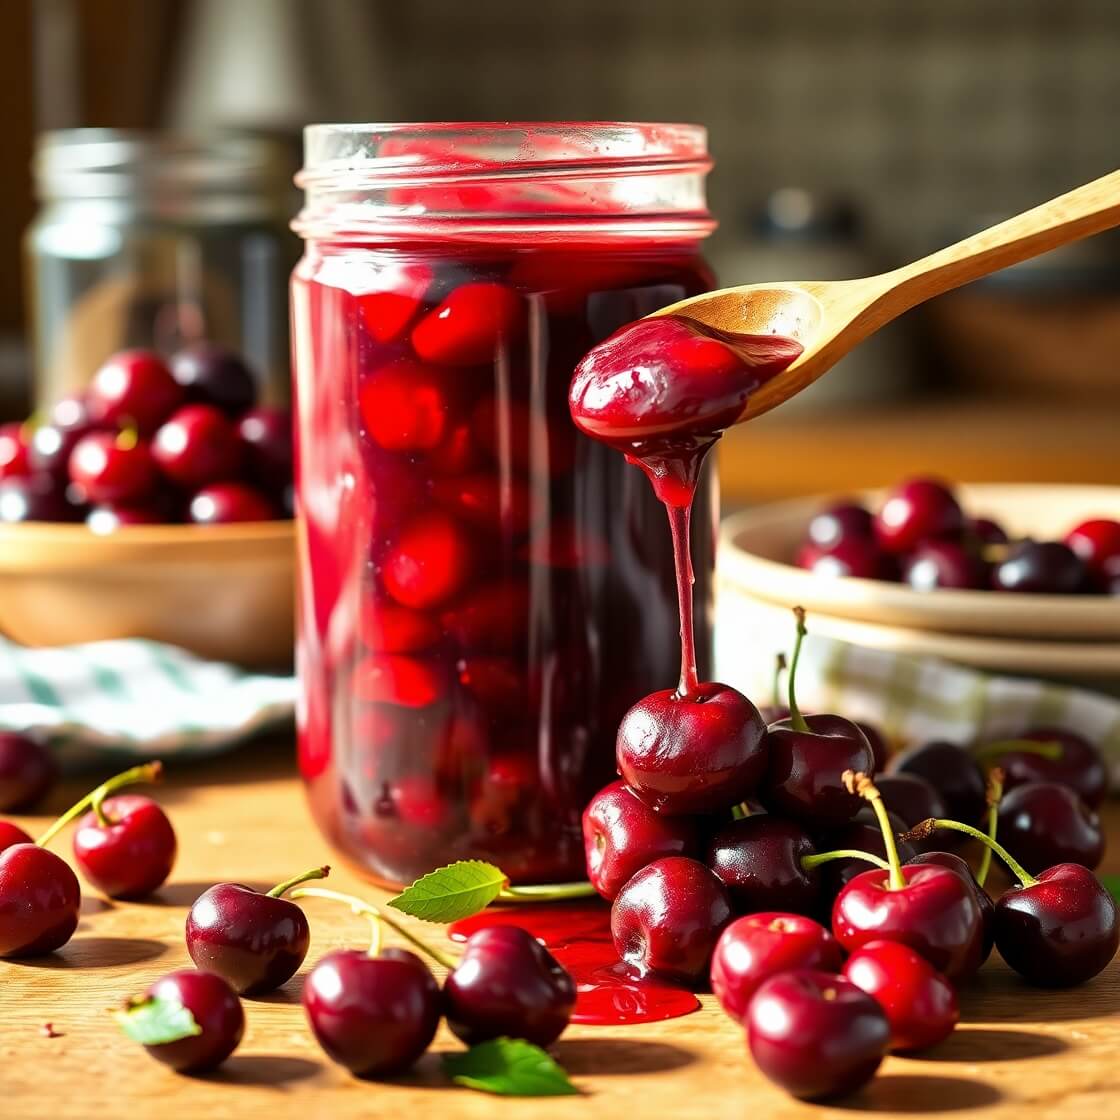
Homemade cherry pie filling is one of those timeless kitchen gems that brings a little bit of summer sweetness to your table, no matter the season. I made this recipe when I found myself with an abundance of fresh cherries after a trip to the local farmer’s market. It felt like a shame to let them go to waste—or to just freeze them—so I decided to preserve their juicy glory in a thick, glossy, homemade pie filling.
Now, here’s the thing: once you try making cherry pie filling from scratch, you’ll wonder why you ever bought the canned stuff. It’s that good.
And don’t think this recipe is only for pies! This filling is the kind of multitasker every home cook dreams of—it works beautifully in cheesecakes, over pancakes, in hand pies, or even spooned over vanilla ice cream.
So if you’ve ever wished for a foolproof, not-too-sweet, just-the-right-tang cherry filling that holds up in baking or shines in a no-bake dessert, you’re in the right place.
Let me show you how I make it—simple, satisfying, and endlessly versatile.
Ingredients for Cherry Pie Filling
Here’s what you’ll need:
Fresh or Frozen Cherries:
I prefer using sweet cherries (like Bing or Rainier), but you can go for sour cherries if you want a tart twist. If you’re using frozen, just make sure they’re pitted and thawed completely. You’ll need about 4 cups.
Sugar:
Regular granulated sugar works just fine. I like to start with ¾ cup and adjust as needed, depending on how sweet or tart the cherries are. You want enough to draw out the juices and create that luscious syrup without overpowering the natural cherry flavor.
Cornstarch:
This is the secret to thickening the filling without making it cloudy or gelatinous. I use about ¼ cup to get that pie-perfect consistency.
Lemon Juice:
Just a splash (about 1 tablespoon) brightens everything up and helps balance the sweetness.
Almond Extract (optional but highly recommended):
If you’ve ever had a cherry dessert that tasted extra “cherry-ish,” that’s probably thanks to almond extract. Just ½ teaspoon is enough to deepen the flavor without being overwhelming.
Water:
To help dissolve the cornstarch and get the syrup going. You’ll need about ⅓ cup, maybe a little more if your cherries aren’t super juicy.
That’s it. Simple, pantry-friendly ingredients that come together to create a filling that’s deeply flavorful, not too sweet, and just the right kind of sticky.
How Much Time Will You Need
Making this cherry pie filling is quick and easy, especially if your cherries are already pitted.
Here’s the general time breakdown:
- Prep Time: 15 minutes (includes pitting cherries if using fresh)
- Cook Time: 10–12 minutes
- Cool Time: About 30–45 minutes (before storing or using)
So in under an hour (with most of that being passive cool time), you’ll have a jar of homemade goodness ready to go.
How to Make This Cherry Pie Filling
Let’s get into the fun part—making the cherry pie filling from scratch.
Follow this detailed step-by-step process for perfect results every time:
Step – 1: Prep the cherries
If you’re using fresh cherries, rinse and pit them. You’ll need about 4 cups. I like to slice larger cherries in half, but you can leave them whole if you prefer a chunkier filling.
If using frozen cherries, make sure they’re fully thawed and drain off any excess liquid so the filling doesn’t get watery.
Step – 2: Mix the dry ingredients
In a small bowl, whisk together ¼ cup cornstarch and ⅓ cup cold water until smooth. Set it aside for now.
This slurry will be your thickening agent—and adding it after the cherries start releasing their juice keeps things from getting clumpy.
Step – 3: Cook the cherries
In a medium saucepan over medium heat, combine the cherries and ¾ cup sugar. Stir gently as the sugar starts to dissolve and the cherries release their juices.
This usually takes about 3–4 minutes. The mixture will look a bit syrupy.
Step – 4: Add the cornstarch slurry
Once the cherries are soft and juicy, give your cornstarch slurry a quick stir and pour it into the pan.
Stir constantly as the mixture thickens—this happens fast, usually within 2–3 minutes. You’ll notice it going from runny to glossy and luscious.
Step – 5: Finish with flavor
Remove the saucepan from heat and stir in 1 tablespoon lemon juice and ½ teaspoon almond extract (if using).
Taste the filling. If it’s too tart, add another tablespoon of sugar. If it’s too thick, you can loosen it with a splash of water.
Step – 6: Cool and store
Let the filling cool to room temperature. It will continue to thicken as it cools, so don’t worry if it’s still a little loose when warm.
Once cooled, transfer to a jar or airtight container and refrigerate until ready to use. It keeps beautifully for about a week.
Print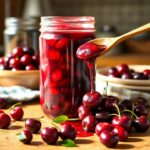
Cherry Pie Filling Recipes
- Total Time: 25 minutes
- Yield: 2½ 1x
- Diet: Vegan
Description
Sweet, glossy, and bursting with real cherry flavor, this homemade cherry pie filling is a delicious upgrade from the canned version. Whether you’re baking a classic cherry pie, making a cherry cheesecake, or spooning it over pancakes, this filling delivers that perfect blend of sweet and tart with a silky texture. It comes together in under 30 minutes and stores beautifully in the fridge or freezer, making it perfect for planning ahead or enjoying on the fly.
Ingredients
- 4 cups fresh or frozen cherries, pitted
- ¾ cup granulated sugar
- ¼ cup cornstarch
- ⅓ cup cold water
- 1 tablespoon lemon juice
- ½ teaspoon almond extract (optional)
Instructions
- Pit fresh cherries or thaw and drain frozen cherries.
- In a small bowl, mix cornstarch and cold water to create a slurry.
- In a medium saucepan, add cherries and sugar. Cook over medium heat until juicy.
- Pour in the cornstarch slurry, stirring constantly until thickened.
- Remove from heat and stir in lemon juice and almond extract.
- Let cool completely before storing or using.
Notes
- Adjust sugar depending on the sweetness of your cherries.
- Store in the fridge for up to 7 days or freeze for up to 3 months.
- For a thicker consistency, add a bit more cornstarch slurry during cooking.
- Prep Time: 15 minutes
- Cook Time: 10 minutes
- Category: Dessert
- Method: Stovetop
- Cuisine: American
Nutrition
- Serving Size: 2½
- Calories: 110
- Sugar: 18g
- Sodium: 2mg
- Fat: 0g
- Saturated Fat: 0g
- Unsaturated Fat: 0g
- Trans Fat: 0g
- Carbohydrates: 26g
- Fiber: 1g
- Protein: 0g
- Cholesterol: 0mg