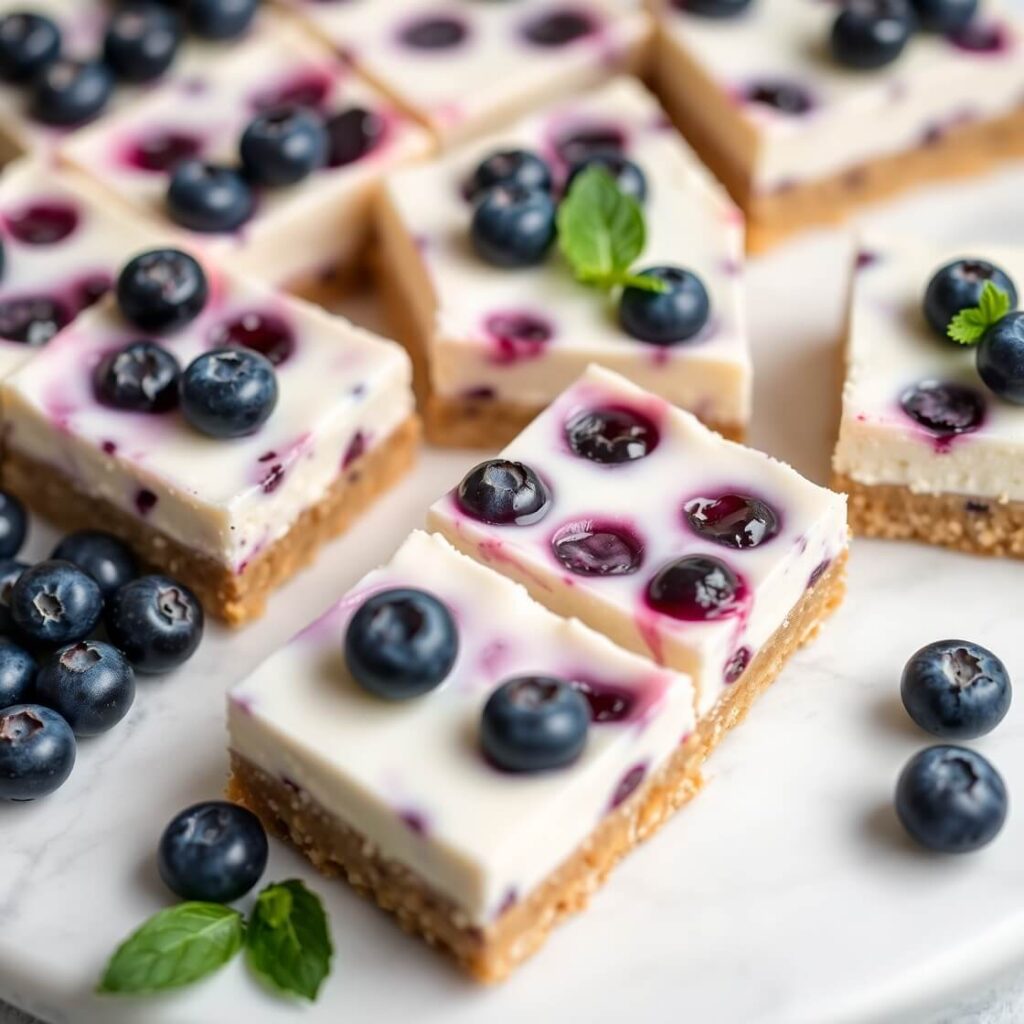
Easy Blueberry Cheesecake Bars
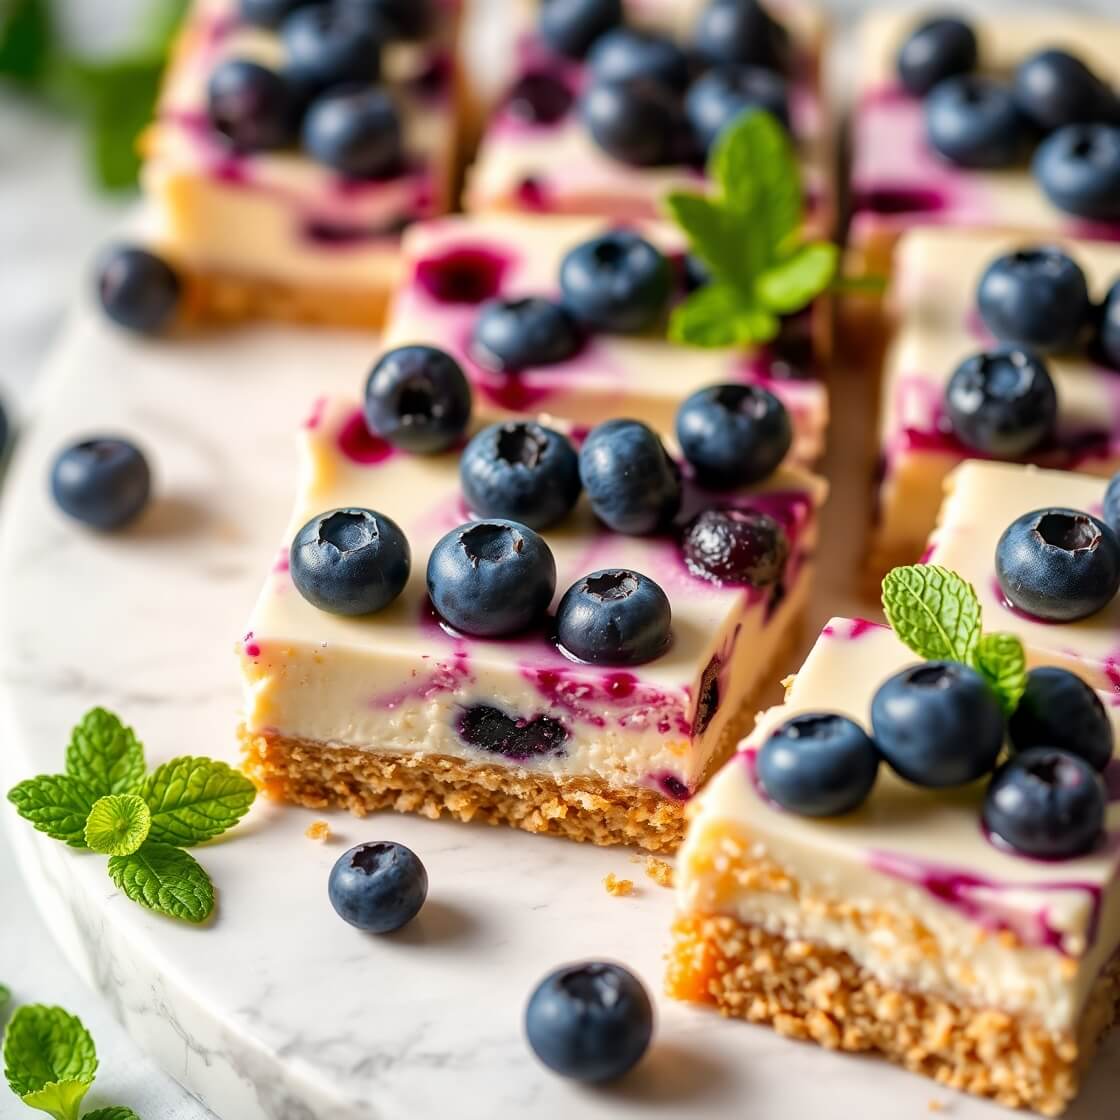
Blueberry cheesecake bars have always been a favorite of mine—there’s something irresistibly charming about the creamy, tangy cheesecake paired with bursts of sweet blueberries all on a buttery crust. I first made this recipe when I wanted to bring a crowd-pleasing dessert to a summer potluck, and it was an instant hit.
What’s so great about these bars is that they combine the elegance of cheesecake with the ease and portability of a bar dessert. Plus, blueberry season makes this treat even more delightful, with those juicy, fresh berries bursting in every bite.
If you’re someone who loves desserts that are rich but not overly complicated, these bars are for you. Whether it’s a family gathering, afternoon tea, or just a little indulgence on a quiet evening, blueberry cheesecake bars bring a balance of creamy and fruity that’s hard to resist. Keep reading, and I’ll walk you through every step to create this delicious treat in your own kitchen.
Here’s Why You’ll Love These Blueberry Cheesecake Bars
These blueberry cheesecake bars hold a cozy sense of nostalgia for me—simple ingredients coming together to create a dessert that feels special without being complicated.
What makes them stand out:
- Perfect texture balance: a buttery, crisp crust layered with smooth, creamy cheesecake.
- Burst of flavor and color: juicy blueberries add natural sweetness and brighten every bite.
- Effortless serving: unlike traditional cheesecake, these bars cut neatly into portions—ideal for parties, potlucks, or casual snacking.
They’re also versatile:
- Use fresh or frozen blueberries.
- Add lemon zest for a citrusy lift.
- Swirl in blueberry jam for extra berry goodness.
Easy to make, beautiful to serve, and always a crowd-pleaser—these bars are a dessert you’ll come back to again and again.
Key Ingredients
To make these bars, you’ll need a handful of simple ingredients that you probably already have in your pantry and fridge. The magic here is in how these ingredients combine to create layers of flavor and texture.
The crust is made with classic graham cracker crumbs, butter, and a touch of sugar. This buttery crust is essential—it holds the cheesecake filling perfectly and adds a nice crunch.
For the cheesecake layer, you’ll need cream cheese (softened), sugar, eggs, and a splash of vanilla extract. The cream cheese gives the filling its signature creamy texture, while the eggs help it set up just right.
The star of the show—the blueberries—can be fresh or frozen. Using fresh blueberries will give you a bright, juicy burst, but frozen work well too, especially out of season. I like to toss them with a little cornstarch and sugar before adding them on top to keep the filling from getting watery.
Optional but highly recommended are a pinch of lemon zest and juice to add a fresh citrus note that complements the blueberries beautifully.
How Much Time Will You Need
Making blueberry cheesecake bars does require a bit of patience, mostly because of baking and cooling time, but the hands-on part is fairly quick.
You’ll spend about 15-20 minutes preparing the crust and filling.
Baking time is around 45-50 minutes — enough for the cheesecake layer to set without overbaking.
Then, cooling time is essential — at least 3-4 hours in the fridge, or preferably overnight, to let the bars firm up and develop their full flavor.
In total, expect to spend about 5-6 hours from start to finish, most of which is waiting time. But trust me, the end result is worth every minute.
How to Make Blueberry Cheesecake Bars
Step – 1: Prepare your baking pan by lining an 8×8 inch square pan with parchment paper, leaving an overhang on the sides for easy removal later. Preheat your oven to 325°F (163°C).
Step – 2: Make the crust by combining graham cracker crumbs, melted butter, and sugar in a bowl. Stir until the mixture resembles wet sand.
Step – 3: Press the crust mixture evenly into the bottom of the prepared pan using the back of a spoon or your fingers. Bake this crust in the oven for 10 minutes, then remove and set aside to cool slightly.
Step – 4: While the crust bakes, prepare the cheesecake filling. Beat the softened cream cheese with sugar until smooth and creamy, using a hand mixer or stand mixer.
Step – 5: Add eggs one at a time, beating well after each addition. Stir in vanilla extract and lemon zest for a hint of brightness.
Step – 6: Toss blueberries with cornstarch and a little sugar in a small bowl to prevent them from sinking and bleeding into the cheesecake filling.
Step – 7: Pour half of the cheesecake batter over the baked crust and spread evenly.
Step – 8: Sprinkle half of the blueberry mixture on top of the batter layer.
Step – 9: Pour the remaining cheesecake batter over the blueberries and gently spread it out.
Step – 10: Add the remaining blueberries on top, pressing them lightly into the batter.
Step – 11: Bake the bars for about 45-50 minutes. The edges should be set, but the center might still jiggle slightly.
Step – 12: Remove from the oven and allow to cool to room temperature. Then refrigerate for at least 4 hours or overnight to set completely.
Step – 13: Once chilled, lift the bars out of the pan using the parchment overhang. Cut into squares using a sharp knife, wiping it clean between cuts for neat edges.
Step – 14: Serve chilled or at room temperature.
Print
Blueberry Cheesecake Bars
- Total Time: 5 hours (including chilling)
- Yield: 16 1x
- Diet: Vegetarian
Description
A perfect balance of creamy cheesecake and sweet, juicy blueberries sits atop a buttery graham cracker crust in these delightful bars. Easy to make and even easier to love, they’re a crowd-pleasing dessert that works well for any occasion, from casual get-togethers to special celebrations. With a simple step-by-step method and ingredients you likely already have, this recipe brings fresh blueberry flavor and smooth cheesecake texture together in a portable, sliceable treat.
Ingredients
- 1 1/2 cups graham cracker crumbs
- 6 tablespoons unsalted butter, melted
- 1/4 cup granulated sugar (for crust)
- 16 ounces cream cheese, softened
- 2/3 cup granulated sugar (for filling)
- 2 large eggs, room temperature
- 1 teaspoon vanilla extract
- Zest of 1 lemon
- 2 cups fresh or frozen blueberries
- 1 tablespoon cornstarch
- 2 tablespoons granulated sugar (for blueberries)
Instructions
- Preheat oven to 325°F (163°C) and line an 8×8 inch pan with parchment paper.
- Mix graham cracker crumbs, melted butter, and 1/4 cup sugar; press firmly into pan and bake 10 minutes.
- Beat cream cheese and 2/3 cup sugar until smooth. Add eggs one at a time, then vanilla and lemon zest.
- Toss blueberries with cornstarch and 2 tablespoons sugar.
- Spread half the cheesecake batter over crust, sprinkle half the blueberries, then add remaining batter and top with remaining blueberries.
- Bake 45-50 minutes until edges are set and center slightly jiggles. Cool, then refrigerate 4+ hours.
- Slice and serve chilled.
Notes
- Use room temperature cream cheese and eggs for smooth batter.
- Don’t skip tossing berries with cornstarch to avoid watery filling.
- Chill thoroughly before slicing for clean cuts.
- Prep Time: 20 minutes
- Cook Time: 50 minutes
- Category: Dessert
- Method: Baking
- Cuisine: American
Nutrition
- Serving Size: 16
- Calories: 250
- Sugar: 20g
- Sodium: 130mg
- Fat: 16g
- Saturated Fat: 10g
- Unsaturated Fat: 5g
- Trans Fat: 0g
- Carbohydrates: 22g
- Fiber: 1g
- Protein: 4g
- Cholesterol: 55mg
More Cheesecake Baras You Need In Your Life
Serving and Presentation Tips
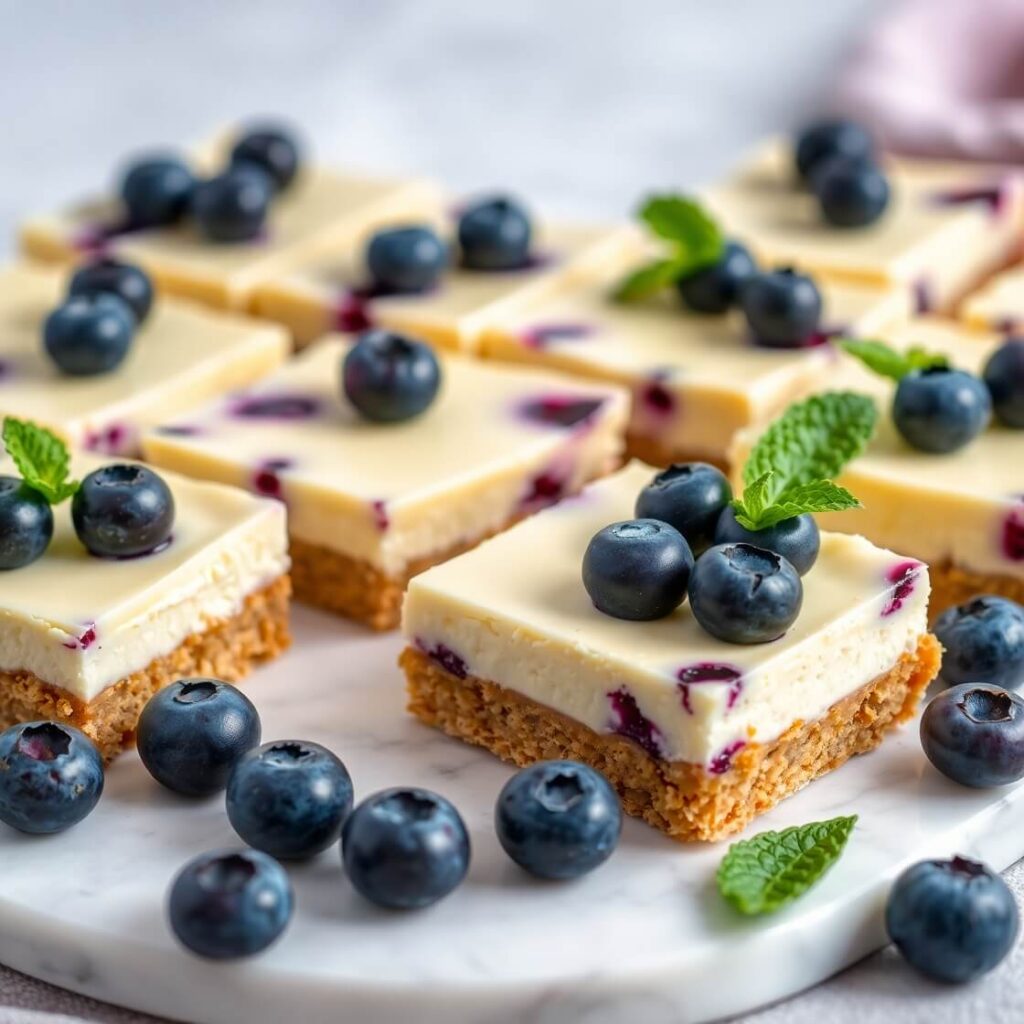
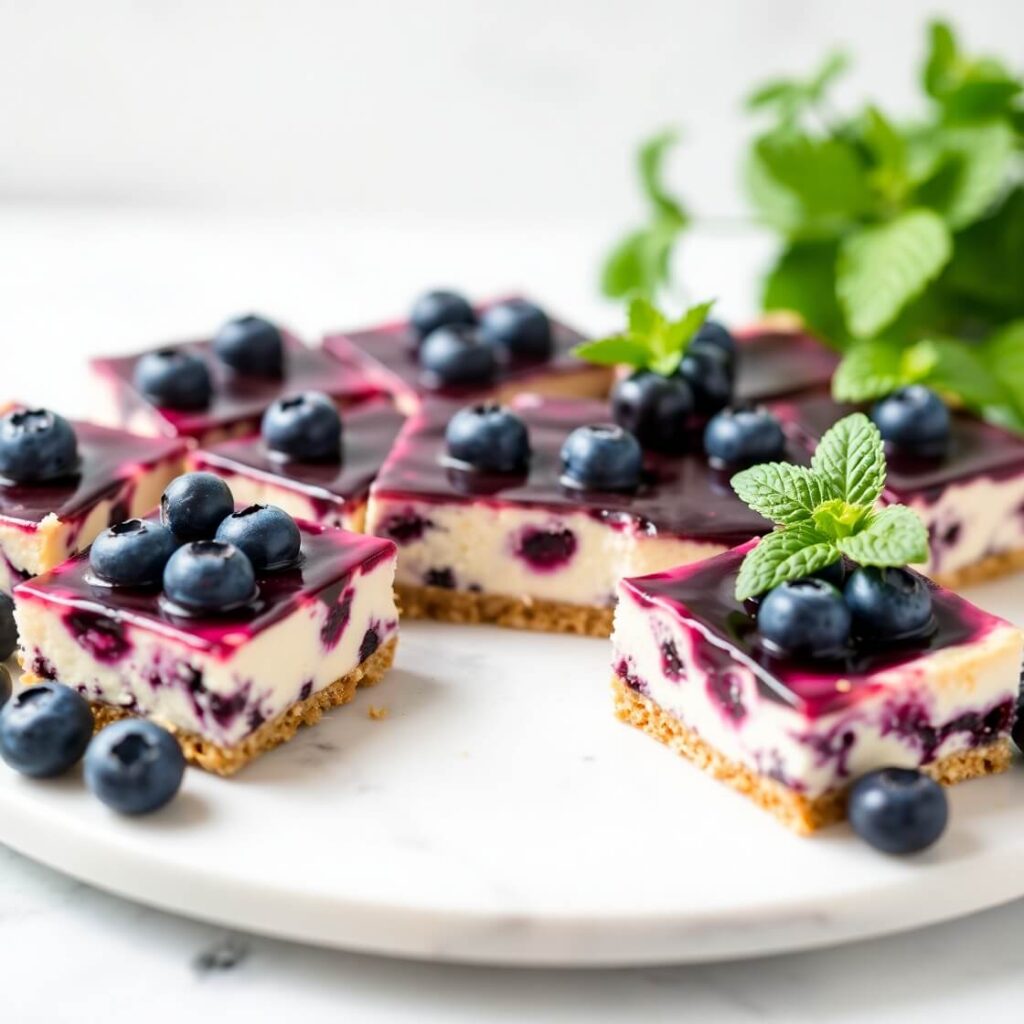
Blueberry cheesecake bars are already a showstopper with their creamy layers and vibrant berries, but how you serve and present them can really take things up a notch. When plating these bars, think about complementing their delicate look with simple, elegant touches.
One of my favorite ways to present them is on a rustic wooden board or a simple white serving platter, which makes the colors pop beautifully. Dusting a little powdered sugar over the top adds a light, snowy effect that’s perfect for any occasion.
For an extra wow factor, you can garnish each bar with a few fresh blueberries and a small sprig of mint. This not only adds a burst of freshness but also makes the dessert feel thoughtfully finished.
If you’re serving these at a party or gathering, cut the bars into even squares and arrange them in neat rows. Pairing the bars with small ramekins of fresh whipped cream or a drizzle of warm blueberry sauce on the side invites guests to customize each bite.
Serving chilled is ideal, as the bars hold their structure better and the flavors are nicely melded. But if you prefer, letting them sit at room temperature for about 15 minutes before serving softens the texture slightly and brings out the creaminess.
Top Tips for Making Gluten Free Blueberry Cheesecake Bars
To get the best results with your blueberry cheesecake bars, here are some tried-and-true tips I’ve gathered along the way.
First, make sure your cream cheese is fully softened before mixing. This helps create a silky, lump-free cheesecake filling that bakes up smooth and creamy.
Don’t overmix the batter once you add the eggs. Overbeating can incorporate too much air, which may cause cracks or a crumbly texture after baking.
Use room temperature eggs for better incorporation and a smoother batter.
If using frozen blueberries, toss them with a little cornstarch as mentioned earlier. This helps absorb excess moisture and prevents the bars from becoming soggy.
Baking at a slightly lower temperature and for a bit longer can help prevent the cheesecake from cracking and ensures even cooking.
When cooling, allow the bars to come to room temperature before refrigerating. Sudden temperature changes can cause cracks or a sunken center.
For cleaner cuts, chill the bars thoroughly and use a sharp knife wiped clean between each cut to avoid smudging the cheesecake layers.
How to Store It
Blueberry cheesecake bars keep really well, making them a great make-ahead dessert.
Store the bars in an airtight container in the refrigerator for up to 5 days. This keeps the cheesecake fresh and the crust from becoming soggy.
If you want to keep them longer, you can freeze the bars. Wrap them tightly in plastic wrap and aluminum foil to prevent freezer burn. They’ll last for up to 2 months frozen.
To serve frozen bars, thaw overnight in the refrigerator and bring to room temperature for about 20 minutes before enjoying.
Avoid leaving the bars out at room temperature for extended periods because the cheesecake filling contains dairy and eggs, which can spoil.
Frequently Asked Questions
Can I use frozen blueberries?
Yes! Frozen blueberries work great in this recipe. Just make sure to thaw them fully and drain any excess liquid before tossing with cornstarch to avoid a watery filling.
Can I make these bars ahead of time?
Absolutely. They actually taste better after chilling overnight, which helps the flavors develop and the bars set firmly.
What can I use instead of graham cracker crust?
You can substitute digestive biscuits, vanilla wafers, or even crushed shortbread cookies for the crust. Adjust the sugar accordingly since some cookies may be sweeter.
How do I prevent the cheesecake from cracking?
Avoid overmixing, bake at a moderate temperature, and cool the bars gradually. Also, don’t overbake—the center should still have a slight jiggle when done.
Can I make this recipe dairy-free or vegan?
You can try using dairy-free cream cheese and butter substitutes, but baking times and textures may vary. For best results, stick with the original ingredients unless you’re comfortable experimenting.