Banana Pudding
I’ll never forget the first time I made banana pudding from scratch. It was a rainy Sunday afternoon, and the kitchen smelled like a mix of warm vanilla and ripe bananas—a scent that instantly reminded me of my grandmother’s house. She always had a bowl of banana pudding waiting on the counter, the kind that practically disappeared before dinner was even served. I had tried the store-bought version countless times, but there’s something magical about making it yourself: the layers of pudding, bananas, and those fluffy clouds of whipped cream that just melt in your mouth.
That day, I also learned a small but important lesson. I had rushed through the steps, thinking it would be a quick fix, and ended up with a lumpy custard. It wasn’t the end of the world—after a few whisking tricks, I got it smooth—but it taught me patience. Now, every time I make this dessert, I remember that rainy afternoon and my grandmother’s approving nod, and it feels like a warm hug in a bowl.
Whether you’re making it for a family gathering, a picnic, or just a sweet treat for yourself, this banana pudding recipe is the perfect balance of creamy, fruity, and nostalgic.
Ingredients You’ll Love
The best banana pudding starts with quality ingredients. Ripe bananas are a must—they should have a few brown spots, soft but not mushy. For the pudding, I usually use a classic vanilla custard, but you can also go for instant pudding if you’re pressed for time. Here’s what I recommend:
- Bananas – 4 to 5 medium, ripe, but firm
- Vanilla pudding – 1 box (or homemade custard if you have the patience)
- Milk – 2 cups, whole or 2% for creaminess
- Vanilla extract – 1 teaspoon, pure for the best flavor
- Sugar – ½ cup (adjust if your pudding is already sweetened)
- Whipped cream – 1 cup, freshly whipped if possible
- Vanilla wafers – About 1½ cups, for layering
- Pinch of salt – To enhance the flavors
A little note on bananas: some people prefer them slightly green for firmness, but I like mine fully ripe. They’re sweeter, softer, and integrate perfectly into the layers. If you want a bit of tang, a tiny squeeze of lemon over the slices prevents browning without changing the flavor.
For those who love a homemade touch, making your own custard is a game-changer. I whisk eggs, sugar, milk, and vanilla on gentle heat until thickened—it takes a little time, but the aroma alone is worth it.
Step-by-Step Instructions

This banana pudding is all about layering and patience. The textures—soft bananas, creamy pudding, and crunchy wafers—create a comforting contrast that everyone loves.
- Prepare your pudding: If making from scratch, whisk together eggs, sugar, milk, and vanilla in a saucepan. Heat gently, stirring constantly, until it thickens. If using instant pudding, whisk with milk as directed on the box.
- Slice the bananas: Aim for even slices, about ¼-inch thick. Too thin and they disappear; too thick and they dominate.
- Layer your dessert: Start with a thin layer of pudding at the bottom of your dish. Add a layer of vanilla wafers, then bananas, and more pudding. Repeat until the dish is filled, finishing with a final pudding layer.
- Top with whipped cream: Spread or pipe a generous layer of whipped cream over the top. This keeps the bananas from browning and adds a luxurious texture.
- Chill: Refrigerate for at least 2 hours, or overnight if possible. The flavors meld, the pudding firms up slightly, and the wafers soften just enough to create that perfect bite.
When you’re layering, resist the urge to rush. I’ve learned the hard way that haphazard layers make a messy, less appealing dessert. Take your time, enjoy the process, and imagine the smiles when it’s served.
Storing Your Banana Pudding
Banana pudding is best enjoyed fresh, but it keeps well in the fridge for up to 3 days. Cover it tightly with plastic wrap to prevent the bananas from browning and the whipped cream from drying out.
If you want to make it ahead for a party, layer everything except the bananas and whipped cream the night before. Add those last two just before serving, and you’ll have a fresh, impressive dessert without the last-minute rush.
Pro tip: Frozen bananas don’t work as well for this recipe—they release too much water, making the pudding runny. Stick with fresh, ripe bananas for that ideal creamy texture.
Easy Substitutions and Adaptations
Life happens, and sometimes you need a twist or a shortcut. Here are a few ideas:
- Gluten-free: Use gluten-free vanilla wafers or graham crackers.
- Vegan: Swap dairy milk for oat or almond milk, use coconut cream whipped topping, and a plant-based pudding mix.
- Sugar-conscious: Reduce sugar or try a sugar substitute in both the pudding and whipped cream.
- Kid-friendly: Crush the wafers a little for younger kids—they love scooping up the soft, pudding-laden crumbs.
Even though I sometimes experiment with these variations, I find the classic version still steals the show every time. But it’s fun to tweak based on what you have in the pantry or dietary needs.
Serving Ideas That Make It Shine
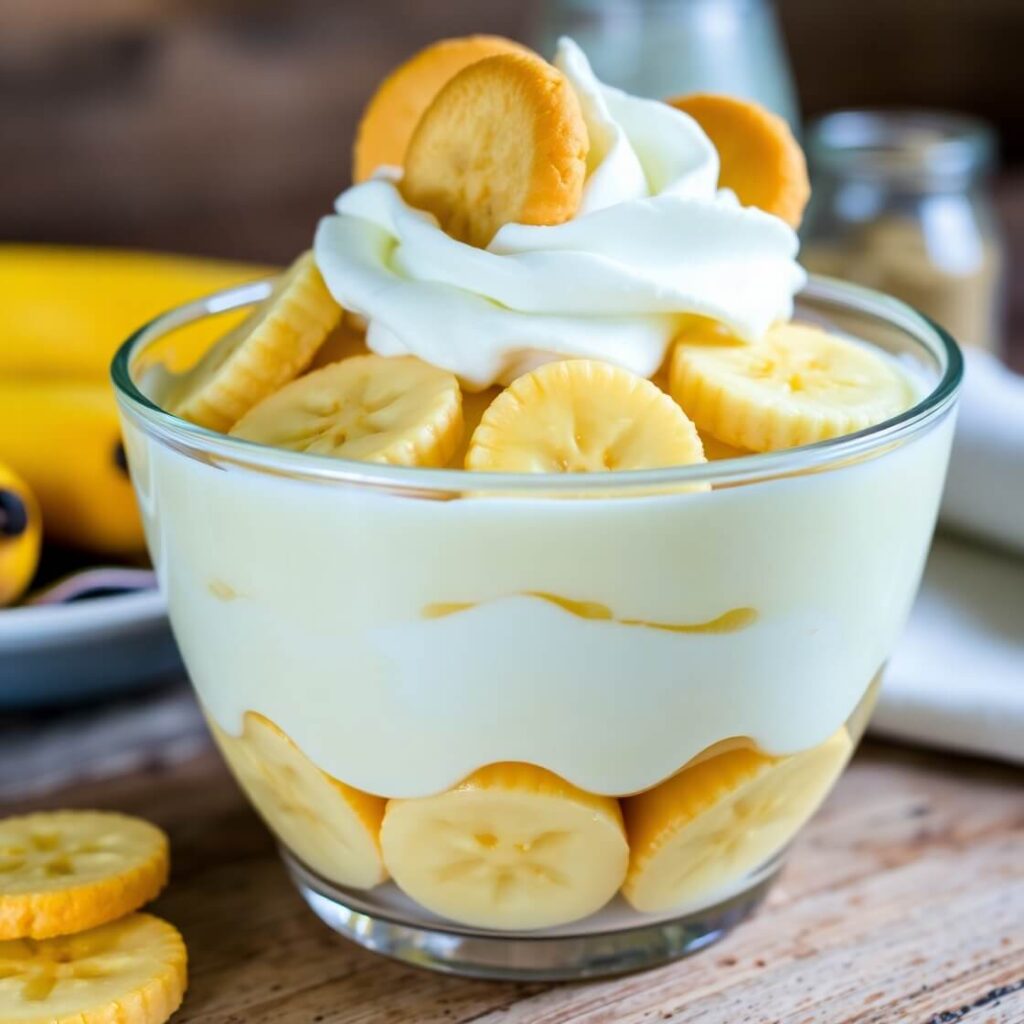
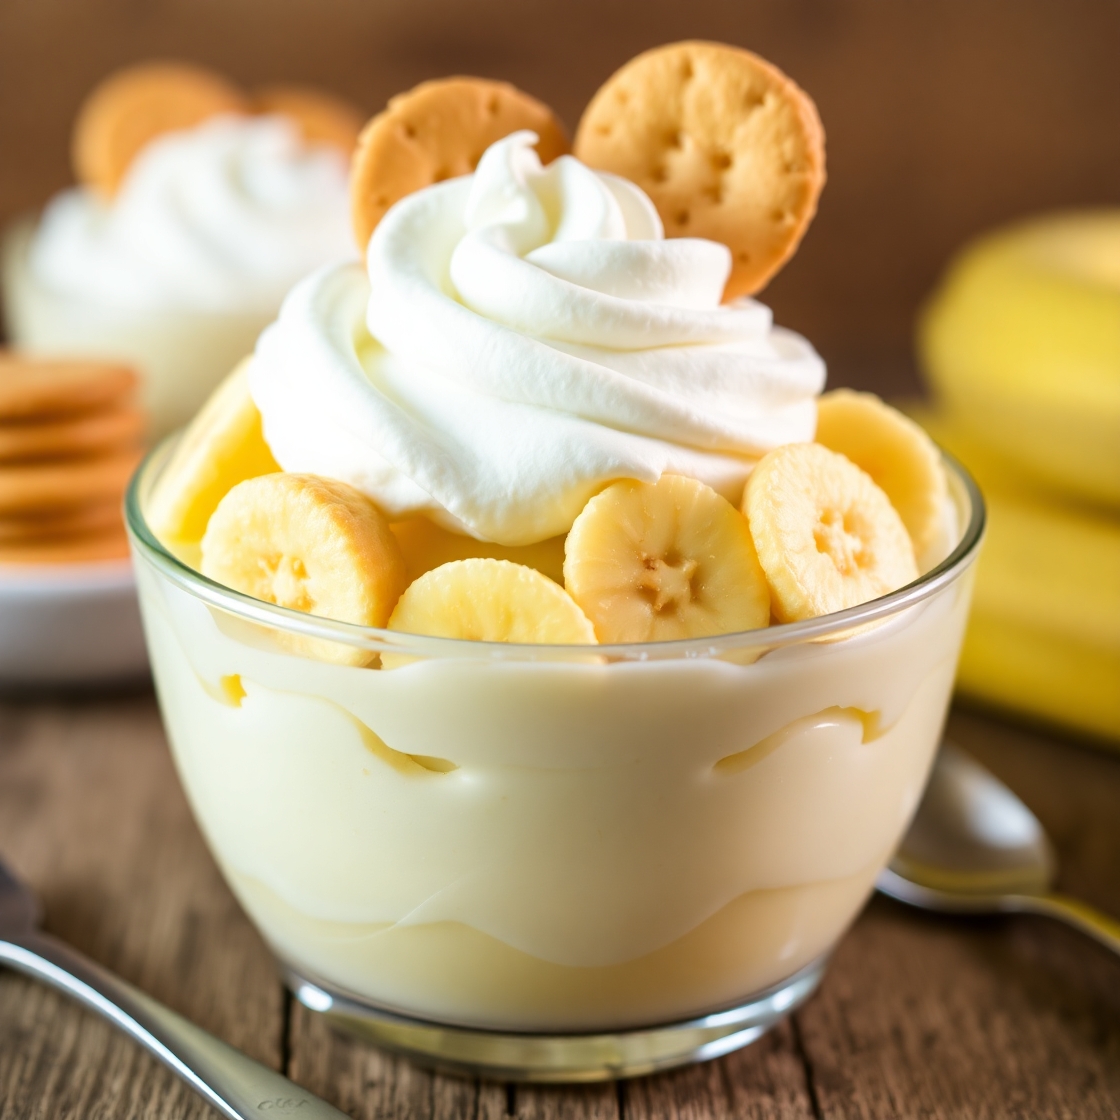
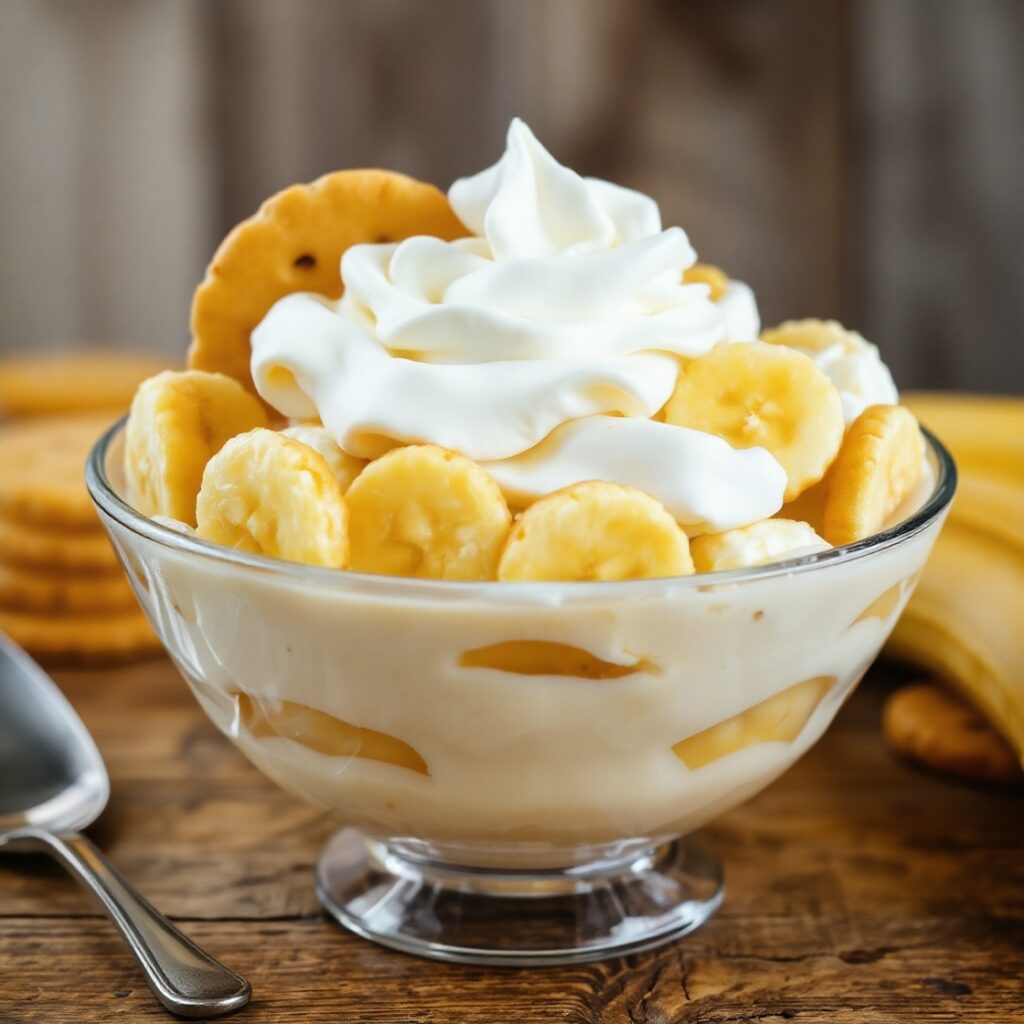
Banana pudding is one of those desserts that looks simple but can feel downright luxurious with the right presentation. I love to serve it in a large glass trifle bowl so the layers are visible—the golden wafers, creamy pudding, and pale bananas stacked like a little dessert rainbow. It’s a showstopper for family dinners or potlucks.
Individual servings in small mason jars or ramekins are perfect for portion control and make cleanup easy. A sprinkle of crushed wafers on top adds texture, and a few banana slices or a light dusting of cinnamon can elevate the look. For gatherings, I’ve even drizzled a little caramel sauce over the top—my niece declared it “the best pudding ever,” and I couldn’t argue.
The best part is that this dessert pairs beautifully with almost anything: a hot cup of coffee, iced tea, or even a chilled glass of milk. It’s sweet, creamy, and comforting, and it somehow feels nostalgic no matter the season.
Pro Notes and Mistakes to Avoid
Over the years, I’ve learned a few things that make this banana pudding truly shine:
- Don’t rush the pudding: Whether homemade or store-bought, letting the pudding set a little before layering ensures it holds up better. I once layered immediately after cooking, and the dessert ended up watery. Lesson learned!
- Banana slicing matters: Uneven slices can make the pudding look messy or create soggy spots. I aim for uniform, quarter-inch thick slices.
- Whipped cream timing: Add it last, just before chilling or serving. If it sits too long on top, it can deflate and lose its fluffiness.
- Layer order: Pudding first, then wafers, then bananas, then pudding again. It seems minor, but the structure holds up better and tastes balanced.
One memorable mishap: the first time I tried to make this with overripe bananas that were almost black, the dessert turned mushy. Now, I always pick bananas that are perfectly ripe—sweet but still firm.
Frequently Asked Questions
Can I make this ahead of time?
Yes! You can prepare the pudding and wafers the night before, then add the bananas and whipped cream just before serving. It keeps everything fresh and prevents browning.
Can I use other fruits?
Absolutely! Strawberries or blueberries can be layered with the pudding for a fruity twist, but bananas are classic for a reason—they add creaminess and natural sweetness.
How long does it last in the fridge?
About 3 days. Beyond that, the bananas may brown too much, and the texture can change. For the best flavor, serve within two days.
Can I make it vegan or gluten-free?
Yes. Use plant-based milk, vegan pudding, and gluten-free wafers. I’ve tried coconut whipped cream on top, and it’s surprisingly decadent.
Do the wafers get soggy?
Yes, but that’s intentional! The wafers absorb the pudding just enough to become soft without losing all texture. It’s part of the magic.

Banana Pudding
- Total Time: 2 hours 30 minutes (including chilling)
- Yield: 8 1x
- Diet: Vegetarian
Description
A classic Southern dessert featuring layers of creamy homemade vanilla pudding, fresh banana slices, and crunchy vanilla wafers. This luscious dessert combines simple ingredients for a sweet, comforting treat that’s perfect for any occasion. Easy to prepare with a homemade pudding base that enhances flavor and texture, it’s best chilled to let the flavors meld. Serve with whipped cream or meringue topping for an irresistible finish.
Ingredients
- 3/4 cup granulated sugar
- 1/3 cup cornstarch
- Pinch of salt
- 3 cups whole milk
- 4 large egg yolks
- 2 teaspoons vanilla extract
- 4–5 ripe bananas, sliced
- About 50 vanilla wafers
- 1 cup heavy whipping cream (for topping)
- 2 tablespoons powdered sugar (optional, for whipped cream)
Instructions
- In a saucepan, whisk sugar, cornstarch, and salt. Gradually add milk while stirring.
- Cook over medium heat, stirring constantly until thickened and bubbling.
- Slowly whisk some hot pudding into beaten egg yolks; return to saucepan and cook 1 more minute.
- Remove from heat; stir in vanilla extract. Cover surface with plastic wrap; let cool.
- Layer vanilla wafers, banana slices, and pudding in a serving dish. Repeat layers, finishing with pudding.
- Whip heavy cream with powdered sugar until stiff peaks form; spread over pudding or pipe decoratively.
- Refrigerate at least 2 hours before serving.
Notes
- For extra richness, fold whipped cream into pudding before layering. Use firm ripe bananas for best texture. Toast wafers lightly for added flavor and crunch.
- Prep Time: 15 minutes
- Cook Time: 15 minutes
- Category: Dessert
- Method: Stove-top and assembly
- Cuisine: American Southern
Nutrition
- Serving Size: 8
- Calories: 320
- Sugar: 30g
- Sodium: 120mg
- Fat: 12g
- Saturated Fat: 7g
- Unsaturated Fat: 4g
- Trans Fat: 0g
- Carbohydrates: 45g
- Fiber: 2g
- Protein: 5g
- Cholesterol: 120mg