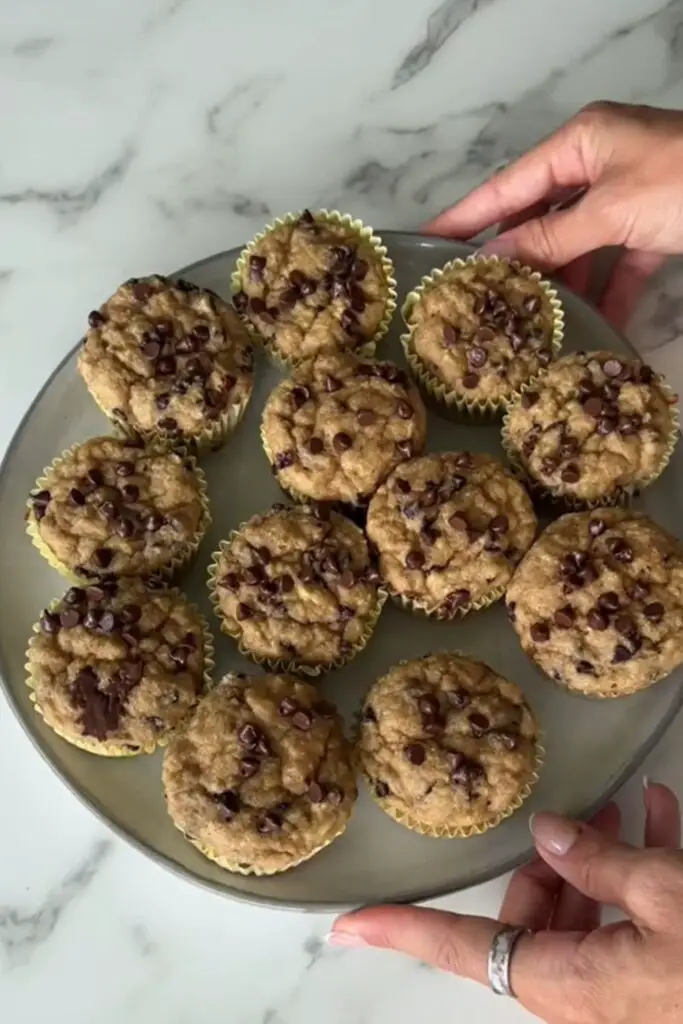
Banana Nut Muffins Recipe

I still remember the morning I decided to make banana nut muffins for the first time. The kitchen smelled faintly of coffee and vanilla, but the bananas I had grabbed from the counter were on the edge of turning too ripe. I thought, “Perfect for muffins!” but then, in my usual overzealous fashion, I mashed them a bit too aggressively. The batter ended up thicker than I expected, almost like dough. My first instinct was panic I thought the muffins would come out as heavy, dense bricks.
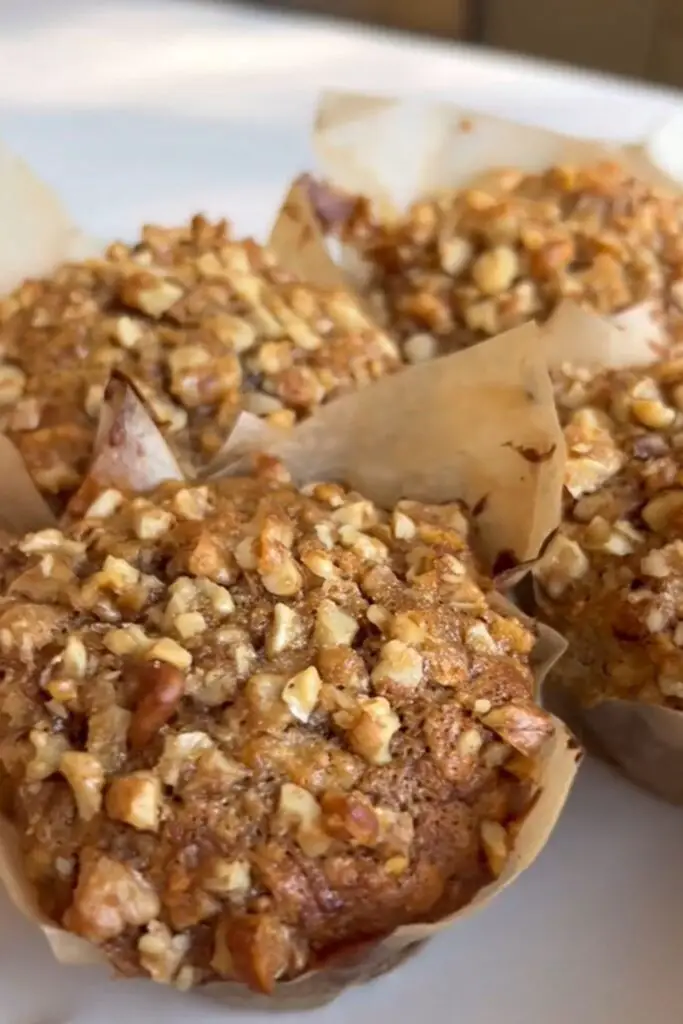
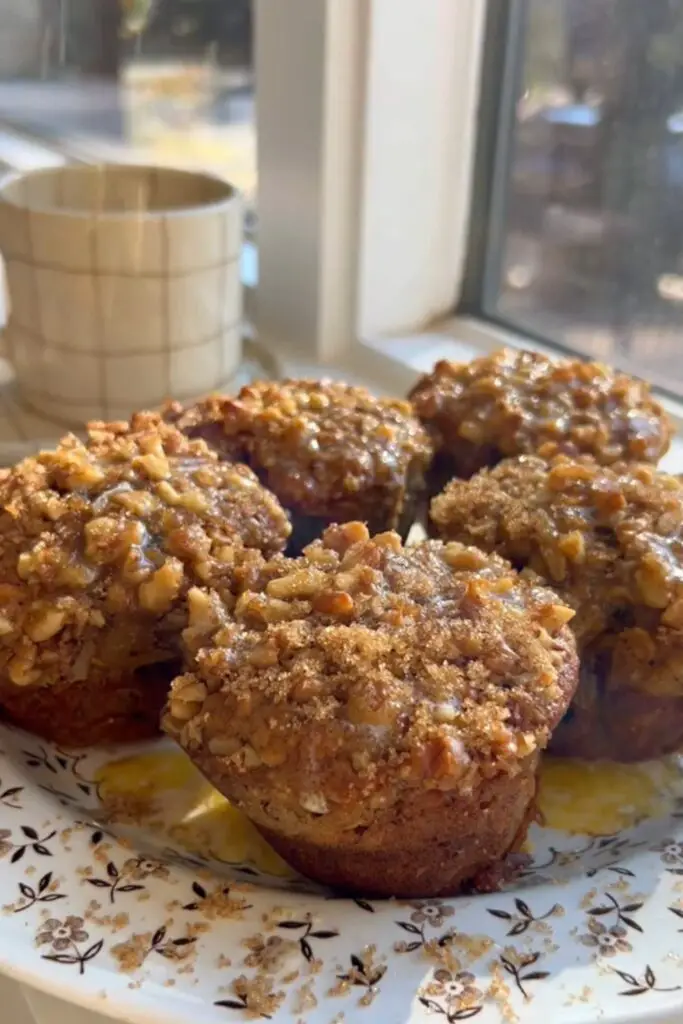
When I finally pulled them from the oven, the golden tops glimmered in the morning sunlight, and the aroma of toasted nuts and sweet banana filled the house. My kids, who usually wait patiently for breakfast, practically dove straight into the pan. One bite, and the crunch of walnuts mixed with the soft, moist crumb erased all my earlier fears. That day taught me something important: mistakes in the kitchen aren’t disasters they’re lessons that lead to something delicious.
Why You’ll Love This Banana Nut Muffins Recipe

The beauty of this banana nut muffin recipe lies in its balance of textures and flavors. Moist banana crumb mingles with the crunch of walnuts, creating a comforting, hearty bite. A touch of cinnamon and vanilla enhances the warmth without overpowering the fruit.
One secret I’ve discovered is letting the batter rest for 10 minutes before scooping into the muffin tin. It helps hydrate the flour and slightly caramelizes the natural sugars in the banana, deepening the flavor. Also, folding in the nuts gently ensures each bite has an even distribution without sinking to the bottom.
The muffins are soft but hold their shape beautifully, making them perfect for breakfast, a midday snack, or even a lunchbox treat. I love that they are versatile you can easily swap walnuts for pecans, or add chocolate chips for an indulgent twist.
Ingredients in Context
I’ve always believed the best recipes start with thoughtful ingredients. For these muffins, I keep a few things in mind:
- Bananas: The riper, the better. They’re the natural sweetener and moisture source, so resist the urge to use green ones.
- Nuts: Walnuts add that signature crunch. Pecans are a great substitute if you prefer a slightly sweeter nut.
- Flour: All-purpose works beautifully. You can try half whole wheat for a nuttier flavor, but the muffins will be a touch denser.
- Butter vs. Oil: I use melted butter for richness and flavor. Oil creates a slightly more tender crumb but lacks that buttery aroma.
- Sugar: A mix of white and brown sugar adds depth. Brown sugar brings a subtle caramel note that complements the banana.
When I shop for ingredients, I pay attention to quality. Freshly roasted nuts and fragrant vanilla extract elevate the muffins from good to memorable. And if bananas are too ripe, I freeze them for smoothies—one less worry about waste.
How to Make Banana Nut Muffins
Baking these muffins is simple if you follow your senses along with the steps:
Preheat and prep: Preheat your oven to 350°F (175°C). Line a 12-cup muffin tin with paper liners or lightly grease it.
Mash the bananas: Place 3-4 ripe bananas in a bowl and mash until smooth. Slight lumps are okay—they add texture.
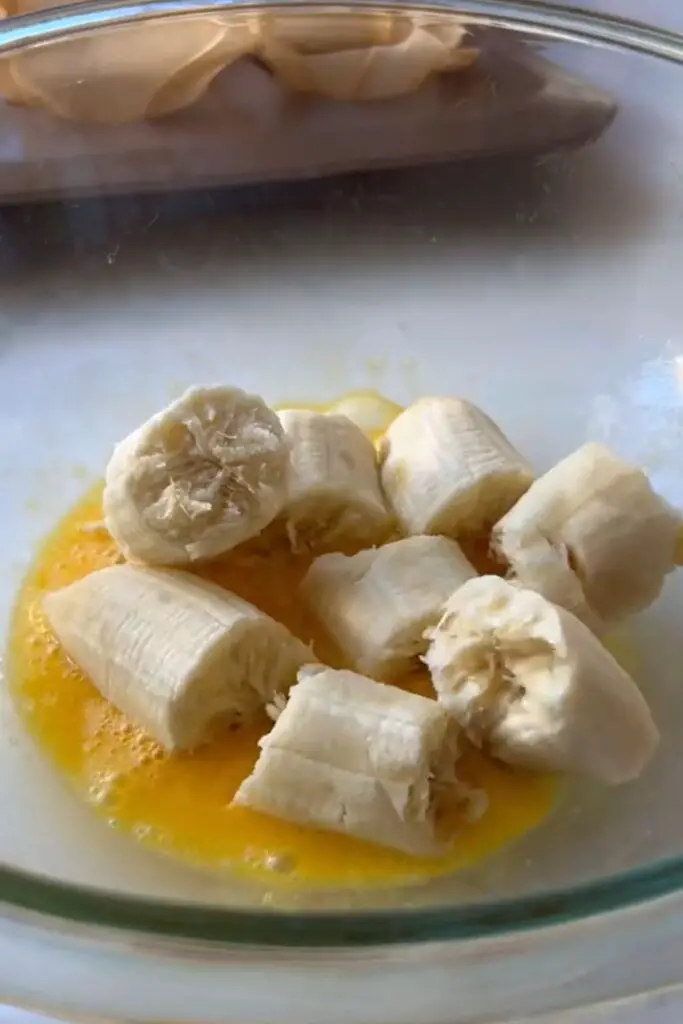
Mix wet ingredients: Add 1/3 cup melted butter, 1 large egg, 3/4 cup sugar, 1 teaspoon vanilla, and a pinch of salt. Stir until combined.
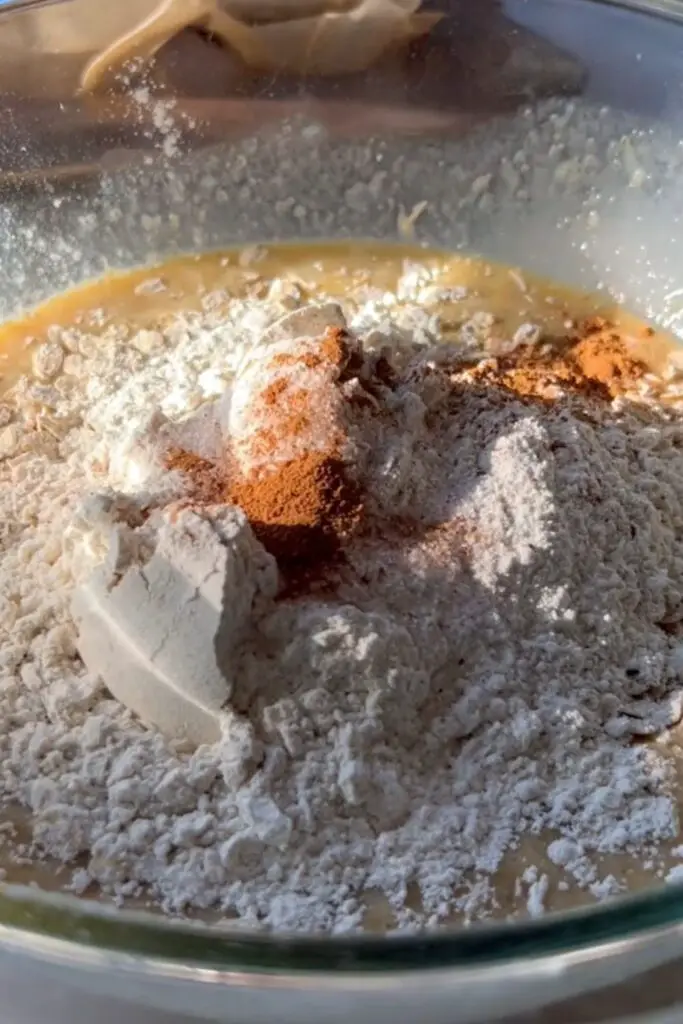
Combine dry ingredients: In a separate bowl, whisk 1 1/2 cups all-purpose flour, 1 teaspoon baking soda, 1/2 teaspoon cinnamon, and 1/4 teaspoon nutmeg.
Fold together: Gradually add the dry ingredients to the wet, folding gently. Do not overmix.
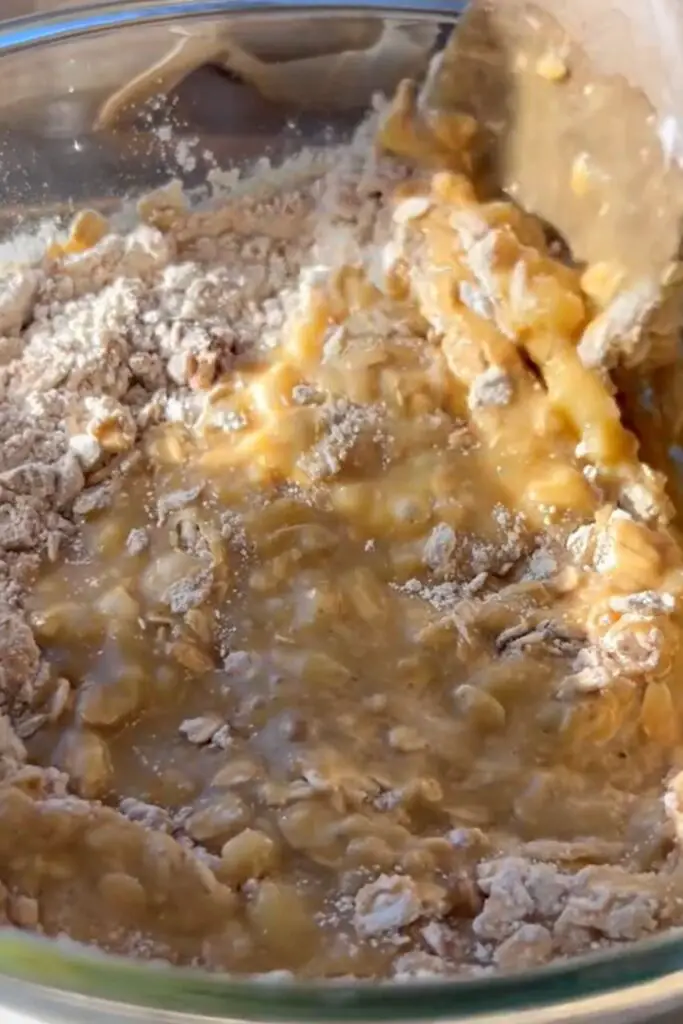
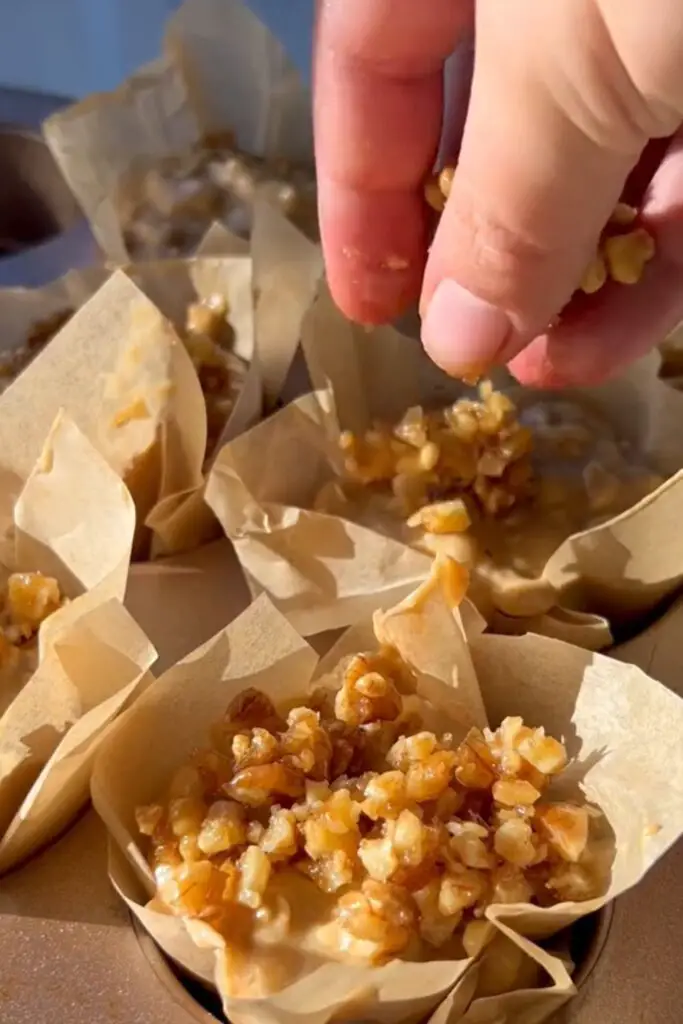
Add nuts: Fold in 1 cup chopped walnuts, reserving a few for topping if desired.
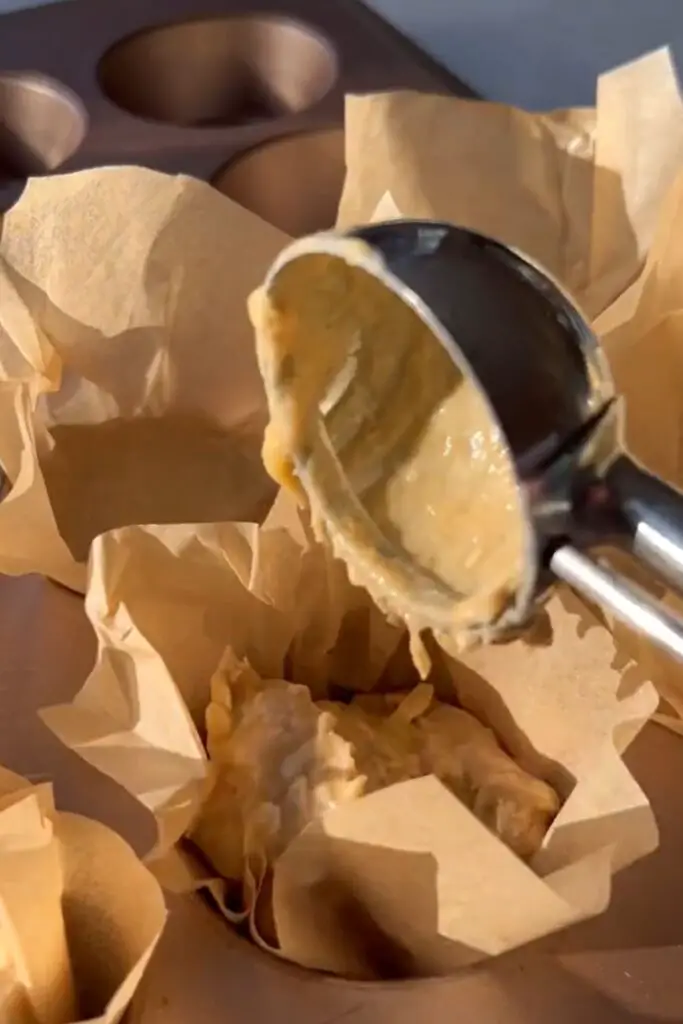
Scoop and bake: Divide the batter evenly among muffin cups. Bake 20–25 minutes, or until a toothpick inserted comes out clean.
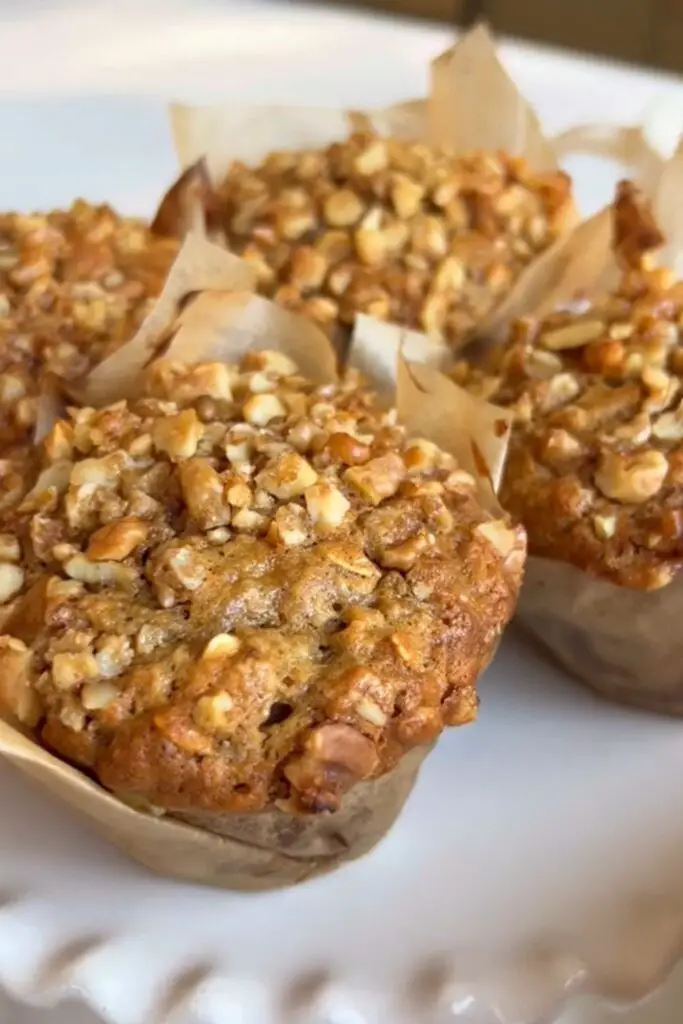
Cool and enjoy: Let muffins cool slightly before removing from the tin. The aroma is irresistible resist eating hot muffins immediately unless you don’t mind a sticky mouth!
Pairings and Serving Ideas
I like serving these muffins slightly warm, straight from the oven, with a pat of butter or a drizzle of honey. They pair wonderfully with a cup of black coffee or a chai latte on a crisp morning.
For a brunch spread, stack them alongside fresh fruit, yogurt, and a light cheese platter. Kids love them with a smear of peanut butter, while adults often enjoy them with almond butter for an extra nutty note. These muffins also freeze beautifully. Pop one in the toaster for a quick, comforting breakfast on a busy day.
Expert Tips
Even though banana nut muffins are fairly simple, a few tweaks can make a huge difference:
- Banana ripeness matters: Too green and the flavor is bland; too black and the muffins can taste overly sweet and mushy. Aim for bananas with dark speckles.
- Don’t skip the resting period: Letting the batter sit 5–10 minutes before scooping allows the flour to hydrate and improves texture.
- Mind your mix: Fold, don’t stir vigorously. Overmixing develops gluten, which makes muffins tough.
- Temperature is key: Every oven is slightly different. Check muffins a few minutes before the suggested baking time. The toothpick test is reliable, but also trust your nose—the smell of baked banana is unmistakable.
I once ignored the resting step and ended up with muffins that sank slightly in the center. It was a small mistake, but now I never skip it.
Other Muffin Recipes You’ll Love!
Print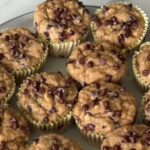
Banana Nut Muffins Recipe
- Total Time: 35 minutes
- Yield: 12 muffins 1x
- Diet: Vegetarian
Description
These classic banana nut muffins are a comforting treat, perfect for breakfast, snacks, or anytime you want a wholesome bite. Made with overripe bananas, buttery batter, and crunchy toasted walnuts, they deliver a moist texture and rich flavor that feels both indulgent and nourishing. Easy to prepare with pantry staples, these muffins bake up fluffy and tender, filling your kitchen with a warm aroma you’ll love. Whether for a quick morning meal or a thoughtful homemade gift, this recipe is sure to become a favorite.
Ingredients
- 3 large overripe bananas, mashed
- ½ cup melted unsalted butter
- ¾ cup brown sugar
- 1 large egg
- 1 tsp vanilla extract
- 1½ cups all-purpose flour
- 1 tsp baking soda
- ½ tsp salt
- ½ tsp cinnamon (optional)
- ½ cup chopped toasted walnuts
Instructions
-
Preheat oven to 350°F (175°C) and prepare muffin tin with liners.
-
Mash bananas until mostly smooth, then mix with melted butter, brown sugar, egg, and vanilla.
-
Whisk together flour, baking soda, salt, and cinnamon in another bowl.
-
Gently fold dry ingredients into wet until just combined.
-
Fold in chopped walnuts.
-
Divide batter evenly into muffin cups, filling about ¾ full.
-
Bake for 18–22 minutes, or until a toothpick comes out clean.
-
Cool for 5 minutes in pan, then transfer to wire rack.
Notes
For extra flavor, toast walnuts before adding.
Don’t overmix the batter to keep muffins tender.
Add Greek yogurt or sour cream for moistness if desired.
- Prep Time: 15 minutes
- Cook Time: 20 minutes
- Category: Breakfast / Snack
- Method: Baking
- Cuisine: American
Nutrition
- Serving Size: 1 muffins
- Calories: 210
FAQs About Banana Nut Muffins
Can I make these muffins vegan?
Yes! Replace the egg with a flax egg (1 tablespoon flaxseed meal + 3 tablespoons water, let sit 5 minutes) and use plant-based butter or oil. They’ll be just as moist and delicious.
Can I make them gluten-free?
Absolutely. Use a gluten-free all-purpose flour blend with xanthan gum for structure. The texture will be slightly different but still soft and flavorful.
What if I don’t have walnuts?
Pecans, almonds, or even hazelnuts are excellent alternatives. Toast them lightly for extra aroma.
Can I add chocolate chips?
Yes, adding 1/2 cup chocolate chips is a popular variation. Fold them in gently to avoid sinking.
How can I make muffins extra moist?
Mash the bananas well and avoid overbaking. Slightly underbaked muffins will continue to cook after removal from the oven.