Banana Ice Cream Recipe
Last summer, I found myself rummaging through my freezer, staring at a bunch of overly ripe bananas that were just about to meet their fate in the compost bin. I hate wasting food, but I also wanted something refreshing that could cool us off in the sweltering heat. That’s when the idea struck: banana ice cream. Not the overly sweet, store-bought kind, but a creamy, naturally sweet dessert that relied entirely on the bananas themselves.
I remember my kids hovering around the counter, noses twitching at the promise of something cold and sweet. As I tossed the bananas into the blender, I felt a mix of anticipation and amusement. It’s funny how the simplest ingredients often create the most excitement at home. By the time the first spoonful hit our lips, their eyes widened, and I knew we had stumbled upon a little summer miracle.
Quick Cooking Snapshot
Even if you’re pressed for time, this banana ice cream comes together quickly. Here’s a practical overview:
- Prep time: 10 minutes
- Chilling time: 2–3 hours (or overnight for best results)
- Yield: 4–6 servings
- Equipment: Blender or food processor, airtight container for freezing
No complicated steps, no egg yolks to temper—just pure, creamy banana flavor.
Ingredients
This recipe thrives on simplicity. You really only need three core ingredients, though there’s room to play:
- Ripe bananas – The riper, the better. Those brown-spotted bananas deliver natural sweetness and a creamy texture.
- Milk or plant-based alternative – I often use whole milk for richness, but almond or oat milk works beautifully for a lighter, vegan version.
- Sweetener (optional) – Sometimes the bananas alone are enough, but a touch of honey or maple syrup can enhance flavor without overwhelming it.
Optional add-ins include a splash of vanilla extract for warmth or a sprinkle of cinnamon for a subtle twist. Chocolate chips, crushed nuts, or even a handful of frozen berries can turn it into a flavor adventure.
When I first tried this recipe, I experimented with coconut milk, which made the ice cream unbelievably silky and tropical. My kids couldn’t get enough of it, though it was slightly less sweet than with regular milk.
How to Make This Banana Ice Cream
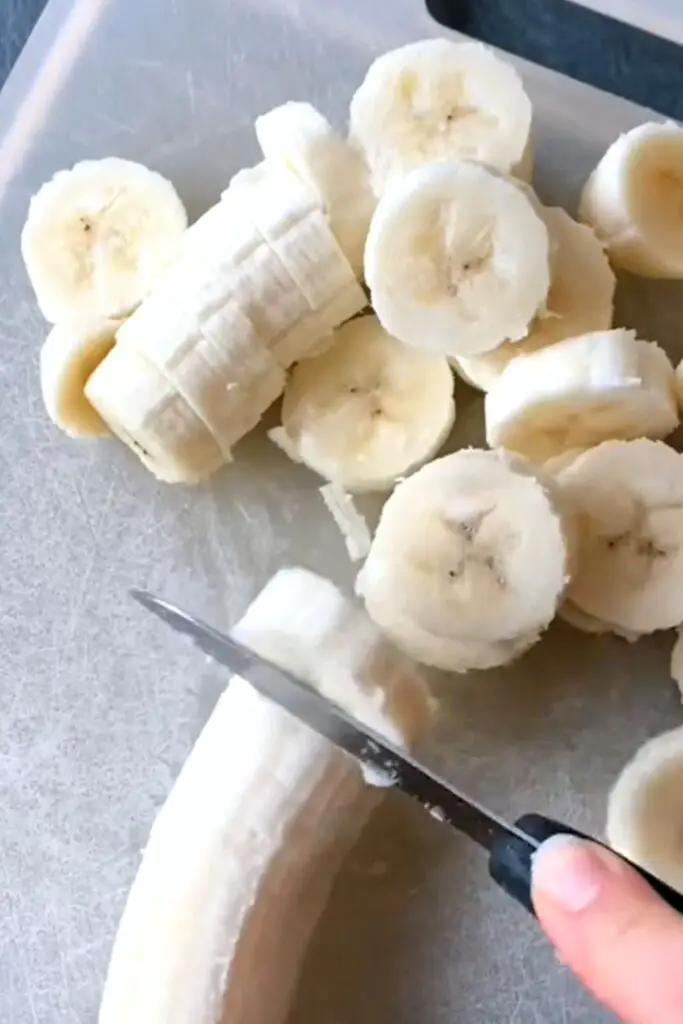
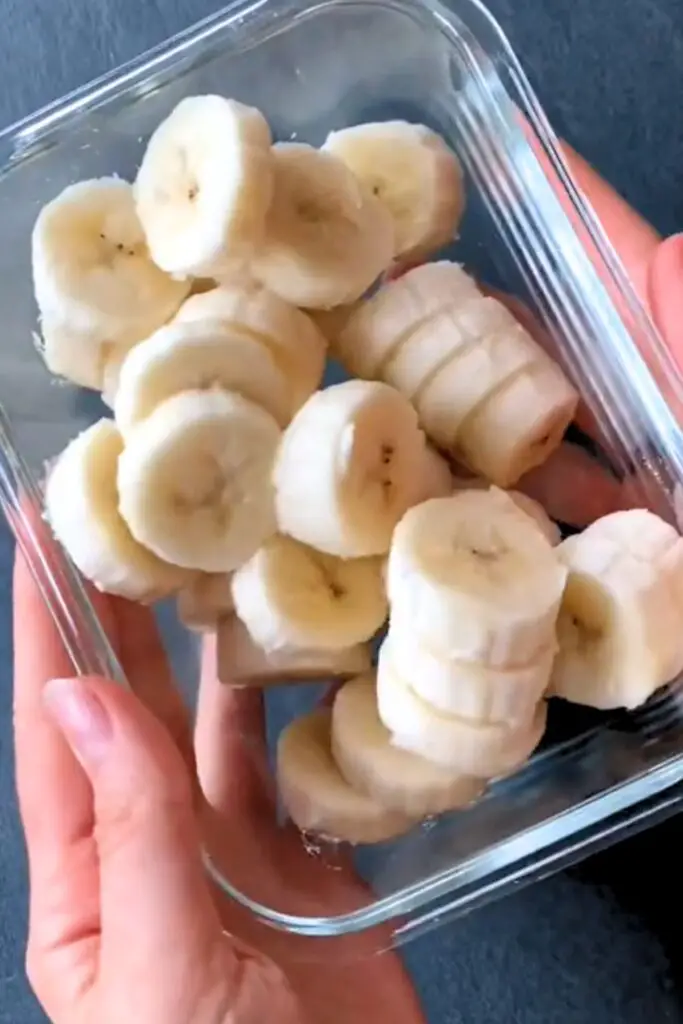
Freeze the bananas – Peel and slice 4–5 ripe bananas, then lay them flat on a baking sheet lined with parchment. Freeze for at least 2 hours.
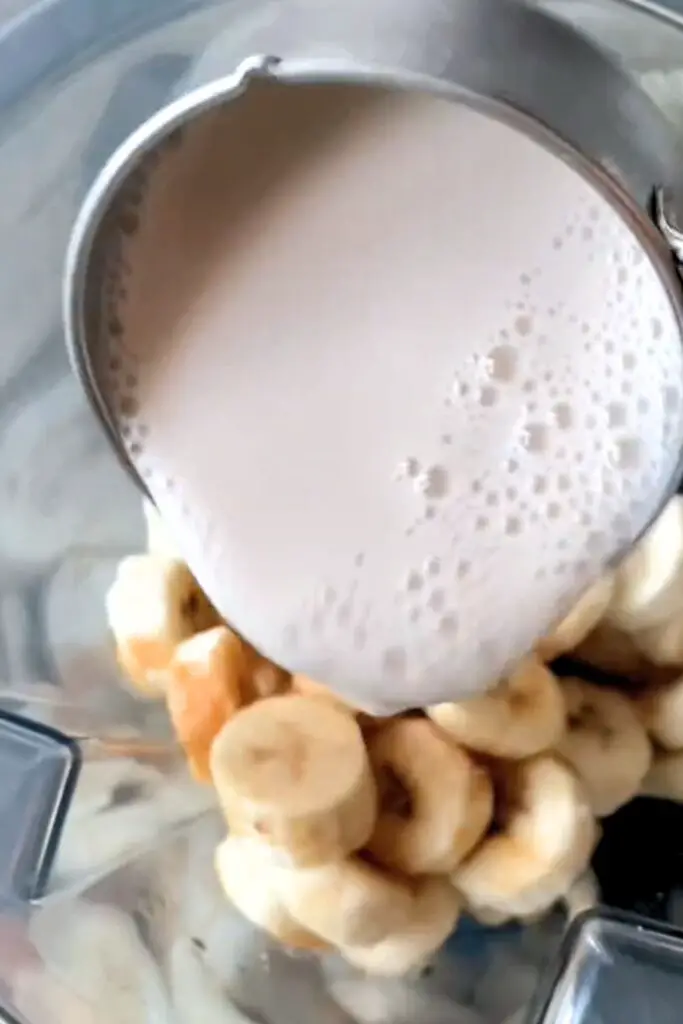
Blend to creamy perfection – Transfer the frozen slices to a blender or food processor. Add 1/4 cup of milk and optional 1–2 tablespoons of sweetener or vanilla extract. Blend until smooth, scraping down the sides as needed.
Taste and adjust – At this stage, you can add more milk for creaminess or a pinch of cinnamon or cocoa for flavor. Blend again until incorporated.
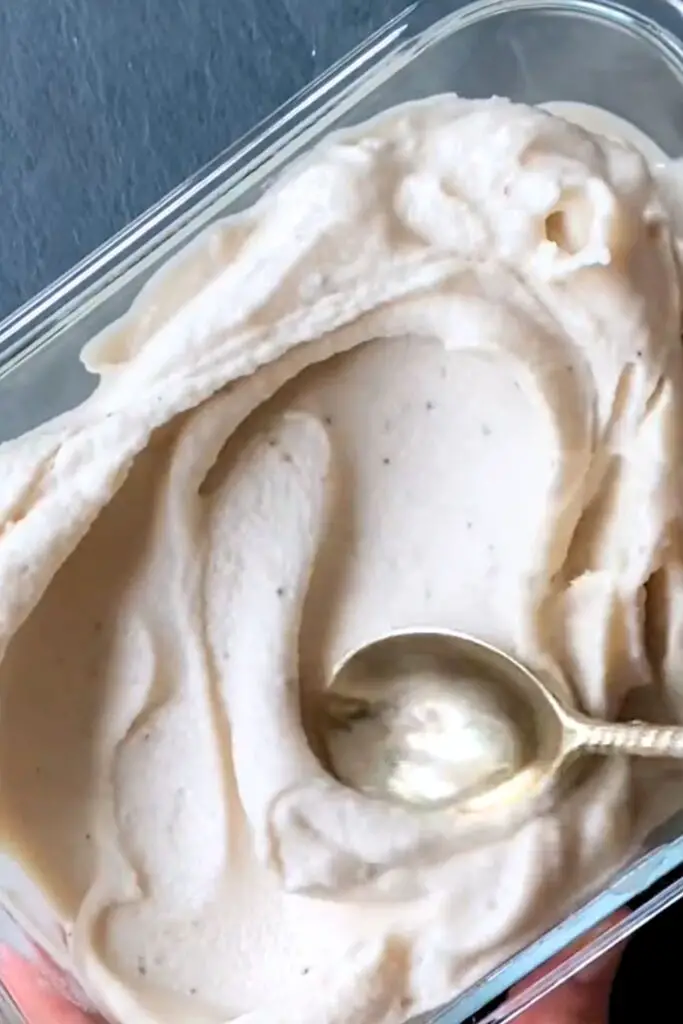
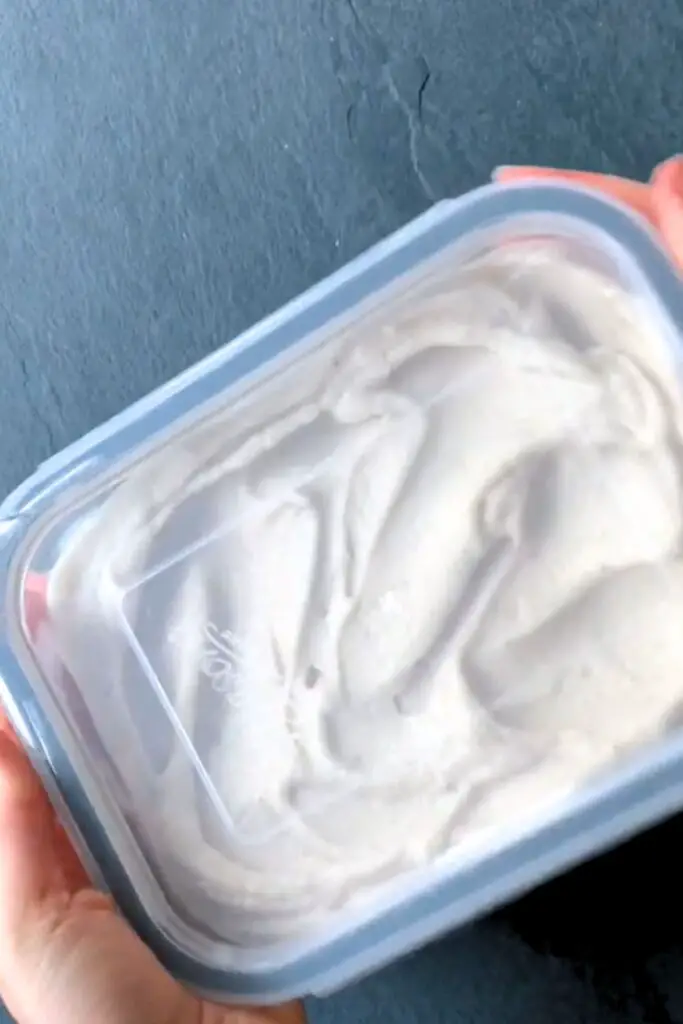
Freeze for firmness – Scoop the mixture into an airtight container. Freeze for 1–2 hours if you prefer a firmer texture. Otherwise, serve immediately as soft-serve.
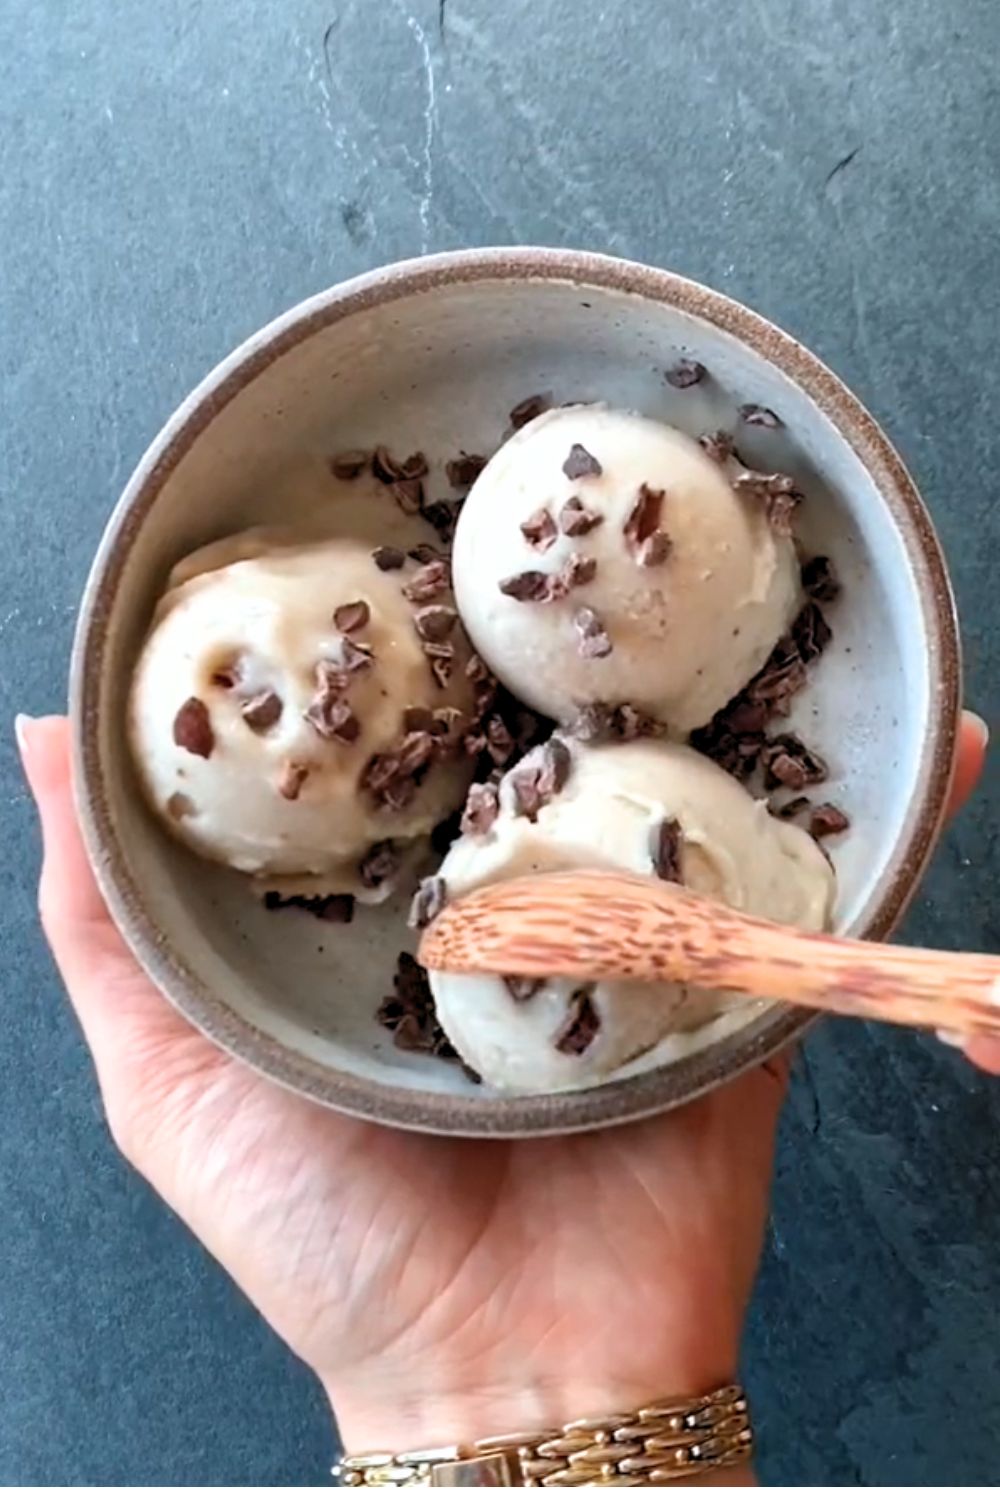
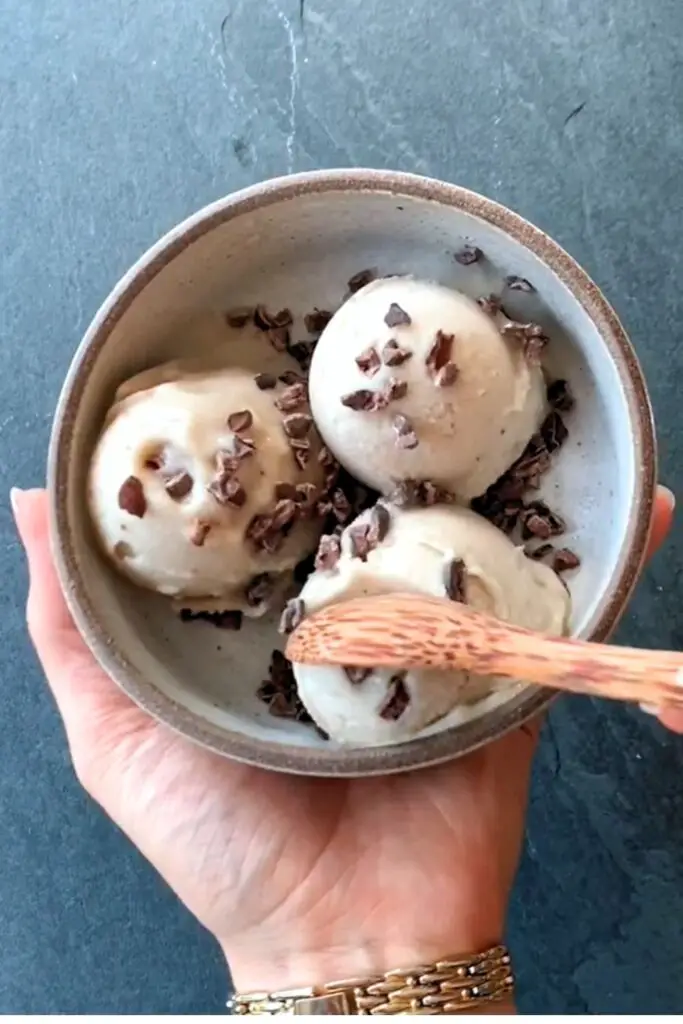
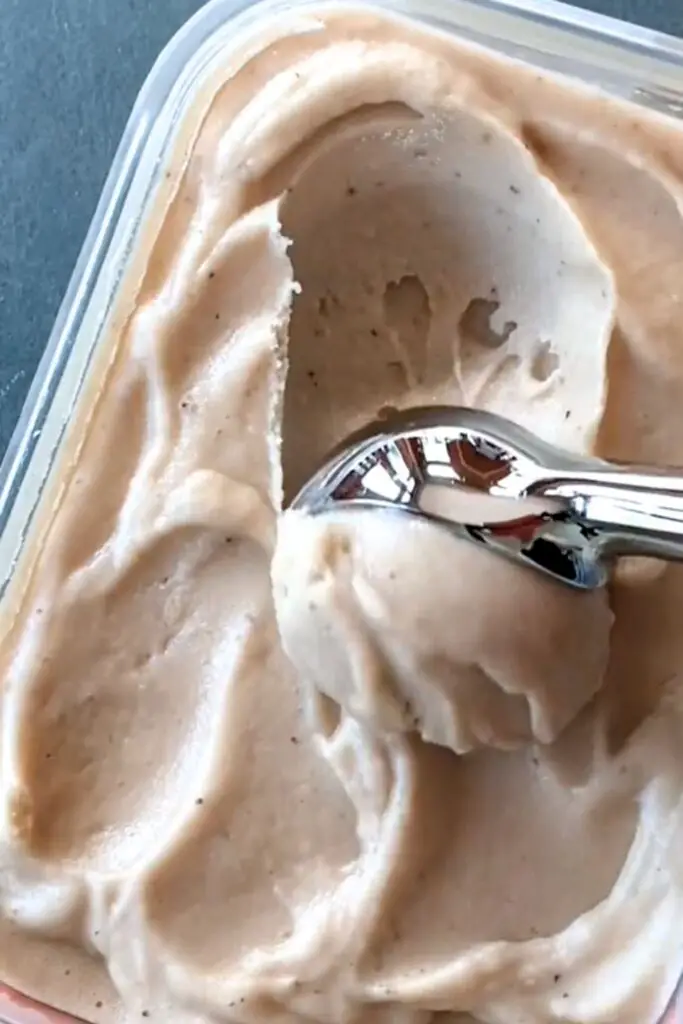
Serve and enjoy – Dish into bowls or cones, and watch the magic happen. My favorite is to top it with crushed walnuts or a drizzle of dark chocolate.
Serving Ideas That Make It Shine
One of the joys of homemade banana ice cream is how versatile it is. I love keeping it simple—just a scoop in a small bowl—but sometimes I get playful with toppings. A drizzle of melted dark chocolate and a sprinkle of crushed walnuts instantly elevate it to a dessert that feels indulgent without adding sugar overload.
On one particularly hot afternoon, I decided to serve the ice cream in waffle cones and topped them with fresh berries. The kids were delighted, and I loved the contrast of the sweet banana with tart raspberries. For a more decadent version, a swirl of peanut butter or Nutella can transform it into a richer treat.
If you’re serving adults, try a splash of coffee liqueur or a few shavings of dark chocolate on top it’s like a grown-up sundae. Even a simple dusting of cinnamon or cocoa powder can make a visually stunning presentation without much effort.
The key is to experiment with textures. Crunchy, creamy, sweet, or tart—mix and match to suit your mood or the season.
Common Mistakes to Avoid
Banana ice cream is forgiving, but there are a few things I’ve learned from trial and error.
- Don’t skip freezing the bananas first. I once tried blending fresh bananas with ice, thinking it would work similarly. The result was a watery, icy mess. Frozen bananas are essential for that creamy, soft-serve texture.
- Use ripe bananas. Brown spots are your friend—they indicate sweetness and ideal softness. Greenish bananas will yield a bland ice cream.
- Scrape down the blender. Sometimes the mixture sticks to the sides; scraping ensures everything blends evenly.
- Adjust liquid slowly. Too much milk can make it runny; too little can strain your blender. Add a tablespoon at a time until you reach a smooth consistency.
- Mind the freezer time. For soft-serve, serve immediately. For scoops that hold shape, freeze at least an hour. I’ve learned the hard way that impatient scooping leaves you with a scoop that melts before it even hits the plate.
A little patience and attention to these tips make the difference between average and extraordinary banana ice cream.
Print
Banana Ice Cream Recipe
- Total Time: 2 hours 5 minutes
- Yield: 2–3 1x
- Diet: Vegan
Description
This creamy, dreamy banana ice cream is made with just a few wholesome ingredients and no ice cream machine! With frozen bananas as the base, it’s naturally sweet, ultra-smooth, and endlessly customizable. Whether you’re craving something quick, healthy, or dairy-free, this recipe has your back. Enjoy it soft-serve style straight from the blender, or freeze for scoopable perfection. Ready in minutes and perfect for customizing with your favorite add-ins like chocolate, peanut butter, or berries—banana ice cream is the guilt-free treat you didn’t know you needed.
Ingredients
- 3–4 ripe bananas, sliced and frozen
- 2–4 tablespoons almond milk (or milk of choice)
- ½ teaspoon vanilla extract
- Pinch of salt
2. Optional:
- 1 tablespoon cocoa powder or nut butter
- 1 tablespoon maple syrup (if needed)
- 2 tablespoons chocolate chips or chopped nuts
Instructions
- Add frozen banana slices to a high-speed blender or food processor.
- Pour in a splash of milk to help it blend smoothly.
- Add vanilla extract and salt.
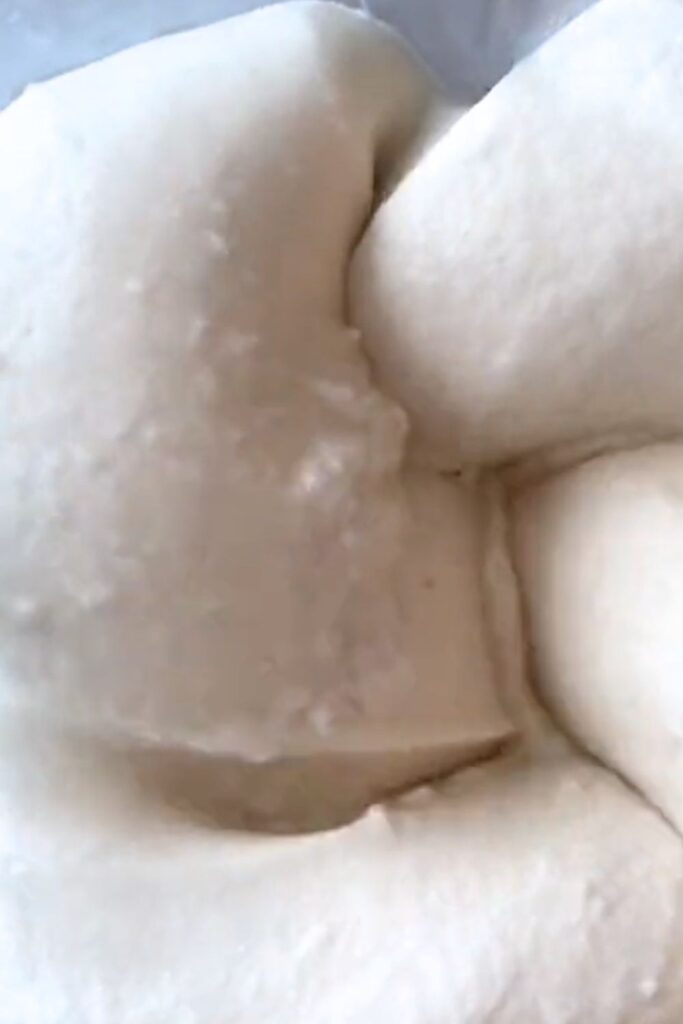
- Blend until crumbly, then continue until the mixture becomes smooth and creamy. Scrape down sides as needed.
- Fold in any optional mix-ins.
- Serve immediately for soft-serve, or freeze for 1–2 hours for a firmer texture.
Notes
- For best flavor, use overripe bananas.
- Make ahead and pre-portion for easy snacking.
- Let frozen banana ice cream thaw for 5 minutes before scooping.
- Prep Time: 5 minutes
- Cook Time: 2–3 hours
- Category: Dessert
- Method: No-bake
- Cuisine: American
Nutrition
- Serving Size: 2–3
- Calories: 120
- Sugar: 14g
- Sodium: 20mg
- Fat: 1g
- Saturated Fat: 0.3g
- Unsaturated Fat: 0.7g
- Trans Fat: 0g
- Carbohydrates: 29g
- Fiber: 3g
- Protein: 1.5g
- Cholesterol: 0mg
Frequently Asked Questions
Can I make this vegan?
Absolutely. Use almond, oat, or coconut milk, and swap honey for maple syrup. The texture and flavor are just as creamy and delicious.
Can I add other fruits?
Yes! Frozen berries, mango, or even a few chopped pineapple pieces can be blended with the bananas. Keep the proportions roughly equal to maintain the creamy texture.
How long will it last in the freezer?
Up to a week is best. After that, it starts to lose its creamy texture and develop ice crystals. Always store in an airtight container.
Can I use this as a base for other desserts?
Definitely. Use it in banana milkshakes, smoothie bowls, or as a topping for warm oatmeal. It’s surprisingly versatile and adds natural sweetness.
Do I need an ice cream maker?
Not at all. This is a no-churn recipe that only requires a blender or food processor.