There’s something deeply comforting about the smell of freshly baked bread wafting through your kitchen. But for those who can’t tolerate gluten, that comfort often feels out of reach.
I created this gluten free bread recipe out of necessity—for myself, and for loved ones who were tired of sacrificing flavor and texture for dietary needs. This bread isn’t just “good for gluten free.” It’s simply good.
Whether you’re gluten intolerant, managing celiac disease, or just curious about going wheat-free, this recipe delivers a soft, sliceable loaf with a golden crust that rivals any traditional bread.
Keep reading—you might just discover your new go-to loaf.
Why I Love This Recipe?

A bread recipe that’s both healing and delicious? Yes, it exists.
I’ve tested countless gluten free bread recipes that either turned out too dense, too crumbly, or tasted like cardboard. But after months of testing, adjusting, and reworking, this one is different. It has a soft, tender crumb, holds together beautifully, and actually tastes like bread—not a dry imposter.
The secret? A careful mix of naturally gluten free flours, enough moisture to compensate for lack of gluten, and a balance of eggs and fat to create structure and softness.
You’ll love this recipe because it finally lets you enjoy bread again—slathered with butter, piled with your favorite sandwich fixings, or toasted with jam in the morning. It’s forgiving, beginner-friendly, and doesn’t require a bread machine or fancy flour blends you can’t pronounce.
This is comfort food redefined.
Ingredients for Gluten-Free Bread
The right ingredients are everything, especially when there’s no gluten to hold things together.
To make the best gluten free bread, you need a thoughtful mix of gluten-free flours, binding agents, and moisture-rich ingredients. Each plays a role in mimicking the texture, structure, and flavor of traditional bread.
Here’s what you’ll need:
- Gluten free flour blend (2½ cups) – Choose a high-quality all-purpose gluten free flour with xanthan gum included, such as Bob’s Red Mill 1:1 or King Arthur Measure for Measure. If it doesn’t include xanthan gum, you’ll need to add it separately.
- Psyllium husk powder (1 tbsp) – A powerhouse for structure, this binds the dough and adds that chewy, real-bread texture.
- Instant yeast (2¼ tsp) – For that lift and lightness. Make sure it’s gluten free certified.
- Warm water (1¾ cups) – Warm, not hot. Around 110°F is perfect for activating the yeast.
- Olive oil or neutral oil (¼ cup) – Adds richness and keeps the bread from drying out.
- Eggs (2 large, room temperature) – Helps with structure and moisture. You can substitute if needed (see substitution section).
- Honey or maple syrup (1 tbsp) – Just a touch to feed the yeast and enhance flavor.
- Apple cider vinegar (1 tsp) – Helps improve rise and texture.
- Salt (1 tsp) – Balances and enhances the overall flavor.
Optional additions:
- A sprinkle of seeds for the top (sunflower, sesame, or flax)
- Herbs or roasted garlic for flavor variations
Using the right ratios matters in gluten free baking, so measure carefully—preferably by weight if possible.
How Much Time Will You Need?
From mixing to slicing, here’s what to expect:
- Preparation Time: 20 minutes
- Rising Time: 60–75 minutes
- Baking Time: 45–50 minutes
- Cooling Time: 1 hour before slicing
So plan for about 2.5 to 3 hours from start to finish. But most of that time is hands-off.
How to Make This Gluten-Free Bread
No kneading. No fancy equipment. Simple steps to achieve perfect gluten-free bread at home.
Step – 1: Activate the yeast
In a small bowl, mix warm water (about 110°F) with honey and yeast. Stir gently and let sit for 5–10 minutes until it becomes frothy. If it doesn’t bubble, your yeast may be dead—start fresh.
Step – 2: Mix the dry ingredients
In a large mixing bowl, whisk together the gluten free flour blend, psyllium husk powder, and salt. Ensure everything is evenly combined for consistent results.
Step – 3: Add wet ingredients
To the dry mix, add the eggs, olive oil, vinegar, and the activated yeast mixture. Using a stand mixer with a paddle attachment (or a hand mixer), beat on medium-high for 3–4 minutes. The dough will look more like a thick batter—that’s normal for gluten free bread.
Step – 4: Prepare the pan
Line a 9×5-inch loaf pan with parchment paper or grease it well. Spoon the dough into the pan and smooth the top with a wet spatula.
Step – 5: Let it rise
Cover the pan with a clean towel and place it in a warm, draft-free spot. Let it rise for about 60–75 minutes, or until it has doubled in size. It should rise just over the top of the pan.
Step – 6: Bake
Preheat your oven to 375°F (190°C). Bake the bread in the center rack for 45–50 minutes. The top should be golden brown and the loaf should sound hollow when tapped.
Step – 7: Cool completely
Remove from the pan and let it cool on a wire rack for at least an hour before slicing. This is crucial—cutting too soon can ruin the texture.
Substitutions
Customizing your bread without compromising taste? Yes, you can.
This recipe is incredibly flexible. Here’s how you can adapt it:
- No eggs? Use flax eggs (1 tbsp ground flax + 3 tbsp water = 1 egg). It makes the bread slightly denser but still delicious.
- Dairy-free? This recipe is naturally dairy-free. You can use any plant-based milk in place of water for a richer flavor.
- Different oils? Avocado oil or melted coconut oil works just as well as olive oil.
- No psyllium husk? Try chia seeds or ground flaxseed. They don’t bind quite as well, but it’s a suitable replacement in a pinch.
These substitutions make it possible to tailor the bread to your dietary needs without starting from scratch.
Best Side Dish of Gluten-Free Bread
Bread’s better with a buddy. Here are 3 side dishes that pair beautifully:
- Roasted Tomato Basil Soup – The soft texture of gluten-free bread pairs perfectly with a warm, hearty bowl of tomato soup.
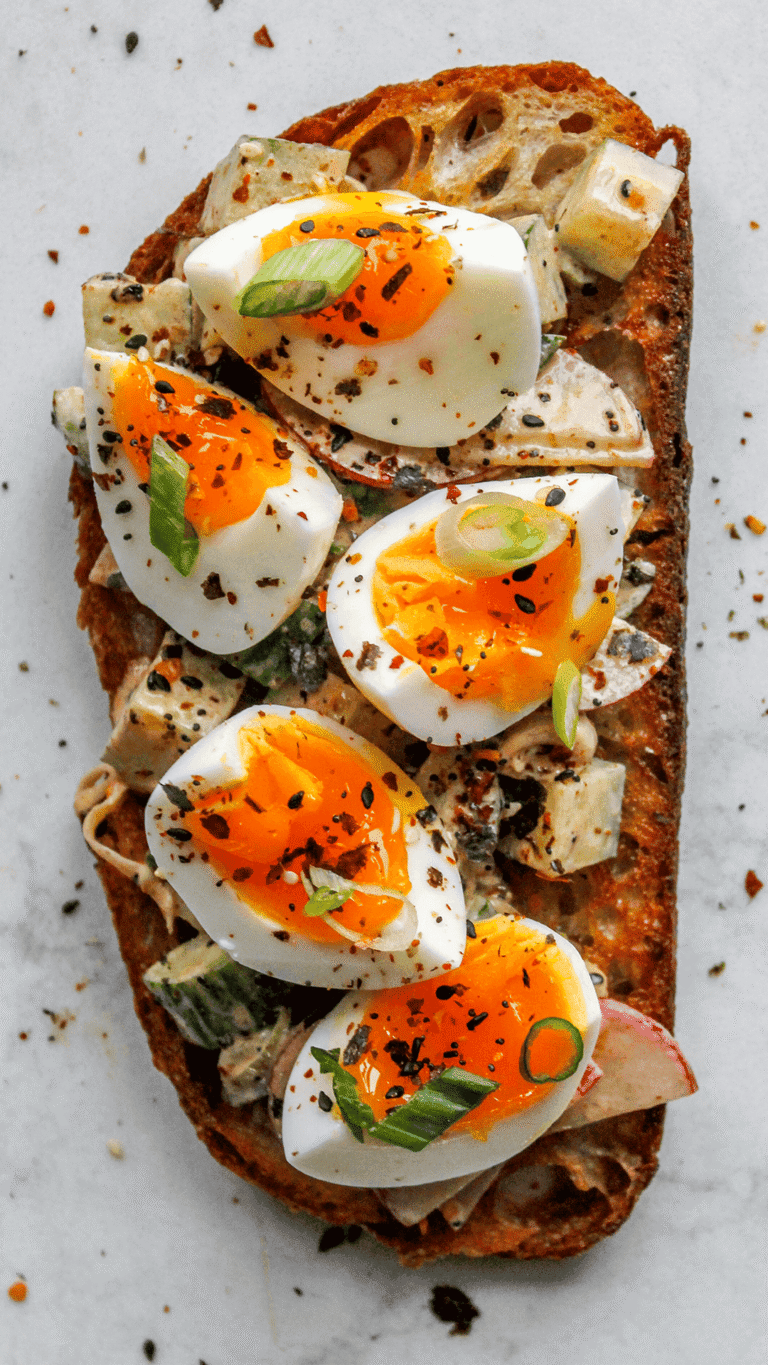
- Avocado Egg Salad – Slather your bread with this protein-packed topping for a satisfying lunch or snack.
- Hummus & Veggie Platter – For a healthy and balanced pairing, serve with classic hummus and fresh-cut vegetables.
Each of these options complements the mild flavor and hearty texture of the bread, turning it into a full meal or a crave-worthy snack.
Serving and Presentation Tips
First impressions matter—even with gluten free bread.
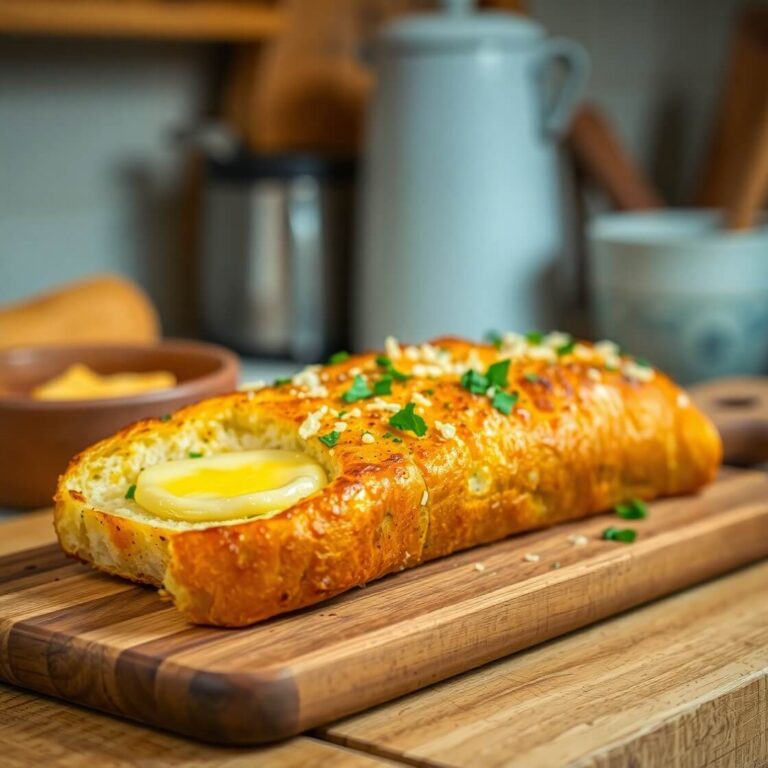
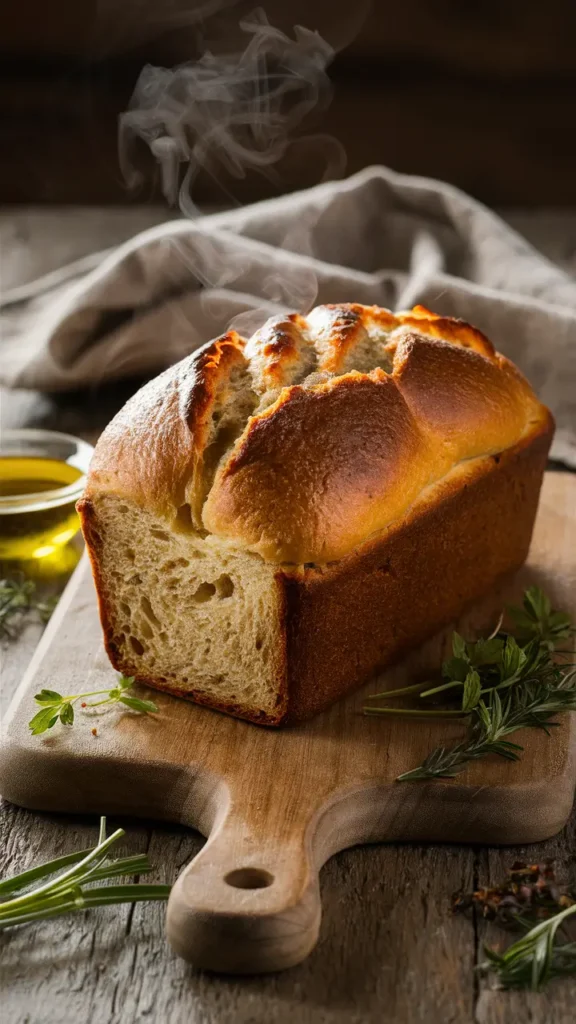
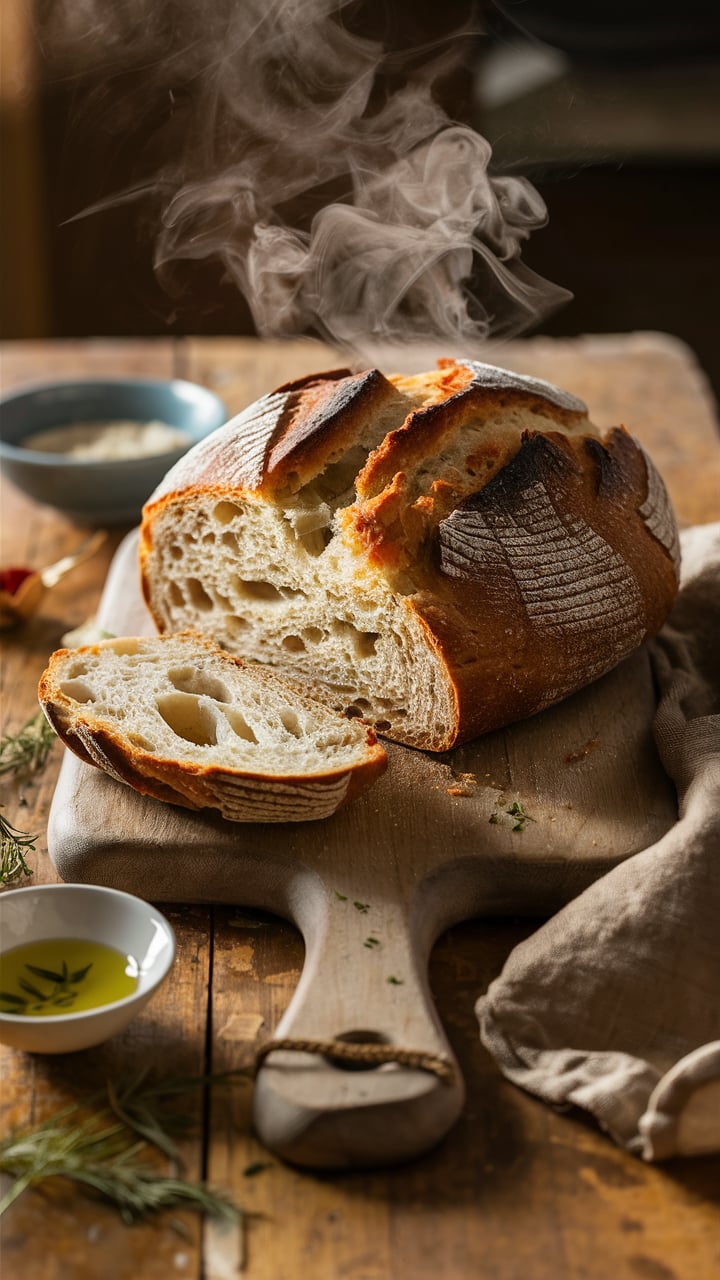
Presenting this bread well not only elevates the meal, but it also helps emphasize its artisan feel. Let the golden crust shine by slicing the bread with a serrated knife just before serving to showcase its tender, airy crumb.
You can place the sliced bread on a rustic wooden board or linen-lined basket for a farmhouse look. Drizzle with olive oil and fresh herbs or serve with ramekins of flavored butter (try garlic-parsley or maple-cinnamon).
If using the bread for sandwiches, stack ingredients high and layer textures—crisp lettuce, creamy spreads, and colorful veggies—to contrast the soft bread.
For brunches or dinner parties, warm the loaf slightly in the oven and serve alongside a small dipping bowl of olive oil, balsamic vinegar, or roasted red pepper hummus. Simple touches go a long way.
Tips and Tricks to Make This Recipe More Better
A few smart moves can take your loaf from good to bakery-worthy.
- Use room temperature ingredients. Cold eggs or liquids can slow down yeast activation and impact texture.
- Weigh your flour. Especially for gluten free baking, accuracy matters. Too much flour = dense bread.
- Beat the batter well. Since gluten free dough doesn’t require kneading, mixing for 3–4 minutes activates the binding agents and gives structure.
- Moisture is key. Don’t reduce the liquid. It might feel like a wet dough, but that’s exactly what helps avoid crumbly bread.
- Let it cool fully. Resist the urge to slice early. Gluten free bread firms up during cooling and will fall apart if cut too soon.
- Use a thermometer. Bread is done when the internal temperature reaches around 205°F (96°C).
These little details make a noticeable difference and help you get consistent, bakery-level results.
Common Mistakes to Avoid
It’s easy to misstep with gluten free baking—but even easier to avoid these pitfalls.
- Using the wrong flour blend. Not all gluten free flours are created equal. Avoid single flours like almond or coconut alone unless the recipe specifically calls for them.
- Skipping the binder. If your flour doesn’t contain xanthan gum, you must add it or substitute with psyllium or flax. Without it, your bread will crumble.
- Overproofing. Gluten free dough doesn’t hold its structure the way wheat dough does. Letting it rise too long can cause collapse in the oven.
- Underbaking. Because of the high moisture, this bread takes longer to cook through. Always check the center before removing from the oven.
- Storing too soon. Always cool fully before storing. Sealing warm bread creates condensation and can lead to a soggy loaf.
Avoiding these mistakes will save you time, ingredients, and the disappointment of a failed bake.
How to Store It
Proper storage keeps your bread fresh for days.
Once fully cooled, wrap the bread tightly in plastic wrap or place it in an airtight container. It will stay fresh at room temperature for up to 2 days.
For longer storage:
- Refrigerate for up to 5 days, but always toast before serving to bring back the texture.
- Freeze slices in a freezer-safe bag for up to 3 months. Place parchment paper between slices to prevent sticking. Toast straight from frozen or thaw overnight in the fridge.
Avoid leaving the bread out uncovered—it dries quickly due to the lack of gluten and preservatives.
FAQ
Still got questions? These common ones might help.
Is this bread vegan?
No, but it can be made vegan by substituting eggs with flax or chia eggs and using maple syrup instead of honey.
Can I make this in a bread machine?
Yes, most gluten free bread machine settings will work. Add wet ingredients first, then dry, and use a gluten free cycle if available.
Why is my bread gummy in the middle?
It may be underbaked. Always use a thermometer to check that the center hits at least 205°F (96°C) before removing from the oven.
Can I use almond flour or coconut flour instead?
Not directly. These flours behave differently and can’t be swapped 1:1 without major adjustments.
Why didn’t my bread rise well?
Check your yeast freshness, ensure the water was warm—not hot—and allow enough rise time. Avoid drafty or cold areas while proofing.
Gluten Free Bread
This gluten free bread is soft, sliceable, and tastes like the real thing. With a golden crust and airy crumb, it’s perfect for sandwiches, toast, or enjoying fresh from the oven. Whether you’re gluten intolerant or just exploring new baking territory, this bread offers the satisfaction of homemade loaves—without any wheat. Made with pantry staples and minimal fuss, it’s beginner-friendly, customizable, and delicious.
- Total Time: 2 hours 30 minutes
- Yield: 1 loaf
Ingredients
2½ cups gluten free all-purpose flour blend (with xanthan gum)
1 tbsp psyllium husk powder
2¼ tsp instant yeast
1¾ cups warm water (around 110°F)
¼ cup olive oil
2 large eggs, room temperature
1 tbsp honey or maple syrup
1 tsp apple cider vinegar
1 tsp salt
Instructions
-
Mix warm water with honey and yeast. Let sit until foamy (about 5–10 minutes).
-
In a large bowl, whisk flour, psyllium husk, and salt.
-
Add the eggs, oil, vinegar, and yeast mixture to the dry mix.
-
Beat on medium-high for 3–4 minutes until the dough becomes thick and sticky.
-
Spoon into a greased or parchment-lined loaf pan. Smooth the top.
-
Cover and let rise in a warm area until doubled (about 60–75 minutes).
-
Bake at 375°F (190°C) for 45–50 minutes until golden and cooked through.
-
Cool completely on a wire rack before slicing.
Notes
For best results, use a flour blend that contains xanthan gum.
Let the bread cool fully before slicing to maintain structure.
For richer flavor, substitute part of the water with unsweetened plant milk.
- Prep Time: 20 minutes
- Cook Time: 50 minutes
- Category: Bread
- Method: Baking
- Cuisine: American
- Diet: Gluten Free
Nutrition
- Serving Size: 1 slice (1/10 of loaf)
- Calories: 185
- Sugar: 1g