
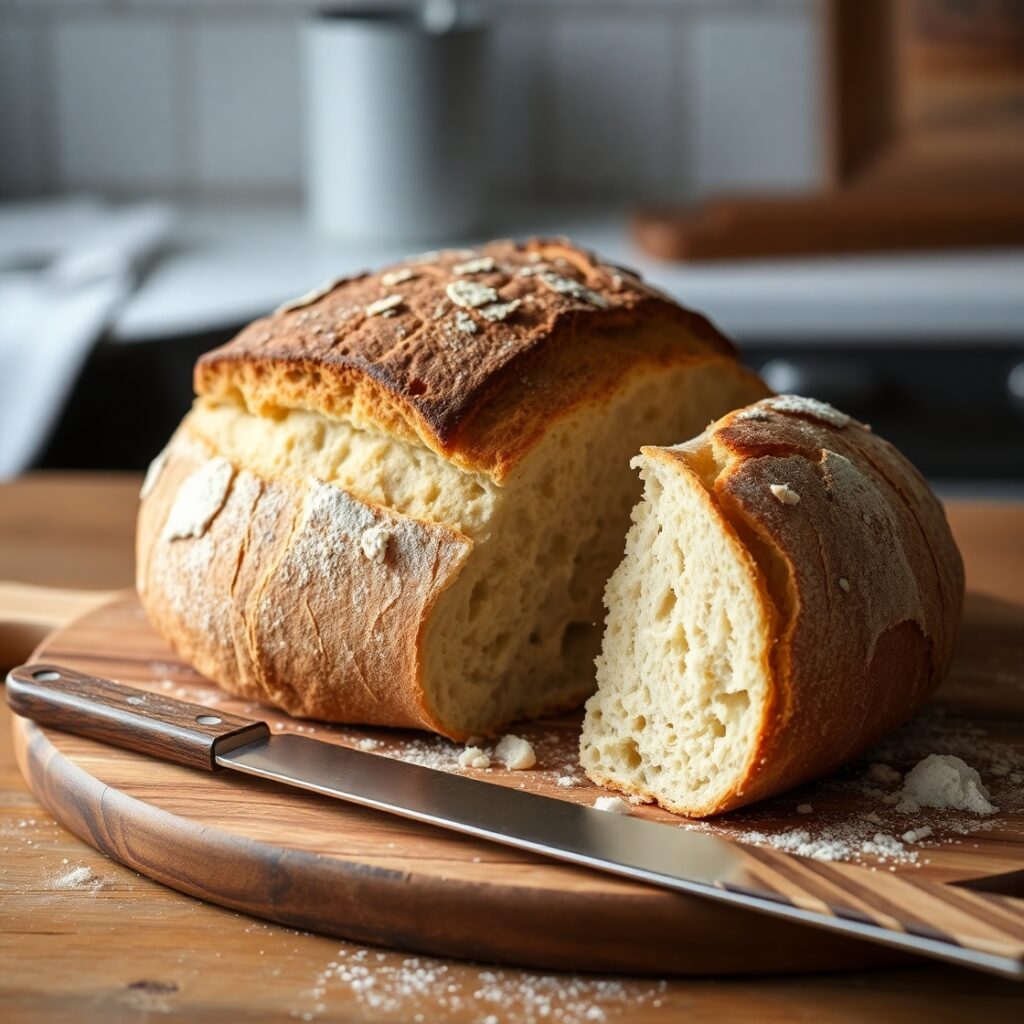
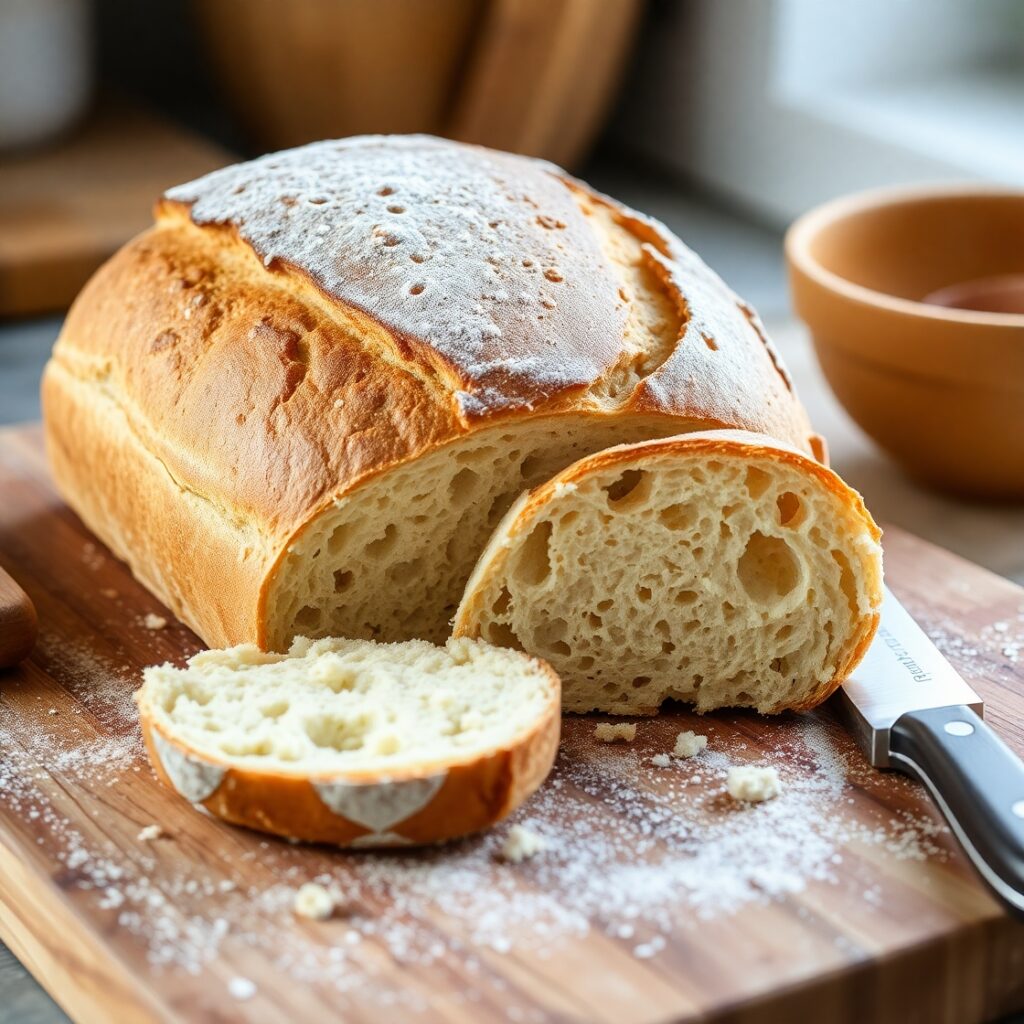
There’s something deeply satisfying about baking a loaf of sourdough bread from scratch. The crackly crust, the chewy crumb, the slightly tangy flavor—it’s a labor of love that brings rustic warmth into your kitchen.
This sourdough bread recipe was born out of a desire to slow down and reconnect with traditional baking. In a world of fast-paced cooking and instant gratification, sourdough asks us to be patient. And in return, it rewards us with one of the most delicious, nourishing breads you’ll ever taste.
Whether you’re a beginner baker or someone who’s tried sourdough before and didn’t quite get it right, this guide will walk you through each step with confidence. Stick with it—because once you master this, you’ll never go back to store-bought bread again.
Why I Love This Recipe

Sourdough is more than just bread—it’s an experience.
What makes this recipe so special is its simplicity and authenticity. It relies on natural fermentation using just three basic ingredients: flour, water, and salt. No commercial yeast, no preservatives—just time and good technique.
The fermentation process not only develops a deep, complex flavor but also improves the bread’s digestibility. The naturally occurring lactic acid bacteria help break down gluten and make nutrients more bioavailable, making this a bread that’s easier on your stomach and full of character.
I love how customizable sourdough can be. Once you’ve got the basics down, you can experiment with add-ins like herbs, nuts, seeds, or dried fruits. It becomes more than just bread—it becomes a canvas.
Above all, I love the ritual. Feeding the starter, shaping the dough, baking the loaf—it brings rhythm to the week and a warm scent to the kitchen.
Ingredients for Sourdough Bread
To make a great sourdough loaf, you don’t need a mile-long ingredient list. In fact, its beauty lies in its simplicity. But quality matters—choose the best ingredients you can find for the best results.
Here’s what you’ll need:
Active Sourdough Starter – This is the beating heart of your sourdough. A well-fed starter full of bubbling life is essential. You’ll need about ½ cup (100g) for one loaf. If you don’t have one yet, you’ll need to build it over 5–7 days using flour and water.
Bread Flour – High-protein bread flour gives your sourdough the structure it needs for a good rise and chewy texture. You can substitute part with whole wheat flour for added flavor, but don’t skip the bread flour altogether.
Water – Use filtered or bottled water if your tap water is heavily chlorinated, as chlorine can inhibit fermentation. Lukewarm (around 75°F or 24°C) is ideal for mixing.
Salt – Plain sea salt or kosher salt is perfect. Salt not only enhances flavor but helps regulate fermentation and strengthens gluten.
These simple ingredients, when handled with care and patience, turn into something magical. You’ll also need a few tools—mixing bowls, a bench scraper, a Dutch oven or baking stone, and a kitchen scale for accuracy.
How Much Time Will You Need
Making sourdough bread isn’t difficult, but it does take time—most of which is hands-off.
Here’s a rough timeline for one loaf:
- Feed your starter – 4 to 6 hours before baking
- Mix and bulk ferment dough – 4 to 6 hours
- Shape and cold proof – Overnight (8 to 16 hours in the fridge)
- Bake time – 45 to 50 minutes
So, from start to finish, it’s about a 24-hour process. But don’t let that scare you—it’s flexible and mostly passive time. Once you get into the rhythm, it becomes second nature.
How to Make This Sourdough Bread
This step-by-step guide will walk you through the entire process with confidence, from feeding your starter to slicing your perfect loaf.
Step – 1: Feed Your Starter
Start by feeding your sourdough starter 4–6 hours before you want to make the dough. Use equal parts flour and water by weight. Once it’s bubbly, doubled in size, and passes the “float test” (a spoonful floats in water), it’s ready.
Step – 2: Mix the Dough
In a large bowl, combine 100g active sourdough starter, 375g water (reserve about 25g), and 500g bread flour. Mix with your hands until there’s no dry flour. Let this rest for 30–45 minutes—this is called the autolyse, and it helps with gluten development.
Step – 3: Add Salt
After the autolyse, sprinkle in 10g of salt and the reserved 25g of water. Mix thoroughly by hand until fully incorporated. You’ll feel the dough start to tighten.
Step – 4: Bulk Fermentation and Stretch & Folds
Let the dough rest, covered, at room temperature. Every 30 minutes for the next 2 hours, perform a stretch and fold: gently lift and fold one side of the dough over itself, repeating on all four sides. This strengthens the gluten.
After the final fold, let the dough continue fermenting until it has expanded by 50–75% in volume—this usually takes 4–6 hours depending on room temperature.
Step – 5: Pre-shape and Bench Rest
Lightly flour your work surface. Turn out the dough and shape it gently into a round. Let it rest uncovered for 20–30 minutes.
Step – 6: Final Shape
Shape your dough into a tight boule or batard, depending on your proofing basket. Use gentle tension to create surface tightness.
Step – 7: Cold Proof
Place the dough seam-side up into a floured proofing basket. Cover and refrigerate overnight, ideally 12–16 hours. This cold proof slows fermentation and enhances flavor.
Step – 8: Score and Bake
Preheat your oven to 475°F (245°C) with a Dutch oven inside. Once hot, carefully flip the dough onto parchment paper, score it with a razor blade or sharp knife (this controls how the bread expands), and transfer it into the Dutch oven.
Bake covered for 20 minutes, then uncovered for another 25–30 minutes until deep golden brown. The crust should be hard and sound hollow when tapped.
Step – 9: Cool Completely
Remove from the Dutch oven and let the loaf cool on a wire rack for at least 1 hour before slicing. Cutting too early can ruin the crumb.
Substitutions
Don’t have bread flour? Need a gluten tweak? Here’s how to adapt.
Flour – While bread flour is ideal, you can use all-purpose in a pinch, though the structure will be slightly softer. For added flavor and fiber, replace up to 20% with whole wheat or rye flour.
Starter – If you’re just getting started, many bakeries sell fresh starter. You can also build your own using equal parts water and flour, fed over 5–7 days.
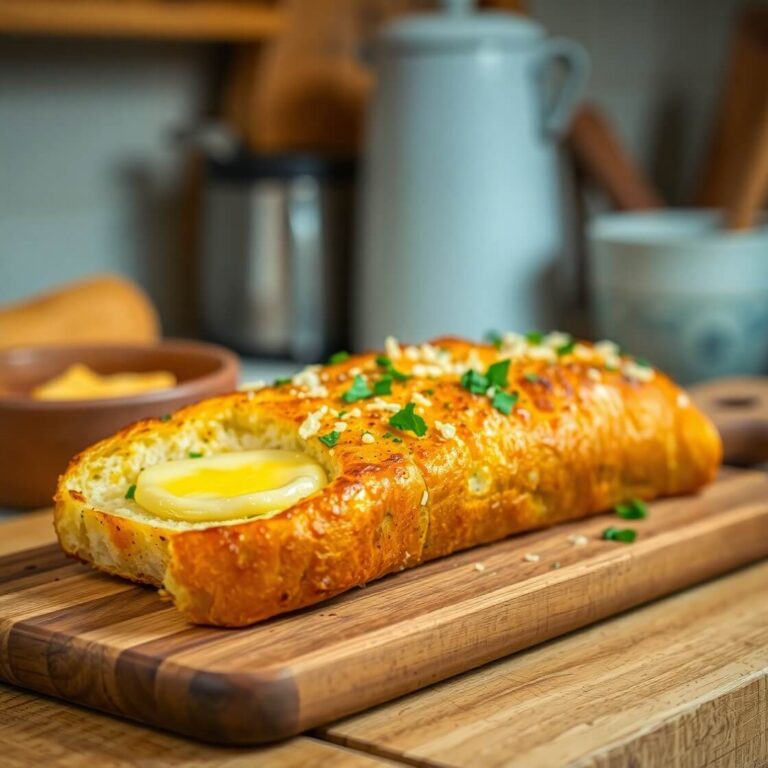
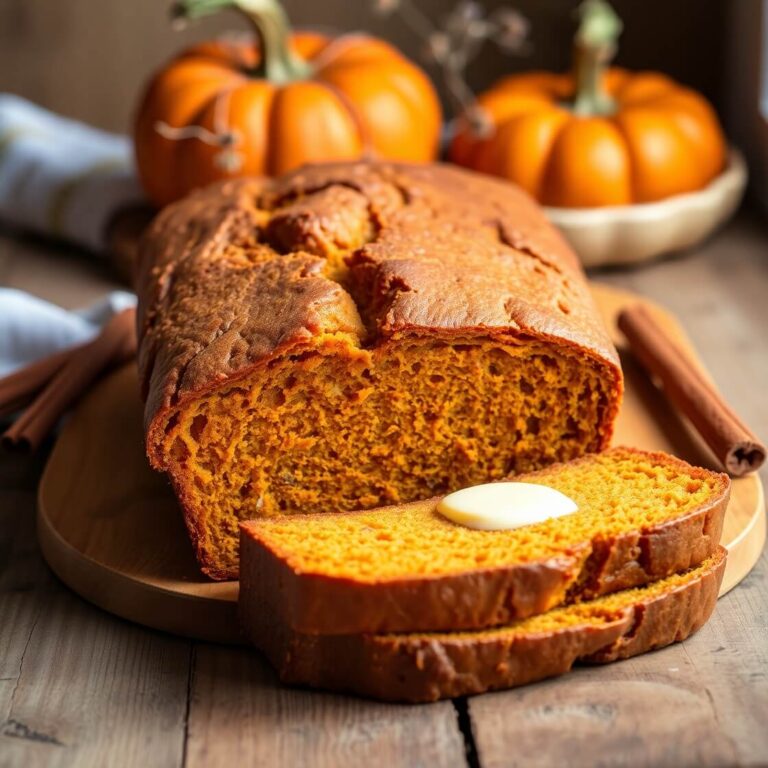
Add-ins – Customize with herbs (rosemary, thyme), seeds (sunflower, flax), or even roasted garlic for flavor-packed variations. Add these during the second stretch-and-fold.
Best Side Dish of Sourdough Bread
Pairing your fresh sourdough with the right side can elevate a simple meal into something truly memorable.
- Roasted Tomato Soup – A rich, velvety soup with fresh herbs makes the perfect dipping partner for a crusty slice.
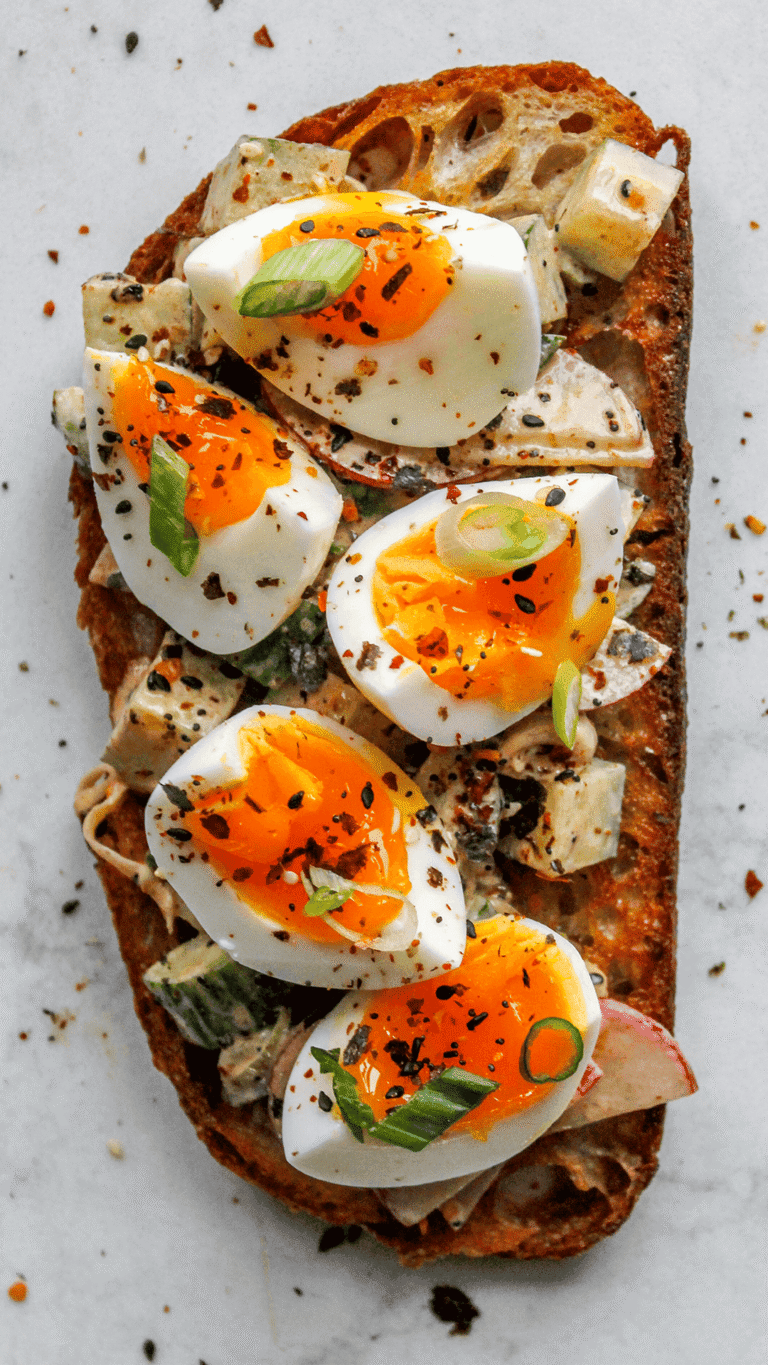
- Soft Scrambled Eggs with Herbs – Buttery eggs and sourdough are breakfast soulmates.
- Whipped Feta and Honey Spread – For a snack or appetizer, spread sourdough with creamy feta and drizzle with honey.
Serving and Presentation Tips
There’s nothing quite like the moment a fresh sourdough loaf hits the table.
Whether you’re presenting it whole or sliced, a rustic sourdough loaf brings a touch of artisanal beauty to any setting. Let it shine as the centerpiece—place it on a wooden cutting board or a linen-lined bread basket to keep things cozy and inviting.
Slice just before serving to retain maximum freshness and chew. For added visual appeal, arrange slices slightly fanned out on the board with a small ramekin of butter, olive oil, or your favorite spread nearby.
If you’re serving sourdough with soup or salad, slice into thick wedges and warm briefly in the oven before serving—it enhances the crust and revives the aroma.
Tips and Tricks to Make This Recipe Better
Want to take your sourdough game to the next level? Here are some tried-and-true tips:
- Use a kitchen scale. Sourdough baking is about precision. Measuring by weight ensures consistency every time.
- Maintain your starter. A healthy, active starter is everything. Feed it regularly, and store it in the fridge if you bake less often.
- Try the float test. Drop a small spoonful of starter into water. If it floats, it’s airy and ready to use.
- Embrace the stretch and fold. These gentle movements build strength without kneading, resulting in a chewy crumb and great rise.
- Proof overnight. Cold fermentation slows the process and intensifies flavor while improving texture.
- Experiment with flour blends. Adding small amounts of rye, spelt, or whole wheat gives deeper flavor and personality to your bread.
- Practice scoring. Use a sharp razor and swift movement. Deep scores allow the bread to expand and form a beautiful ear (the crusty ridge on the top).
Common Mistakes to Avoid
Even seasoned bakers make missteps. Here’s what to watch out for:
- Underproofing. If your dough hasn’t risen enough, it will be dense and gummy. Always look for signs—volume increase, slight jiggle, and airy feel.
- Overproofing. Too long and the dough becomes overextended and weak. It won’t rise well in the oven.
- Cutting too early. Let your loaf cool completely. Cutting warm bread makes the crumb gummy and sticky.
- Using cold starter. Always bring your starter to room temperature and peak activity before mixing.
- Skipping the autolyse. This step hydrates the flour and helps with gluten development. It’s worth the 30-minute wait.
How to Store It
Sourdough stays fresh longer than most breads, thanks to its natural acidity—but storing it right matters.
- Short-term: Wrap the cooled loaf in a clean kitchen towel and store at room temperature for up to 2–3 days. Avoid plastic—it softens the crust.
- Long-term: For extended storage, slice the loaf and freeze in a resealable bag. Toast or warm in the oven straight from frozen.
- Re-crisp the crust: If the crust softens, reheat the loaf at 350°F (175°C) for 10 minutes to bring it back to life.
Avoid refrigerating bread—it dries it out faster.
FAQ
Can I make sourdough bread without a Dutch oven?
Yes, but a Dutch oven helps trap steam for a better crust. You can use a baking stone and cover the dough with a metal bowl for the first half of baking to mimic the effect.
How do I know my starter is ready?
It should be bubbly, doubled in volume, and pass the float test. Timing varies based on temperature and feeding schedule.
Why is my sourdough dense?
Likely underproofed or starter wasn’t active enough. Let the dough rise longer next time and make sure your starter is vigorous.
What’s the best flour for sourdough?
High-protein bread flour is ideal. Mixing in small amounts of whole wheat or rye adds flavor but don’t substitute entirely.
How often should I feed my starter?
If kept at room temp, daily feeding is necessary. If stored in the fridge, feed it once a week and always feed before baking.

Sourdough Bread Recipe
A crusty, tangy loaf of classic sourdough bread that’s fermented naturally and baked to perfection. This recipe walks you through each step—from mixing the dough and folding to shaping, proofing, and baking. It’s the perfect loaf to serve with soups, toast with butter, or enjoy simply with olive oil. Once you get the hang of it, this homemade sourdough will easily become part of your weekly rhythm. Great for beginners who want to learn the technique, this recipe includes helpful tips and clear steps to make the process smooth and rewarding.
- Total Time: 24 hours (including fermentation)
- Yield: 1
Ingredients
- 100g active sourdough starter
- 500g bread flour
- 375g water (plus 25g more for salt)
- 10g sea salt
Instructions
- Feed your starter and wait until it’s bubbly and active.
- Mix 500g flour with 375g water and 100g starter. Let rest for 30–45 minutes.
- Add 10g salt dissolved in 25g water and mix well.
- Perform 3–4 sets of stretch and folds every 30 minutes over 2 hours.
- Let the dough rise until it increases by 50–75% in volume.
- Pre-shape, rest for 20–30 minutes, then shape the dough tightly.
- Place in a floured proofing basket, cover, and cold-proof overnight.
- Preheat oven and Dutch oven to 475°F.
- Score the loaf, bake covered for 20 minutes, then uncovered for 25–30 minutes.
- Cool completely on a wire rack before slicing.
Notes
- Always weigh ingredients for accuracy.
- Don’t skip the autolyse step—it improves texture.
- Cold fermentation enhances flavor and structure.
- Prep Time: 1 hour (active)
- Cook Time: 45 minutes
- Category: Bread
- Method: Baking
- Cuisine: American-European Rustic
- Diet: Vegetarian
Nutrition
- Serving Size: 1
- Calories: 180
- Sugar: 0g
- Sodium: 250mg
- Fat: 0.5g
- Saturated Fat: 0g
- Unsaturated Fat: 0.5g
- Trans Fat: 0g
- Carbohydrates: 38g
- Fiber: 2g
- Protein: 6g
- Cholesterol: 0mg