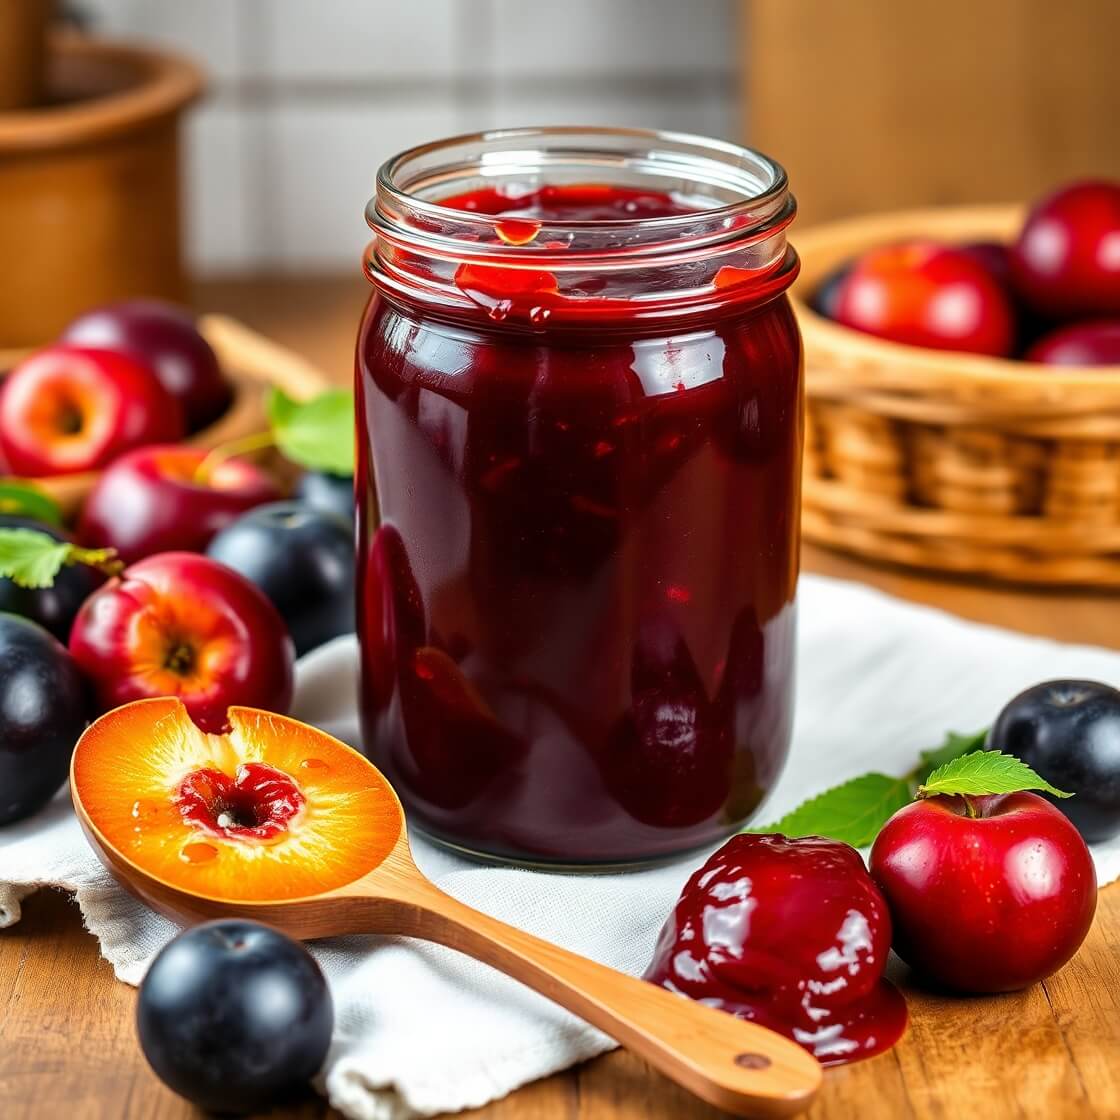
There’s something timeless and comforting about a jar of homemade plum jam. It’s more than just a spread for toast—it’s a way to capture the sweetness of summer and bottle it up to enjoy throughout the year. I still remember the first time I made plum jam. My neighbor had given me a basket full of ripe, deep-purple plums from her backyard tree, and I couldn’t bear to let them go to waste. Instead of eating them all at once, I decided to turn them into something special that I could share with family and friends.
That’s the beauty of plum jam—it’s a recipe with heart. Every jar tells a story of patience, care, and tradition. And when you spread it on warm bread or swirl it into yogurt, it feels like a small celebration at your table. If you’ve never made homemade jam before, this recipe is the perfect place to start. It’s simple, rewarding, and will leave your kitchen smelling incredible.
Why I Love This Recipe

One of the reasons I adore this plum jam recipe is because it’s both versatile and deeply satisfying. Unlike store-bought jams that often rely on added sweeteners, preservatives, and artificial flavors, this homemade version allows the natural flavor of the plums to shine. Every spoonful has that balance of tartness and sweetness that makes plums such a unique fruit.
Another thing I love is how customizable it is. You can choose to leave your jam silky smooth or keep some fruit chunks for a rustic texture. You can make it slightly tart if that’s your preference or sweeten it up a bit more for kids. It’s also one of those recipes that feels fancy but doesn’t actually require much more than patience and stirring.
And let’s be honest, there’s a certain joy in gifting someone a jar of plum jam. It feels personal, thoughtful, and heartfelt—much more special than something picked off a store shelf. I find myself making extra batches every summer just so I can share them with neighbors, friends, and family.
Ingredients for Plum Jam Recipe
When it comes to jam-making, the ingredients are refreshingly simple. You don’t need a long grocery list, just quality fruit and a couple of essentials to help bring out the flavors.
The star ingredient, of course, is the plums. You’ll want ripe plums that are juicy and slightly soft to the touch. The riper they are, the sweeter your jam will be. If your plums are a bit tart, that’s okay too—it just means your jam will have that wonderful tangy balance.
Sugar plays an important role as well. It doesn’t just sweeten the jam; it also helps preserve it. Without sugar, the jam wouldn’t set properly, and it wouldn’t last as long in your pantry or fridge.
You’ll also need lemon juice. This may seem small, but it’s crucial. Lemon juice adds brightness, enhances the natural plum flavor, and provides acidity that helps the jam set.
Some recipes call for pectin, but I prefer to let the natural pectin in the fruit do the work. Plums, especially when not overly ripe, have enough natural pectin to create a beautiful set. If you’re new to jam-making, though, adding a small amount of store-bought pectin can make the process a little easier and more reliable.
So in short, all you need are plums, sugar, and lemon juice. With those three ingredients, you’re on your way to creating something truly delicious.
How Much Time Will You Need
Making plum jam does take some time, but it’s not complicated. The process itself is pretty hands-off once everything is prepped.
You’ll need about 20–30 minutes to prepare the plums—washing, pitting, and chopping them. The actual cooking time can range from 40 to 60 minutes, depending on the juiciness of your plums and how thick you want your jam to be.
So altogether, you’re looking at roughly 1 hour and 15 minutes from start to finish. It’s a lovely recipe to make on a slow afternoon when you can let the jam simmer while you tidy the kitchen or enjoy a cup of tea.
How to Make This Plum Jam Recipe
Here’s the step-by-step process I follow to make plum jam. Once you try it, you’ll see just how simple and enjoyable the process is.
Step – 1: Prepare the plums
Wash the plums thoroughly under running water. Cut them in half, remove the pits, and chop them into small chunks. You don’t need to peel them—the skins add flavor, color, and natural pectin to your jam.
Step – 2: Combine plums and sugar
In a large, heavy-bottomed pot, add the chopped plums and sugar. Stir them together and let the mixture sit for about 20–30 minutes. This resting time allows the sugar to draw out the juices from the plums, creating a syrupy base.
Step – 3: Add lemon juice
Stir in freshly squeezed lemon juice. This will help balance the sweetness and enhance the fruit flavor.
Step – 4: Cook the jam
Place the pot over medium heat and bring the mixture to a gentle boil. Stir occasionally to prevent sticking. As the plums cook down, they’ll release even more juice. Skim off any foam that rises to the surface.
Step – 5: Check for consistency
After about 40 minutes, start checking the consistency. Place a small spoonful of jam on a chilled plate. Let it sit for a few seconds, then push it gently with your finger. If it wrinkles slightly and holds its shape, it’s ready. If not, keep cooking for another 5–10 minutes and test again.
Step – 6: Store the jam
Once it reaches the right consistency, remove the pot from heat and let it sit for a few minutes. Carefully ladle the hot jam into sterilized jars, leaving a little space at the top. Seal them with lids and let them cool before storing.
Substitutions
The beauty of homemade jam is its flexibility. If you don’t have exactly what the recipe calls for, you can easily adjust.
For the fruit, you can swap in different types of plums—red, black, or yellow plums all work beautifully. Each will give you a slightly different flavor and color, which makes experimenting fun. If you want to mix fruits, plums pair well with berries, peaches, or apricots.
If you’d like to reduce the sugar, you can try using honey or maple syrup, though keep in mind this will slightly change the flavor and may make the jam a bit looser. Another option is to use a low-sugar pectin to help the jam set even with less sugar.
And if you don’t have lemon juice, lime juice can be a good substitute. It offers that same tangy brightness that balances the sweetness.
Best Side Dish of Plum Jam Recipe
Homemade plum jam is delicious all on its own, but it truly shines when paired with the right side dishes. Here are a few favorites:
- Freshly baked bread or scones – Nothing beats spreading warm plum jam on a slice of crusty bread or a buttery scone.
- Cheese platter – Plum jam pairs wonderfully with sharp cheeses like cheddar or creamy ones like brie. It’s a match made for entertaining.
- Greek yogurt or oatmeal – A spoonful of plum jam swirled into yogurt or oatmeal makes for a sweet, wholesome breakfast.
Serving and Presentation Tips
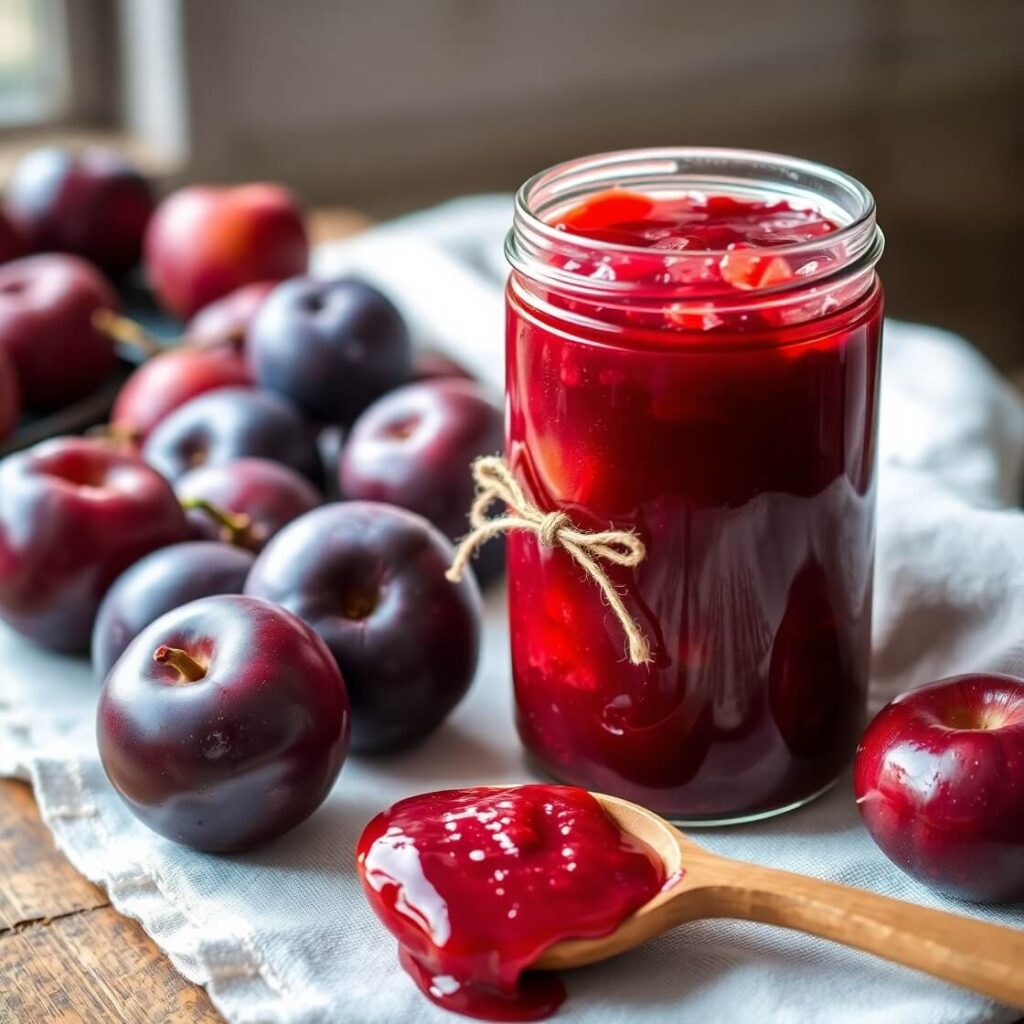
One of the joys of making homemade jam is finding beautiful ways to serve it. A jar of plum jam deserves to be shown off, not just tucked away in the fridge. Presentation can make the simplest meal feel like something special.
I love serving plum jam in small glass bowls or tiny mason jars alongside breakfast spreads. If you’re entertaining, place it in a pretty dish with a small silver spoon for guests to help themselves. It also looks gorgeous as a glaze brushed over cakes, tarts, or even grilled meats.
For a rustic brunch table, I often place a jar of plum jam next to a basket of freshly baked bread or croissants. A sprig of fresh mint on top makes it look extra inviting. And don’t forget—you can also drizzle it lightly over desserts like panna cotta, cheesecake, or vanilla ice cream for a restaurant-style finish.
Tips and Tricks to Make This Recipe Better
Homemade jam can be simple, but a few tricks will take your plum jam to the next level. These are things I’ve learned over the years that make all the difference:
- Use ripe but not overripe plums – Very ripe fruit can make your jam too mushy and overly sweet. Slightly firm plums give a better set and brighter flavor.
- Stir often – Sugar can burn quickly at the bottom of the pot. Regular stirring prevents sticking and ensures even cooking.
- Chill your test plate – Keep a small plate in the freezer while your jam cooks. This way, when you test the set, you’ll get an accurate result.
- Sterilize jars properly – Clean, hot jars are the key to making jam last longer. A quick dip in boiling water or a run through the dishwasher works wonders.
- Don’t rush the process – Low and slow cooking allows the fruit to break down naturally and the flavors to concentrate.
Common Mistakes to Avoid
Even though jam-making is fairly straightforward, there are a few common mistakes beginners often make. Avoiding these will save you from disappointment.
- Adding too much sugar or too little sugar – Both can ruin your jam. Too much sugar makes it cloyingly sweet, while too little sugar prevents it from setting and preserving properly.
- Skipping the lemon juice – Without acidity, your jam may taste flat and won’t set as well.
- Cooking at too high a heat – This can scorch the jam or cause it to thicken unevenly. Gentle simmering is always better than aggressive boiling.
- Not testing for set – If you don’t check, you might end up with plum sauce instead of jam. Always do the wrinkle test on a chilled plate.
- Improper sealing of jars – If your jars aren’t sealed well, your jam won’t last long. Take time to sterilize and seal correctly.
How to Store It
Homemade plum jam can be stored in a few different ways, depending on how quickly you plan to use it.
If you’re planning to enjoy it within a couple of weeks, simply keep it in the refrigerator in a clean, airtight jar. For longer storage, properly sealed jars can be kept in a cool, dark pantry for up to a year. Once opened, though, always refrigerate and use within 3–4 weeks.
For freezer storage, you can place jam in freezer-safe containers, leaving a little space at the top for expansion. Frozen jam keeps beautifully for up to six months. Just thaw in the fridge overnight when you’re ready to use it.
FAQ
Can I make plum jam without pectin?
Yes! Plums have natural pectin, so you don’t need to add extra unless you want a firmer set.
Do I need to peel the plums?
Not at all. The skins add color, flavor, and natural pectin. Plus, peeling takes away from the rustic charm of homemade jam.
How do I know if my jam is ready?
Do the wrinkle test on a chilled plate. If the jam wrinkles when pushed, it’s done.
Can I reduce the sugar?
Yes, but keep in mind that sugar helps the jam set and preserves it. Use a low-sugar pectin if you want to cut back.
What if my jam doesn’t set?
Don’t worry—it can be reheated and cooked longer. Or you can embrace it as a delicious plum sauce for desserts and pancakes.
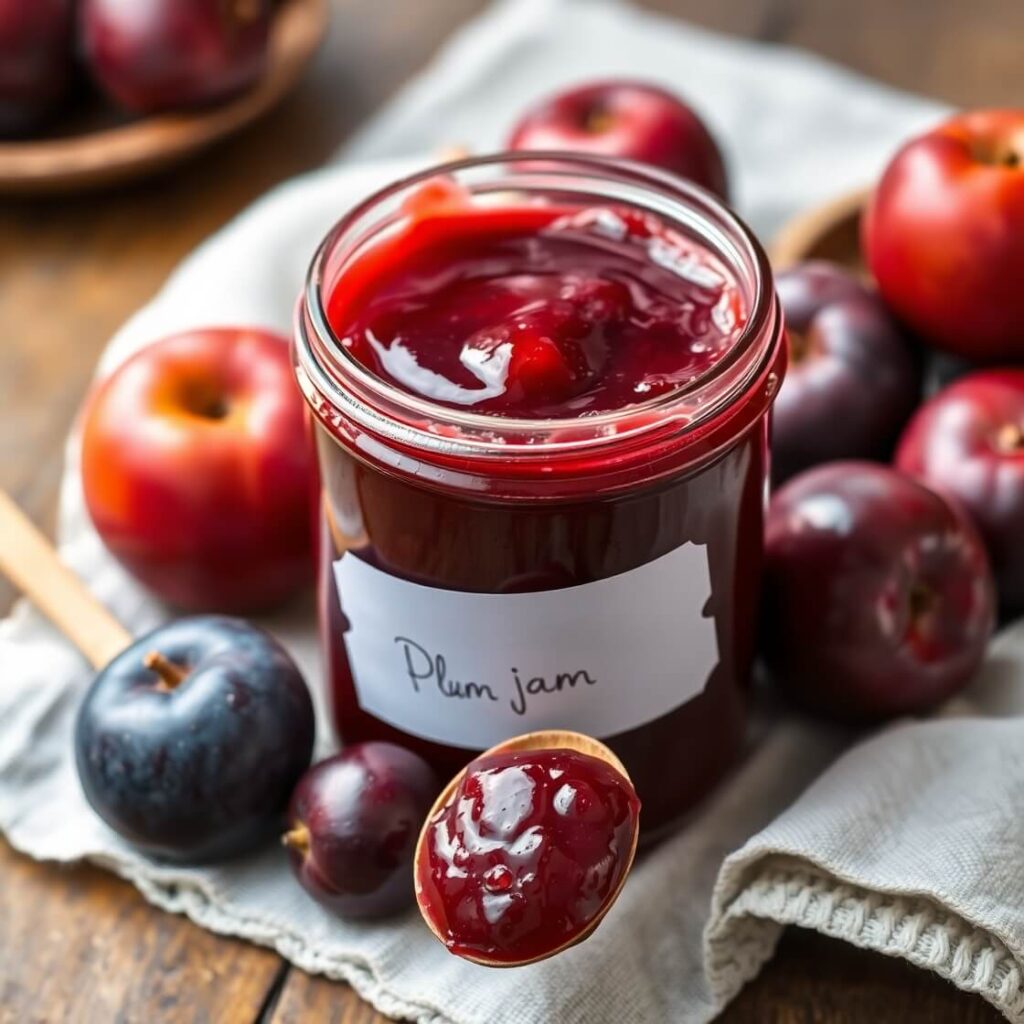
Plum Jam Recipe
This homemade plum jam recipe captures the essence of ripe, juicy plums in every spoonful. It’s a simple three-ingredient recipe—plums, sugar, and lemon juice—that creates a jam full of natural flavor. Unlike store-bought varieties, this one has no unnecessary additives, just pure fruit goodness. Perfect for spreading on warm bread, pairing with cheeses, or adding to desserts, this jam is versatile and delightful. With a little patience and some stirring, you’ll have jars of sweet-tart plum jam to enjoy year-round. Whether you’re making it for yourself or gifting it to loved ones, this recipe is a rewarding kitchen project that turns plums into something truly special.
- Total Time: 1 hour 15 minutes
- Yield: 4–5
Ingredients
- 3 pounds ripe plums, washed, pitted, and chopped
- 4 cups granulated sugar
- 2 tablespoons fresh lemon juice
Instructions
- Prepare plums by washing, pitting, and chopping them into chunks (leave skins on).
- Place plums and sugar in a heavy-bottomed pot. Let sit for 20–30 minutes to release juices.
- Add lemon juice and bring mixture to a gentle boil over medium heat. Stir often to prevent sticking.
- Simmer for 40–60 minutes, skimming off foam. Stir regularly.
- Test for set using a chilled plate. If jam wrinkles when pushed, it’s ready.
- Ladle hot jam into sterilized jars, leaving space at the top. Seal jars and let cool completely.
Notes
- For a chunkier texture, leave some larger pieces of plum. For a smoother jam, blend with an immersion blender before storing. Adjust sweetness slightly depending on how tart your plums are.
- Prep Time: 30 minutes
- Cook Time: 45 minutes
- Category: Condiment
- Method: Stovetop simmer
- Cuisine: American
- Diet: Vegetarian
Nutrition
- Serving Size: 4–5
- Calories: 50
- Sugar: 11g
- Sodium: 0mg
- Fat: 0g
- Saturated Fat: 0g
- Unsaturated Fat: 0g
- Trans Fat: 0g
- Carbohydrates: 12g
- Fiber: 0.5g
- Protein: 0g
- Cholesterol: 0mg