There’s something truly magical about homemade strawberry ice cream. It reminds me of slow summer days spent in my grandmother’s kitchen, where everything smelled like vanilla and berries. She didn’t rely on store-bought shortcuts—every spoonful of her ice cream was lovingly churned by hand, bursting with sweet strawberries from her backyard garden.
That memory inspired me to recreate the same old-fashioned charm in my own kitchen. And trust me, once you make strawberry ice cream from scratch, it’s hard to go back to anything else. It’s creamy, fruity, and rich in flavor—like summer in a bowl.
If you’re looking for an ice cream that’s a real crowd-pleaser, this is it. You don’t need any fancy ingredients—just patience, quality strawberries, and a good old-fashioned desire to make something delicious from scratch. Let’s dive in, because you’re about to fall in love with making your own ice cream.
Why I Love This Recipe

Strawberry ice cream is one of those timeless flavors, and when it’s homemade, it hits completely different.
The reason I love this recipe so much is because of its simplicity. It uses just a few basic ingredients—ripe strawberries, cream, sugar, and a bit of lemon juice—but delivers a big, bold taste that feels anything but ordinary. Unlike store-bought versions that often rely on artificial flavoring, this ice cream captures the natural sweetness and slight tartness of real strawberries.
And then there’s the texture. It’s not just soft and creamy, it’s dreamy. The kind of creamy that melts on your tongue and coats your mouth with every bite. You can taste the effort in every scoop.
Another reason I keep coming back to this recipe is its versatility. You can churn it for a classic scoopable texture or freeze it in molds for a grab-and-go strawberry ice cream bar. It’s perfect for birthday parties, Sunday brunches, or just treating yourself after a long day.
There’s also something incredibly rewarding about making ice cream from scratch. It slows you down, gets you into a rhythm, and makes you appreciate the little things—like watching cream thicken as it churns or folding in mashed strawberries with your own hands. Every batch is a tiny celebration.
Ingredients for Homemade Strawberry Ice Cream
What I love most about the ingredient list is that it’s short, sweet, and incredibly easy to work with.
You don’t need a professional setup or a huge pantry. Just a few fresh, quality ingredients and you’re set to create something absolutely decadent.
Here’s what you’ll need:
- Fresh Strawberries: Always opt for ripe, bright red strawberries. These are your flavor foundation, so choose wisely. Local, in-season berries offer the most intense flavor.
- Granulated Sugar: This helps sweeten the berries and balances out their tartness. You’ll use part of it to macerate the strawberries and the rest to sweeten the cream base.
- Heavy Cream: For that luxurious creamy texture. Avoid using half-and-half—it just doesn’t cut it.
- Whole Milk: It lightens the base just slightly without compromising richness.
- Lemon Juice: A small splash brings out the brightness of the strawberries. It doesn’t make the ice cream sour—it enhances the fruity notes.
- Vanilla Extract: Optional but adds depth and a soft, rounded finish to the flavor.
That’s it—no stabilizers, no artificial anything. This is what makes it feel wholesome and homemade in the best possible way.
How Much Time Will You Need
Making homemade ice cream isn’t quick, but the result is worth every second.
Here’s a rough breakdown:
- Prep Time: 25 minutes
- Chill Time: 3–4 hours (for the mixture to cool before churning)
- Churn Time: 20–25 minutes
- Freeze Time: 4–6 hours (for a firmer texture)
In total, plan for about 8 hours, but remember, most of that is inactive chill or freeze time. You can prep in the morning and have it ready by dinner.
How to Make This Homemade Strawberry Ice Cream

Making this ice cream is all about taking it step by step. Don’t rush it—just enjoy the process. I’ll walk you through everything.
Step – 1: Prepare the Strawberries
Wash and hull 2 cups of fresh strawberries. Then slice them into quarters.
Place them in a bowl with 1/3 cup of sugar and let them sit for 30 minutes to macerate. This draws out the juices and intensifies the flavor.
After macerating, mash half of the strawberries to create a chunky puree. I like a mix of puree and small pieces—it gives the ice cream texture.
Set aside both the mashed and chunkier strawberry pieces.
Step – 2: Make the Cream Base
In a separate bowl, whisk together 1 cup of whole milk and 3/4 cup of sugar until the sugar dissolves completely. This may take a few minutes.
Then, stir in 2 cups of heavy cream and 1 teaspoon of vanilla extract.
Add 1 teaspoon of lemon juice to the cream mixture. This lifts the strawberry flavor beautifully.
Step – 3: Combine Strawberries with the Cream Base
Fold your mashed strawberries (including their juice) into the cream base. Stir gently until evenly distributed. Then fold in the rest of the strawberry chunks.
At this point, the mixture should be creamy with visible pieces of strawberry floating throughout. Give it a taste—it should be slightly sweeter than you’d like, because freezing mutes sweetness a bit.
Step – 4: Chill the Mixture
Pour the mixture into a large bowl or container, cover it, and refrigerate for at least 3 hours or overnight. This helps the flavors meld and ensures it churns better.
Step – 5: Churn the Ice Cream
Once the mixture is thoroughly chilled, pour it into your ice cream maker and churn according to your manufacturer’s instructions. This typically takes about 20 to 25 minutes.
The mixture should look like soft-serve when it’s ready.
Step – 6: Freeze Until Firm
Transfer the churned ice cream to a loaf pan or airtight container. Smooth the top with a spatula and press a piece of parchment paper directly onto the surface to prevent ice crystals.
Freeze for 4–6 hours, or until firm.
Step – 7: Scoop and Enjoy
Let the ice cream sit at room temperature for 5–10 minutes before scooping. It’ll soften just enough for that perfect creamy texture.
Substitutions
If you’re short on ingredients or want to play around, here are some smart swaps:
- Dairy-Free Version: Use full-fat coconut milk in place of heavy cream and almond milk for the whole milk. The flavor will shift slightly but still be creamy and rich.
- Sugar-Free Option: Substitute granulated sugar with monk fruit sweetener or erythritol. Just know it may freeze slightly harder.
- Frozen Strawberries: In a pinch, frozen strawberries work—just thaw and drain them first. Fresh is still best for flavor and texture.
- Add-ins: Stir in mini white chocolate chips, crushed graham crackers, or even swirls of strawberry jam for extra layers of flavor.
Best Side Dish of Homemade Strawberry Ice Cream
Want to elevate your dessert moment? Pair your strawberry ice cream with one of these:
- Buttery Shortbread Cookies: Their crumbly texture and mild sweetness balance the creamy berry richness.
- Warm Vanilla Pound Cake: Serve a scoop on top for that dreamy warm-and-cold contrast.
- Fresh Fruit Salad: Strawberries, blueberries, and mint give you a fresh, summery bite between spoonfuls.
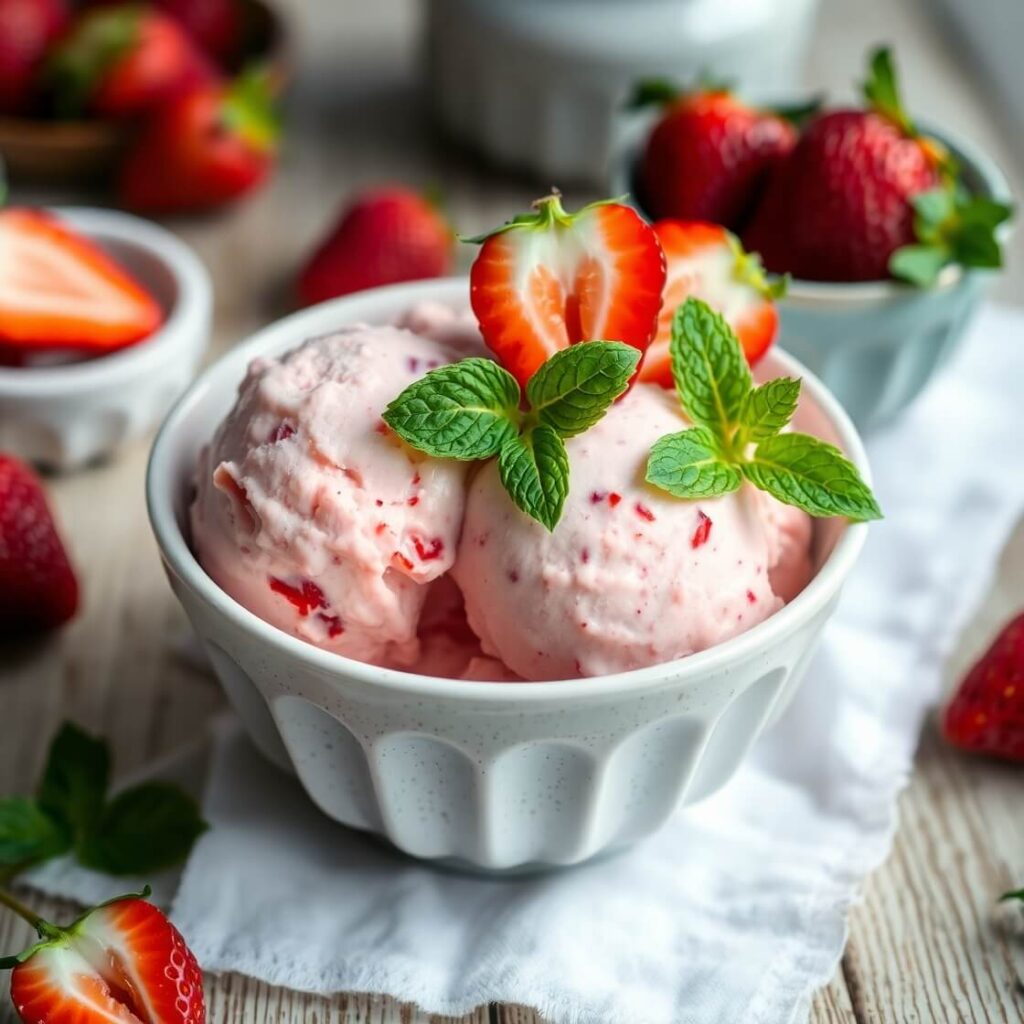
Serving and Presentation Tips
When you’ve put this much love into making homemade strawberry ice cream, you want it to look just as beautiful as it tastes.
Serve it in chilled bowls to keep it from melting too fast, especially on warm days. If you’re going for a nostalgic feel, scoop it into waffle cones or even vintage-style sundae glasses. A little garnish goes a long way—try a fresh mint leaf, a few slices of strawberry on top, or a drizzle of melted white chocolate.
Hosting a gathering? Make it the centerpiece of a build-your-own ice cream bar. Set out bowls of crushed nuts, sprinkles, cookie crumbles, or berry compote so guests can dress it up however they like. Trust me—it becomes an experience, not just a dessert.
Tips and Tricks to Make This Recipe Even Better
Here’s where the real magic happens—the kind of small insights that take your ice cream from “good” to “incredible.”
- Use ripe, local strawberries: They’ll always have more natural sweetness and flavor than off-season berries.
- Don’t skip the chill time: Cooling the base before churning helps improve texture and allows flavors to deepen.
- Mash and chunk the berries: A mix of pureed and chopped strawberries creates better flavor distribution and texture.
- Add a splash of vodka (optional): Just a teaspoon can help reduce iciness without affecting flavor or making it alcoholic.
- Chill your container: Freeze your loaf pan or container for at least 30 minutes before transferring the ice cream to it. This helps preserve the texture as it firms up.
Common Mistakes to Avoid
A few simple missteps can really affect your results—avoid these and you’ll be in the clear.
- Using low-fat dairy: Ice cream needs fat to be creamy. Don’t try to go “light” here.
- Skipping the chill: Adding warm or room-temperature mix to your ice cream maker will result in poor texture.
- Over-churning: Once it reaches soft-serve consistency, stop. Over-churning can make it icy.
- Too much sugar or lemon: Balance is everything. Over-sweetening or over-acidifying can overwhelm the strawberry flavor.
- Using artificial vanilla: Always go for pure vanilla extract to complement the strawberries, not compete with them.
How to Store It
Homemade ice cream doesn’t have preservatives, so proper storage is key.
- Use an airtight container: A loaf pan covered with plastic wrap works, but a dedicated ice cream tub with a tight lid is even better.
- Press parchment or wax paper against the surface: This minimizes air exposure and helps prevent ice crystals.
- Store in the coldest part of the freezer: Usually, that’s the back—not the door. The more consistent the temperature, the better the texture.
- Best enjoyed within 2 weeks: It’ll still be safe after that, but the texture and flavor will start to degrade.
FAQ
Can I make this without an ice cream maker?
Yes! After chilling your base, pour it into a freezer-safe container and stir it every 30 minutes for 3–4 hours. It won’t be as smooth, but it’ll still taste great.
Can I use frozen strawberries?
You can, but let them thaw completely and drain excess liquid. Fresh berries still yield better flavor and color.
How do I make it dairy-free?
Use full-fat coconut milk and almond or oat milk. Chill them well before mixing. The result will be creamier with a subtle coconut undertone.
Can I add mix-ins?
Absolutely! Try crushed graham crackers, white chocolate chips, or even a swirl of strawberry jam right before freezing for added texture and flavor.
What if my ice cream is too hard to scoop?
Let it sit at room temperature for 5–10 minutes before serving, or dip your scoop in hot water for easy gliding.

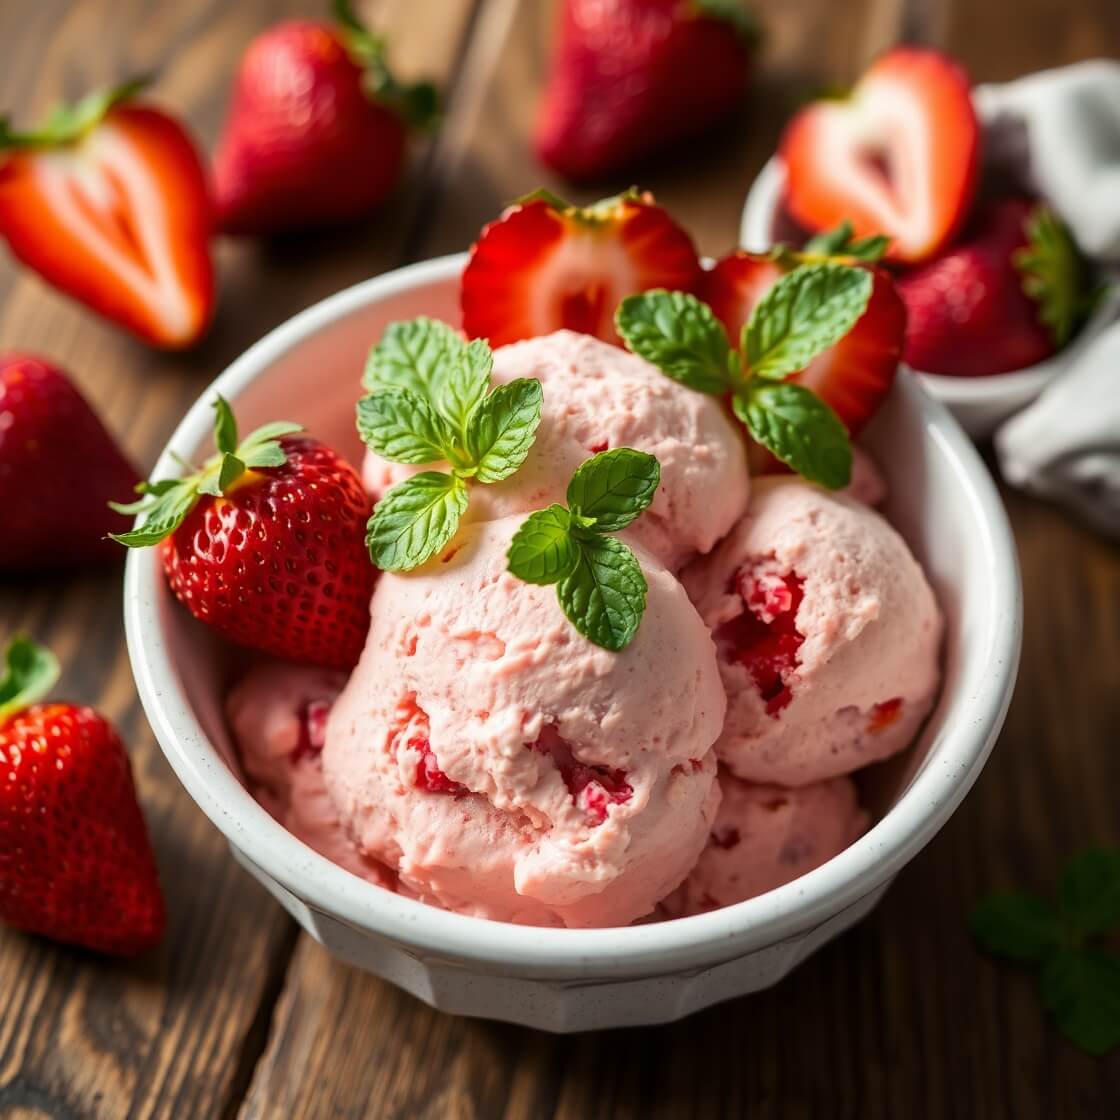
Homemade Strawberry Ice Cream
There’s nothing quite like the taste of homemade strawberry ice cream. This recipe uses real, ripe strawberries and simple ingredients to create a creamy, dreamy dessert that feels like summer in a bowl. Perfect for family gatherings, weekend treats, or simply satisfying a craving, this version is rich, fruity, and completely free from artificial flavoring. Whether you serve it in cones, bowls, or sandwiched between cookies, this old-fashioned recipe is guaranteed to become a favorite in your kitchen.
- Total Time: 8 hours (includes chilling/freezing time)
- Yield: 1.5
Ingredients
- 2 cups fresh strawberries, hulled and chopped
- 1 1/3 cups granulated sugar (divided)
- 1 cup whole milk
- 2 cups heavy cream
- 1 teaspoon pure vanilla extract
- 1 teaspoon lemon juice
Instructions
- Macerate strawberries with 1/3 cup sugar for 30 minutes. Mash half and leave the rest chunky.
- In a separate bowl, whisk milk with the remaining sugar until dissolved.
- Stir in heavy cream, vanilla extract, and lemon juice.
- Fold in the strawberries and mix gently.
- Chill the mixture for at least 3 hours.
- Churn in an ice cream maker for 20–25 minutes until soft-serve consistency.
- Transfer to a chilled container, cover with parchment, and freeze for 4–6 hours.
- Let soften before serving.
Notes
- Use the ripest strawberries you can find.
- Chilling the base thoroughly ensures a better texture.
- For extra richness, add a tablespoon of milk powder to the base.
- Want a boozy twist? Add a splash of strawberry liqueur before churning.
- Prep Time: 25 minutes
- Cook Time: 0 minutes
- Category: Dessert
- Method: Churned
- Cuisine: American
- Diet: Vegetarian
Nutrition
- Serving Size: 1.5
- Calories: 260
- Sugar: 21g
- Sodium: 35mg
- Fat: 17g
- Saturated Fat: 11g
- Unsaturated Fat: 5g
- Trans Fat: 0g
- Carbohydrates: 24g
- Fiber: 1g
- Protein: 2g
- Cholesterol: 65mg