Homemade cherry pie filling is one of those timeless kitchen gems that brings a little bit of summer sweetness to your table, no matter the season. I made this recipe when I found myself with an abundance of fresh cherries after a trip to the local farmer’s market. It felt like a shame to let them go to waste—or to just freeze them—so I decided to preserve their juicy glory in a thick, glossy, homemade pie filling.
Now, here’s the thing: once you try making cherry pie filling from scratch, you’ll wonder why you ever bought the canned stuff. It’s that good.
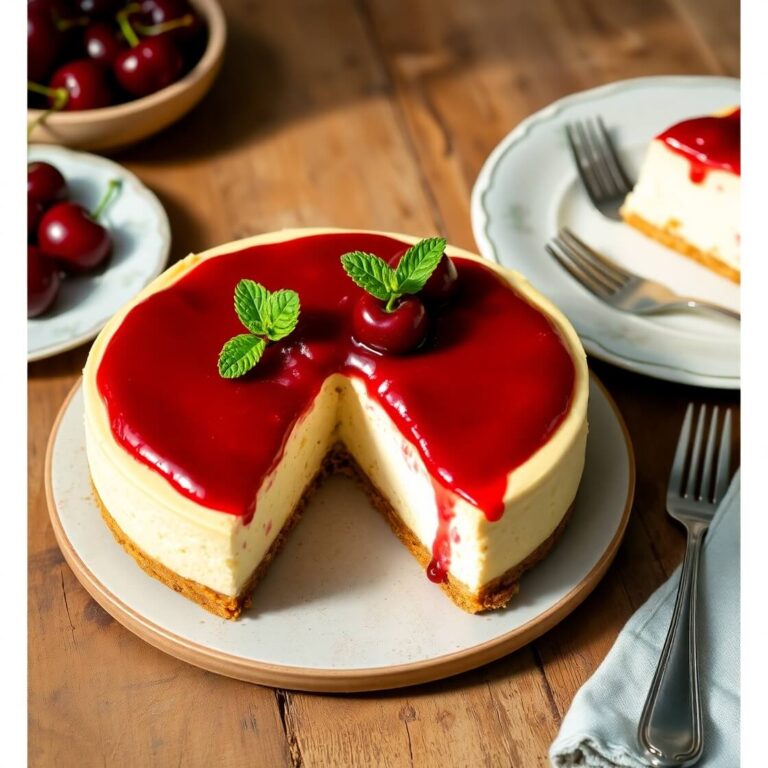
And don’t think this recipe is only for pies! This filling is the kind of multitasker every home cook dreams of—it works beautifully in cheesecakes, over pancakes, in hand pies, or even spooned over vanilla ice cream.
So if you’ve ever wished for a foolproof, not-too-sweet, just-the-right-tang cherry filling that holds up in baking or shines in a no-bake dessert, you’re in the right place.
Let me show you how I make it—simple, satisfying, and endlessly versatile.
Why I Love This Recipe

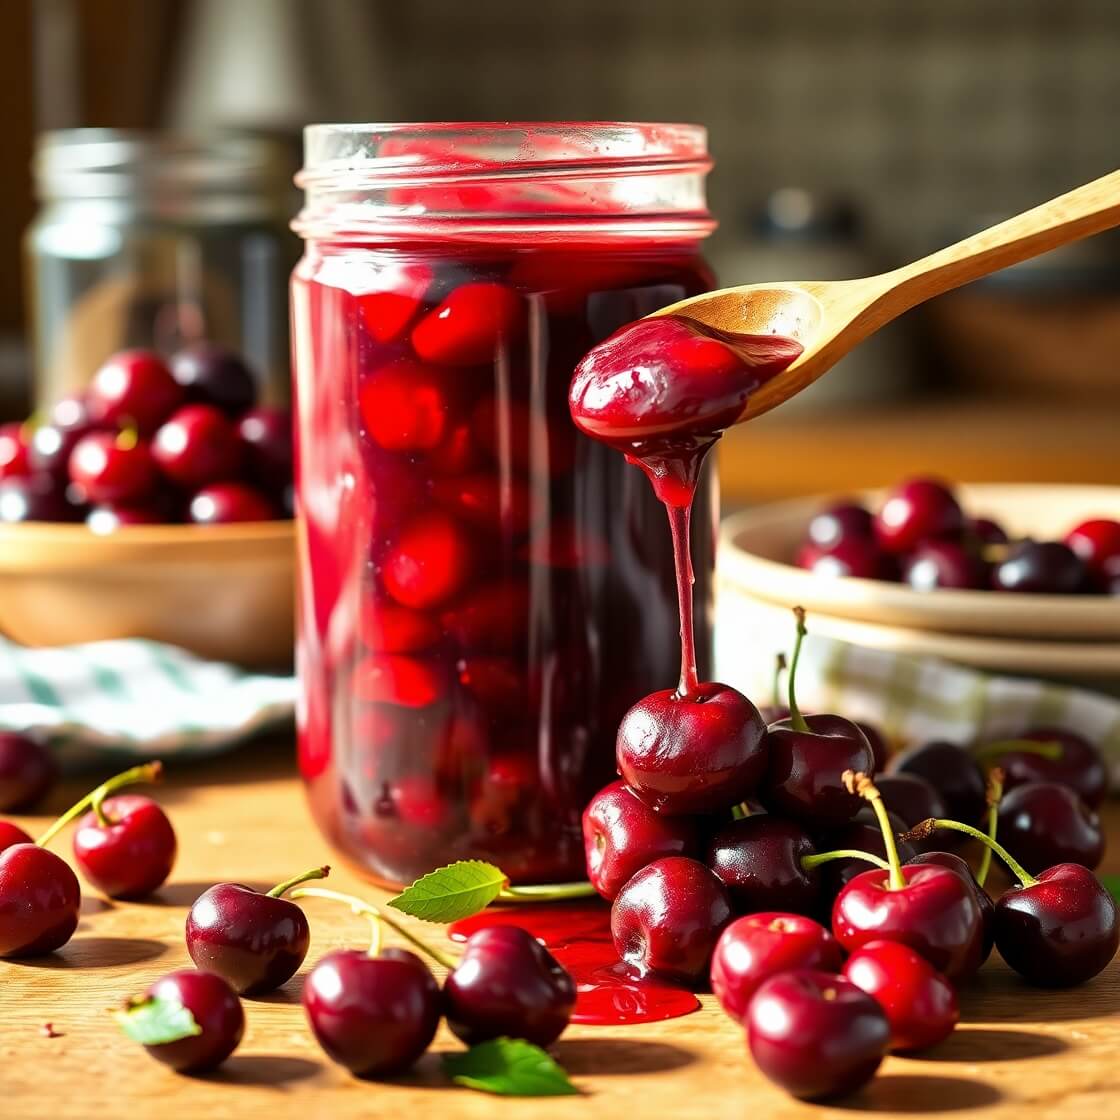
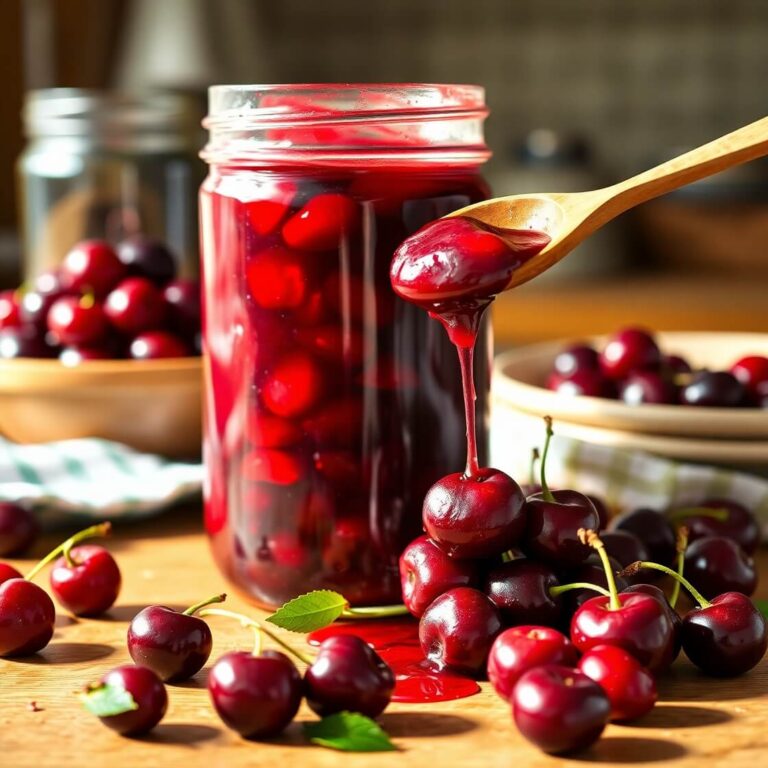
There’s something genuinely comforting about a jar of homemade cherry pie filling cooling on the counter. For me, it’s a taste of nostalgia and a promise of delicious things to come. But what really makes this recipe stand out is how it strikes a perfect balance of sweet, tart, and fruity without overwhelming your palate—or your dessert.
I love how flexible it is. You can make it with fresh cherries at the height of summer, or use frozen cherries when you’re craving that warm, fruity flavor in the middle of winter. It’s always ready to rise to the occasion.
What really hooked me, though, was the texture. This filling is lush and glossy, thick enough to slice in a pie but never gloopy or heavy. And thanks to a few small tricks (I’ll get to those in the step-by-step section), the cherries keep their shape and that juicy pop, even after cooking.
Whether you’re baking a pie, layering it in a trifle, or folding it into yogurt, this cherry pie filling brings a homemade touch that transforms any dessert into something special.
Ingredients for Cherry Pie Filling
The best part about this cherry pie filling is that you don’t need anything fancy. The ingredients are simple, but each one plays an important role in achieving that perfect balance of flavor and consistency.
Here’s what you’ll need:
Fresh or Frozen Cherries:
I prefer using sweet cherries (like Bing or Rainier), but you can go for sour cherries if you want a tart twist. If you’re using frozen, just make sure they’re pitted and thawed completely. You’ll need about 4 cups.
Sugar:
Regular granulated sugar works just fine. I like to start with ¾ cup and adjust as needed, depending on how sweet or tart the cherries are. You want enough to draw out the juices and create that luscious syrup without overpowering the natural cherry flavor.
Cornstarch:
This is the secret to thickening the filling without making it cloudy or gelatinous. I use about ¼ cup to get that pie-perfect consistency.
Lemon Juice:
Just a splash (about 1 tablespoon) brightens everything up and helps balance the sweetness.
Almond Extract (optional but highly recommended):
If you’ve ever had a cherry dessert that tasted extra “cherry-ish,” that’s probably thanks to almond extract. Just ½ teaspoon is enough to deepen the flavor without being overwhelming.
Water:
To help dissolve the cornstarch and get the syrup going. You’ll need about ⅓ cup, maybe a little more if your cherries aren’t super juicy.
That’s it. Simple, pantry-friendly ingredients that come together to create a filling that’s deeply flavorful, not too sweet, and just the right kind of sticky.
How Much Time Will You Need
Making this cherry pie filling is quick and easy, especially if your cherries are already pitted.
Here’s the general time breakdown:
- Prep Time: 15 minutes (includes pitting cherries if using fresh)
- Cook Time: 10–12 minutes
- Cool Time: About 30–45 minutes (before storing or using)
So in under an hour (with most of that being passive cool time), you’ll have a jar of homemade goodness ready to go.
How to Make This Cherry Pie Filling
Let’s get into the fun part—making the cherry pie filling from scratch.
Follow this detailed step-by-step process for perfect results every time:
Step – 1: Prep the cherries
If you’re using fresh cherries, rinse and pit them. You’ll need about 4 cups. I like to slice larger cherries in half, but you can leave them whole if you prefer a chunkier filling.
If using frozen cherries, make sure they’re fully thawed and drain off any excess liquid so the filling doesn’t get watery.
Step – 2: Mix the dry ingredients
In a small bowl, whisk together ¼ cup cornstarch and ⅓ cup cold water until smooth. Set it aside for now.
This slurry will be your thickening agent—and adding it after the cherries start releasing their juice keeps things from getting clumpy.
Step – 3: Cook the cherries
In a medium saucepan over medium heat, combine the cherries and ¾ cup sugar. Stir gently as the sugar starts to dissolve and the cherries release their juices.
This usually takes about 3–4 minutes. The mixture will look a bit syrupy.
Step – 4: Add the cornstarch slurry
Once the cherries are soft and juicy, give your cornstarch slurry a quick stir and pour it into the pan.
Stir constantly as the mixture thickens—this happens fast, usually within 2–3 minutes. You’ll notice it going from runny to glossy and luscious.
Step – 5: Finish with flavor
Remove the saucepan from heat and stir in 1 tablespoon lemon juice and ½ teaspoon almond extract (if using).
Taste the filling. If it’s too tart, add another tablespoon of sugar. If it’s too thick, you can loosen it with a splash of water.
Step – 6: Cool and store
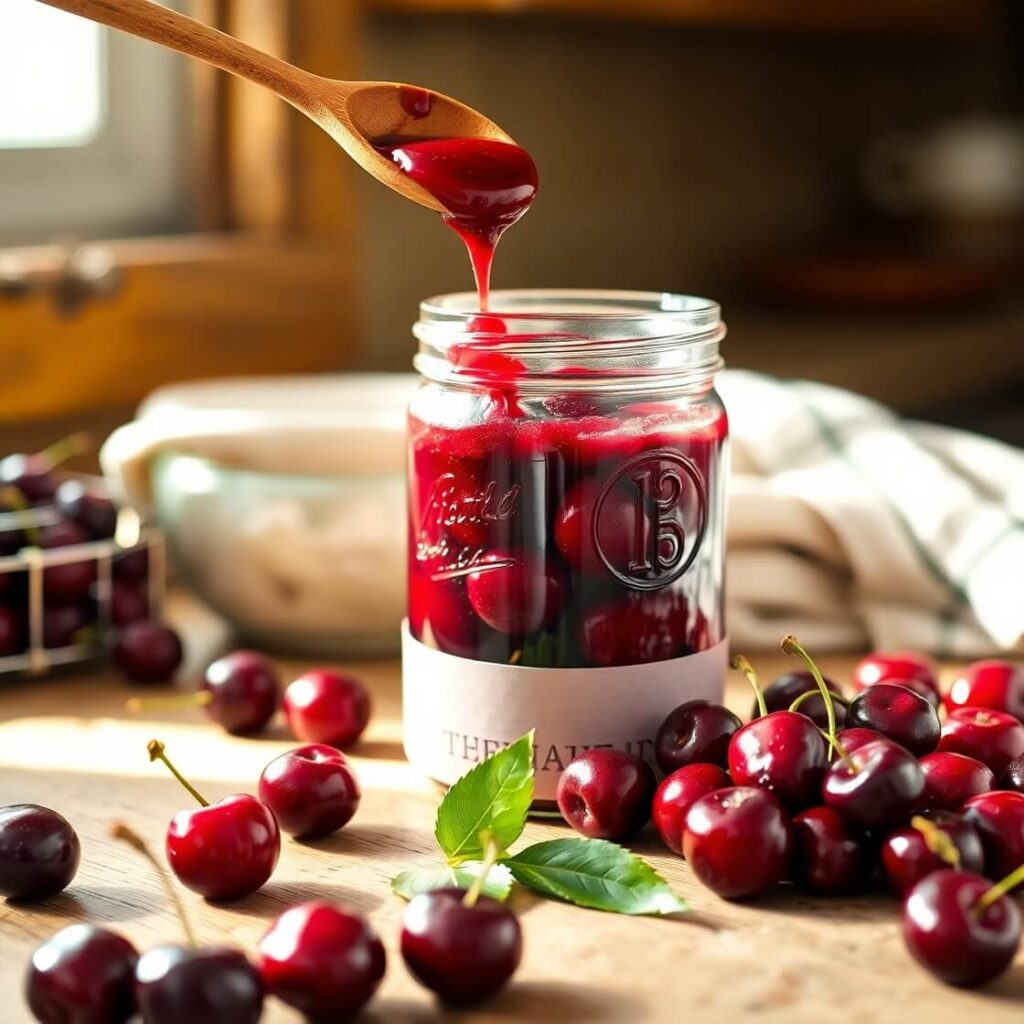
Let the filling cool to room temperature. It will continue to thicken as it cools, so don’t worry if it’s still a little loose when warm.
Once cooled, transfer to a jar or airtight container and refrigerate until ready to use. It keeps beautifully for about a week.
Substitutions
Let’s say you don’t have a particular ingredient on hand or want to tweak this recipe to fit your dietary preferences—there’s plenty of wiggle room.
No Cornstarch?
Use arrowroot powder or tapioca starch. Both work well but add them a bit more cautiously—start with 2 tablespoons and adjust from there.
No Almond Extract?
Vanilla extract is a great stand-in. It won’t add the same depth, but it complements the cherries beautifully. You could also skip it entirely for a more natural cherry flavor.
Using Sour Cherries?
You may want to increase the sugar by a few tablespoons, depending on how tart they are. Taste as you go to find your sweet spot.
Sugar Alternatives:
Want a refined sugar-free version? Try using maple syrup or honey—but be aware that liquid sweeteners will thin the filling a bit, so you may need a little more cornstarch to compensate.
Lemon Juice Alternatives:
Try using orange juice or even a splash of apple cider vinegar. Anything acidic that brings brightness can work.
Best Side Dishes for Cherry Pie Filling
Cherry pie filling isn’t just for pie. If you’re looking to round out your dessert or make it part of a special treat, here are some of my favorite pairings:
Vanilla Bean Ice Cream:
The cold creaminess of vanilla ice cream with warm cherry pie filling spooned over the top? Absolute heaven.
Buttermilk Pancakes or Waffles:
Skip the syrup—cherry pie filling turns an ordinary breakfast into something worth celebrating.
Yogurt Parfaits:
Layer cherry pie filling with Greek yogurt and granola for a refreshing, high-protein snack or light dessert.
Serving and Presentation Tips
There’s something special about presenting cherry pie filling in a way that makes it feel like a decadent, homey treat—even when you didn’t spend all day in the kitchen.
When serving this filling warm, I love spooning it over a thick slice of pound cake or angel food cake and adding a dollop of whipped cream. The deep red, glossy cherries look absolutely stunning against a light-colored dessert. A little mint leaf on top, and suddenly you’ve created a restaurant-worthy dessert at home.
If you’re using it cold, layer it into mason jars with whipped cream or vanilla pudding and crushed graham crackers for a no-bake cherry cheesecake jar. These are great for parties, picnics, or whenever you want something cute and portable.
To make your pie shine, always brush the top crust with a beaten egg before baking. It gives it that gorgeous golden finish that contrasts beautifully with the ruby-red cherry filling peeking through the vents.
Tips and Tricks to Make This Recipe Even Better
Cherry pie filling is simple—but a few smart tips can elevate it from good to absolutely outstanding.
Use the best cherries you can find.
Ripe, juicy cherries make a world of difference. If you can get them fresh in season, go for it. Otherwise, frozen cherries are a great backup—just make sure they’re good quality and unsweetened.
Don’t skip the lemon juice.
It might seem like a small thing, but the acidity sharpens the flavor and keeps the filling from being too cloying.
Taste as you go.
Cherries can vary in sweetness and tartness. That’s why I always encourage adjusting the sugar and lemon to suit your batch. Don’t be afraid to tweak!
Let it cool before using in baked goods.
Hot filling can mess with pie crust texture or melt layers in cakes. Give it time to cool down to thicken properly.
Double the batch and freeze.
This filling freezes beautifully for up to 3 months. Make a big batch and portion it out—you’ll thank yourself later.
Common Mistakes to Avoid
Even though this recipe is beginner-friendly, a few easy-to-make mistakes can trip you up. Here’s what to watch out for:
Skipping the cornstarch slurry.
Adding dry cornstarch straight into the hot cherry mixture can cause lumps. Always mix it with cold water first to make a smooth slurry.
Overcooking the cherries.
Too much heat and stirring can turn them mushy. Once they start softening and the syrup thickens, remove from heat. You want tender cherries—not cherry jam.
Not tasting the mixture.
Relying strictly on the measurements can lead to an overly sweet or sour filling depending on your cherries. Always taste before finishing.
Filling while hot.
Adding hot filling to pie crusts or dessert layers can lead to soggy, disappointing textures. Cool first for best results.
Ignoring storage times.
Even though it looks fine in the fridge after a week, it’s best to use it within 5–7 days for peak flavor and freshness.
How to Store It
Storing cherry pie filling properly keeps it fresh and ready to use when inspiration (or sweet cravings) strike.
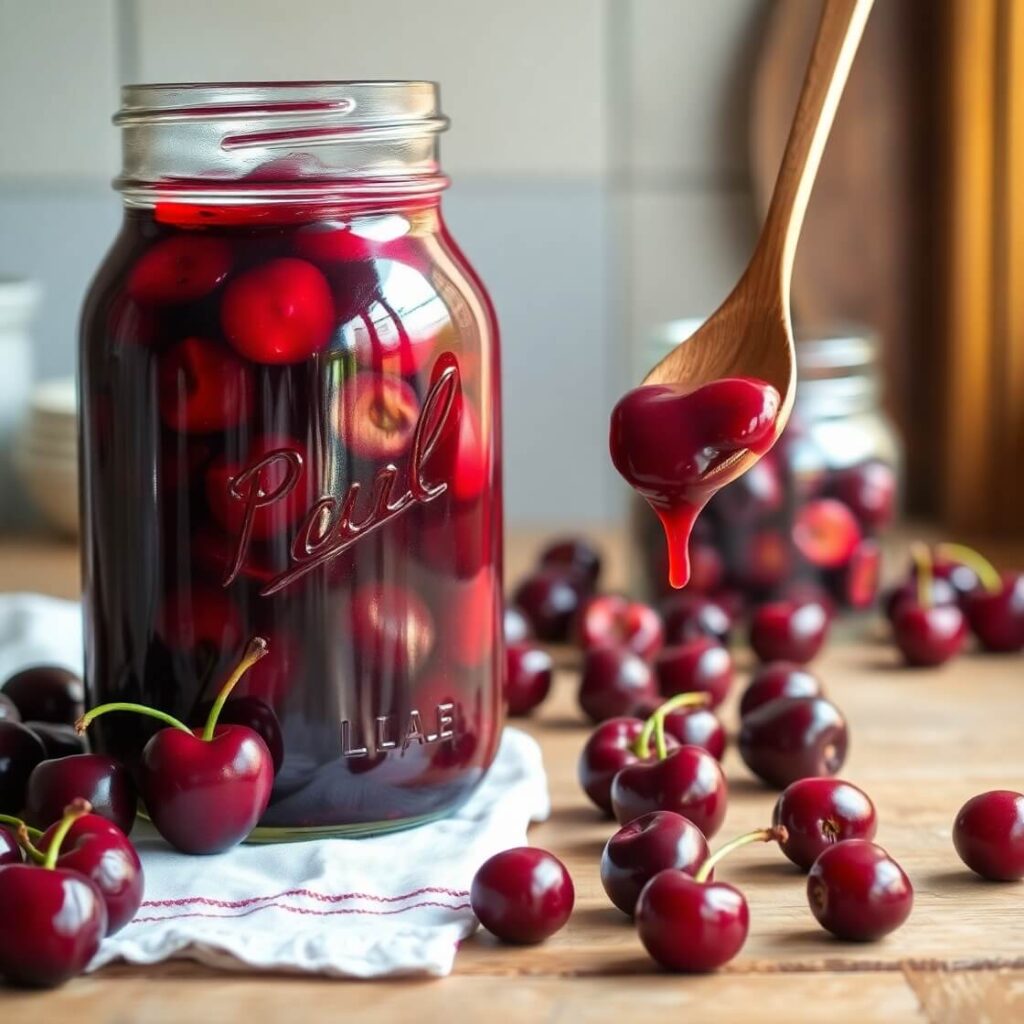
In the refrigerator:
Once cooled, transfer to a clean, airtight container or glass jar. It will last for 5 to 7 days in the fridge. Make sure the lid is tight to avoid absorbing fridge odors.
In the freezer:
If you want to store it longer, place the cooled filling into a freezer-safe container or resealable freezer bag (lay it flat for easy stacking). It’ll keep well for up to 3 months. Thaw overnight in the fridge before using, and give it a gentle stir. If it seems too loose, a quick heat on the stove will bring back the thickness.
Canning option:
If you’re experienced with water bath canning and want to preserve cherry pie filling for the long haul, this recipe can be adapted with proper guidance. Just be sure to follow safe canning protocols.
FAQ
Can I use this filling for other fruit pies?
Absolutely! Just substitute the cherries with blueberries, strawberries, or mixed berries. Adjust sugar and lemon juice to taste.
Can I use canned cherries instead of fresh or frozen?
Yes, but go for unsweetened canned cherries and drain them well. You may need to reduce the sugar slightly.
What kind of pie crust goes best with this filling?
Classic buttery pie crusts are perfect, but graham cracker or chocolate cookie crusts also work wonderfully for no-bake desserts.
Can I use this for cheesecake topping?
Definitely! It’s delicious spooned over a baked or no-bake cheesecake. Let the filling cool completely before using it as a topping.
Is this recipe vegan?
Yes, it’s naturally vegan and dairy-free! Just be mindful of substitutions if using butter-based pie crusts or serving with non-vegan sides.
Cherry Pie Filling Recipes
Sweet, glossy, and bursting with real cherry flavor, this homemade cherry pie filling is a delicious upgrade from the canned version. Whether you’re baking a classic cherry pie, making a cherry cheesecake, or spooning it over pancakes, this filling delivers that perfect blend of sweet and tart with a silky texture. It comes together in under 30 minutes and stores beautifully in the fridge or freezer, making it perfect for planning ahead or enjoying on the fly.
- Total Time: 25 minutes
- Yield: 2½
Ingredients
- 4 cups fresh or frozen cherries, pitted
- ¾ cup granulated sugar
- ¼ cup cornstarch
- ⅓ cup cold water
- 1 tablespoon lemon juice
- ½ teaspoon almond extract (optional)
Instructions
- Pit fresh cherries or thaw and drain frozen cherries.
- In a small bowl, mix cornstarch and cold water to create a slurry.
- In a medium saucepan, add cherries and sugar. Cook over medium heat until juicy.
- Pour in the cornstarch slurry, stirring constantly until thickened.
- Remove from heat and stir in lemon juice and almond extract.
- Let cool completely before storing or using.
Notes
- Adjust sugar depending on the sweetness of your cherries.
- Store in the fridge for up to 7 days or freeze for up to 3 months.
- For a thicker consistency, add a bit more cornstarch slurry during cooking.
- Prep Time: 15 minutes
- Cook Time: 10 minutes
- Category: Dessert
- Method: Stovetop
- Cuisine: American
- Diet: Vegan
Nutrition
- Serving Size: 2½
- Calories: 110
- Sugar: 18g
- Sodium: 2mg
- Fat: 0g
- Saturated Fat: 0g
- Unsaturated Fat: 0g
- Trans Fat: 0g
- Carbohydrates: 26g
- Fiber: 1g
- Protein: 0g
- Cholesterol: 0mg