
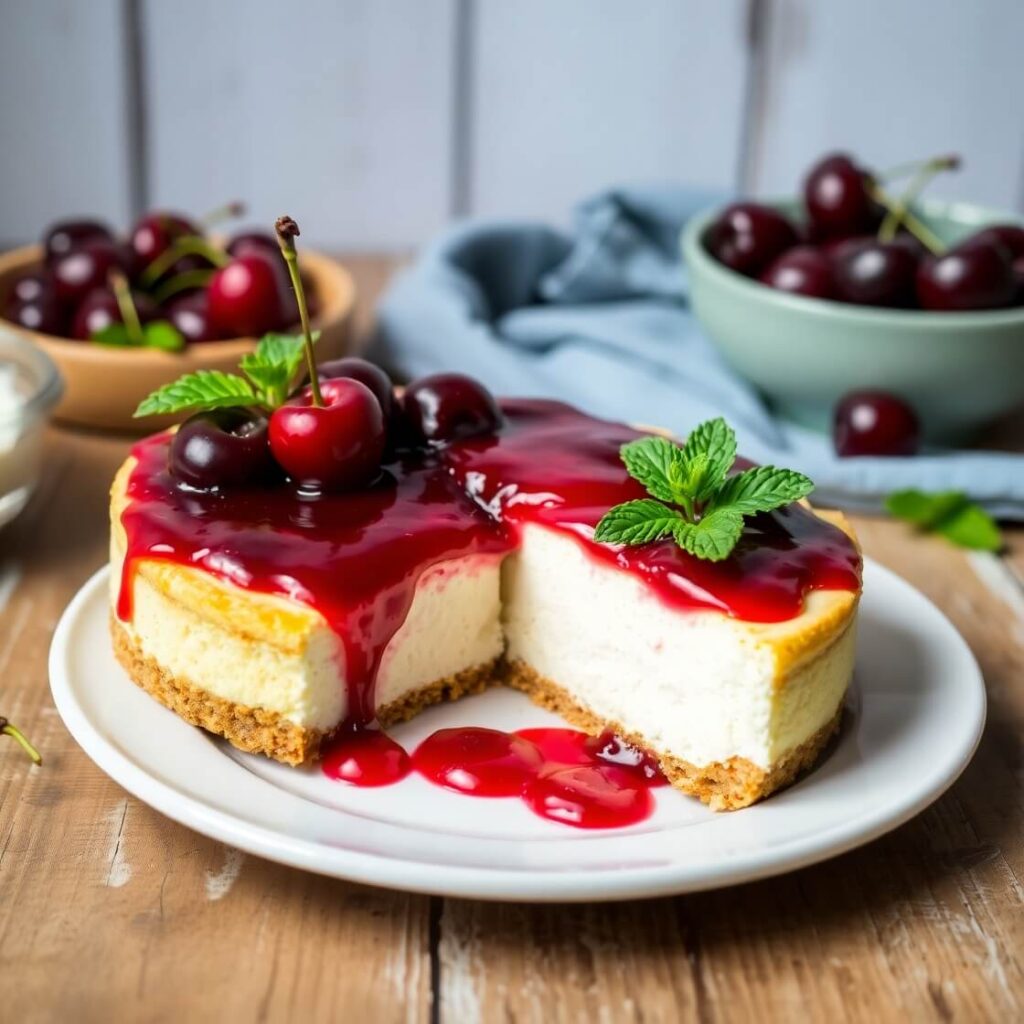
Cherry cheesecake no bake is one of those delightful desserts that’s perfect when you want something creamy, sweet, and a little bit tangy without firing up the oven. I first made this recipe on a warm summer evening when I was craving a rich dessert but didn’t want the kitchen to get hot. This recipe is simple, quick, and so satisfying — the luscious cream cheese filling paired with a sweet cherry topping is pure magic.
If you’re looking for a crowd-pleaser that’s fuss-free but still impressive, this cherry cheesecake no bake is exactly what you need. Plus, it’s great for beginners or anyone short on time but big on flavor. Let me show you how to whip it up!
Why I Love This Recipe

One of the best things about this cherry cheesecake no bake is how effortlessly delicious it is. It’s not just a dessert; it’s a celebration of textures and flavors without the hassle of baking.
The creamy, velvety cheesecake layer combines beautifully with the crunchy, buttery graham cracker crust, while the cherry topping adds a perfect burst of sweetness and color. It’s a recipe that feels indulgent yet approachable — you can make it for a casual family dinner or a special occasion and everyone will be impressed.
What really makes this recipe special is how flexible it is. You can adjust the sweetness to your liking, swap out cherries for other fruits, or add your own twists with nuts or chocolate. And because it’s no bake, it’s cool and refreshing, especially on hot days when a traditional baked cheesecake feels too heavy.
Ingredients for Cherry Cheesecake No Bake
To make this cherry cheesecake no bake, you’ll need a handful of simple ingredients that come together to create a luscious dessert.
For the crust, graham cracker crumbs and melted butter are essential to give it that classic crunchy base. The filling relies on cream cheese, which provides the rich, tangy flavor, and a bit of sugar for sweetness. Heavy cream or whipping cream is whipped into soft peaks to add that airy, smooth texture that makes the cheesecake so creamy without baking.
Vanilla extract adds a lovely aromatic touch that enhances all the flavors. Finally, the cherry topping can be made from cherry pie filling or fresh cherries simmered with sugar and a little cornstarch to thicken.
This recipe is straightforward but relies on quality ingredients to shine — a good cream cheese, fresh cream, and ripe cherries make all the difference.
How Much Time Will You Need
The beauty of this no bake cherry cheesecake is that it’s quick to prepare but needs some chilling time to set properly.
You can expect about 15 to 20 minutes of active preparation — crushing the crust, mixing the filling, and assembling the layers.
However, once everything is put together, the cheesecake needs to chill in the refrigerator for at least 4 hours, or preferably overnight. This waiting time lets the flavors meld, the filling firm up just right, and the crust soak up a bit of moisture to become perfectly tender.
So, while it’s not an instant dessert, the hands-on time is minimal, making it ideal for preparing ahead of time or when you want a fuss-free sweet treat.
How to Make This Cherry Cheesecake No Bake
Step – 1: Prepare the crust. Crush graham crackers into fine crumbs using a food processor or by placing them in a sealed bag and crushing with a rolling pin. Mix the crumbs with melted butter until the mixture looks like wet sand.
Step – 2: Press the crumb mixture firmly into the bottom of a springform pan or a pie dish to form an even crust layer. Use the back of a spoon or a flat-bottomed glass to compact it well. Place the crust in the refrigerator to chill while you prepare the filling.
Step – 3: Beat the cream cheese in a large bowl until it’s smooth and creamy, using an electric mixer on medium speed. Add granulated sugar and vanilla extract, and continue mixing until fully combined and fluffy.
Step – 4: In a separate bowl, whip the heavy cream until stiff peaks form. This means when you lift the whisk, the cream holds its shape without collapsing.
Step – 5: Gently fold the whipped cream into the cream cheese mixture using a spatula. Do this carefully so you keep the airy texture without deflating the whipped cream.
Step – 6: Pour the filling evenly over the chilled crust and smooth the top with a spatula. Cover the pan with plastic wrap or foil.
Step – 7: Refrigerate the cheesecake for at least 4 hours, ideally overnight, to let it set properly.
Step – 8: Before serving, spread cherry pie filling or your homemade cherry topping evenly over the cheesecake surface. You can add fresh cherries or a sprinkle of lemon zest for extra brightness.
Step – 9: Carefully remove the cheesecake from the springform pan, slice with a sharp knife (wipe the knife between slices for clean cuts), and serve chilled.
Substitutions
If you want to tweak this recipe or don’t have all the ingredients, there are some great substitutions you can try to keep the texture and flavor intact.
Instead of graham cracker crumbs, you can use digestive biscuits or vanilla wafers for the crust — just crush them finely and mix with butter as usual. For a gluten-free option, gluten-free cookies or almond flour mixed with butter work well too.
If you don’t have heavy cream, you can substitute with whipped coconut cream for a dairy-free version, though the texture will be a bit different but still delicious.
Cream cheese can sometimes be swapped for mascarpone or a mix of ricotta and cream cheese for a lighter, silkier filling.
For the cherry topping, fresh or frozen cherries simmered with sugar and a little cornstarch to thicken are a wonderful alternative to canned cherry pie filling.
Best Side Dish of Cherry Cheesecake No Bake
To make your dessert experience even better, consider serving your cherry cheesecake no bake alongside these delightful side dishes:
- Fresh berry salad with mint — to add a fresh, light contrast.
- A scoop of vanilla bean ice cream — for extra creaminess and indulgence.
- A cup of rich, dark espresso or coffee — to balance the sweetness perfectly.
Serving and Presentation Tips
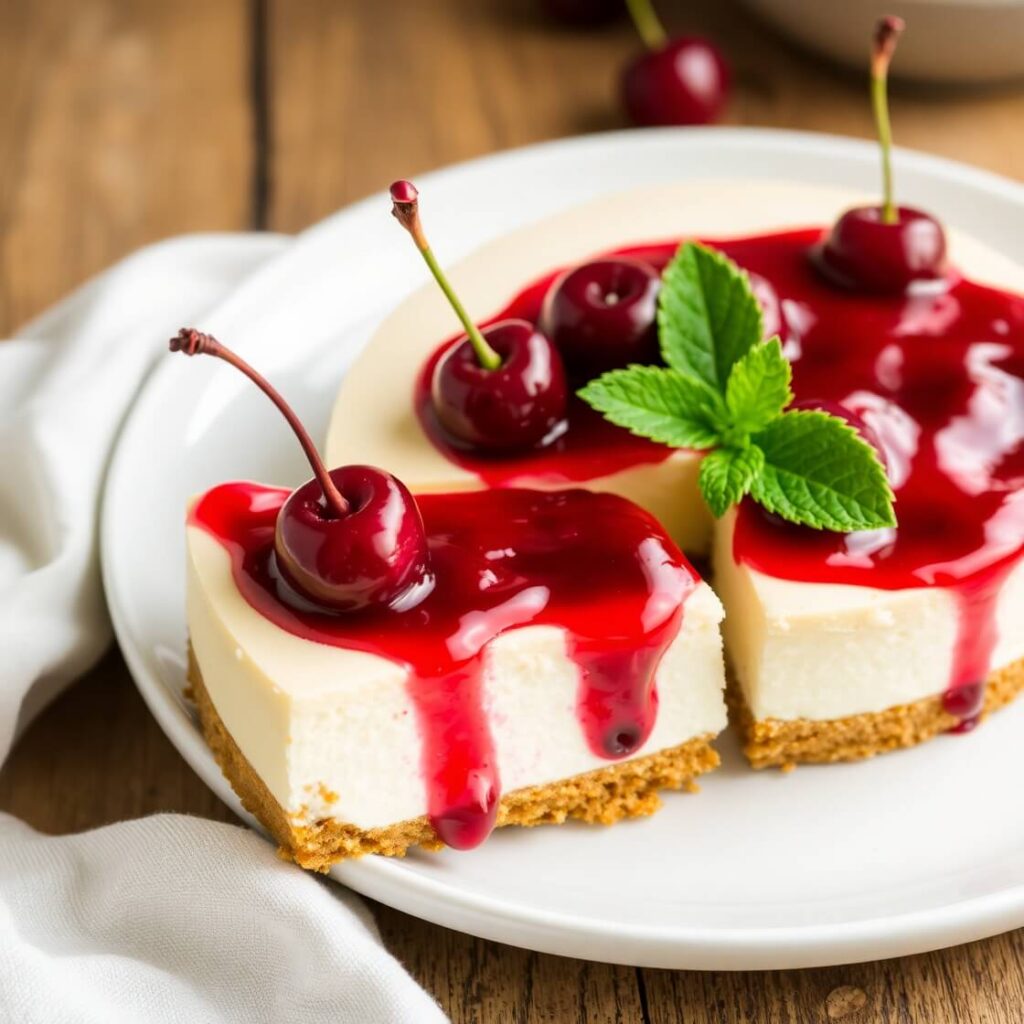
Serving cherry cheesecake no bake is all about making it look as irresistible as it tastes. Because the creamy white filling and vibrant cherry topping create a beautiful contrast, presentation can be simple yet elegant.
For a stunning effect, serve the cheesecake on a white or pastel-colored plate to make the colors pop. You can add a few fresh cherries or mint leaves on top to bring freshness and visual appeal.
If you want to get creative, drizzle a little melted dark chocolate or a dusting of powdered sugar around the edges of the serving plate. Using a sharp knife dipped in hot water before slicing helps achieve clean, perfect slices every time.
Consider serving with a side of whipped cream or a sprig of fresh herbs like mint or basil for an extra touch of sophistication. Clear glass dessert plates or small pedestal cake stands also elevate the presentation and make your dessert the centerpiece of the table.
Tips and Tricks to Make This Recipe Even Better
To take your cherry cheesecake no bake from good to great, here are some tips I’ve learned over time:
- Always use full-fat cream cheese and heavy cream for the creamiest texture. Low-fat versions won’t whip up as well and can make the filling watery.
- Make sure your cream cheese is softened to room temperature before mixing. This prevents lumps and makes the filling ultra-smooth.
- When folding in the whipped cream, be gentle and use a spatula in a folding motion rather than stirring. This keeps the mixture light and airy.
- Chill the crust for at least 30 minutes before adding the filling so it firms up nicely.
- Let the cheesecake set overnight if possible. The flavor deepens and the texture firms up beautifully.
- If you want an extra tang, add a tablespoon of lemon juice or a teaspoon of lemon zest to the filling.
- For a fun twist, swirl in some melted white or dark chocolate into the filling before chilling.
- To make slicing easier, dip your knife in hot water and wipe it dry between cuts.
Common Mistakes to Avoid
Making a no bake cheesecake is pretty straightforward, but a few pitfalls can trip you up if you’re not careful:
- Don’t rush the chilling time. Cutting into the cheesecake too soon will cause the filling to be too soft and runny.
- Avoid over-whipping the cream cheese or the cream. Overbeating can make the filling grainy or cause the whipped cream to collapse.
- Be careful when folding the whipped cream into the cream cheese mixture. Stirring too vigorously will deflate the whipped cream and make the texture dense.
- Using cold cream cheese straight from the fridge can cause lumps. Always soften it first.
- Pressing the crust too hard can make it rock hard. Press just firmly enough to hold it together.
- If you skip chilling the crust before adding the filling, it may become soggy.
How to Store It
Cherry cheesecake no bake should be stored in the refrigerator to keep it fresh and creamy.
Cover the cheesecake tightly with plastic wrap or store it in an airtight container to prevent it from absorbing any fridge odors.
It will keep well for 3 to 4 days, making it a great make-ahead dessert.
If you want to store it longer, you can freeze it. Wrap the cheesecake (whole or in slices) tightly in plastic wrap and then foil, and freeze for up to one month. Thaw overnight in the fridge before serving.
Avoid leaving the cheesecake out at room temperature for more than two hours, especially if the weather is warm.
FAQ
Can I use low-fat cream cheese or cream?
For the best texture and taste, full-fat cream cheese and heavy cream are recommended. Low-fat versions might make the cheesecake less creamy and affect its ability to set properly.
Can I make this recipe vegan?
Yes! Substitute cream cheese and heavy cream with vegan alternatives like cashew cream cheese and coconut whipped cream. Use a gluten-free or vegan cookie crust if needed.
What if I don’t have cherry pie filling?
You can make your own topping by simmering fresh or frozen cherries with sugar and a little cornstarch to thicken. It’s simple and tastes fresher.
Can I make individual servings instead of one big cheesecake?
Absolutely! Use small jars or ramekins to layer crust, filling, and cherry topping. Just adjust chilling time slightly.
How long does this cheesecake last?
Stored properly in the fridge, it will last about 3 to 4 days. For longer storage, freeze it for up to one month.
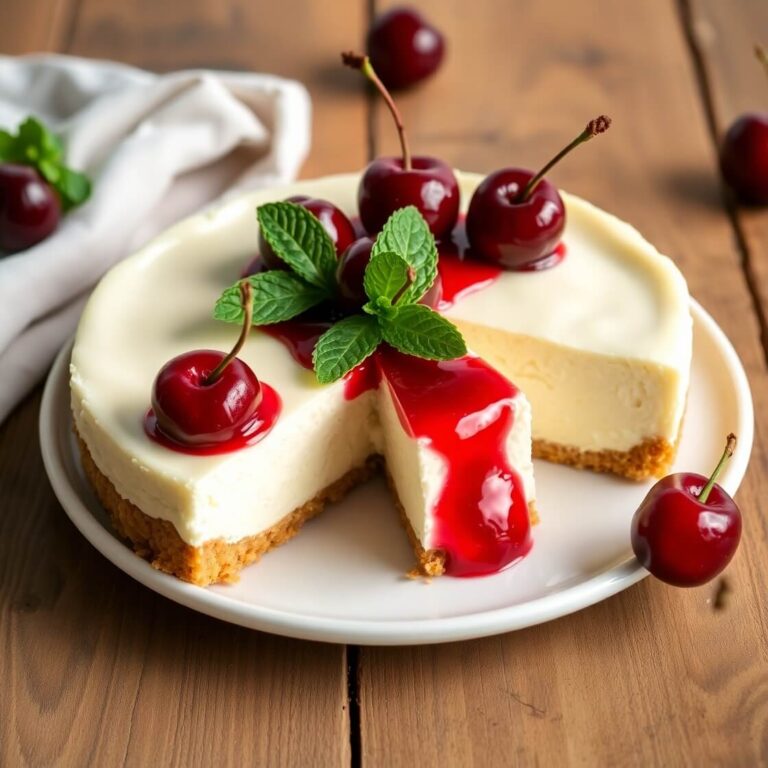
Cherry Cheesecake No Bake
A delightfully creamy and luscious dessert that combines a buttery graham cracker crust, smooth cream cheese filling, and a sweet cherry topping — all without turning on the oven. This no bake cherry cheesecake is perfect for any occasion, quick to make, and irresistibly delicious. Whether you’re a beginner or a dessert pro, this recipe delivers a fresh and elegant treat that will impress your family and friends.
- Total Time: 4 hours 20 minutes (mostly chilling)
- Yield: 8
Ingredients
- 2 cups graham cracker crumbs
- 6 tablespoons unsalted butter, melted
- 16 oz (450g) cream cheese, softened
- 3/4 cup granulated sugar
- 1 teaspoon vanilla extract
- 1 cup heavy whipping cream
- 1 cup cherry pie filling or homemade cherry topping
Instructions
- Combine graham cracker crumbs and melted butter until moist. Press firmly into a pan’s base. Chill 30 minutes.
- Beat softened cream cheese, sugar, and vanilla until smooth.
- Whip heavy cream until stiff peaks form.
- Fold whipped cream gently into cream cheese mixture.
- Pour filling over chilled crust and smooth top. Cover and chill 4+ hours.
- Before serving, spread cherry topping evenly on cheesecake. Slice and enjoy chilled.
Notes
- For best results, soften cream cheese fully before mixing.
- Chill cheesecake overnight for a firmer set and deeper flavor.
- Use a hot knife for clean slices.
- Customize toppings by adding fresh cherries or a drizzle of chocolate.
- Prep Time: 20 minutes
- Cook Time: 4 hours to overnight
- Category: Dessert
- Method: No bake
- Cuisine: American
- Diet: Vegetarian
Nutrition
- Serving Size: 8
- Calories: 370
- Sugar: 30g
- Sodium: 150mg
- Fat: 27g
- Saturated Fat: 16g
- Unsaturated Fat: 9g
- Trans Fat: 0g
- Carbohydrates: 26g
- Fiber: 1g
- Protein: 5g
- Cholesterol: 90mg