There’s something undeniably comforting about the creamy richness of cheesecake—but sometimes, you just want that luscious bite without the fuss of a water bath or a springform pan. That’s where these cheesecake bars come in. Easy to make, perfectly portable, and just as indulgent, they’ve become one of my go-to dessert recipes for gatherings, potlucks, and quiet nights in.
I first started making cheesecake bars during the holiday season when I needed a dessert that felt special but didn’t keep me stuck in the kitchen all day. What began as a last-minute experiment turned into a household favorite. These bars are everything you love about classic cheesecake—smooth, tangy, sweet, and rich—but in a much more approachable format.
If you’re someone who wants the satisfaction of cheesecake with a fraction of the effort, you’re in for a treat.
Why I Love This Recipe

There’s a lot to adore about these cheesecake bars beyond just how delicious they are. For starters, they’re incredibly simple to make, even for beginner bakers. No springform pans. No water baths. No cracking nightmares. Just layer, bake, chill, slice, and serve.
But what really makes this recipe shine is its versatility. You can serve them plain, swirl them with fruit puree, top with fresh berries, or drizzle with chocolate. They’re the kind of dessert that adapts to any occasion.
The crust is buttery and crisp, the cheesecake layer is creamy and tangy with just the right amount of sweetness, and the whole thing slices up like a dream. Whether you’re baking for a party or prepping a weeknight dessert that feels a little extra, these bars never disappoint.
They also store beautifully in the fridge or freezer—making them perfect for make-ahead planning. I can’t tell you how many times I’ve tucked a few slices away in the freezer for a late-night sweet tooth.
Ingredients for Cheesecake Bars
To make a batch of delicious cheesecake bars, you’ll need just a handful of pantry staples—and a few refrigerator essentials. Each ingredient plays a key role in building the perfect texture and flavor, so I recommend using full-fat dairy for the creamiest results.
For the Crust:
- Graham cracker crumbs: These form the base of the crust. You can crush graham crackers by hand or use a food processor for a finer texture.
- Unsalted butter: Melted butter binds the crumbs together and gives that rich, golden flavor.
- Granulated sugar: Adds just a touch of sweetness to the crust and helps it caramelize slightly during baking.
For the Filling:
- Cream cheese: The star of the show. Make sure it’s room temperature so it mixes smoothly without lumps.
- Granulated sugar: Sweetens the filling just enough without overpowering the tang of the cream cheese.
- Sour cream: This adds extra creaminess and a slight tang, balancing out the sweetness.
- Vanilla extract: For depth of flavor.
- Large eggs: These help set the cheesecake. Always add eggs one at a time to keep the batter smooth.
Optional Toppings (for flair):
- Fresh berries
- Fruit compote or jam swirls
- Melted chocolate or caramel drizzle
- Whipped cream
These are totally optional, but they really elevate the look and taste for special occasions.
How Much Time Will You Need
These cheesecake bars are deceptively simple to prepare, but like any cheesecake, they do need chilling time to set fully. Here’s a rough timeline:
- Prep time: 15–20 minutes
- Bake time: 35–40 minutes
- Cooling time at room temperature: 1 hour
- Chill time in fridge: At least 4 hours (overnight is even better)
So, while the hands-on time is under 30 minutes, plan ahead so the bars have enough time to chill completely before slicing.
How to Make This Cheesecake Bars Recipe
Step – 1: Prepare the Pan and Oven
Preheat your oven to 325°F (163°C). Line a 9×13-inch baking pan with parchment paper, leaving an overhang on the sides so you can lift the bars out easily later.
Step – 2: Make the Crust
In a medium bowl, mix 2 cups of graham cracker crumbs, 1/2 cup melted unsalted butter, and 1/4 cup granulated sugar. Stir until the mixture resembles wet sand.
Press this mixture firmly and evenly into the bottom of the prepared pan. I like to use the bottom of a measuring cup to pack it down tightly—it helps prevent crumbling later.
Bake the crust for 8–10 minutes, then remove and let cool slightly while you prepare the filling.
Step – 3: Beat the Cream Cheese
In a large mixing bowl (or stand mixer), beat 24 ounces of softened cream cheese on medium speed for 2–3 minutes until smooth and creamy. Scrape down the sides of the bowl a few times to ensure no lumps remain.
Step – 4: Add Sugar and Sour Cream
Add 1 cup granulated sugar, 3/4 cup sour cream, and 1 tablespoon vanilla extract to the cream cheese. Beat again until the mixture is fully combined and silky.
Step – 5: Add the Eggs
One at a time, add 3 large eggs, beating on low speed just until incorporated. Avoid overmixing here—too much air can cause cracks or puffiness. Once the mixture is smooth, pour it over the cooled crust.
Step – 6: Bake the Bars
Smooth out the top with a spatula and tap the pan gently on the counter to release any air bubbles. Bake for 35–40 minutes, or until the center is set but still slightly jiggly.
The edges will look puffed and slightly golden. That’s your sign to pull it out.
Step – 7: Cool and Chill
Let the bars cool at room temperature for about 1 hour, then transfer to the fridge for at least 4 hours, or overnight. This is essential for clean slicing and the best flavor.
Step – 8: Slice and Serve
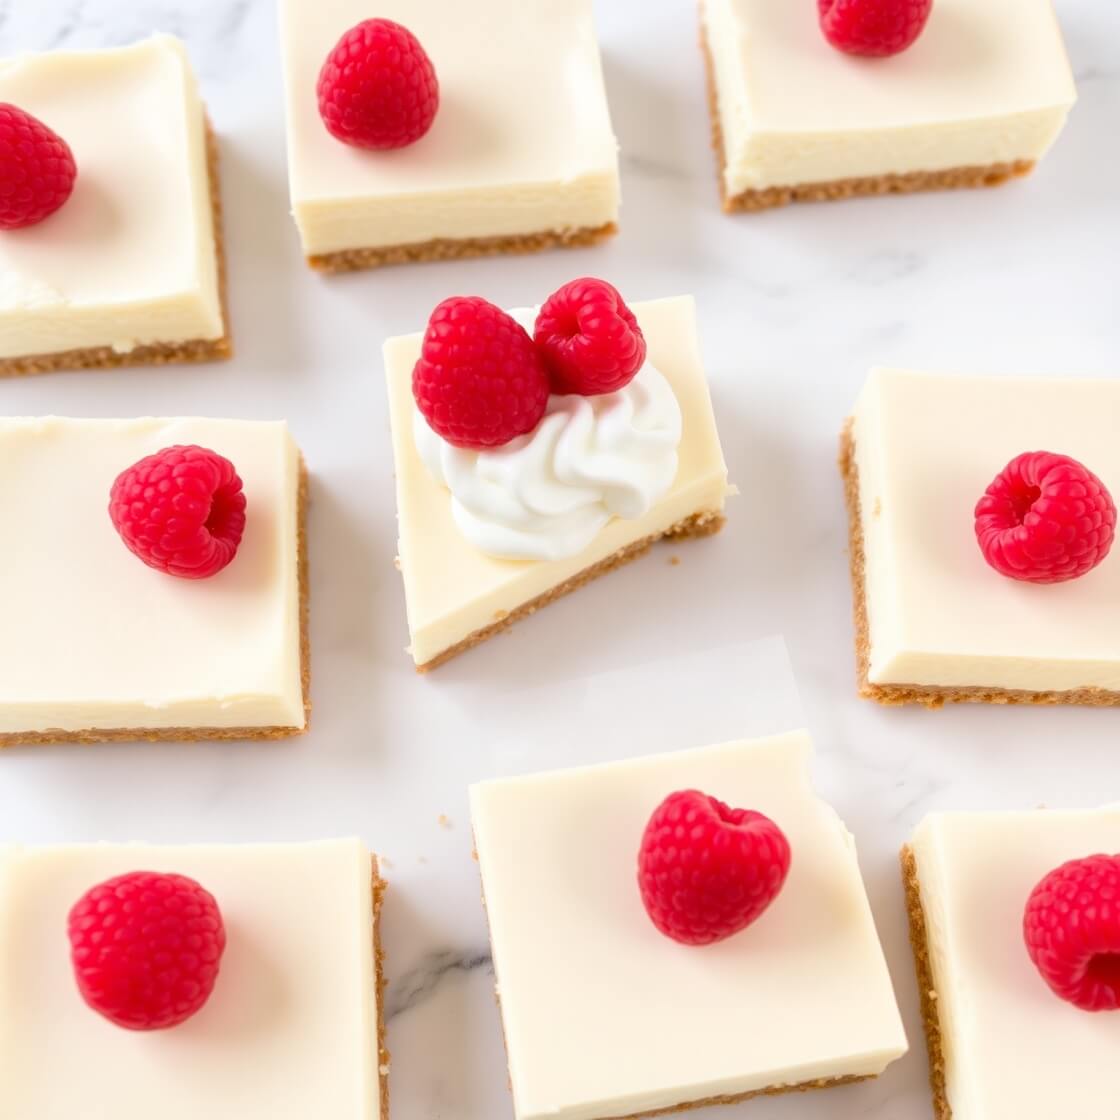
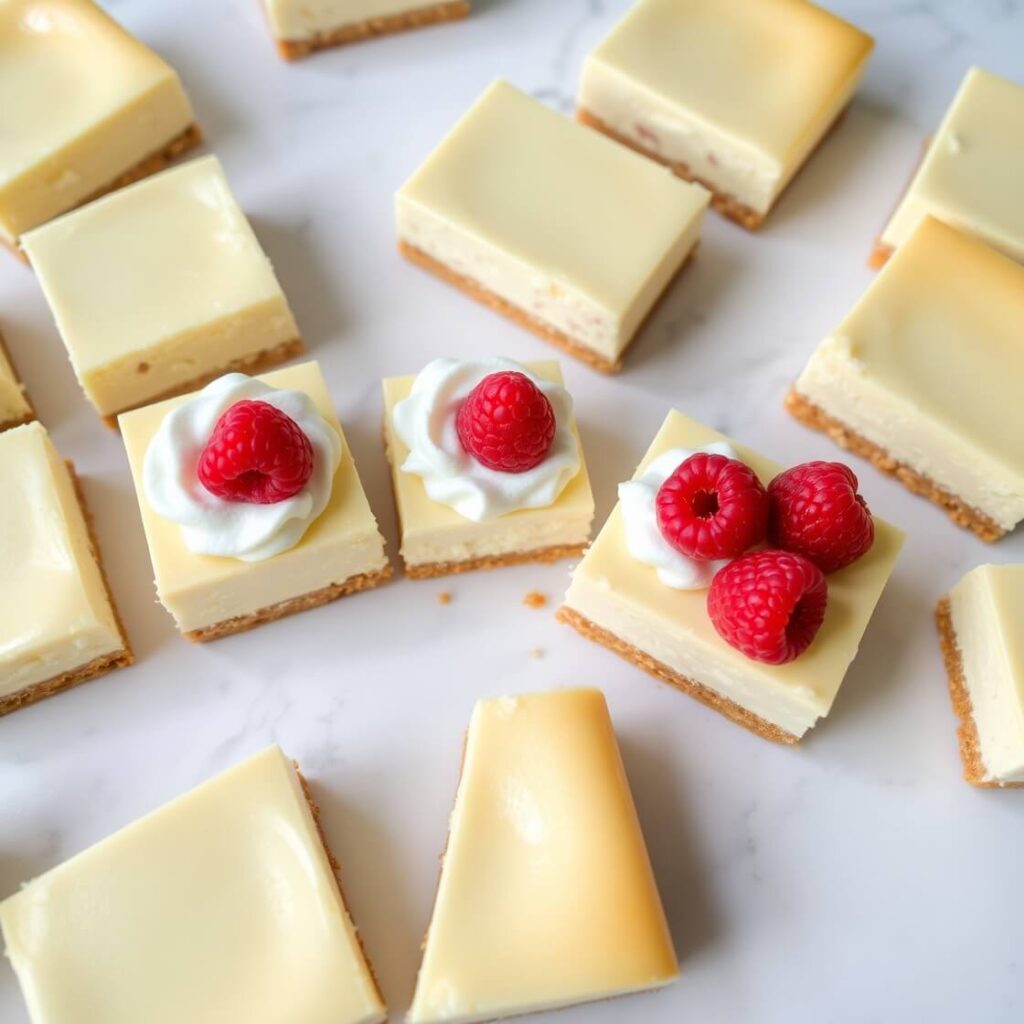
Once chilled, lift the cheesecake bars out using the parchment paper overhang. Use a sharp knife (clean it between cuts!) to slice into squares or rectangles. Top with fresh berries or a dusting of powdered sugar if desired.
Substitutions
If you’re looking to switch things up or accommodate dietary preferences, here are some thoughtful substitutions that work beautifully without sacrificing taste.
- Crust alternatives: Instead of graham crackers, try crushed digestive biscuits, vanilla wafers, or even crushed Oreos for a chocolate twist.
- Dairy-free option: Use plant-based cream cheese (like almond- or cashew-based) and a dairy-free sour cream alternative. The texture won’t be exactly the same, but still delicious.
- Sweetener swap: Coconut sugar or maple sugar can be used instead of granulated sugar. Keep in mind it may slightly darken the color and deepen the flavor.
- Egg-free version: Try using a commercial egg replacer or silken tofu. The bars will be softer but still creamy.
These substitutions are perfect for customizing the recipe to suit different dietary needs or just exploring new flavors.
Best Side Dish of Cheesecake Bars
Cheesecake bars are pretty rich and creamy, so I like to serve them with something that balances or complements that texture. Here are my top pairings:
- Fresh fruit salad: The lightness and brightness of berries or citrus fruit help cut through the richness of the bars.
- Espresso or cold brew coffee: A slightly bitter, bold coffee pairs perfectly with the creamy sweetness of cheesecake.
- Sparkling lemonade: It adds a refreshing contrast and a touch of acidity that pairs beautifully with the bars’ dense texture.
Serving and Presentation Tips
When it comes to cheesecake bars, presentation can elevate them from a casual treat to a showstopping dessert. Since these bars slice beautifully, they’re already ideal for serving at events or get-togethers. But let’s make them even more memorable.
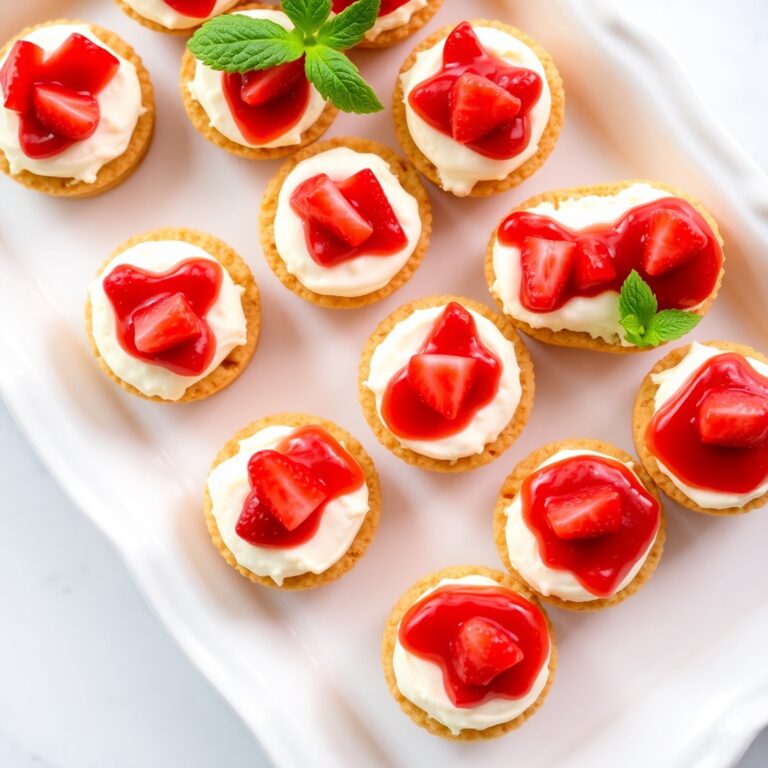
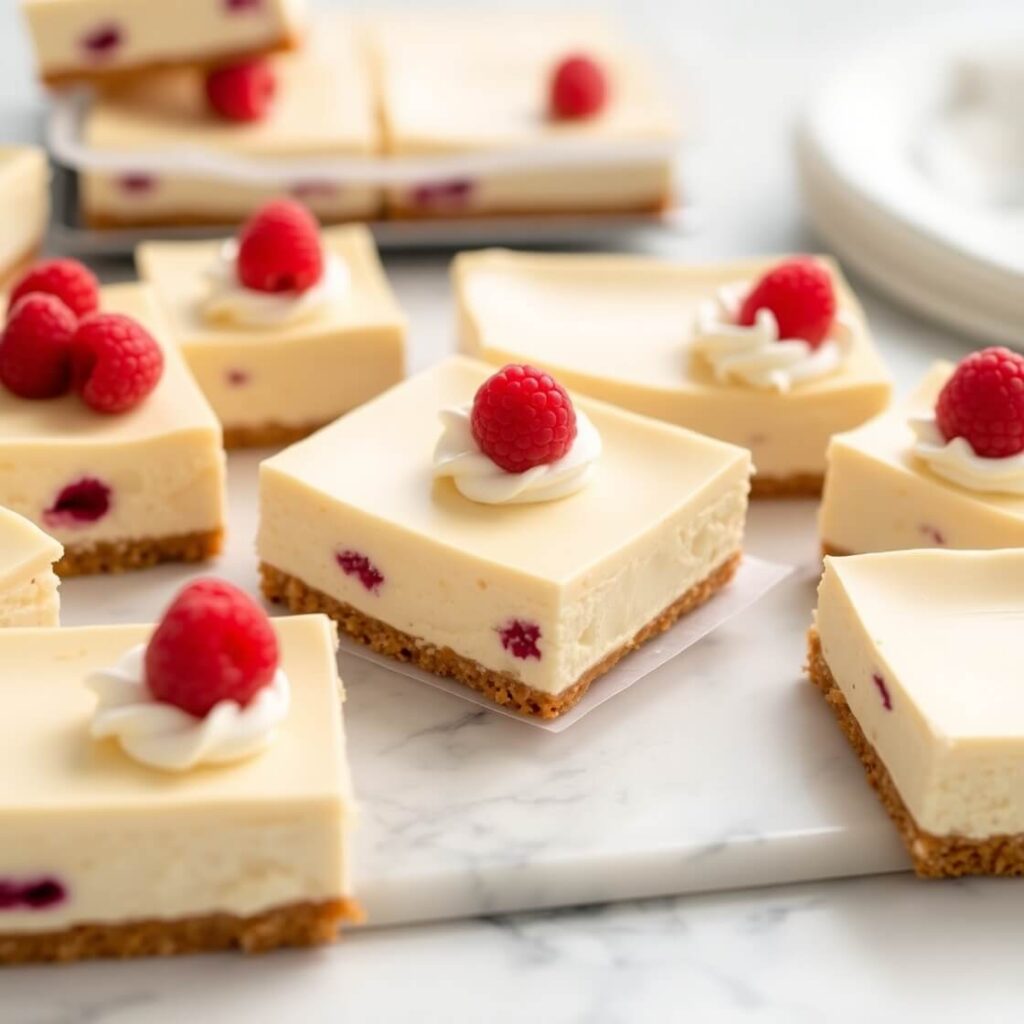
Here’s my favorite way to serve them: I chill the bars overnight, then slice them into even squares using a hot knife (wipe it clean between cuts for sharp edges). I arrange them on a cake stand or long white platter and top each square with a small dollop of whipped cream, a raspberry, and a tiny mint leaf.
If you’re going for something simpler, a light dusting of powdered sugar right before serving looks elegant and doesn’t add extra sweetness. You can also drizzle melted chocolate, berry coulis, or caramel sauce on a serving platter in zig-zags and nestle each cheesecake bar right on top.
Think about the season too—fresh strawberries in summer, cinnamon whipped cream in fall, or a touch of peppermint in winter. These little flourishes help make your bars feel festive without extra effort.
Tips and Tricks to Make This Recipe Even Better
Let’s make these cheesecake bars not just good—but truly bakery-worthy. Here are a few tricks I’ve picked up through the years:
- Use room temperature ingredients: This is the key to a silky smooth batter. Cold cream cheese or eggs can lead to a lumpy texture. Let them sit out for at least 30–45 minutes before you start.
- Don’t overmix the batter after adding the eggs: This can introduce too much air, which causes the bars to rise and fall—and potentially crack. Mix gently and just until combined.
- Tap the pan before baking: A gentle tap on the countertop helps release any air bubbles and leads to a smoother surface.
- Chill overnight if possible: I know the wait is hard, but it gives the flavors time to develop and makes slicing much cleaner.
- Wipe your knife between cuts: For perfect slices, dip your knife in hot water, wipe it clean, and repeat after each cut.
These little details might seem small, but together they make a big difference in taste, texture, and presentation.
Common Mistakes to Avoid
Even though cheesecake bars are easier than a full cheesecake, a few common missteps can affect the final result. Here’s what to watch out for:
- Using cold cream cheese: This leads to lumps in your filling that are almost impossible to smooth out later. Always let it come to room temperature first.
- Overbaking: It’s tempting to bake until it looks fully set, but cheesecake continues to set as it cools. Overbaking can cause cracking or a rubbery texture.
- Skipping the chill time: Cutting too early will leave you with messy, goopy bars. Chill at least 4 hours—overnight is best.
- Not lining your pan properly: Use parchment with overhang. It makes removal a breeze and keeps the crust intact.
- Overmixing the eggs: You want to mix just enough to incorporate. Too much air in the batter = cracks.
Avoiding these will help you turn out perfectly creamy, dreamy bars every single time.
How to Store It
Cheesecake bars are excellent for make-ahead prep, and they store really well—both in the fridge and freezer.
In the Refrigerator:
Once the bars have cooled and been sliced, store them in an airtight container in the fridge for up to 5 days. I like to layer parchment paper between the bars if I’m stacking them.
In the Freezer:
These freeze beautifully. Place the bars (unsliced or sliced) on a baking sheet and freeze until solid, then wrap them tightly in plastic wrap and store in a freezer-safe container or zip-top bag. They’ll last up to 2 months. To serve, thaw in the fridge overnight or on the counter for 1–2 hours.
Pro tip: Freeze the bars without toppings for best texture. Add whipped cream, fruit, or sauces after thawing.
FAQ
Can I make cheesecake bars without graham crackers?
Yes! You can use crushed digestive biscuits, vanilla wafers, Oreos, or even a shortbread crust. Just follow the same method—adjust sugar slightly depending on the sweetness of your substitute.
Why are my cheesecake bars cracking?
This usually happens due to overbaking or overmixing the eggs. Make sure to beat gently and stop baking when the center is still a little jiggly.
Can I add fruit to the filling?
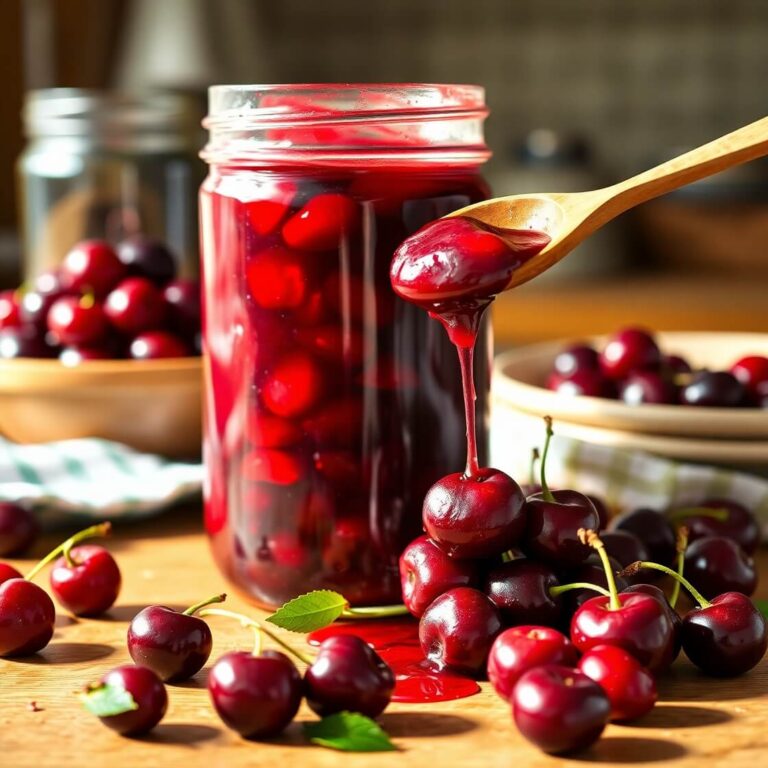
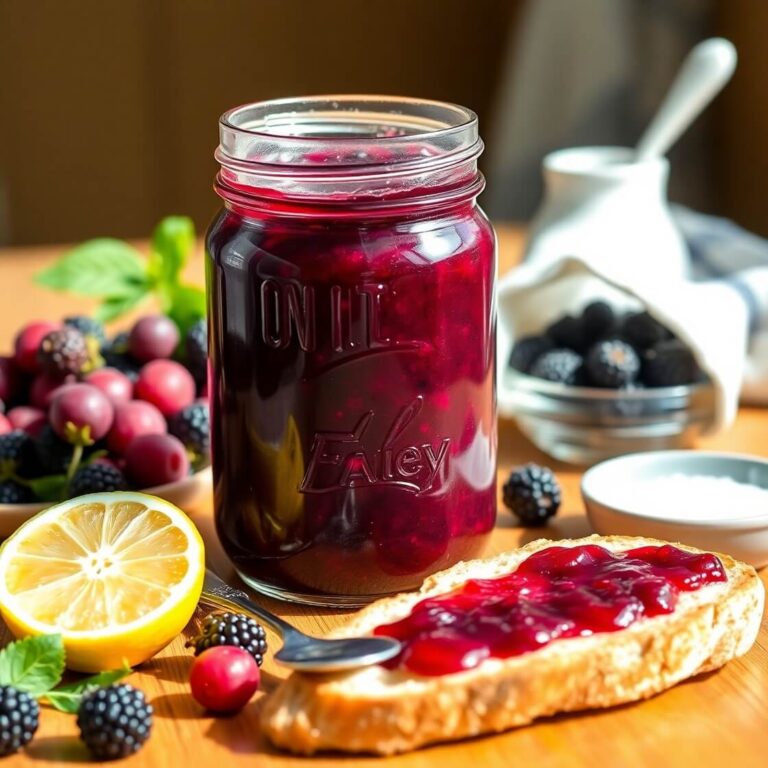
Absolutely. Swirl in raspberry jam or blueberry compote before baking for a fruity twist. Just be careful not to add too much liquid—thick fruit sauces work best.
Do I need a water bath?
Nope! One of the beauties of cheesecake bars is that you can skip the water bath. The lower baking temperature and thinner layer of filling make it unnecessary.
Can I make this gluten-free?
Yes, use gluten-free graham crackers for the crust. Make sure your other ingredients (like vanilla extract) are certified gluten-free as well.
Print
Cheesecake Bars Recipe
These easy cheesecake bars are rich, creamy, and ultra-satisfying—everything you love about classic cheesecake in a simplified, sliceable form. With a buttery graham cracker crust and smooth vanilla-scented filling, they’re perfect for make-ahead entertaining, potlucks, or weekday treats. No water bath, no complicated techniques—just pure, creamy goodness in every bite.
- Total Time: 6 hours (includes chill time)
- Yield: 18–24
Ingredients
1 . For the crust:
- 2 cups graham cracker crumbs
- 1/2 cup unsalted butter, melted
- 1/4 cup granulated sugar
2 . For the filling:
- 3 packages (8 oz each) cream cheese, softened
- 1 cup granulated sugar
- 3/4 cup sour cream
- 1 tablespoon vanilla extract
- 3 large eggs
Instructions
- Preheat oven to 325°F (163°C). Line a 9×13-inch pan with parchment paper.
- Mix graham cracker crumbs, melted butter, and sugar in a bowl. Press firmly into the pan. Bake for 8–10 minutes. Cool slightly.
- In a large bowl, beat softened cream cheese until smooth.
- Add sugar, sour cream, and vanilla. Beat until combined and creamy.
- Add eggs one at a time, mixing on low until just incorporated.
- Pour filling over crust and smooth the top.
- Bake for 35–40 minutes or until the center is just set.
- Cool for 1 hour at room temperature, then chill for 4+ hours or overnight.
- Slice and serve with optional toppings like berries, whipped cream, or drizzle.
Notes
- For clean slices, chill thoroughly and use a hot, clean knife between cuts.
- You can add swirls of jam or melted chocolate before baking for added flair.
- Store leftovers in the fridge for up to 5 days or freeze for up to 2 months.
- Prep Time: 20 minutes
- Cook Time: 35–40 minutes
- Category: Dessert
- Method: Baking
- Cuisine: American
- Diet: Vegetarian
Nutrition
- Serving Size: 18–24
- Calories: 265
- Sugar: 14g
- Sodium: 180mg
- Fat: 20g
- Saturated Fat: 12g
- Unsaturated Fat: 7g
- Trans Fat: 0g
- Carbohydrates: 19g
- Fiber: 0g
- Protein: 4g
- Cholesterol: 65mg