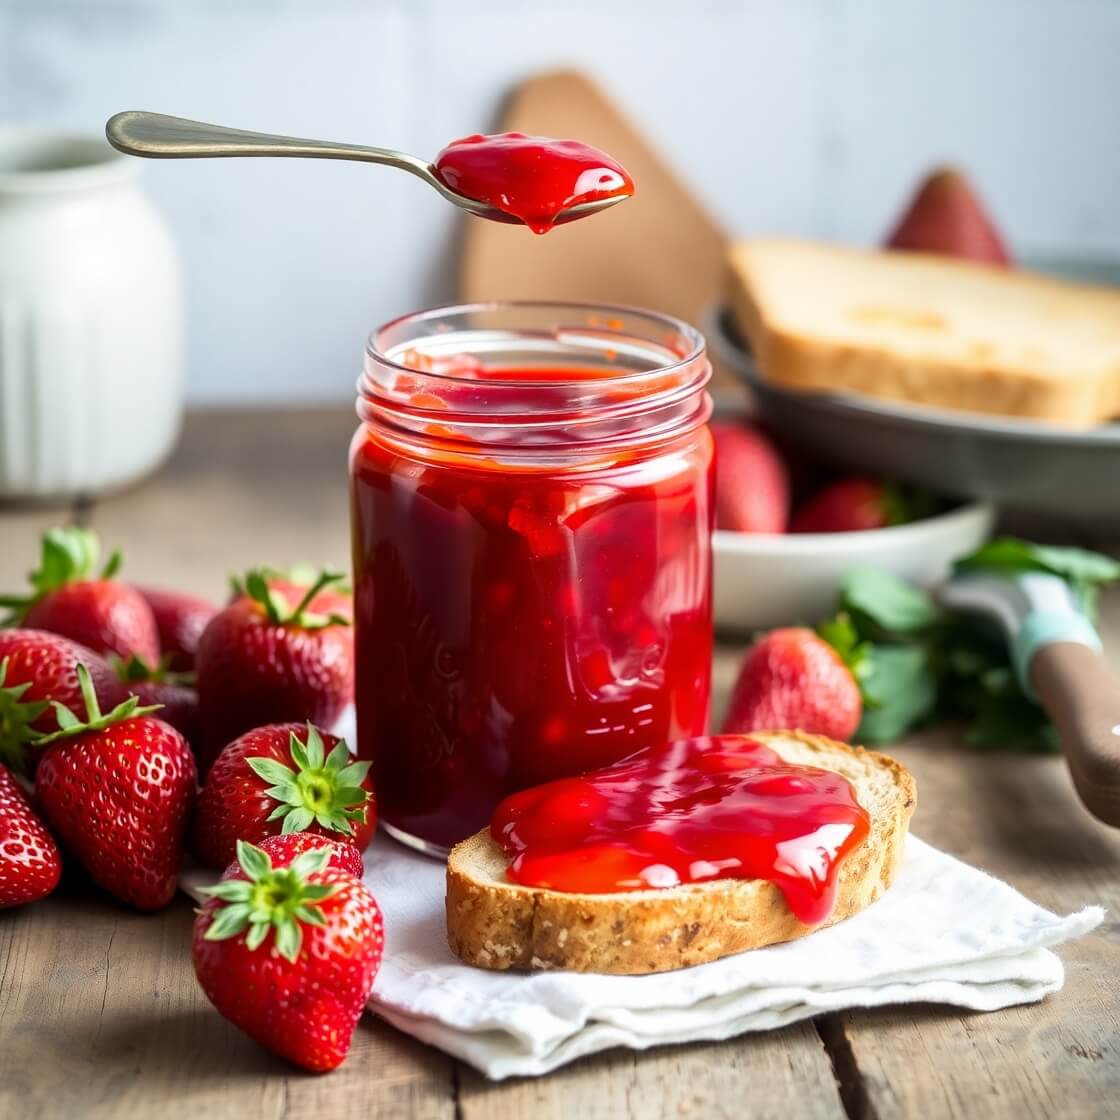
There’s nothing quite like opening a jar of homemade strawberry jam in the middle of winter and being transported right back to the warmth of early summer. This strawberry jam recipe for canning came to life during one of those seasons when berries were overflowing at the farmer’s market and I just couldn’t resist picking up a few too many punnets. That abundance sparked an idea: why not preserve that sweetness for the colder months ahead?
Whether you’re a seasoned canner or just dipping your toes into the world of food preservation, this recipe will walk you through every step of the process in a clear, approachable way. Homemade jam is not only tastier than store-bought — it’s filled with memories, warmth, and the pride of something crafted with your own hands. Read on and I’ll show you how simple and satisfying it is to turn fresh strawberries into jars of ruby-red deliciousness.
Why I Love This Recipe

There’s something magical about strawberry jam. It’s the kind of kitchen classic that never goes out of style. Sweet, slightly tart, and lusciously spreadable — it’s a staple in my pantry all year round. But what makes this particular recipe stand out?
First, the flavor. It captures the peak essence of strawberries. When you preserve strawberries at their ripest, you lock in their bright, sun-kissed taste. Unlike many commercial jams that rely heavily on corn syrup or artificial flavoring, this version is made with just strawberries, sugar, lemon juice, and natural pectin — keeping the flavor pure and fruit-forward.
Second, the texture. I’ve carefully developed this method to create a jam that’s thick enough to cling to toast, yet soft enough to swirl into yogurt or oatmeal. It’s spoonable, spreadable, and never rubbery.
Third, the process. I love how methodical and calming the canning process can be. It’s almost meditative — washing the jars, stirring the bubbling fruit, hearing the “pop” as the jars seal. It connects me to a slower, more intentional way of cooking.
This isn’t just a recipe. It’s a seasonal tradition, a thoughtful gift, and a little jar of joy that brightens even the gloomiest of mornings.
Ingredients for Strawberry Jam Recipe Canning
The beauty of this recipe lies in its simplicity. With just a few high-quality ingredients, you can make a jam that tastes like summer in a spoon.
At the heart of it all? Strawberries. And not just any strawberries — you want them ripe, fragrant, and deep red all the way through. Early summer berries are best, when they’re bursting with flavor and naturally high in pectin.
Here’s what you’ll need:
- Fresh Strawberries: About 4 cups, hulled and chopped. Choose berries that are deep red and fully ripe — they’ll deliver the most flavor and natural sweetness.
- Granulated Sugar: Approximately 2½ to 3 cups. This not only sweetens the jam but also helps preserve it. You can adjust the amount based on the sweetness of your berries.
- Lemon Juice (freshly squeezed): 2 tablespoons. This adds acidity to balance the sweetness and helps the jam set properly by activating the natural pectin.
- Pectin (optional, depending on method): Some strawberry varieties are low in natural pectin. You can use a powdered fruit pectin if you want a firmer set, especially if you’re using overripe berries.
Using simple ingredients allows the fresh fruit to shine. Avoid using frozen strawberries here — they tend to have more water and can make the jam runny.
How Much Time Will You Need
Strawberry jam canning isn’t an all-day affair, but it does require a bit of focused time — and it’s absolutely worth it.
- Prep Time: 20 minutes (includes washing, hulling, and chopping strawberries)
- Cook Time: 25–30 minutes (depends on your stovetop and the moisture content of the fruit)
- Canning Time: 15 minutes (processing the jars in a water bath)
- Total Time: Around 1 hour 15 minutes
With a little planning, you can turn a lazy Sunday afternoon into a productive, joy-filled kitchen session — and end up with jars of jam to last you for months.
How to Make This Strawberry Jam Recipe Canning

Making jam can feel a little intimidating if you’re new to canning, but I promise, once you go through it step-by-step, it becomes second nature. Just take it slow and enjoy the process.
Step – 1: Prepare Your Jars
Start by washing your canning jars, lids, and rings in hot soapy water. Rinse them well and keep them in hot water or a warm oven (around 200°F) to keep them sterile until you’re ready to fill them.
Fill a large pot with water and bring it to a simmer. This will be your water bath for sealing the jars.
Step – 2: Prep the Strawberries
Rinse your strawberries under cool running water, then gently pat them dry.
Remove the green tops and hull the strawberries. Chop them into small chunks — the size depends on how chunky or smooth you like your jam.
Place the chopped berries in a large, heavy-bottomed saucepan. If you prefer a smoother texture, you can mash some or all of the berries with a potato masher before cooking.
Step – 3: Add Sugar and Lemon Juice
To the saucepan with strawberries, add the sugar and lemon juice.
Stir everything together gently, allowing the sugar to start dissolving. Let the mixture sit for 5–10 minutes before cooking to help draw out the juices.
Step – 4: Cook the Jam
Place the saucepan over medium-high heat and bring the mixture to a boil, stirring frequently to prevent sticking.
Once it starts bubbling, reduce the heat slightly and simmer. Stir constantly as the jam begins to thicken and foam forms on the surface.
Skim off any foam with a spoon for a clearer jam.
Keep cooking until the jam reaches the gel stage. This usually happens around 220°F (use a candy thermometer), or when the mixture sheets off the back of a spoon instead of dripping.
If you’re using pectin, follow the instructions on the packet — typically you’ll add it after boiling the fruit and sugar for a few minutes.
Step – 5: Fill the Jars
Once the jam is ready, remove it from heat and let it rest for a minute.
Using a ladle and funnel, carefully fill each warm jar with hot jam, leaving about ¼ inch of headspace at the top.
Wipe the rims of the jars with a clean damp cloth to ensure a good seal. Place the lids on and screw the rings until fingertip tight.
Step – 6: Process the Jars
Lower the filled jars into your simmering water bath. Make sure the water covers the jars by at least an inch.
Bring to a gentle boil and process for 10–15 minutes (adjusting for altitude if necessary).
Carefully remove the jars and place them on a towel to cool. You’ll hear the satisfying “pop” as the jars seal.
Let them rest undisturbed for 12–24 hours. Check that the lids are sealed — if the center doesn’t flex when pressed, they’re good to go!
Substitutions
Running low on an ingredient or catering to a dietary preference? No problem.
- Sugar: You can reduce the sugar by up to a third, but note that this may affect the set and shelf life. For a natural alternative, use honey (¾ cup honey per 1 cup sugar). Avoid artificial sweeteners unless you’re using a low-sugar pectin.
- Lemon Juice: Bottled lemon juice can be used if fresh isn’t available, but fresh juice gives a brighter flavor.
- Pectin-Free Version: If you don’t want to use pectin, just cook the jam a bit longer to help it thicken naturally. Strawberries are low in pectin, so this works best when combined with a long, slow simmer.
- Fruit Blends: Swap out 1 cup of strawberries for rhubarb, raspberries, or even blueberries for a mixed-fruit twist.
These swaps keep the jam exciting and adaptable without sacrificing its soul.
Best Side Dishes for Strawberry Jam
Strawberry jam is incredibly versatile — more than just a toast-topper. Pair it with these dishes for an elevated treat:
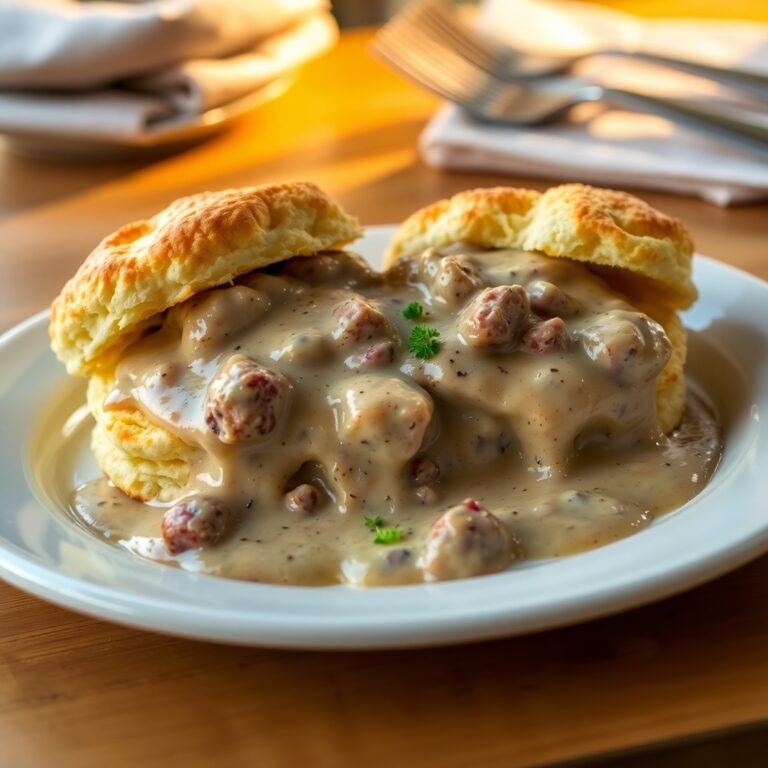
- Flaky Buttermilk Biscuits: Soft, buttery, and perfect for slathering with jam while still warm.
- Classic Scones: Especially lovely for afternoon tea — a little clotted cream and this jam make the perfect trio.
- Yogurt Parfait: Layer Greek yogurt, granola, and a generous dollop of strawberry jam for a breakfast that feels like dessert.
Serving and Presentation Tips
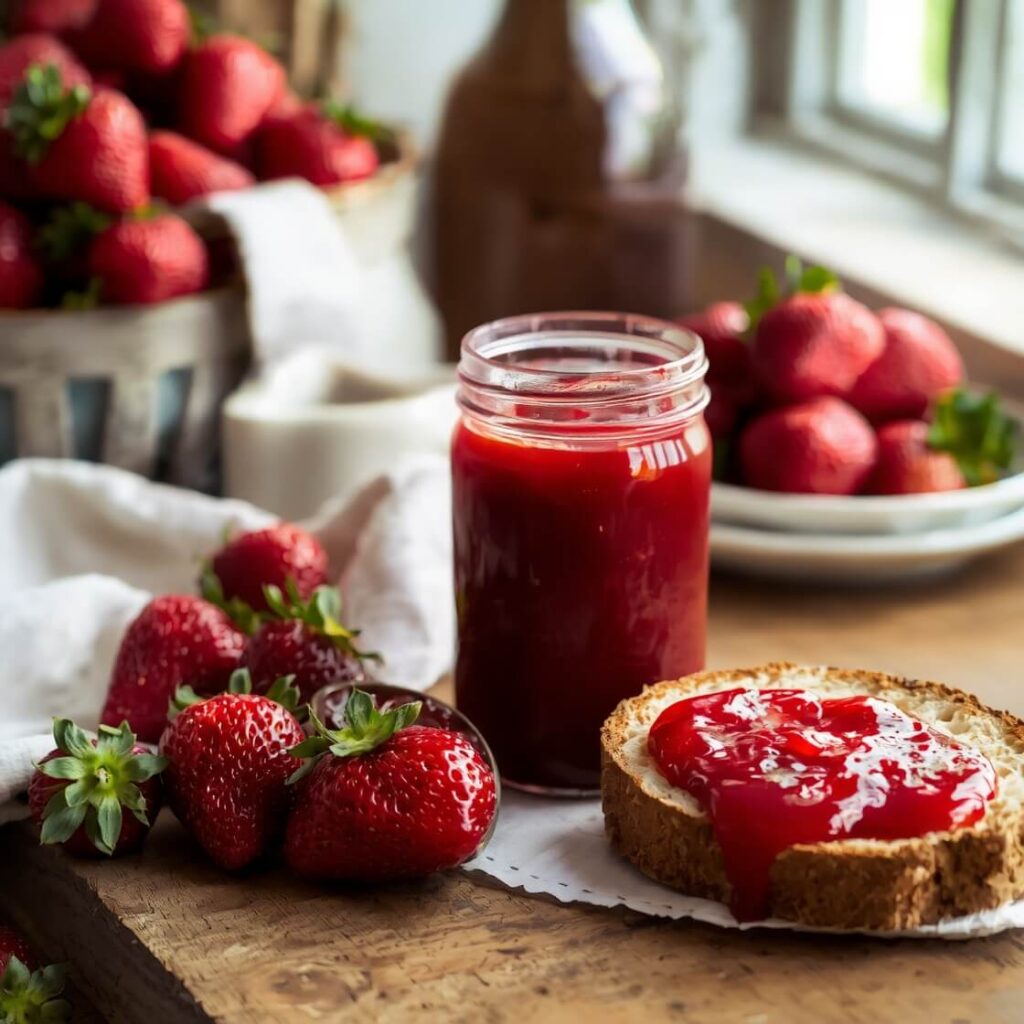
There’s a kind of quiet elegance in a jar of homemade jam — the vibrant red hue, the glossy sheen, the hand-labeled lid. When serving your strawberry jam, let that beauty shine.
Whether you’re enjoying it yourself or gifting it to friends and family, presentation matters. Spoon it into a small vintage bowl for brunch spreads, or serve directly from the jar with a clean teaspoon. Add a sprig of mint on the side or pair it with fresh berries to enhance the natural appeal.
If you’re giving it as a gift, wrap the jar with a piece of twine or rustic ribbon, and attach a handwritten label with the date and flavor. A simple kraft tag with “Summer Strawberry Jam – Made with Love” adds a warm, personal touch.
At a brunch table, this jam deserves center stage — nestled between a crusty loaf of sourdough and a plate of creamy butter.
Tips and Tricks to Make This Recipe Better
Strawberry jam might be simple, but the right tips can take it from good to exceptional.
- Use the ripest berries: Underripe strawberries can make your jam dull and bland. Aim for fruit that’s naturally sweet, deep red, and fragrant.
- Don’t overcook: Once your jam reaches the gel point, take it off the heat immediately. Overcooking can cause it to become too thick or lose its fresh flavor.
- Add butter to reduce foam: A small pat of unsalted butter (about ½ teaspoon) during cooking reduces foaming and results in a clearer jam.
- Test the set with a cold plate: Place a small plate in the freezer while your jam is cooking. Drop a bit of jam onto it and run your finger through. If it wrinkles slightly, it’s ready.
- Use a wide pan: A wide, shallow saucepan allows moisture to evaporate faster and encourages even cooking, which leads to better texture and flavor.
These small touches make a big difference — and help you master the art of jam making with confidence.
Common Mistakes to Avoid
Even experienced cooks make mistakes when canning. Avoid these common pitfalls to ensure success every time.
- Skipping sterilization: Don’t skip washing and sterilizing your jars. It’s essential for food safety and shelf stability.
- Inaccurate measurements: Precise ratios of fruit to sugar to acid are crucial for texture, flavor, and preservation. Always measure carefully.
- Overcooking the jam: Cooking too long can make your jam gummy and too thick. Once it hits the gel point, remove it from heat promptly.
- Filling jars improperly: Leaving too much or too little headspace in jars can prevent proper sealing. Stick with ¼ inch for best results.
- Not checking for a seal: Always press the center of the lid after the jars have cooled. If it pops back, the jar didn’t seal and should be refrigerated and eaten within a few weeks.
How to Store It
Proper storage is key to keeping your homemade jam safe and delicious for months.
- Unopened jars: Store sealed jars in a cool, dark place like a pantry or cupboard. Avoid direct sunlight and high heat. When properly canned, the jam can last up to 1 year.
- After opening: Once opened, keep the jar refrigerated. Use within 3–4 weeks for best flavor and freshness.
- Freezer option: Don’t want to can? You can make freezer jam instead. Just ladle the cooked jam into freezer-safe containers, leaving ½ inch headspace, and freeze for up to 6 months.
FAQ
Can I use frozen strawberries instead of fresh?
Yes, but the jam may be slightly more watery. Thaw and drain excess liquid before using.
How do I know when my jam is set?
The easiest method is the cold plate test — when it wrinkles as you drag your finger through it, it’s set.
Can I double this recipe?
It’s best to make jam in small batches for the most even cooking. Doubling may result in uneven texture or an unset jam.
Is it okay if the jam has bubbles inside the jar?
A few small bubbles are normal and safe. If they’re moving or rising after sealing, that’s a sign of spoilage and the jar should be discarded.
Can I make this without sugar?
You can use a low-sugar or no-sugar pectin, but keep in mind that sugar helps preserve the jam and affects its texture and flavor.

Strawberry Jam Recipe Canning
This strawberry jam recipe for canning is the ultimate way to preserve the bright flavors of summer. With just a few simple ingredients — fresh strawberries, sugar, and lemon juice — you can create a deliciously vibrant jam that’s perfect for spreading on toast, swirling into yogurt, or giving as a thoughtful homemade gift. Whether you’re a seasoned canner or new to preserving, this step-by-step guide walks you through the entire process with clarity and care. It’s a rewarding weekend project that fills your pantry with jars of sweet, ruby-red goodness that lasts all year.
- Total Time: 1 hour 15 minutes
- Yield: 4–5
Ingredients
- 4 cups fresh strawberries, hulled and chopped
- 2½ to 3 cups granulated sugar (adjust to taste)
- 2 tablespoons fresh lemon juice
- ½ teaspoon butter (optional, to reduce foaming)
- 1 packet fruit pectin (optional, based on texture preference)
Instructions
- Wash and sterilize jars, lids, and rings. Keep them warm until ready to use.
- Prepare strawberries by hulling and chopping. Slightly mash if you prefer a smoother texture.
- In a large saucepan, combine strawberries, sugar, lemon juice, and butter (if using). Let it rest for 5–10 minutes.
- Bring mixture to a boil, stirring constantly. Reduce heat and simmer until thickened, skimming foam if needed.
- Test for set using a cold plate. Once set, ladle hot jam into warm jars, leaving ¼ inch headspace.
- Wipe rims clean, apply lids and rings, and process jars in a water bath for 10–15 minutes.
- Remove jars and let cool for 12–24 hours. Ensure seals are tight before storing.
Notes
- Always use ripe strawberries for the best flavor.
- Adjust sugar to taste, but be mindful it affects the jam’s shelf life.
- For a chunkier jam, don’t mash the strawberries completely.
- Don’t skip the lemon juice — it helps with flavor and preservation.
- Prep Time: 20 minutes
- Cook Time: 30 minutes
- Category: Preserves & Condiments
- Method: Stovetop, Water Bath Canning
- Cuisine: American
- Diet: Vegetarian
Nutrition
- Serving Size: 4–5
- Calories: 52
- Sugar: 12g
- Sodium: 0mg
- Fat: 0g
- Saturated Fat: 0g
- Unsaturated Fat: 0g
- Trans Fat: 0g
- Carbohydrates: 13g
- Fiber: 0.3g
- Protein: 0g
- Cholesterol: 0mg