There’s something irresistibly nostalgic about Oreos. For me, they’re more than just a cookie—they’re a bite-sized portal back to childhood. I remember sneaking into the kitchen late at night, grabbing a few Oreos, and dunking them in a glass of cold milk while everyone else was asleep. That simple indulgence felt magical.
As I’ve grown older, I’ve discovered even more ways to turn these classic cookies into decadent, easy-to-make desserts that wow guests, delight kids, and satisfy every sweet craving. This Easy Oreo Dessert recipe is one of my go-to treats when I want something quick, rich, and crowd-pleasing without spending hours in the kitchen.
And if you’re the kind of person who loves creamy textures, layers of chocolatey goodness, and minimal effort with maximum reward—you’re in for a real treat.
Why I Love This Recipe

This dessert is one of those “it never fails” kind of recipes. Every time I bring it to a potluck, birthday, or even a casual get-together, someone asks for the recipe before they’ve even finished their first bite.
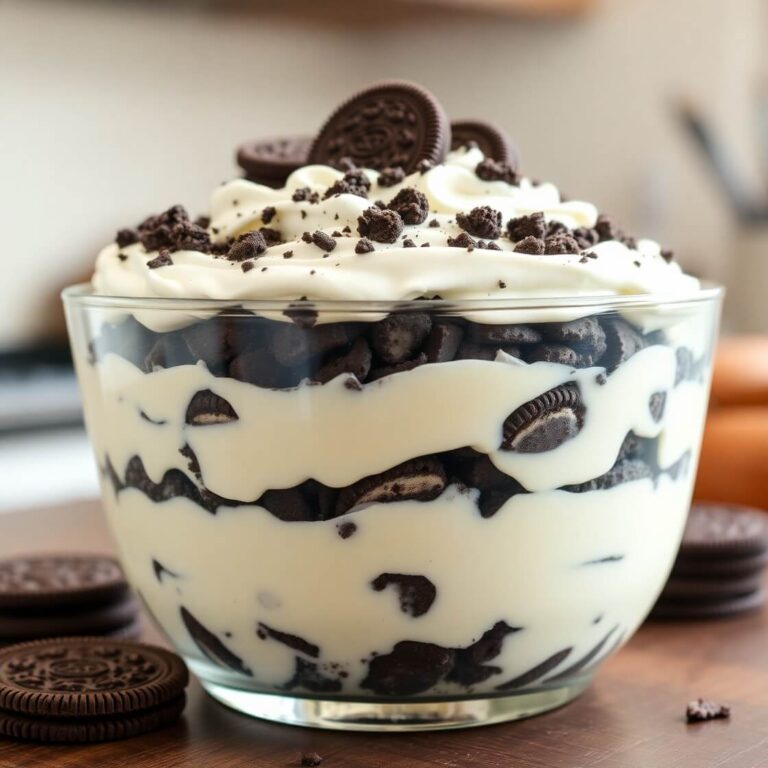
What makes it so special? First, it’s incredibly easy. You don’t need a mixer, you don’t need to bake, and you don’t need any fancy techniques. Second, it tastes like something you’d order at a high-end dessert bar. Creamy whipped topping, crushed Oreo layers, and a smooth, velvety filling—it’s like a hybrid between a mousse, a cheesecake, and a trifle.
This recipe also works for almost any occasion. Want a quick weeknight dessert? Done. Need something for a birthday party or family reunion? It scales beautifully. You can dress it up or keep it simple.
I love that it’s totally no-bake, which means it’s perfect for summer or when you just don’t want to turn on the oven. Plus, it’s one of those recipes you can prepare ahead of time and keep chilled until you’re ready to serve.
Ingredients for Easy Oreo Desserts
Let’s be honest—the best part about this recipe is how few ingredients you actually need. And they’re the kind you can easily find in any grocery store.
Here’s what you’ll want to have on hand:
- Oreos: I like using classic Oreos, but feel free to use double-stuffed if you want more creaminess. You’ll need about 36 cookies for this recipe. You can also mix it up with flavored versions like mint or peanut butter if you’re feeling adventurous.
- Butter: Melted, unsalted butter to combine with the crushed Oreos for a rich and crumbly base.
- Cream cheese: Full-fat cream cheese makes the filling creamy and dense. Let it soften at room temperature so it blends smoothly.
- Powdered sugar: Adds sweetness to the cream cheese mixture without the graininess of granulated sugar.
- Cool Whip (or homemade whipped cream): This gives the dessert its airy, mousse-like texture. I use Cool Whip when I want speed, but homemade whipped cream is a fantastic upgrade if you have the time.
- Instant chocolate pudding mix: A quick and easy way to add a silky chocolate layer. Make sure it’s the instant kind, not the cook-and-serve version.
- Milk: Cold milk helps the pudding set up quickly.
- Vanilla extract: Adds a hint of warmth and richness to the cream layer.
Optional additions:
- Mini chocolate chips or extra crushed Oreos for garnish
- A drizzle of chocolate syrup on top before serving
This recipe strikes the perfect balance between crunchy, creamy, and chocolatey—all without overcomplicating anything.
How Much Time Will You Need
This dessert doesn’t take much time at all. From start to finish, you’ll have everything prepped and chilling in under 30 minutes.
- Prep time: 20 minutes
- Chill time: At least 2 hours for best texture and flavor
- Total time: About 2 hours 20 minutes (mostly hands-off)
If you’re in a rush, you can serve it sooner, but I recommend giving it some fridge time to firm up and allow the flavors to meld.
How to Make This Easy Oreo Dessert
This is where the magic happens! Here’s exactly how I make this dessert from start to finish:
Step – 1: Prepare the Oreo crust
Start by crushing about 24 Oreos. You can pulse them in a food processor or place them in a zip-top bag and crush them with a rolling pin. Mix the crumbs with melted butter until they resemble wet sand.
Press this mixture evenly into the bottom of a 9×13-inch dish. Use the bottom of a measuring cup to flatten and compact it. Then pop the dish in the freezer while you prepare the filling.
Step – 2: Make the cream cheese layer
In a large bowl, beat softened cream cheese with powdered sugar and a splash of vanilla until smooth and fluffy. Fold in one cup of Cool Whip until well combined.
Spread this layer over the chilled Oreo crust. Use a spatula to make sure it’s even. This layer should be thick and luscious.
Step – 3: Prepare the pudding layer
In a separate bowl, whisk together the instant chocolate pudding mix with cold milk. Let it sit for 2–3 minutes to thicken slightly. Then pour it over the cream cheese layer and spread it evenly.
Step – 4: Add the final topping
Top the pudding layer with the remaining Cool Whip, spreading it gently across the top. This final layer gives the dessert a soft, cloud-like finish.
Step – 5: Garnish and chill
Crush the remaining Oreos and sprinkle them generously on top. You can also add chocolate shavings, syrup, or mini chocolate chips if you’d like.
Place the dessert in the refrigerator for at least 2 hours before serving. If you have time, overnight chilling is even better—the flavors deepen and the texture sets perfectly.
Substitutions
I get it—not everyone has the same pantry or dietary needs. Here are a few smart swaps you can make that won’t compromise flavor:
- Cool Whip substitute: Use freshly whipped cream if you prefer a more natural flavor. Just make sure it’s stiff enough to hold its shape in layers.
- Gluten-free Oreos: Perfect if you’re making this for someone with gluten sensitivity. They taste almost identical to the originals.
- Vegan-friendly options: Use dairy-free cream cheese (like Kite Hill or Tofutti), coconut whipped topping, and plant-based pudding mix with almond or oat milk.
- Different pudding flavors: While chocolate is the classic, you can switch it up with cookies and cream, vanilla, or even butterscotch pudding for a new spin.
The beauty of this recipe is how flexible it is. Don’t be afraid to try something new if that’s what you have in your fridge or pantry.
Best Side Dish of Easy Oreo Desserts
While this dessert is rich enough to stand alone, pairing it with the right sides can really elevate the experience.
Here are a few of my favorites:
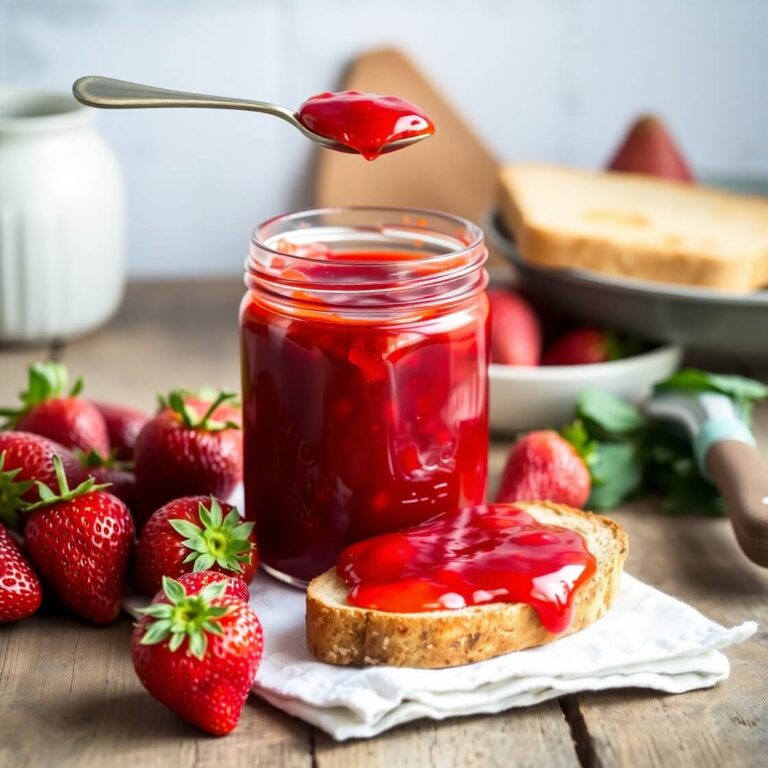
- Fresh strawberries or raspberries: Their tartness balances the sweetness of the dessert.
- Hot coffee or espresso: A rich, bitter cup of coffee helps cut through the creaminess and refresh your palate between bites.
- Vanilla ice cream: If you’re serving this at a party, a scoop of vanilla ice cream on the side makes it even more indulgent.
This dessert is all about joy, indulgence, and simplicity. Whether you’re serving it at a celebration or sneaking a bite from the fridge at midnight, it never disappoints.
Serving and Presentation Tips
Presentation matters—especially when you’re serving something as fun and nostalgic as an Oreo dessert. And trust me, it doesn’t take much to make this dish look like a showstopper.
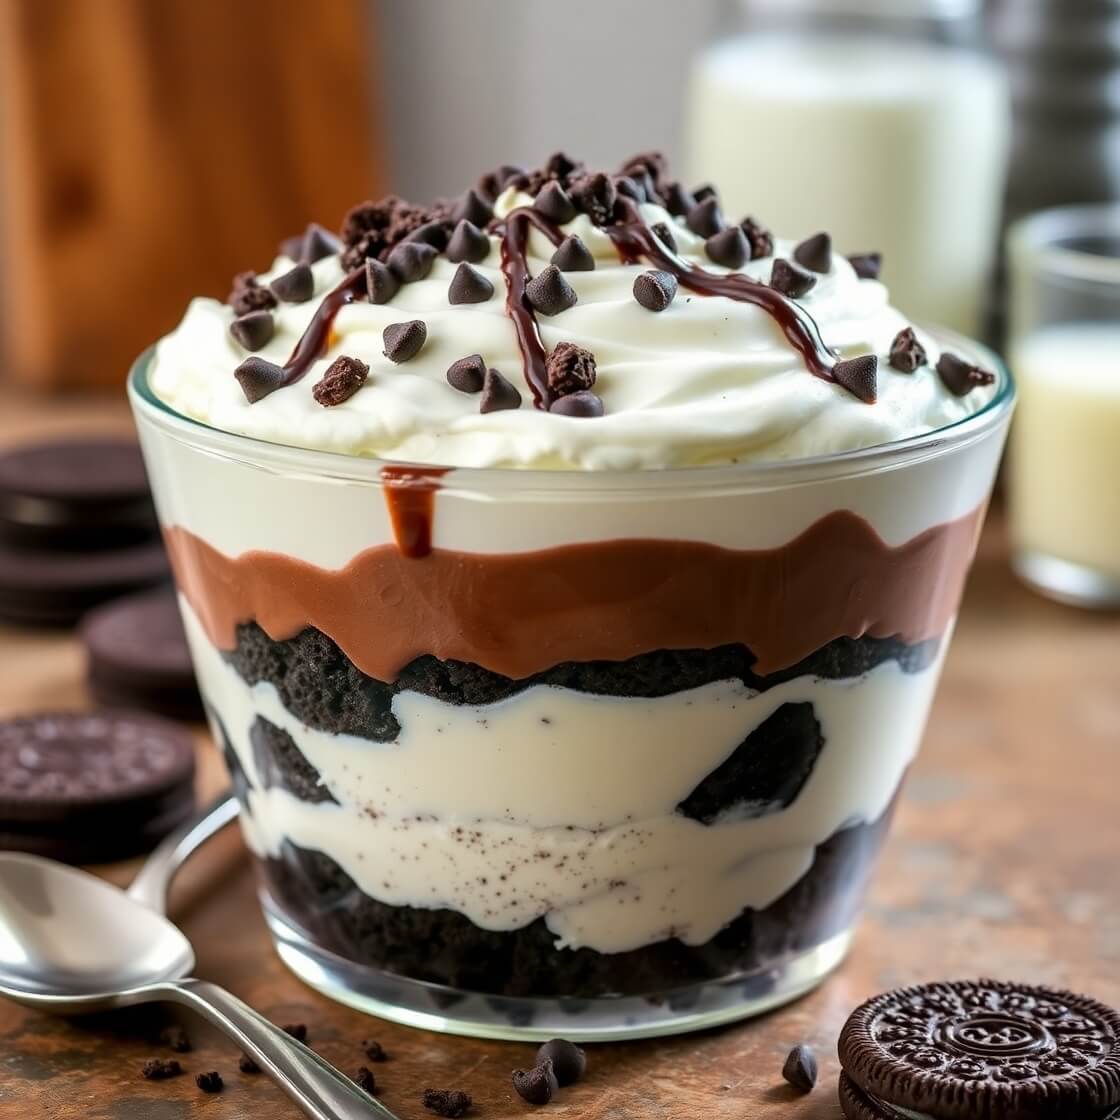
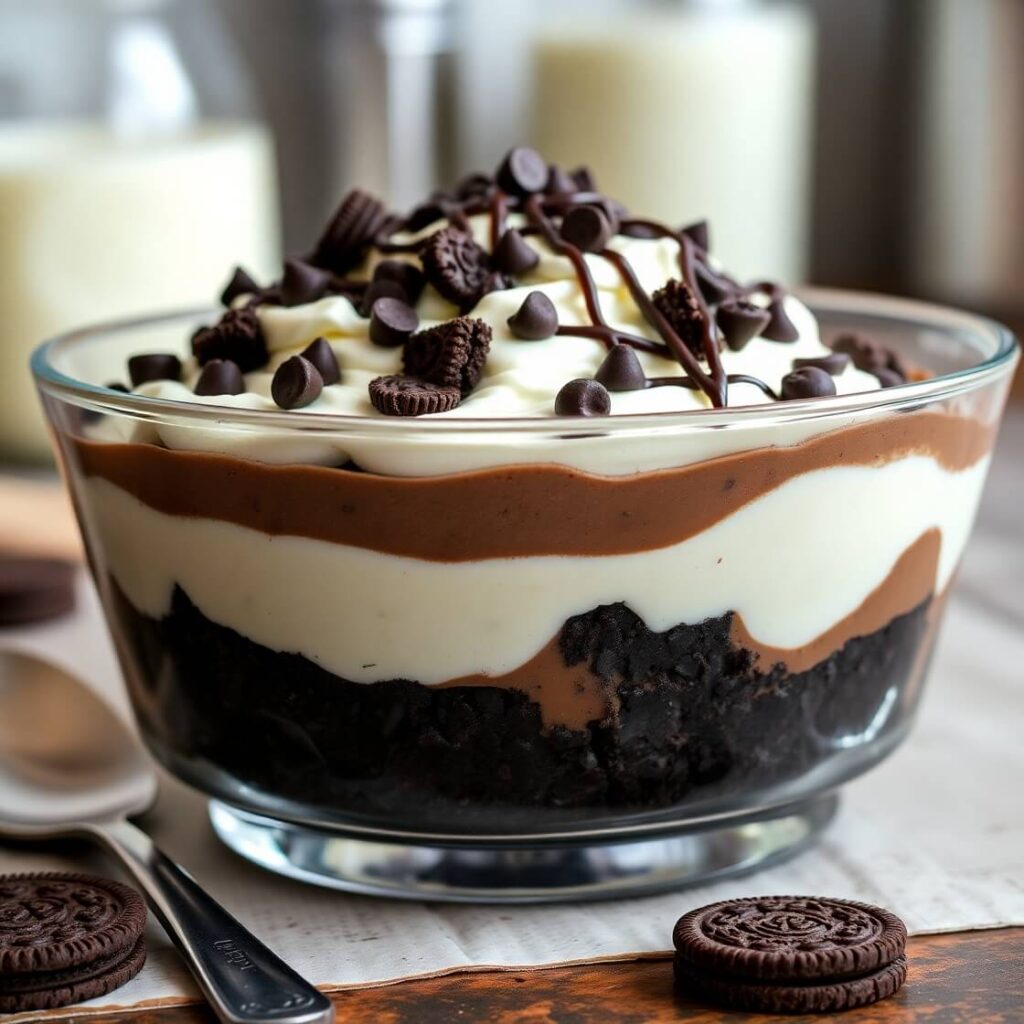
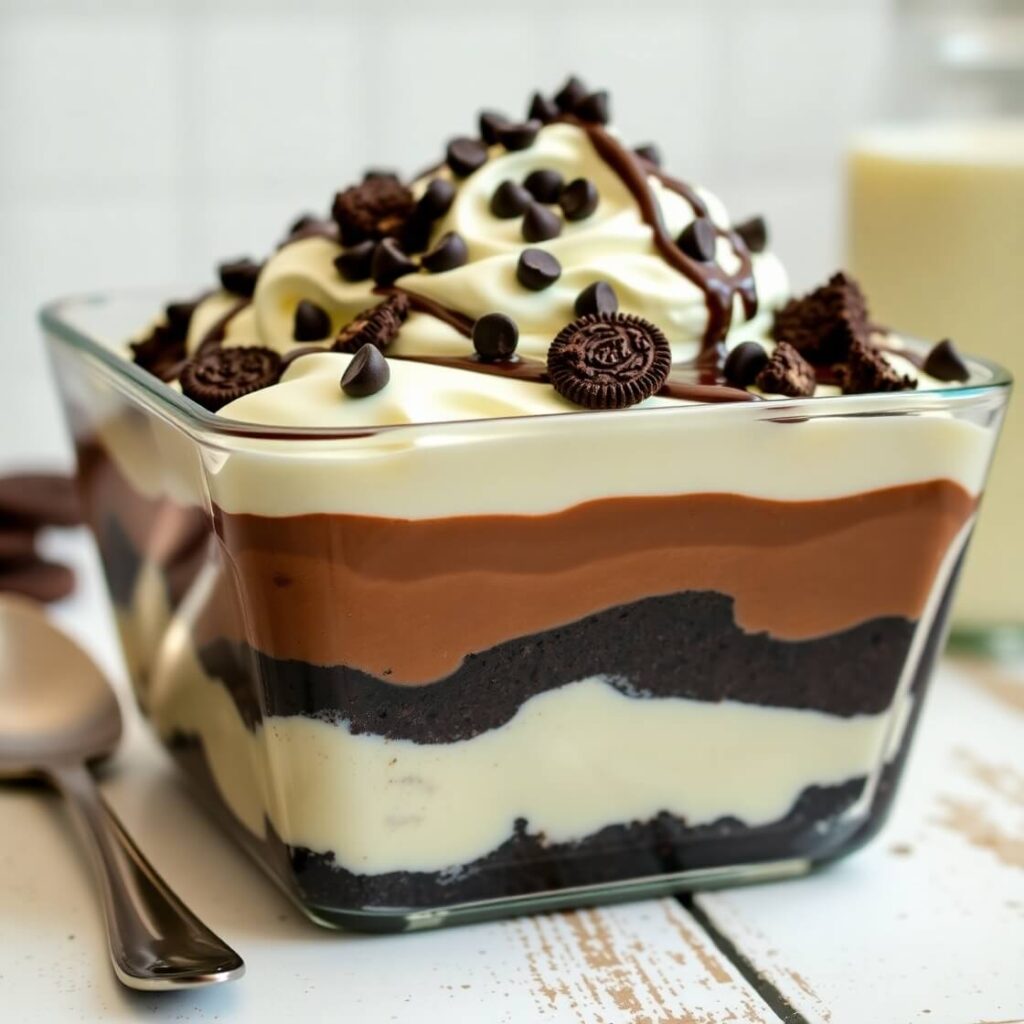
I like to serve this dessert in a glass dish, so all the layers are visible. The contrast between the dark Oreo crust, creamy middle, and fluffy whipped topping makes a big impact. If you’re hosting a party, you can even portion it into individual dessert cups or mason jars. It makes serving easier and adds a touch of elegance.
Top each serving with a sprinkle of extra crushed Oreos, a drizzle of chocolate syrup, and even a mini Oreo on top if you want to go all out. If you’re feeling really fancy, a light dusting of cocoa powder or chocolate curls makes it restaurant-worthy.
Always chill before serving—it helps the layers stay intact, and the flavor is much better when cold.
Tips and Tricks to Make This Recipe Even Better
This recipe is simple, but there are still a few secrets that can take it from great to unforgettable.
- Use a food processor for perfect Oreo crumbs. It gives a more consistent texture for the crust, which helps everything hold together better.
- Let the cream cheese soften completely before mixing. Cold cream cheese can leave lumps and make it hard to blend smoothly with the sugar.
- Fold, don’t stir when combining the whipped topping. Folding keeps the air in the mixture and gives the dessert its signature lightness.
- Chill the dessert overnight if possible. A longer chill time means firmer layers and more developed flavors.
- Double the batch for parties. This dessert disappears quickly! It’s easy to scale up and always leaves people wanting more.
These small tweaks can make a noticeable difference, especially when you’re trying to impress guests or serve it at a special event.
Common Mistakes to Avoid
Even with a no-bake dessert like this, there are a few pitfalls you’ll want to dodge.
- Not chilling long enough: This is the number one mistake. The layers need time to set, or you’ll end up with a sloppy mess when slicing.
- Using warm butter in the crust: Make sure the melted butter isn’t too hot. Let it cool slightly before mixing with the Oreo crumbs so it doesn’t melt into the pan and make the base greasy.
- Overmixing the pudding: Instant pudding thickens quickly. Over-whipping can make it too dense or lumpy.
- Using reduced-fat cream cheese: While tempting for a “lighter” dessert, it doesn’t hold structure as well and can make the filling runny.
- Skipping the garnish: A little extra on top goes a long way—crushed Oreos, chocolate drizzle, or even some fresh berries can elevate the whole dish.
Just keeping these in mind will help you get that perfect, creamy, photo-worthy dessert every time.
How to Store It
This dessert stores beautifully, which makes it perfect for making ahead of time.
Refrigerator: Cover the dish tightly with plastic wrap or a lid and store in the fridge for up to 4–5 days. The texture holds up well, and the flavors actually get better as it sits.
Freezer: Yes, you can freeze it! Wrap it well in plastic wrap and foil, then freeze for up to 2 months. To serve, let it thaw in the fridge overnight. The texture of the whipped topping may change slightly, but it will still taste great.
Individual portions: Store leftovers in small, sealed containers for easy grab-and-go treats throughout the week.
Whether you’re prepping ahead for a party or just want to keep a sweet treat on hand, this dessert is super storage-friendly.
FAQ
Can I make this recipe ahead of time?
Absolutely! In fact, it tastes even better the next day. Just be sure to cover it and store in the fridge.
Can I use homemade whipped cream instead of Cool Whip?
Yes! Homemade whipped cream works wonderfully—just whip it to stiff peaks so it holds up in the layers.
How do I make this dessert gluten-free?
Use gluten-free Oreo-style cookies. Most major grocery stores carry them now, and they taste nearly identical to the original.
Can I make this in individual cups instead of a large dish?
Definitely. This recipe is great in small jars or plastic dessert cups for parties or grab-and-go treats.
What if I don’t like chocolate pudding?
Swap it with vanilla, cheesecake, or cookies and cream pudding for a twist. You can also use a layer of Nutella or peanut butter for something different.

Easy Oreo Desserts
This no-bake Oreo dessert is rich, creamy, and layered with love. With a crunchy Oreo crust, fluffy cream cheese layer, and silky chocolate pudding topping, it’s the perfect make-ahead treat for parties, holidays, or just a weeknight indulgence. Best of all, it requires zero oven time and just a handful of simple ingredients. Whether you’re serving a crowd or just keeping it in the fridge for a midnight craving, this dessert never fails to impress.
- Total Time: 2 hours 20 minutes (includes chill time)
- Yield: 12
Ingredients
- 36 Oreos (divided)
- 6 tablespoons unsalted butter, melted
- 8 oz cream cheese, softened
- 1 cup powdered sugar
- 2 teaspoons vanilla extract
- 2 (8 oz) tubs Cool Whip (or 4 cups whipped cream), divided
- 1 (5.1 oz) box instant chocolate pudding mix
- 2 ¾ cups cold milk
Instructions
- Crush 24 Oreos and mix with melted butter. Press into a 9×13″ dish and chill.
- Beat softened cream cheese, powdered sugar, and vanilla until smooth. Fold in 1 cup Cool Whip and spread over crust.
- Whisk pudding mix with cold milk until thickened. Pour over cream layer and spread evenly.
- Top with remaining Cool Whip.
- Crush remaining Oreos and sprinkle on top.
- Chill for at least 2 hours before serving.
Notes
- For best results, chill overnight.
- Garnish with chocolate syrup, berries, or chocolate curls for added flair.
- Store covered in the fridge for up to 4 days or freeze for longer storage.
- Prep Time: 20 minutes
- Cook Time: 0 minutes
- Category: Dessert
- Method: No-Bake
- Cuisine: American
- Diet: Vegetarian
Nutrition
- Serving Size: 12
- Calories: 360
- Sugar: 27g
- Sodium: 340mg
- Fat: 20g
- Saturated Fat: 11g
- Unsaturated Fat: 7g
- Trans Fat: 0g
- Carbohydrates: 39g
- Fiber: 1g
- Protein: 4g
- Cholesterol: 35mg