7 Layer Dip Recipe
The first time I made a 7 layer dip, it wasn’t exactly planned. We had friends over for a last-minute game night, and I didn’t have the luxury of a carefully crafted menu. I opened the fridge, stared into the chaos of half-used salsa jars, a lonely block of cheddar, and a container of sour cream, and thought, “Well… maybe if I stack it all together, it’ll work.”
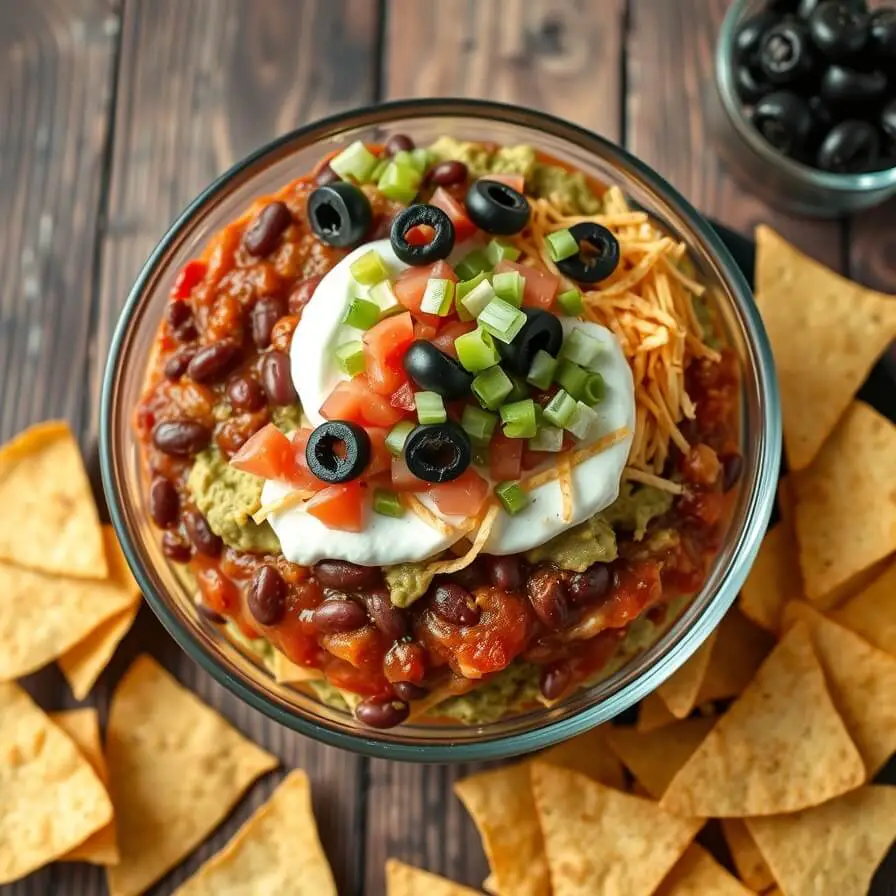
I remember layering the refried beans, sprinkling taco seasoning into the sour cream, and frantically grating cheese while someone yelled from the living room that the nachos were getting cold. By the time I finished, the tray looked like a patchwork quilt of colors—beans, cream, salsa, guacamole, cheese, olives, and tomatoes.
When I set it on the table, the dip was gone in under ten minutes. Friends hovered around it with chips like it was a pot of gold. That night taught me something important: sometimes food doesn’t need to be fussy to be memorable. A 7 layer dip is living proof of that.
Questions I Get All the Time About 7 Layer Dip
Is this dip served hot or cold?
Cold is traditional—and I promise it’s just as satisfying as a hot dip. The chilled layers create the perfect contrast of textures and flavors, especially against warm tortilla chips.
Can I make it ahead of time?
Yes, and I recommend it! The flavors meld together beautifully after a few hours in the fridge. Just don’t add watery toppings like fresh salsa or chopped tomatoes until right before serving.
Do I need exactly seven layers?
Seven is the classic, but no one’s stopping you from making it eight or nine if inspiration strikes. Add corn, shredded lettuce, or pickled jalapeños if you like.
Can it be made healthier?
Absolutely. Use Greek yogurt instead of sour cream, try baked tortilla chips, or lighten the cheese. The beauty of this dip is that it’s endlessly adaptable.
Why This Recipe Works So Well
There’s a secret balance at play in 7 layer dip. Each layer contributes something vital:
- Refried beans give the base heft and earthiness.
- Guacamole offers creamy richness with a bit of tang.
- Sour cream (or Greek yogurt) cools the heat from salsa.
- Salsa provides zest and freshness.
- Cheese adds sharpness and indulgence.
- Olives lend a briny, salty bite.
- Tomatoes (or green onions) finish it with color and a juicy burst.
Stacked together, you get contrast in every bite: creamy next to crunchy, mild next to spicy, rich next to refreshing. And unlike fancier dips, it doesn’t demand exact cooking techniques. It’s forgiving, flexible, and always delivers.
Ingredients in Context
What you choose here makes a big difference, even if the recipe is simple. Let’s walk through them together.
- Refried Beans:
Go for the traditional canned variety if you’re short on time. I usually grab vegetarian refried beans so the dip is friendly for more guests. If you’re adventurous, homemade beans with garlic and cumin make the base taste incredible. - Guacamole:
Ripe avocados are key. I mash mine with lime juice, salt, and a pinch of garlic powder. Store-bought works in a pinch, but homemade will always sing louder in the flavor department. - Sour Cream Layer:
This is where I add a packet of taco seasoning. It transforms plain sour cream into something crave-worthy. For a lighter option, plain Greek yogurt works beautifully. - Salsa:
Fresh or jarred is fine. I lean toward a chunky salsa so it doesn’t turn the dip watery. If you like spice, go bold with a medium or hot salsa. - Cheese:
Sharp cheddar is the classic, but I’ve sometimes done a blend of cheddar and Monterey Jack. Always shred it fresh—bagged shredded cheese has a coating that keeps it from melting smoothly. - Olives:
Black olives are the traditional choice. I wasn’t an olive fan growing up, but now I can’t imagine the dip without their briny punch. - Tomatoes / Green Onions:
These aren’t just garnish; they bring freshness that keeps the dip from feeling too heavy. Sometimes I’ll dice both and scatter them together.
Optional extras: shredded lettuce, pickled jalapeños, or even roasted corn if you want to stretch beyond the classic seven.
Step-by-Step Instructions (with Kitchen Notes)

- Prepare the Base:
Spread one can of refried beans into the bottom of a 9×13 glass dish. Smooth it with the back of a spoon until it’s even. This layer anchors everything. - Guacamole Layer:
Spread your guacamole directly on top of the beans. If making from scratch, mash 3 avocados with lime juice, salt, and garlic powder before layering. Make sure the guacamole completely covers the beans—this helps prevent browning. - Seasoned Cream Layer:
Mix sour cream with taco seasoning until well blended. Spoon it over the guacamole and spread gently. Don’t worry if a little green shows through—it’ll get covered in the next layer. - Salsa Layer:
Add about a cup of salsa. Go easy if it’s very watery—no one likes a soggy dip. I often drain off excess liquid before spooning it in. - Cheese Blanket:
Sprinkle freshly grated cheddar (or a blend) over the salsa. This is where the dip starts to look party-ready. - Olive Topping:
Scatter sliced black olives over the cheese. Their briny bite balances all the richness underneath. - Fresh Finish:
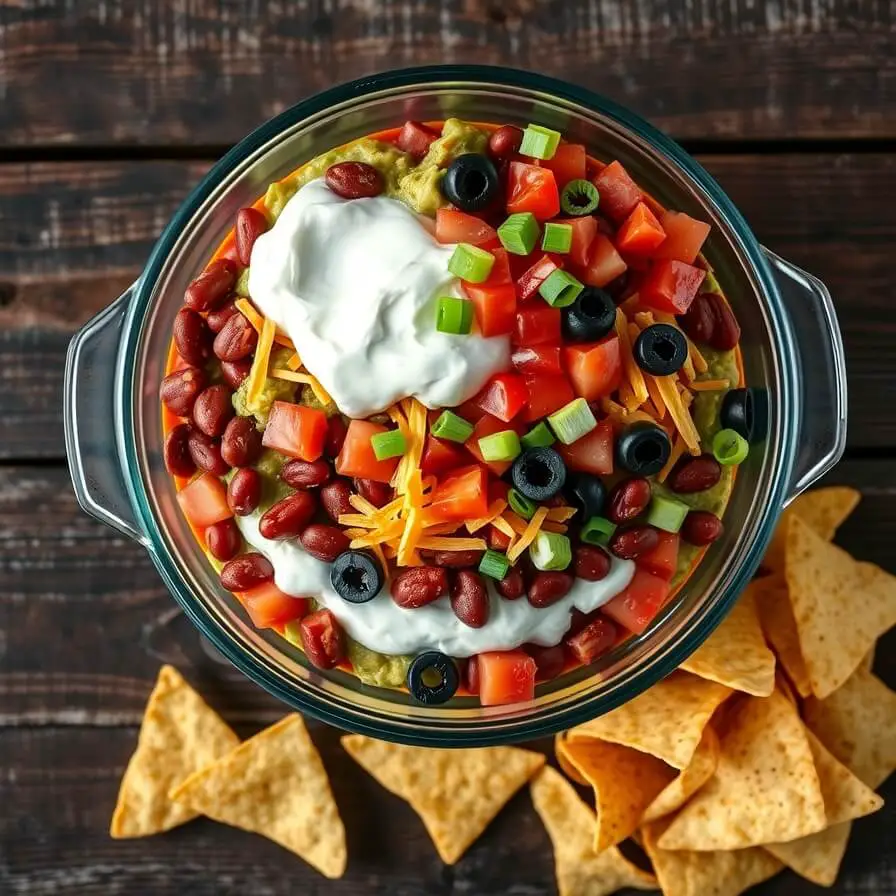
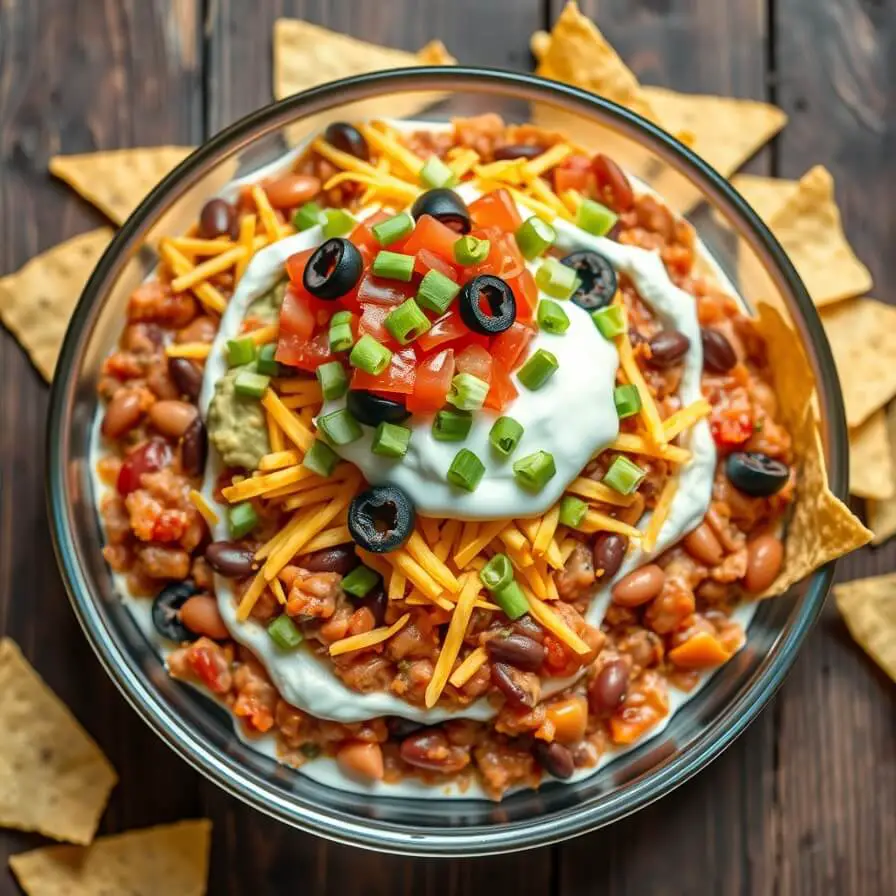
Top with diced tomatoes, green onions, or both. This layer adds the pop of color that makes people say “wow” when they see it.
Cover and chill for at least an hour before serving. The layers settle together just enough to create harmony but still stay distinct. Serve with tortilla chips, and watch it disappear.
Serving Ideas That Make This Dip Shine
One of my favorite things about 7 layer dip is how it fits into almost any occasion. It’s casual enough for game day but colorful enough for a summer cookout.
I’ve served it with just a big bowl of tortilla chips and everyone was happy, but if you want to get creative:
- Offer a trio of dippers: tortilla chips, crunchy celery sticks, and warm pita wedges. It keeps things fun for guests who don’t want only chips.
- Turn it into a walking dip by serving it in clear plastic cups—each person gets their own personal serving, no crowding around one dish.
- For potlucks, I sometimes layer it in a large trifle bowl. Not only does it look impressive with those colorful layers showing through glass, but it also makes it easy for guests to scoop.
And if you’re lucky enough to have leftovers (which is rare in my house), scoop some into a warm tortilla with shredded lettuce for a quick taco-style lunch the next day.
Pro Notes & Mistakes I’ve Learned to Avoid
The first time I made this dip, I rushed and made three rookie mistakes. They didn’t ruin it, but they definitely taught me how to improve.
- Too much salsa = watery dip. I learned to drain my salsa a bit or use chunky pico de gallo instead. The dip stays fresher, and no one gets a soggy chip.
- Bagged shredded cheese doesn’t cut it. I tried it once when I was in a hurry, and the texture was dry and clumpy. Freshly grated cheese melts smoother and tastes richer.
- Layer order matters. Once I accidentally put salsa under the sour cream, and the whole thing turned into a slip-and-slide mess. Always keep the cream layer above guacamole and below salsa—it acts like a buffer.
The real trick? Chill it for at least an hour before serving. That rest time allows the layers to “settle” together just enough, and the flavors mingle beautifully.
Storing & Making Ahead
7 layer dip actually improves a little if you make it ahead, but there are some things to keep in mind.
- Refrigeration: Cover the dish tightly with plastic wrap or foil and refrigerate. It will stay fresh for up to 2 days. After that, the guacamole may start to brown and the salsa can release liquid.
- Make Ahead Strategy: If I’m prepping for a party, I assemble everything except the fresh toppings (tomatoes, green onions) the night before. I add those just before serving so they stay vibrant and crisp.
- Individual Servings: If you expect leftovers, assemble the dip in smaller containers instead of one big dish. That way, only the dish you serve is exposed, and the rest stay sealed and fresh.
And no, this dip doesn’t freeze well—the textures just don’t survive the thaw. It’s best enjoyed fresh.
More Reader Questions
Can I make this vegetarian?
Yes—just make sure your refried beans are vegetarian (many brands contain lard). Everything else is naturally vegetarian.
What if I don’t like olives?
Skip them or replace with something crunchy like diced bell peppers or corn. The beauty of this dip is how adaptable it is.
Can I double the recipe?
Absolutely. Just use a larger pan, or make two trays. Trust me, at a big gathering, one pan is never enough.
What’s the best chip to serve with it?
Sturdy tortilla chips work best—you want something strong enough to scoop without breaking. Multigrain or baked chips add an extra nutty flavor that pairs nicely too.

7 Layer Dip Recipe
- Total Time: 1 hour 20 minutes
- Yield: 10–12 1x
- Diet: Vegetarian
Description
A colorful, crowd-pleasing dip layered with refried beans, guacamole, seasoned sour cream, salsa, cheese, olives, and fresh toppings. Perfect for parties, potlucks, or game day snacking. Every bite gives you creamy, crunchy, spicy, and tangy all in one scoop.
Ingredients
- 1 can (16 oz) refried beans (vegetarian, if preferred)
- 3 ripe avocados, mashed into guacamole with lime juice, salt, and garlic powder
- 1 cup sour cream (or plain Greek yogurt)
- 1 packet taco seasoning
- 1 cup salsa (chunky, drained if watery)
- 1 ½ cups shredded sharp cheddar cheese (freshly grated)
- ½ cup sliced black olives
- 1 cup diced tomatoes (or cherry tomatoes, halved)
- 3 green onions, sliced
Instructions
- Spread refried beans evenly in the bottom of a 9×13 dish.
- Top with guacamole, making sure to spread all the way to the edges.
- Mix sour cream with taco seasoning and spread over the guacamole.
- Spoon salsa on top, draining excess liquid if needed.
- Sprinkle cheese evenly over salsa.
- Scatter olives across the cheese layer.
- Finish with diced tomatoes and green onions.
- Cover and refrigerate for at least 1 hour before serving with sturdy tortilla chips.
Notes
- To prevent guacamole browning, make sure it’s fully covered by the sour cream layer.
- For spice lovers, add a layer of diced jalapeños or hot salsa.
- To make it lighter, swap Greek yogurt for sour cream and use reduced-fat cheese.
- Prep Time: 20 minutes
- Cook Time: 1 hour
- Category: Appetizer
- Method: No-cook
- Cuisine: Mexican-American inspired
Nutrition
- Serving Size: 10–12
- Calories: 230
- Sugar: 3g
- Sodium: 420mg
- Fat: 15g
- Saturated Fat: 6g
- Unsaturated Fat: 8g
- Trans Fat: 0g
- Carbohydrates: 16g
- Fiber: 5g
- Protein: 6g
- Cholesterol: 20mg